BASEBALL CARDS
As an avid baseball card collector, I have always been interested in the design and manufacturing of cards. Nowadays, especially, there are so many thicknesses, shapes, and textures in baseball cards. I have been making my own baseball cards since I was around ten years old, and needless to say, I’ve improved drastically in my ability to create realistic cards that mimic those created by Topps and Panini America. In fact, I was hired by my high school baseball program to create custom cards as senior gifts the year after I graduated. You can see those cards down the page. I will give a walk- through of one of my card projects to give an idea of the process, but it is more or less the same for the rest of them. The other projects’ final photos are shown beneath The Booklet project.
THE BOOKLET
January 2025
Duration: 1 day
Project Description:
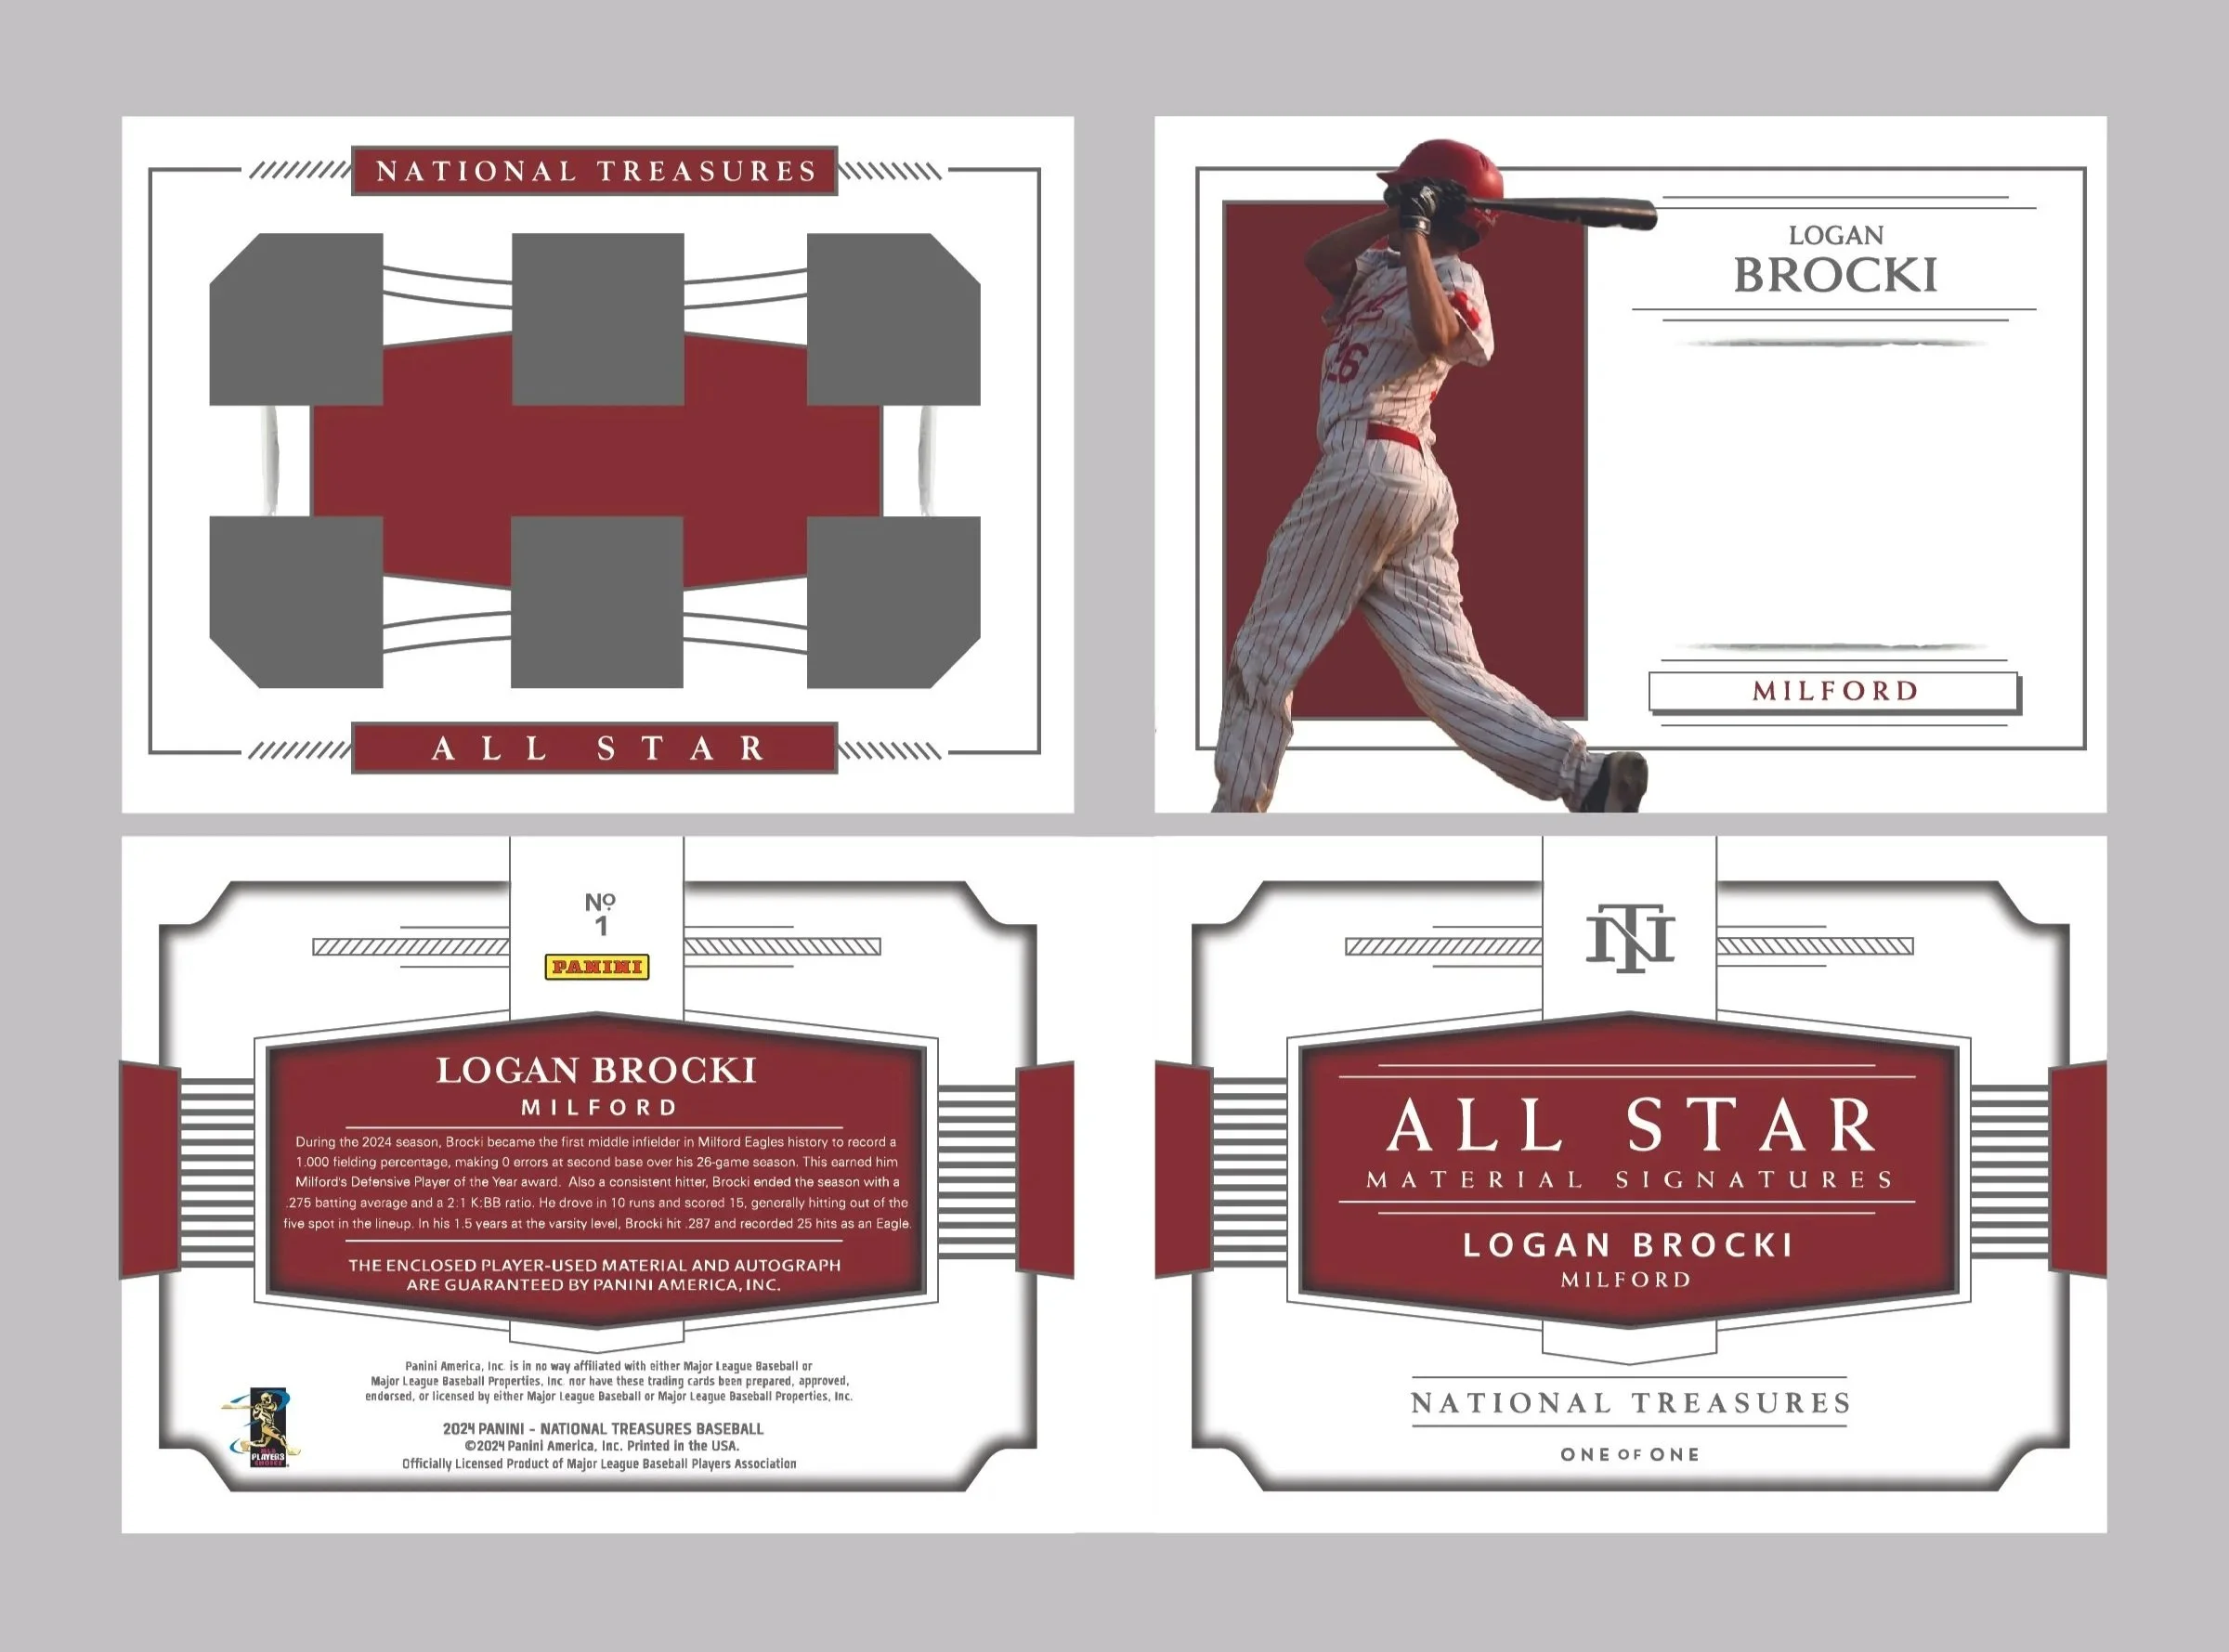
The most intriguing aspect of modern baseball cards is the inclusion of memorabilia pieces that are cut up and embedded into the cards. I decided to make my own memorabilia (and folding booklet) card based on an existing card design by Panini America.
*click to enlarge images throughout The Booklet section
All card designs are based on or copied from existing cards from Topps, Panini America, or Upper Deck
Materials used: 9
Layers per side: 10
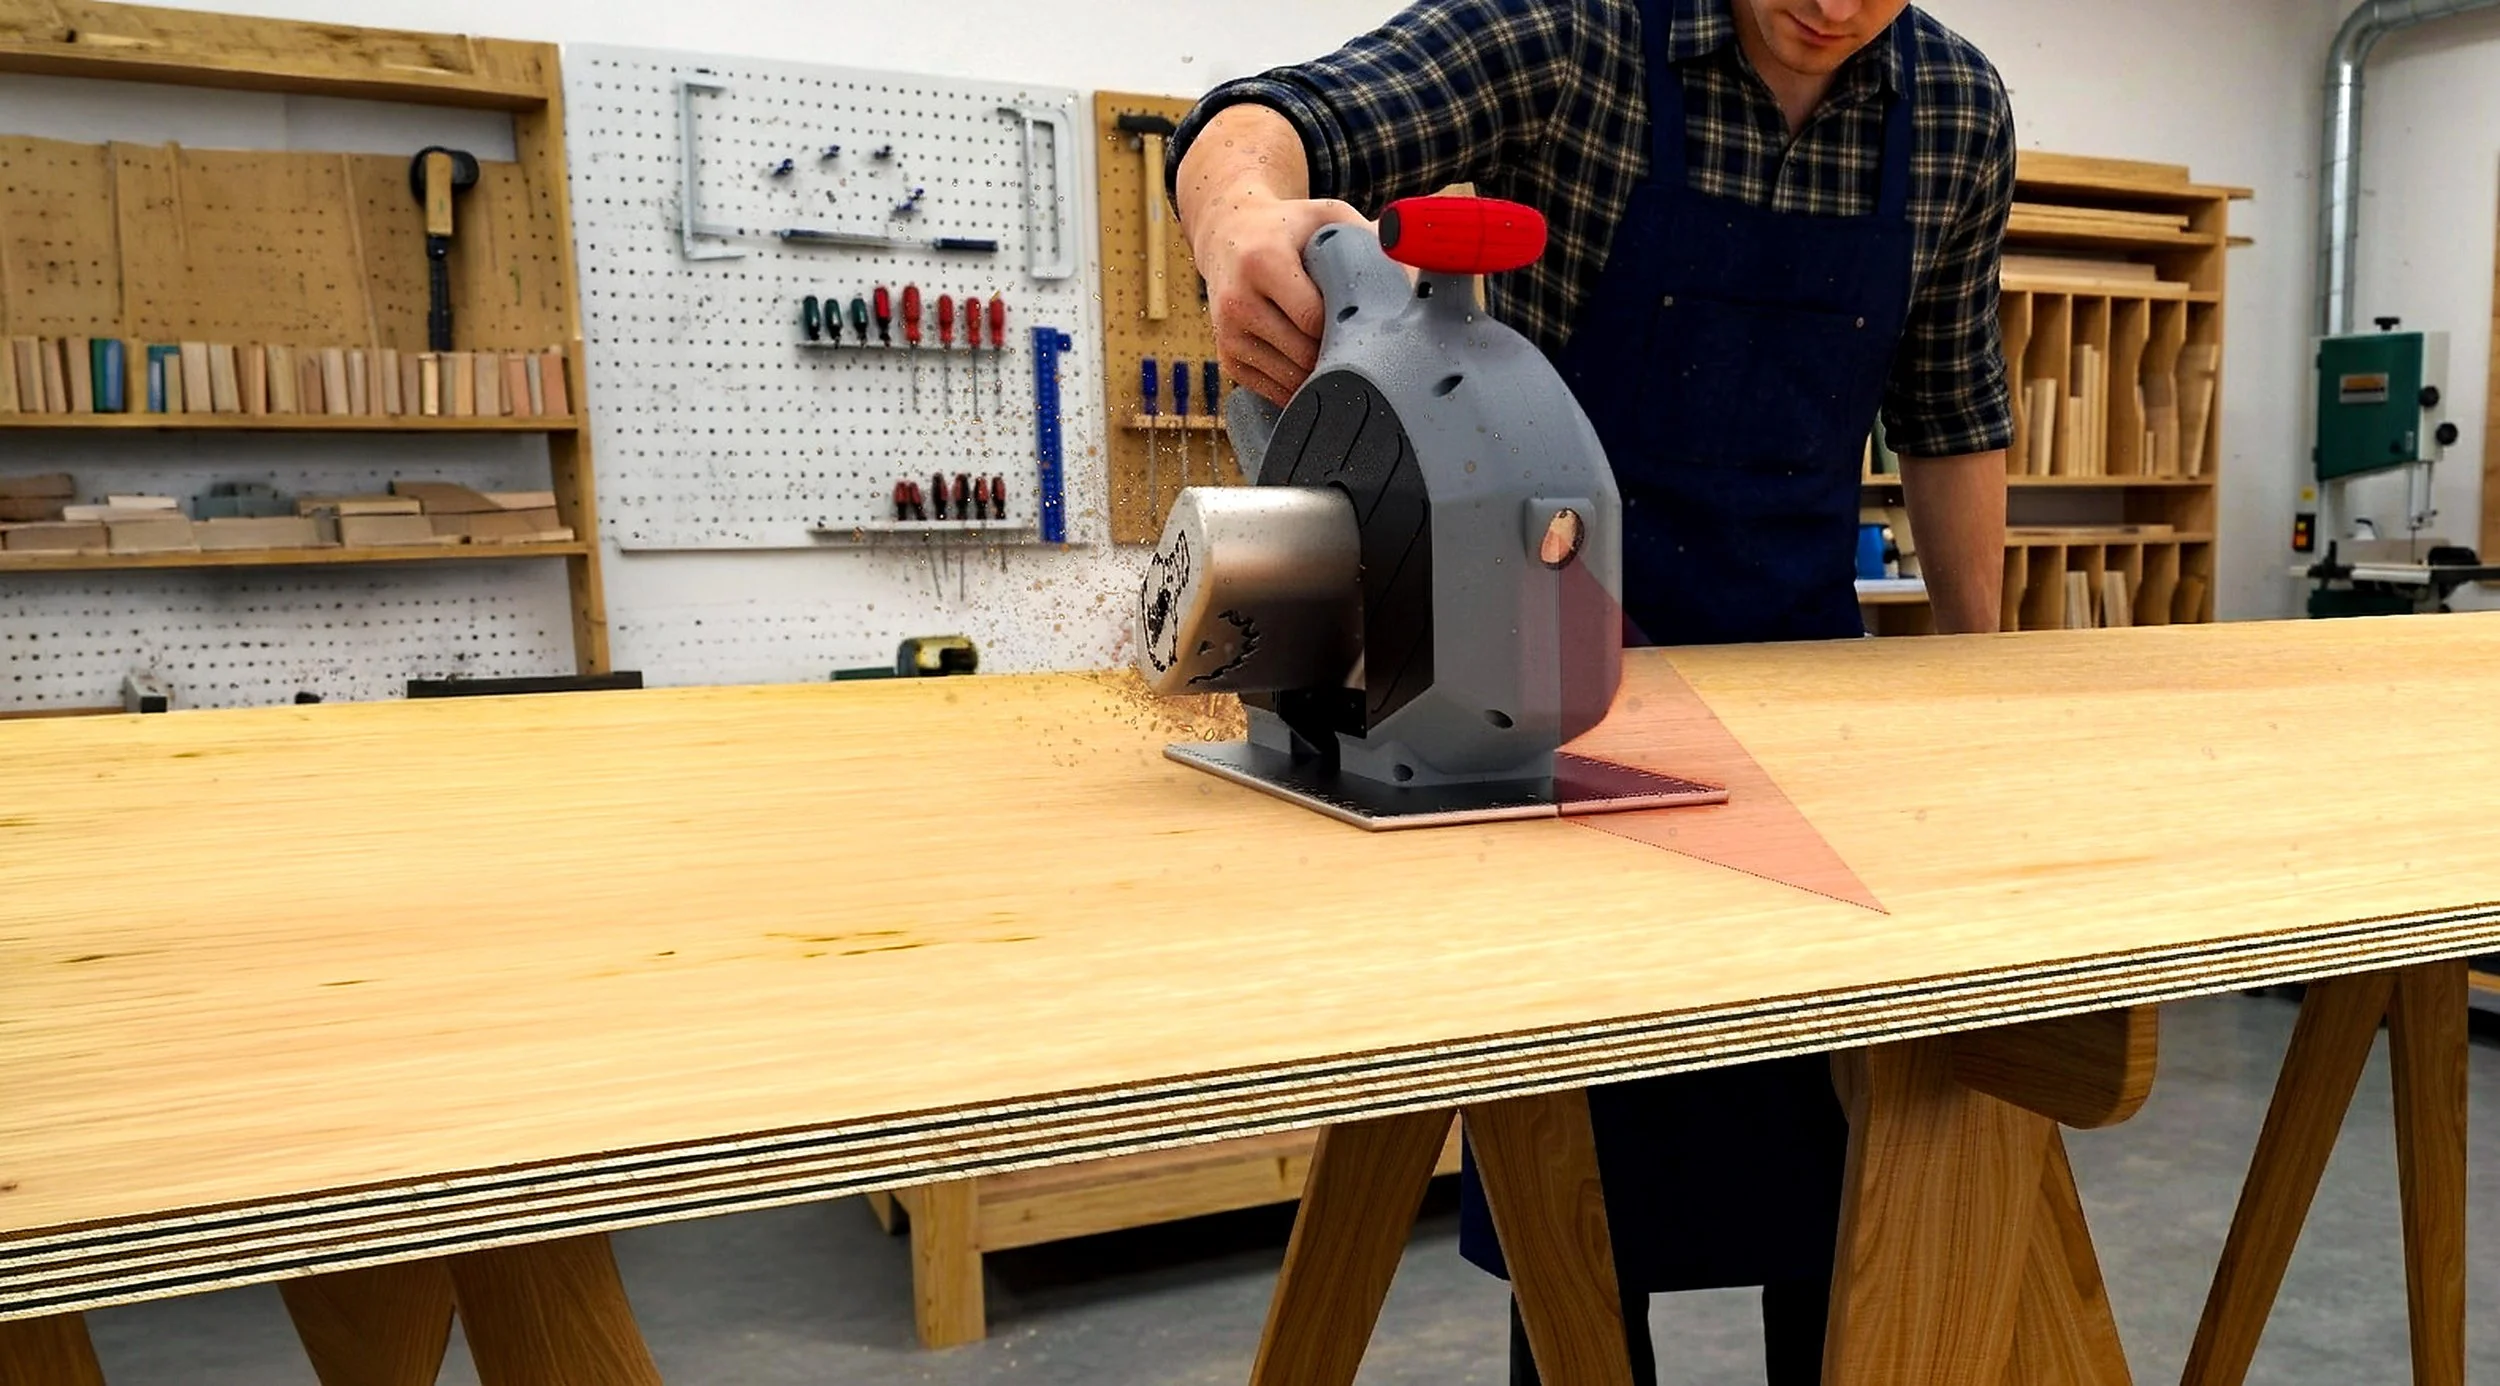
Power tools used: 1
INSPIRATION
MY DESIGN
Project goal: create the most authentic- appearing card possible
Most details were copied from the card to the left, with occasional disparities
CREATING THE CARD
FINALS

Assembly
The right side of the booklet simply consisted of filler layers and the printout
The left side consisted of the memorabilia pieces and specialty filler layers that fit around the pieces
Both sides were sanded on the belt sander following glue-ups


OTHER CARD PROJECTS
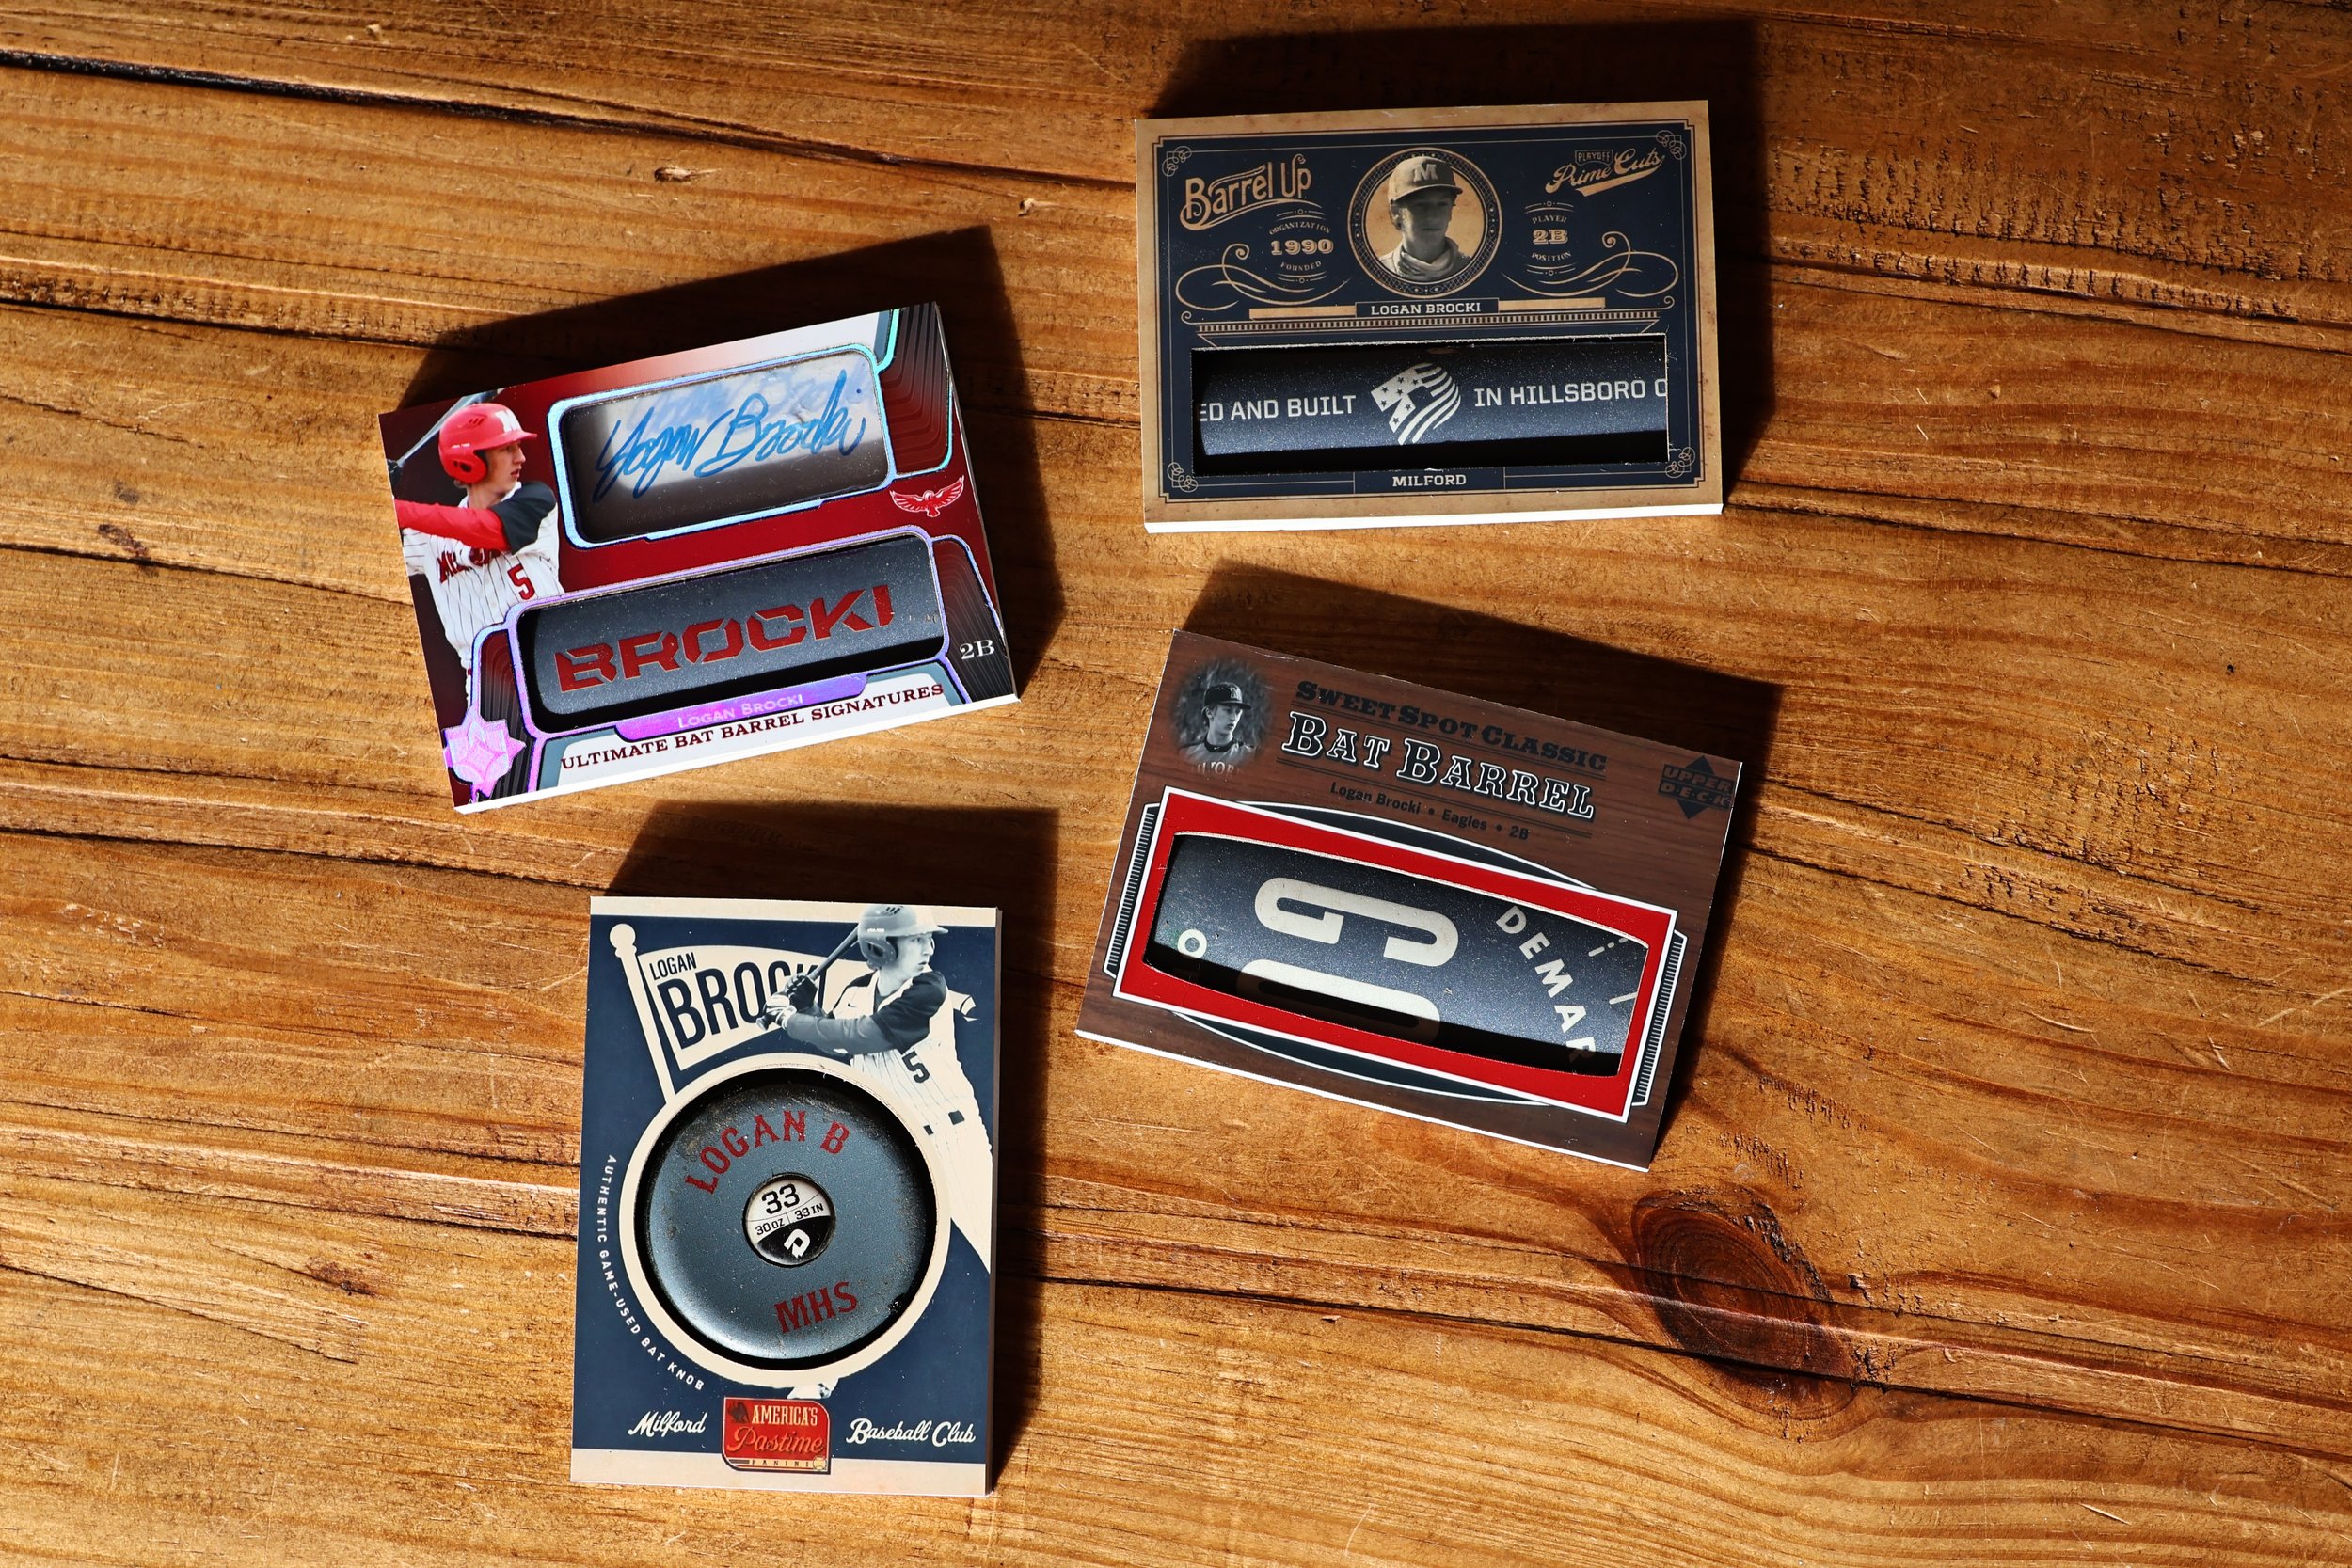
The Demarini Bat Set
Arguably my most advanced set of cards. Featuring inlaid pieces of a custom aluminum bat I used for years. I am most proud of the first card pictured individually, because I was able to copy fine details of reflective foil with the help of a laser cutter.
Milford Senior Gifts
It was amazing to get recognized for my card-making abilities, especially by my old high school baseball coach and team. I was hired by the team to make these cards for the graduating seniors, each card containing a representative “jersey” memorabilia piece and an autograph spot.
The AJ Brown Set (Project 11)
This was a fun personal project revolving around one of my favorite NFL football players. When I learned that AJ Brown was a former college baseball player, I took the opportunity to create custom “what if” baseball cards. One card featured him in both sports, and one features an NFL teammate.
My version of the booklet card, featuring small differences such as “All Star” replacing “Six Pack,” the font of “one of one,” and gray replacing gold details in some spots
Components of the card include: booklet cover print, memorabilia pieces, filler layers, and gold foil