Stack Tables
December 2024
Duration: 10 days
Project Description:
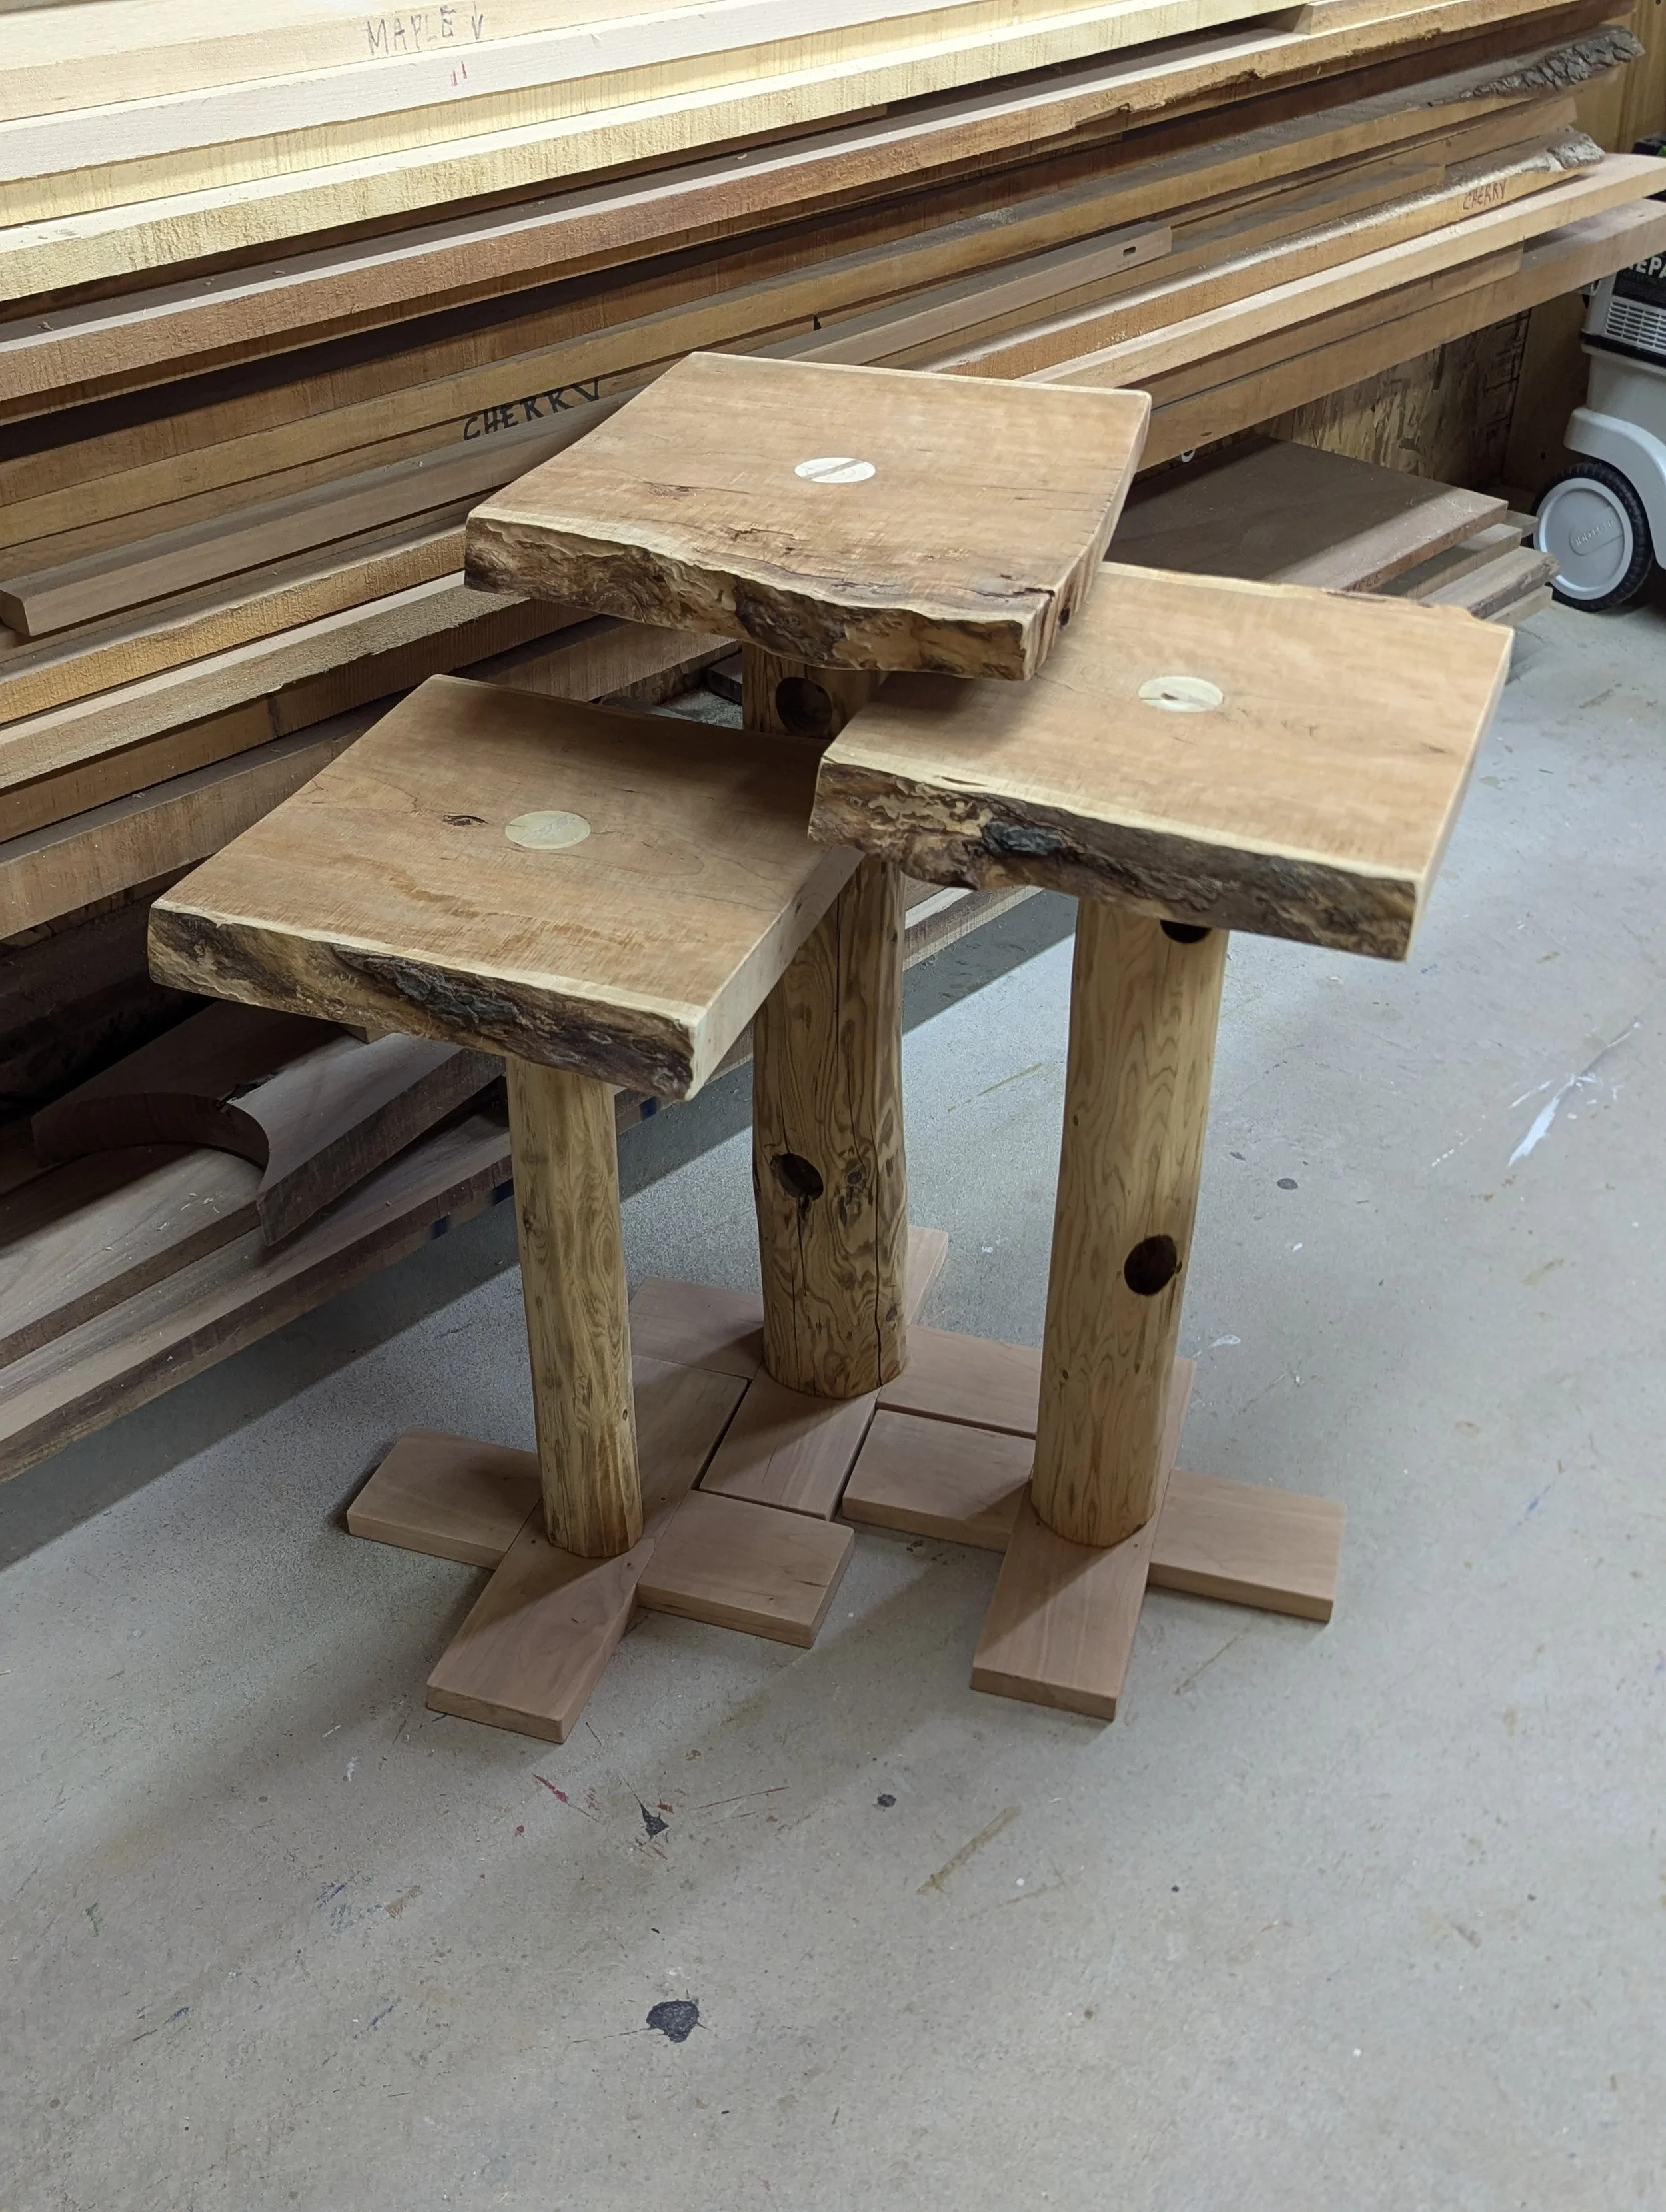
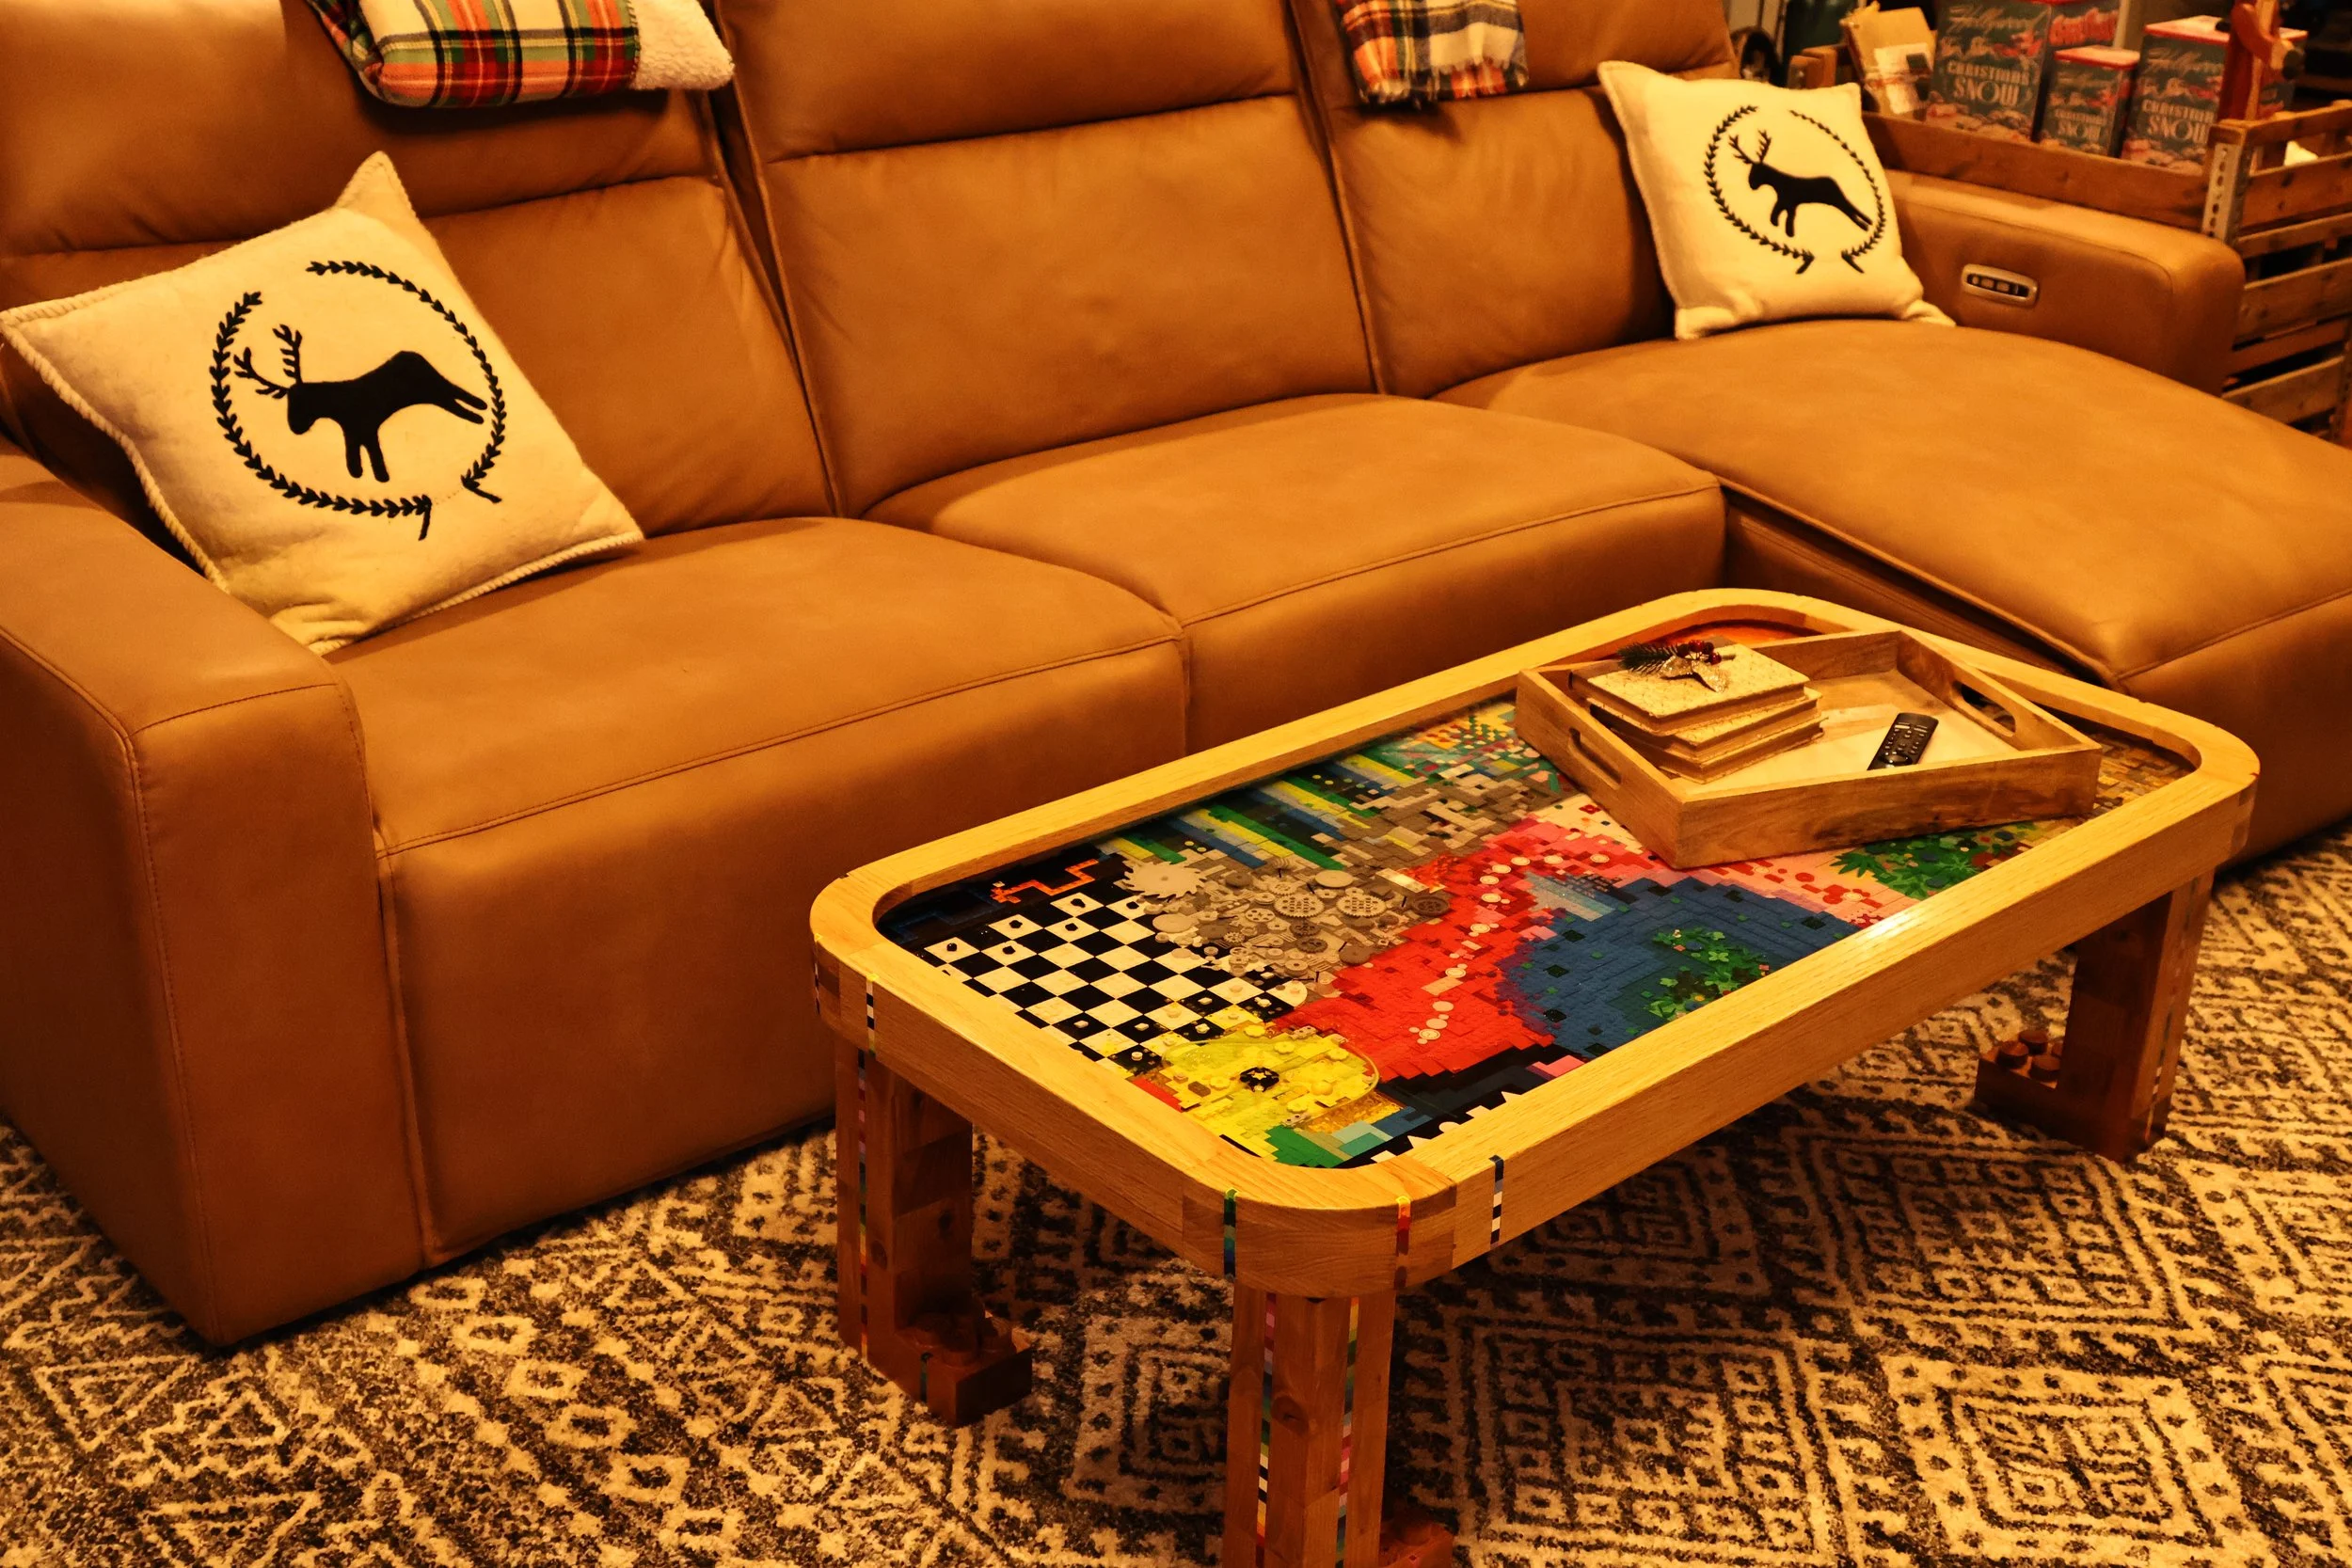
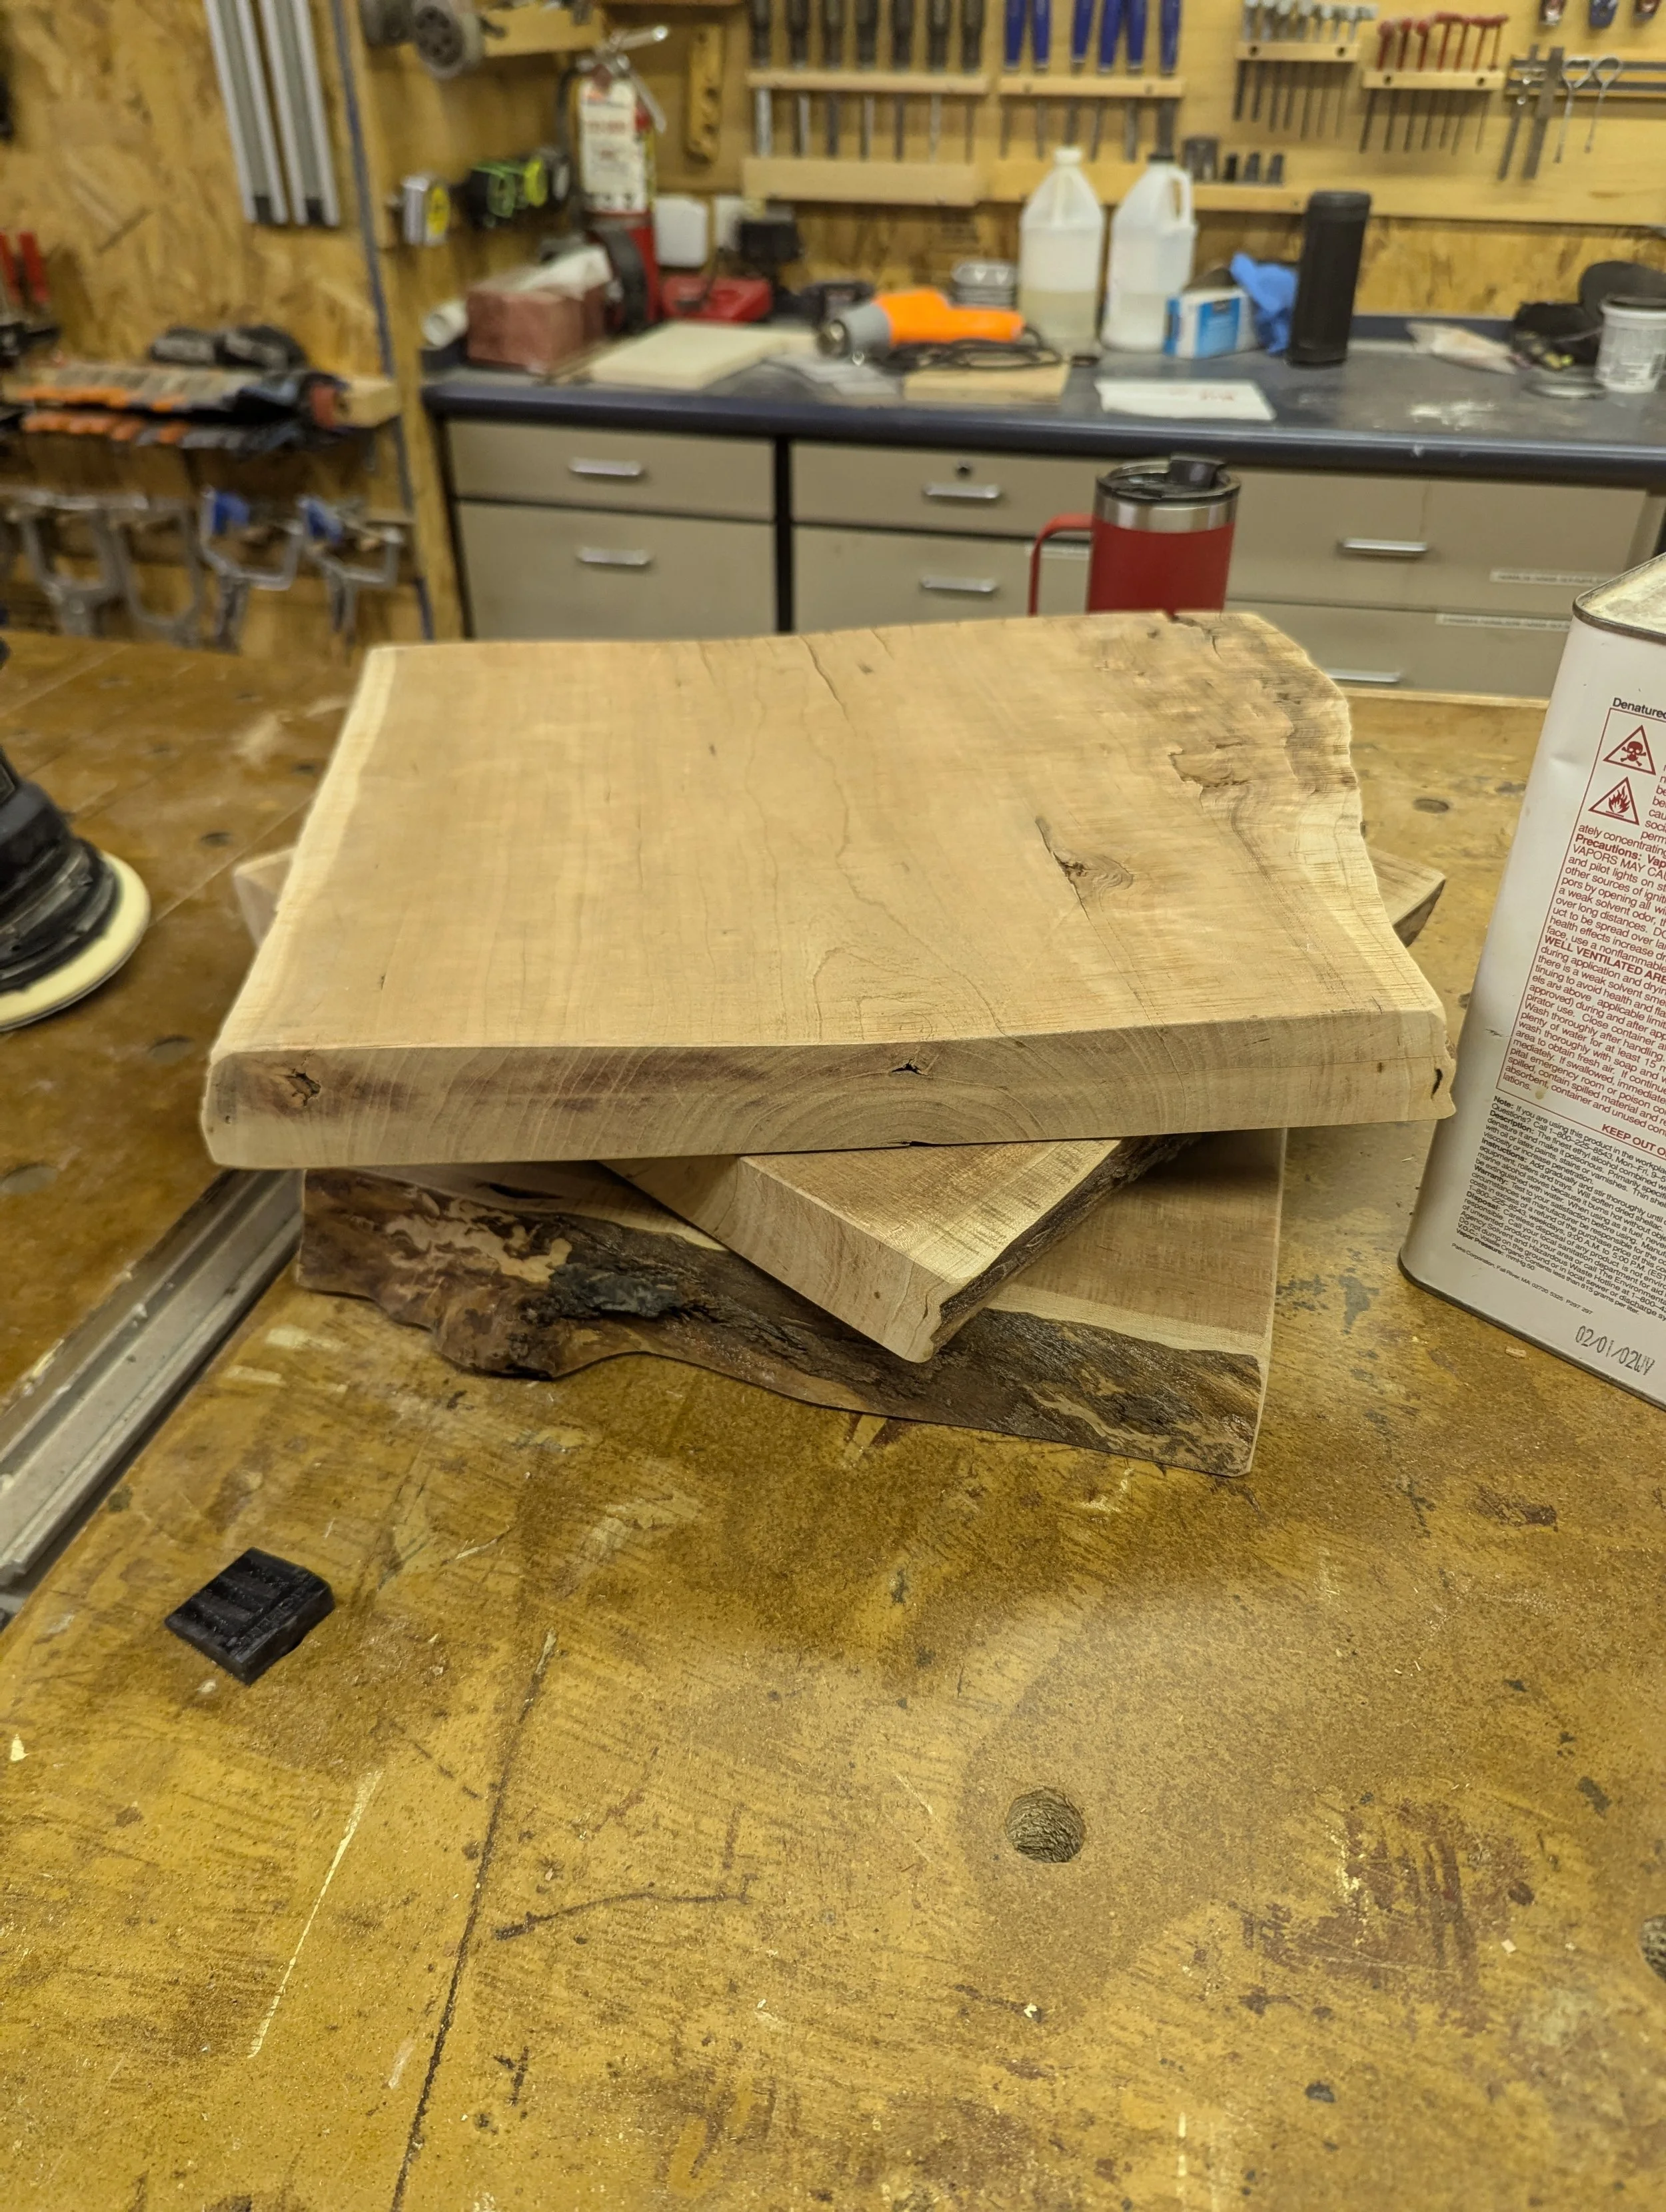
This project came about on a whim over Christmas break. I had leftover live-edge wood from a previous project, and I knew a family that was in need of a coffee table for their living room. I pitched the idea of stack tables, and it was a good fit. I gave myself a ten-day window to ensure they were ready for use before the holidays.
Money spent: $9
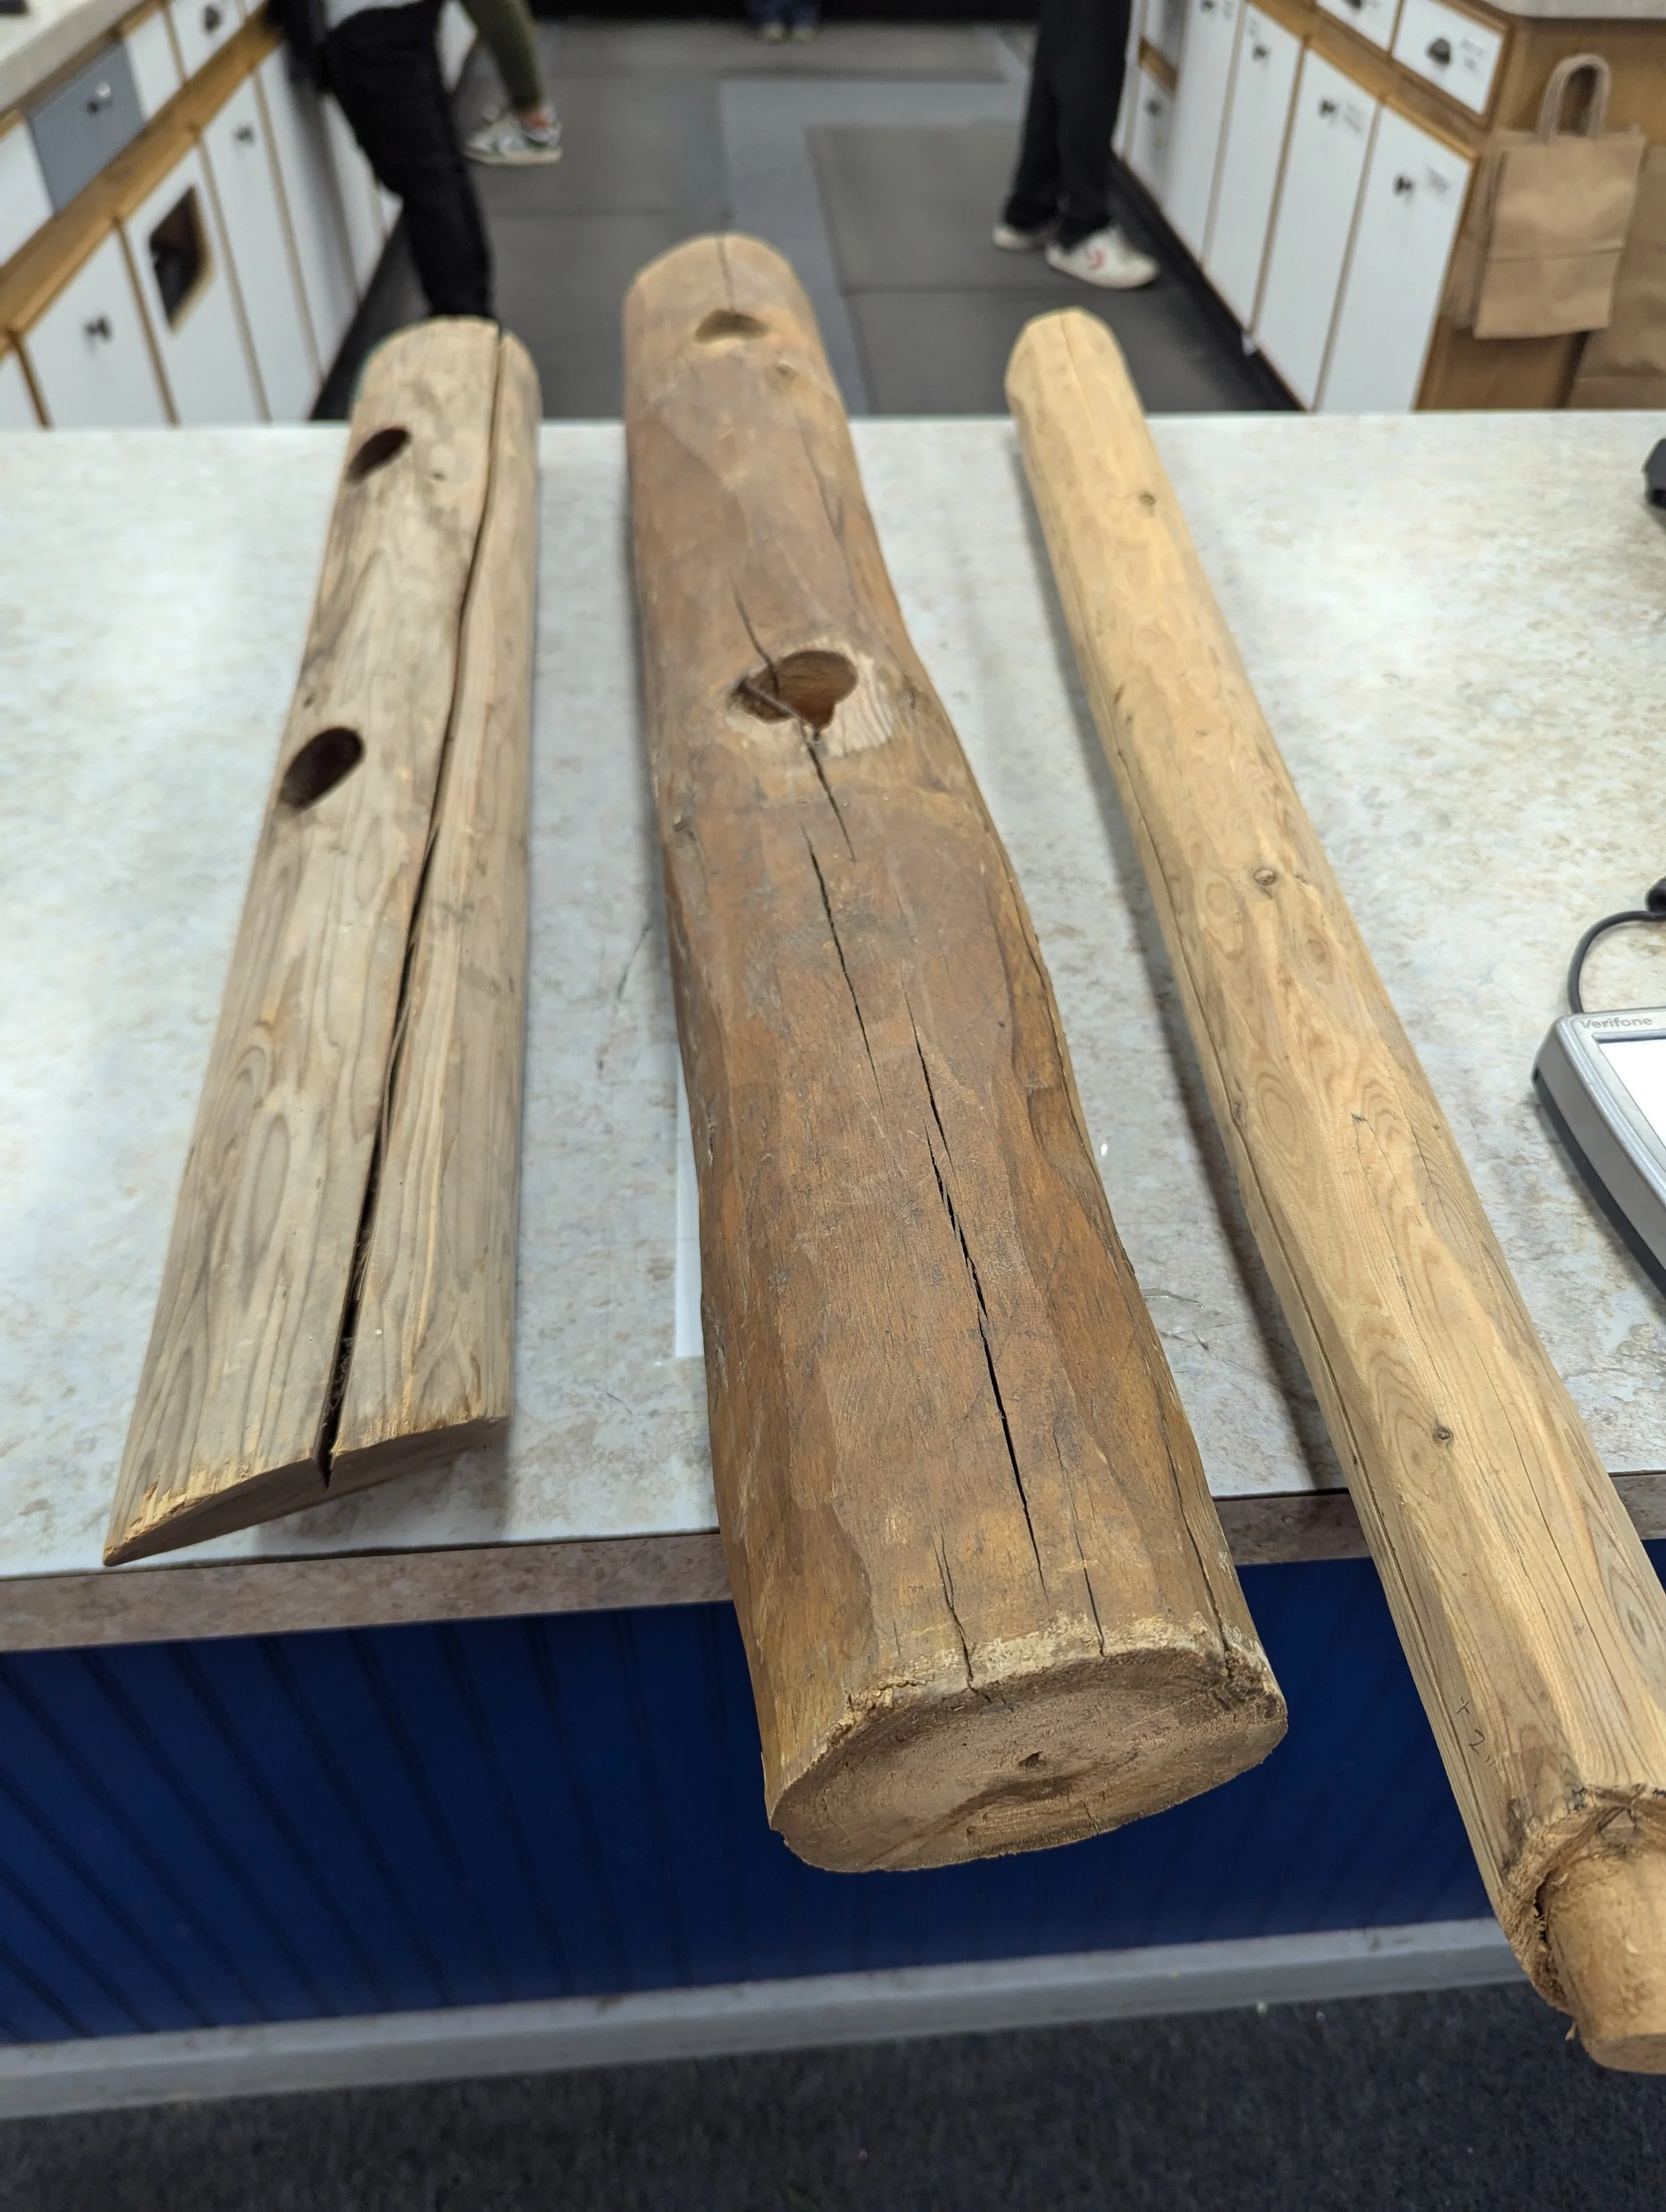
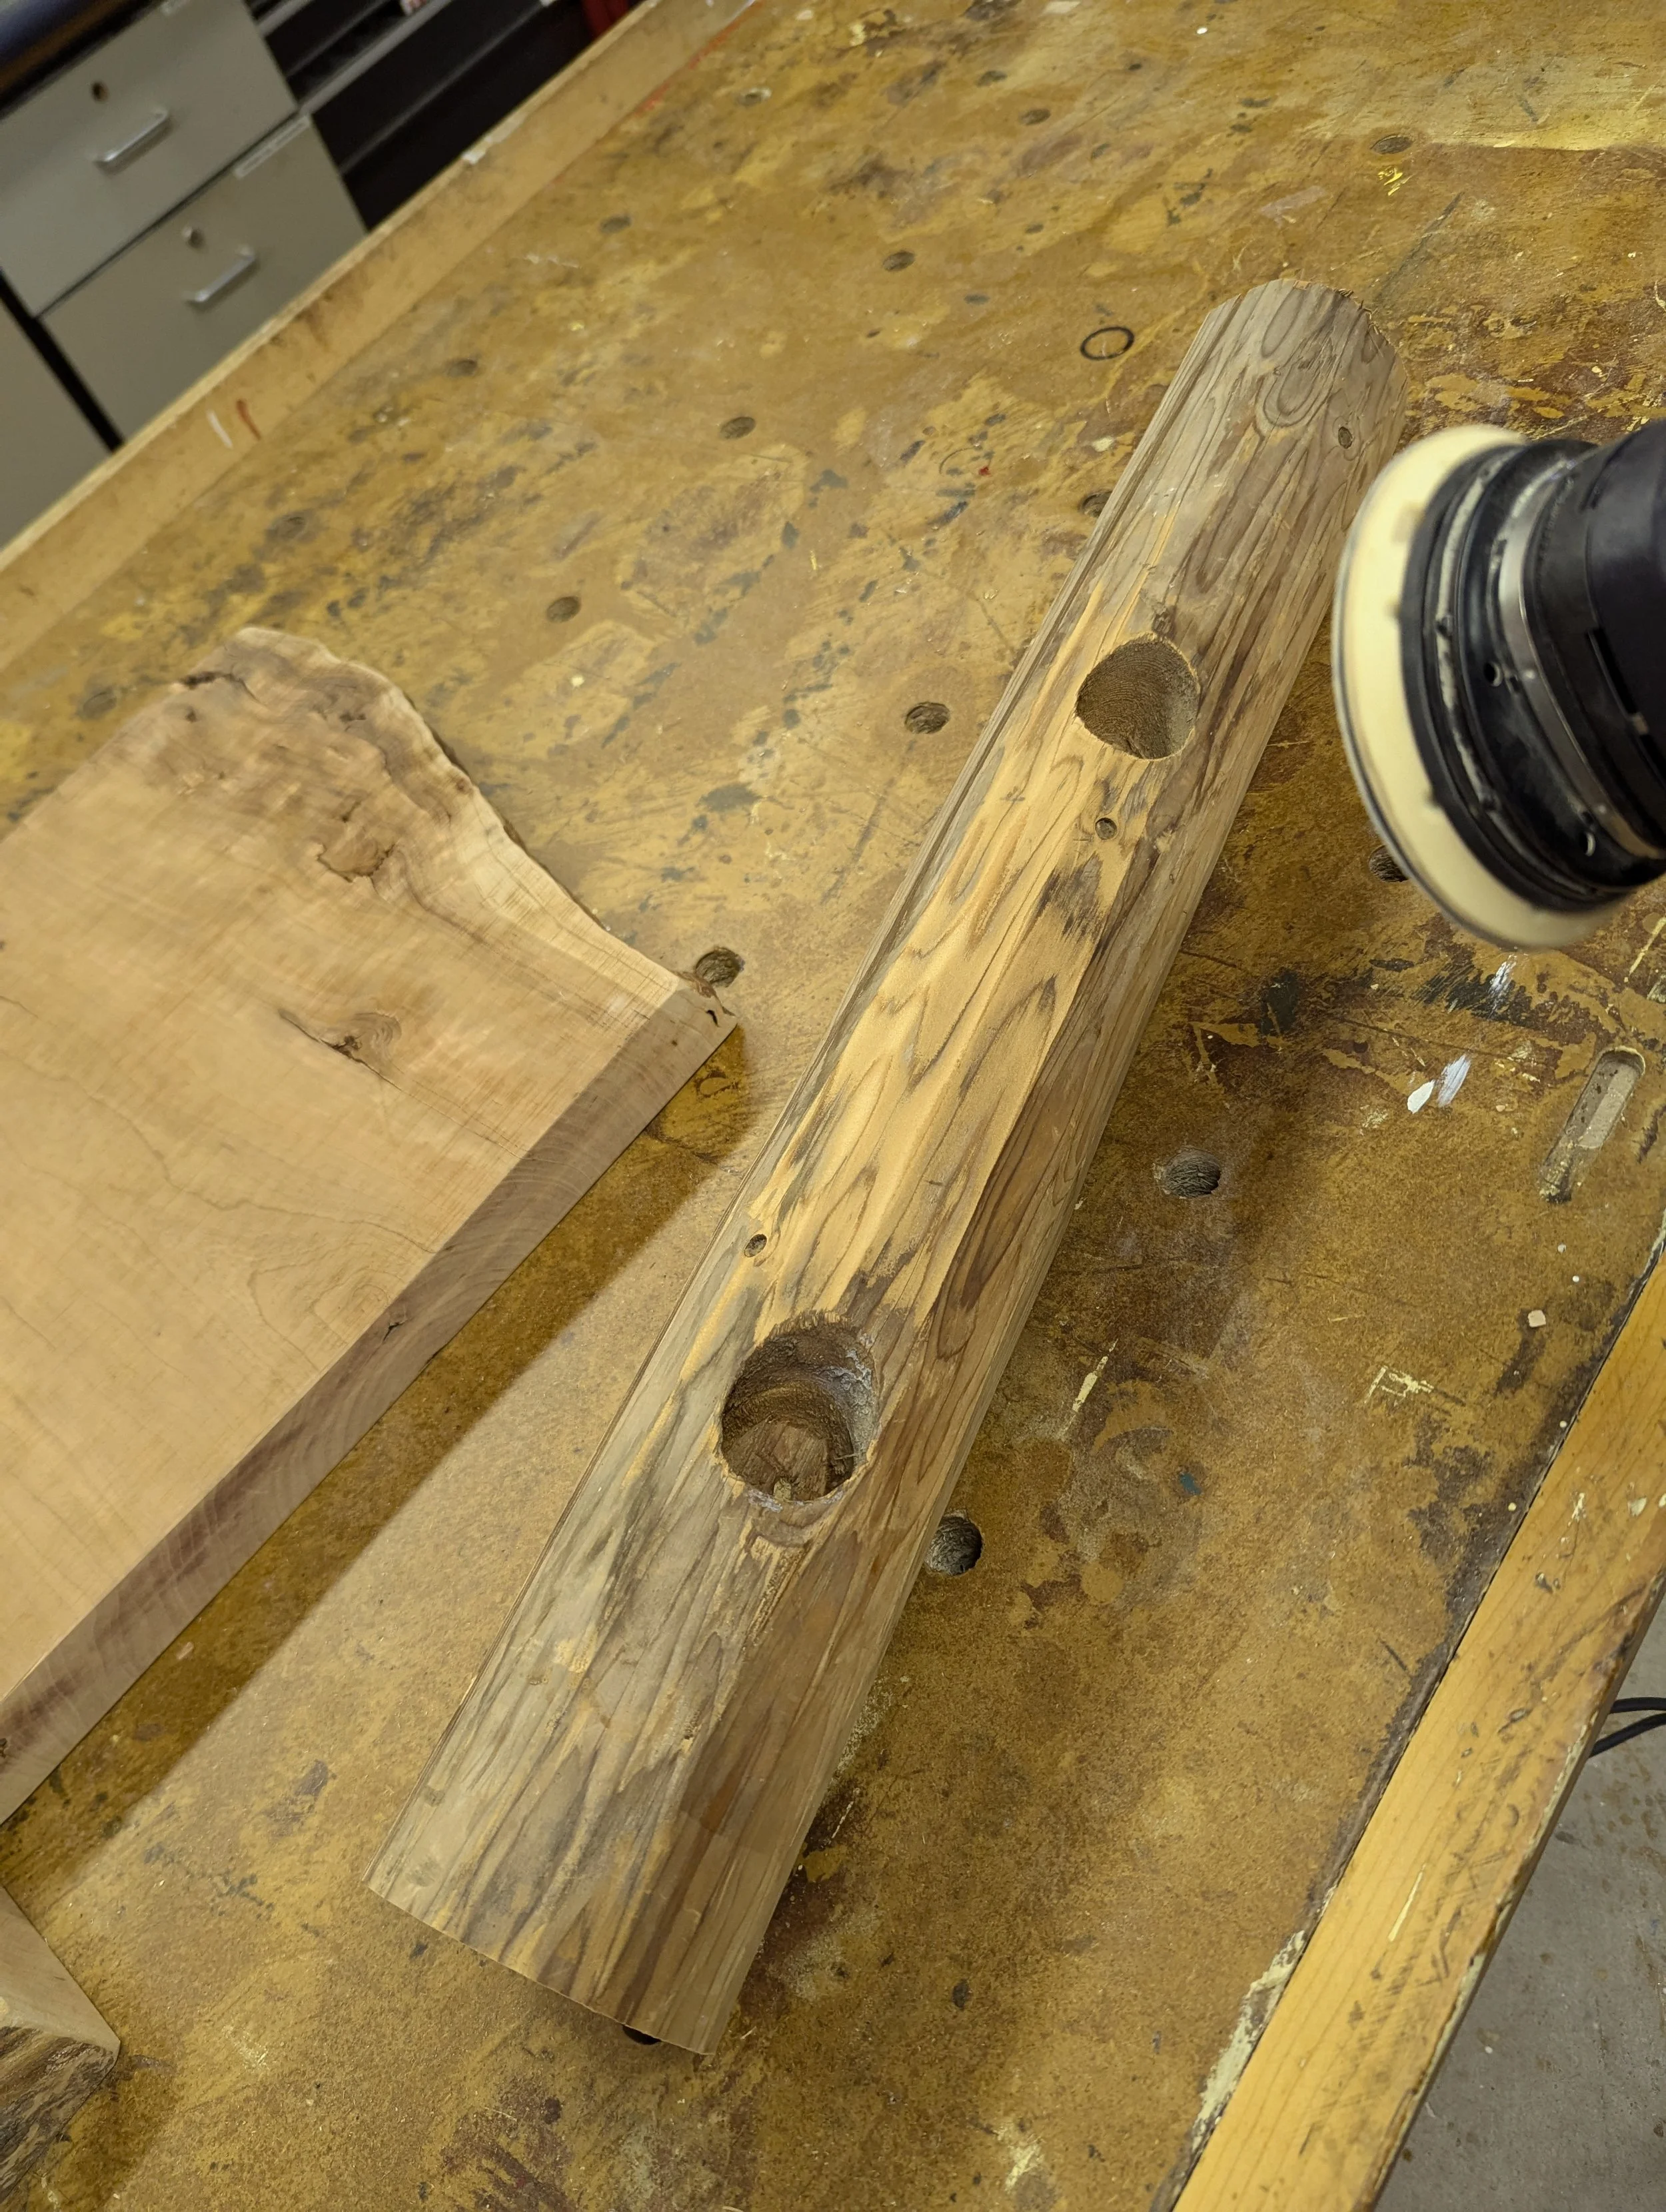
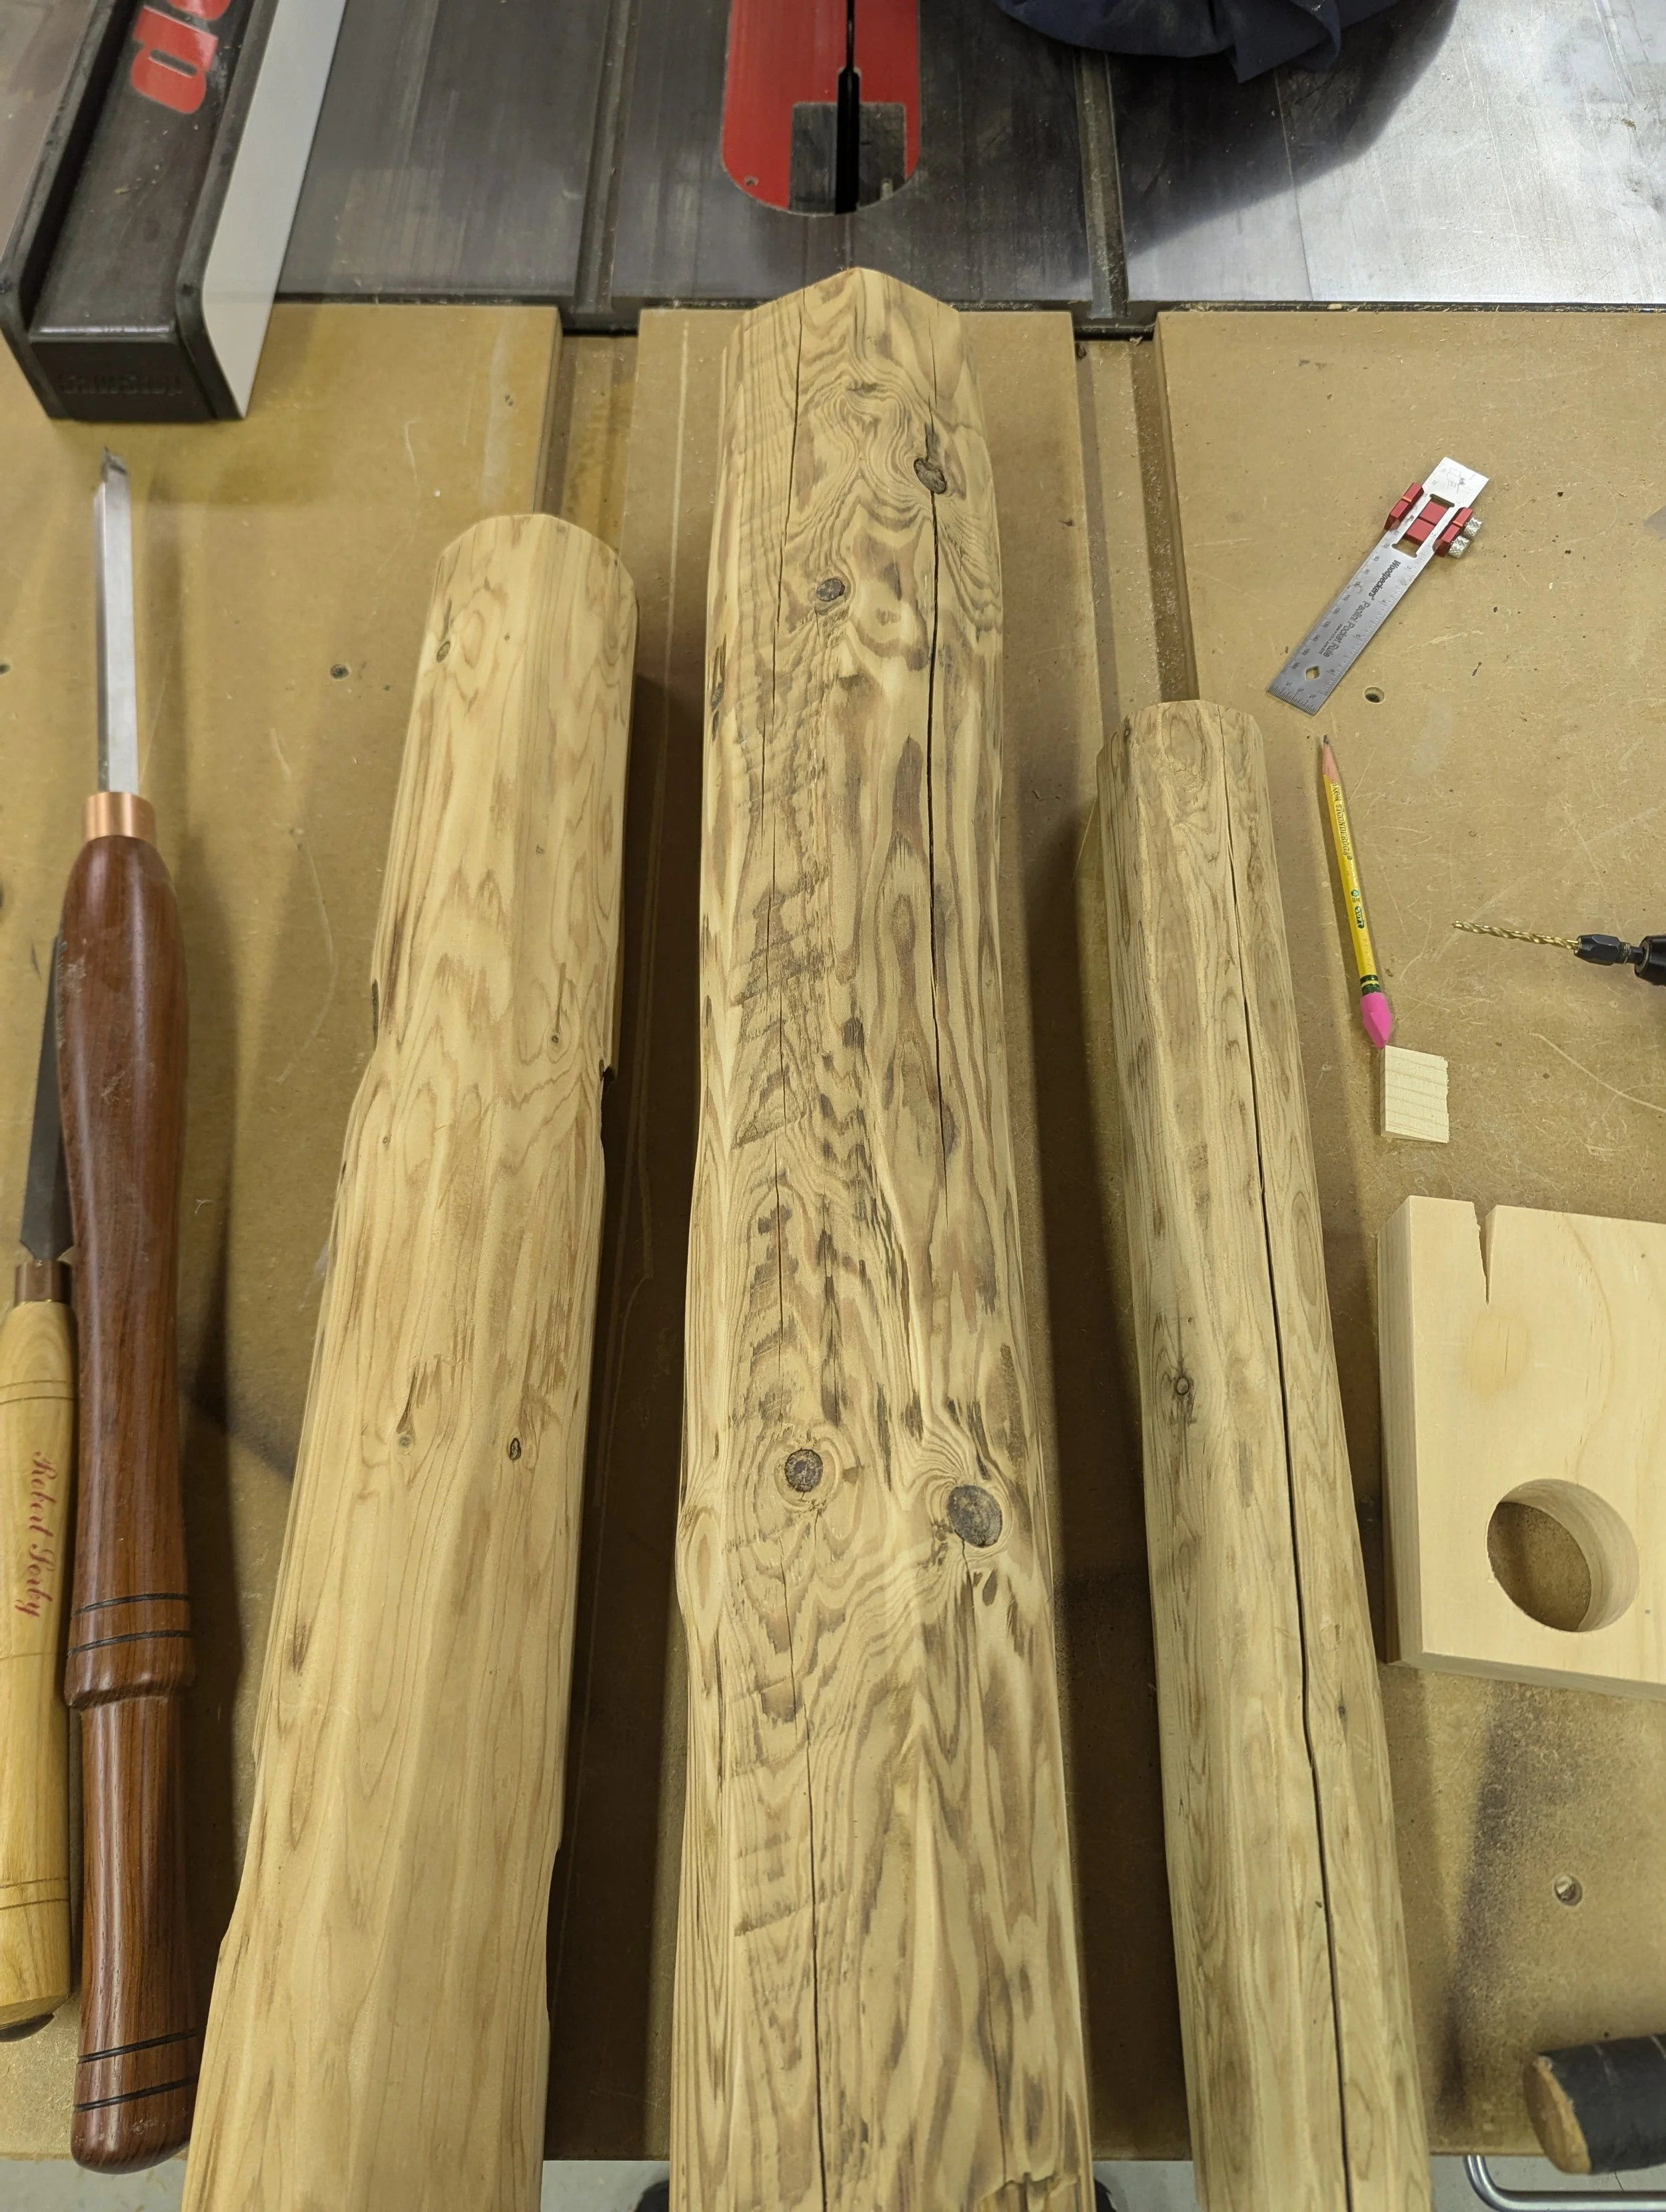
Wood species: Cherry (live-edge & standard), oak (antique posts)
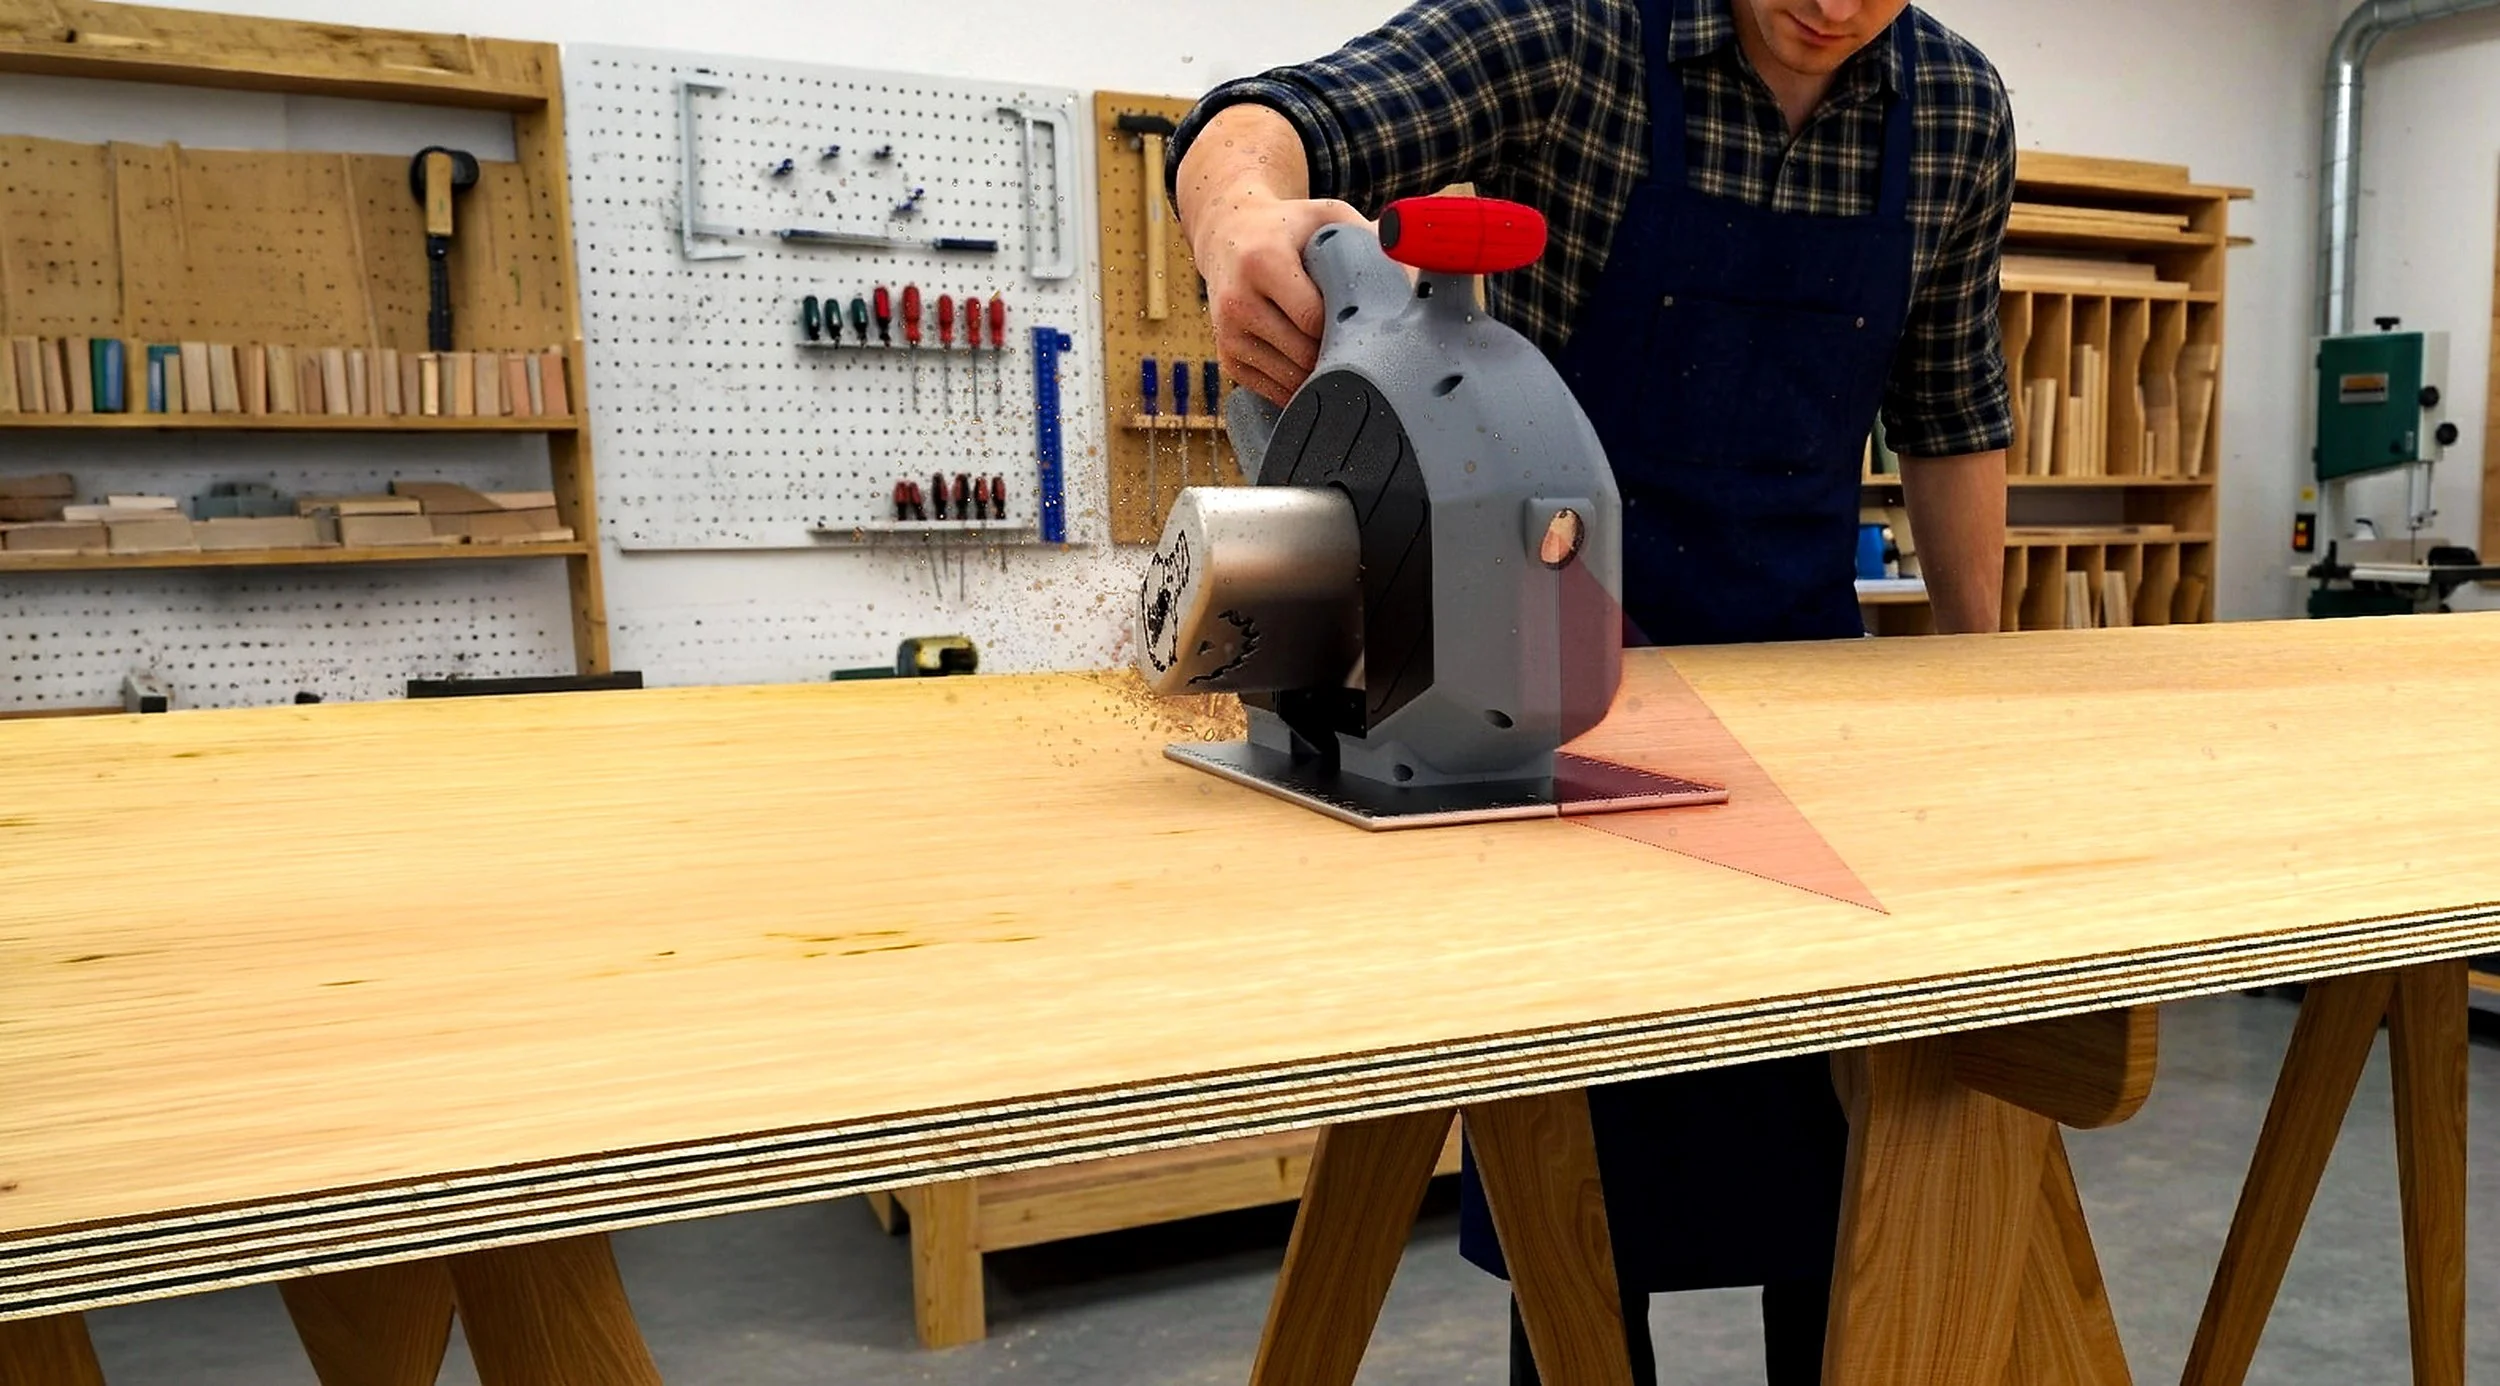
Power tools used: 8
MATERIALS & RESTORATION
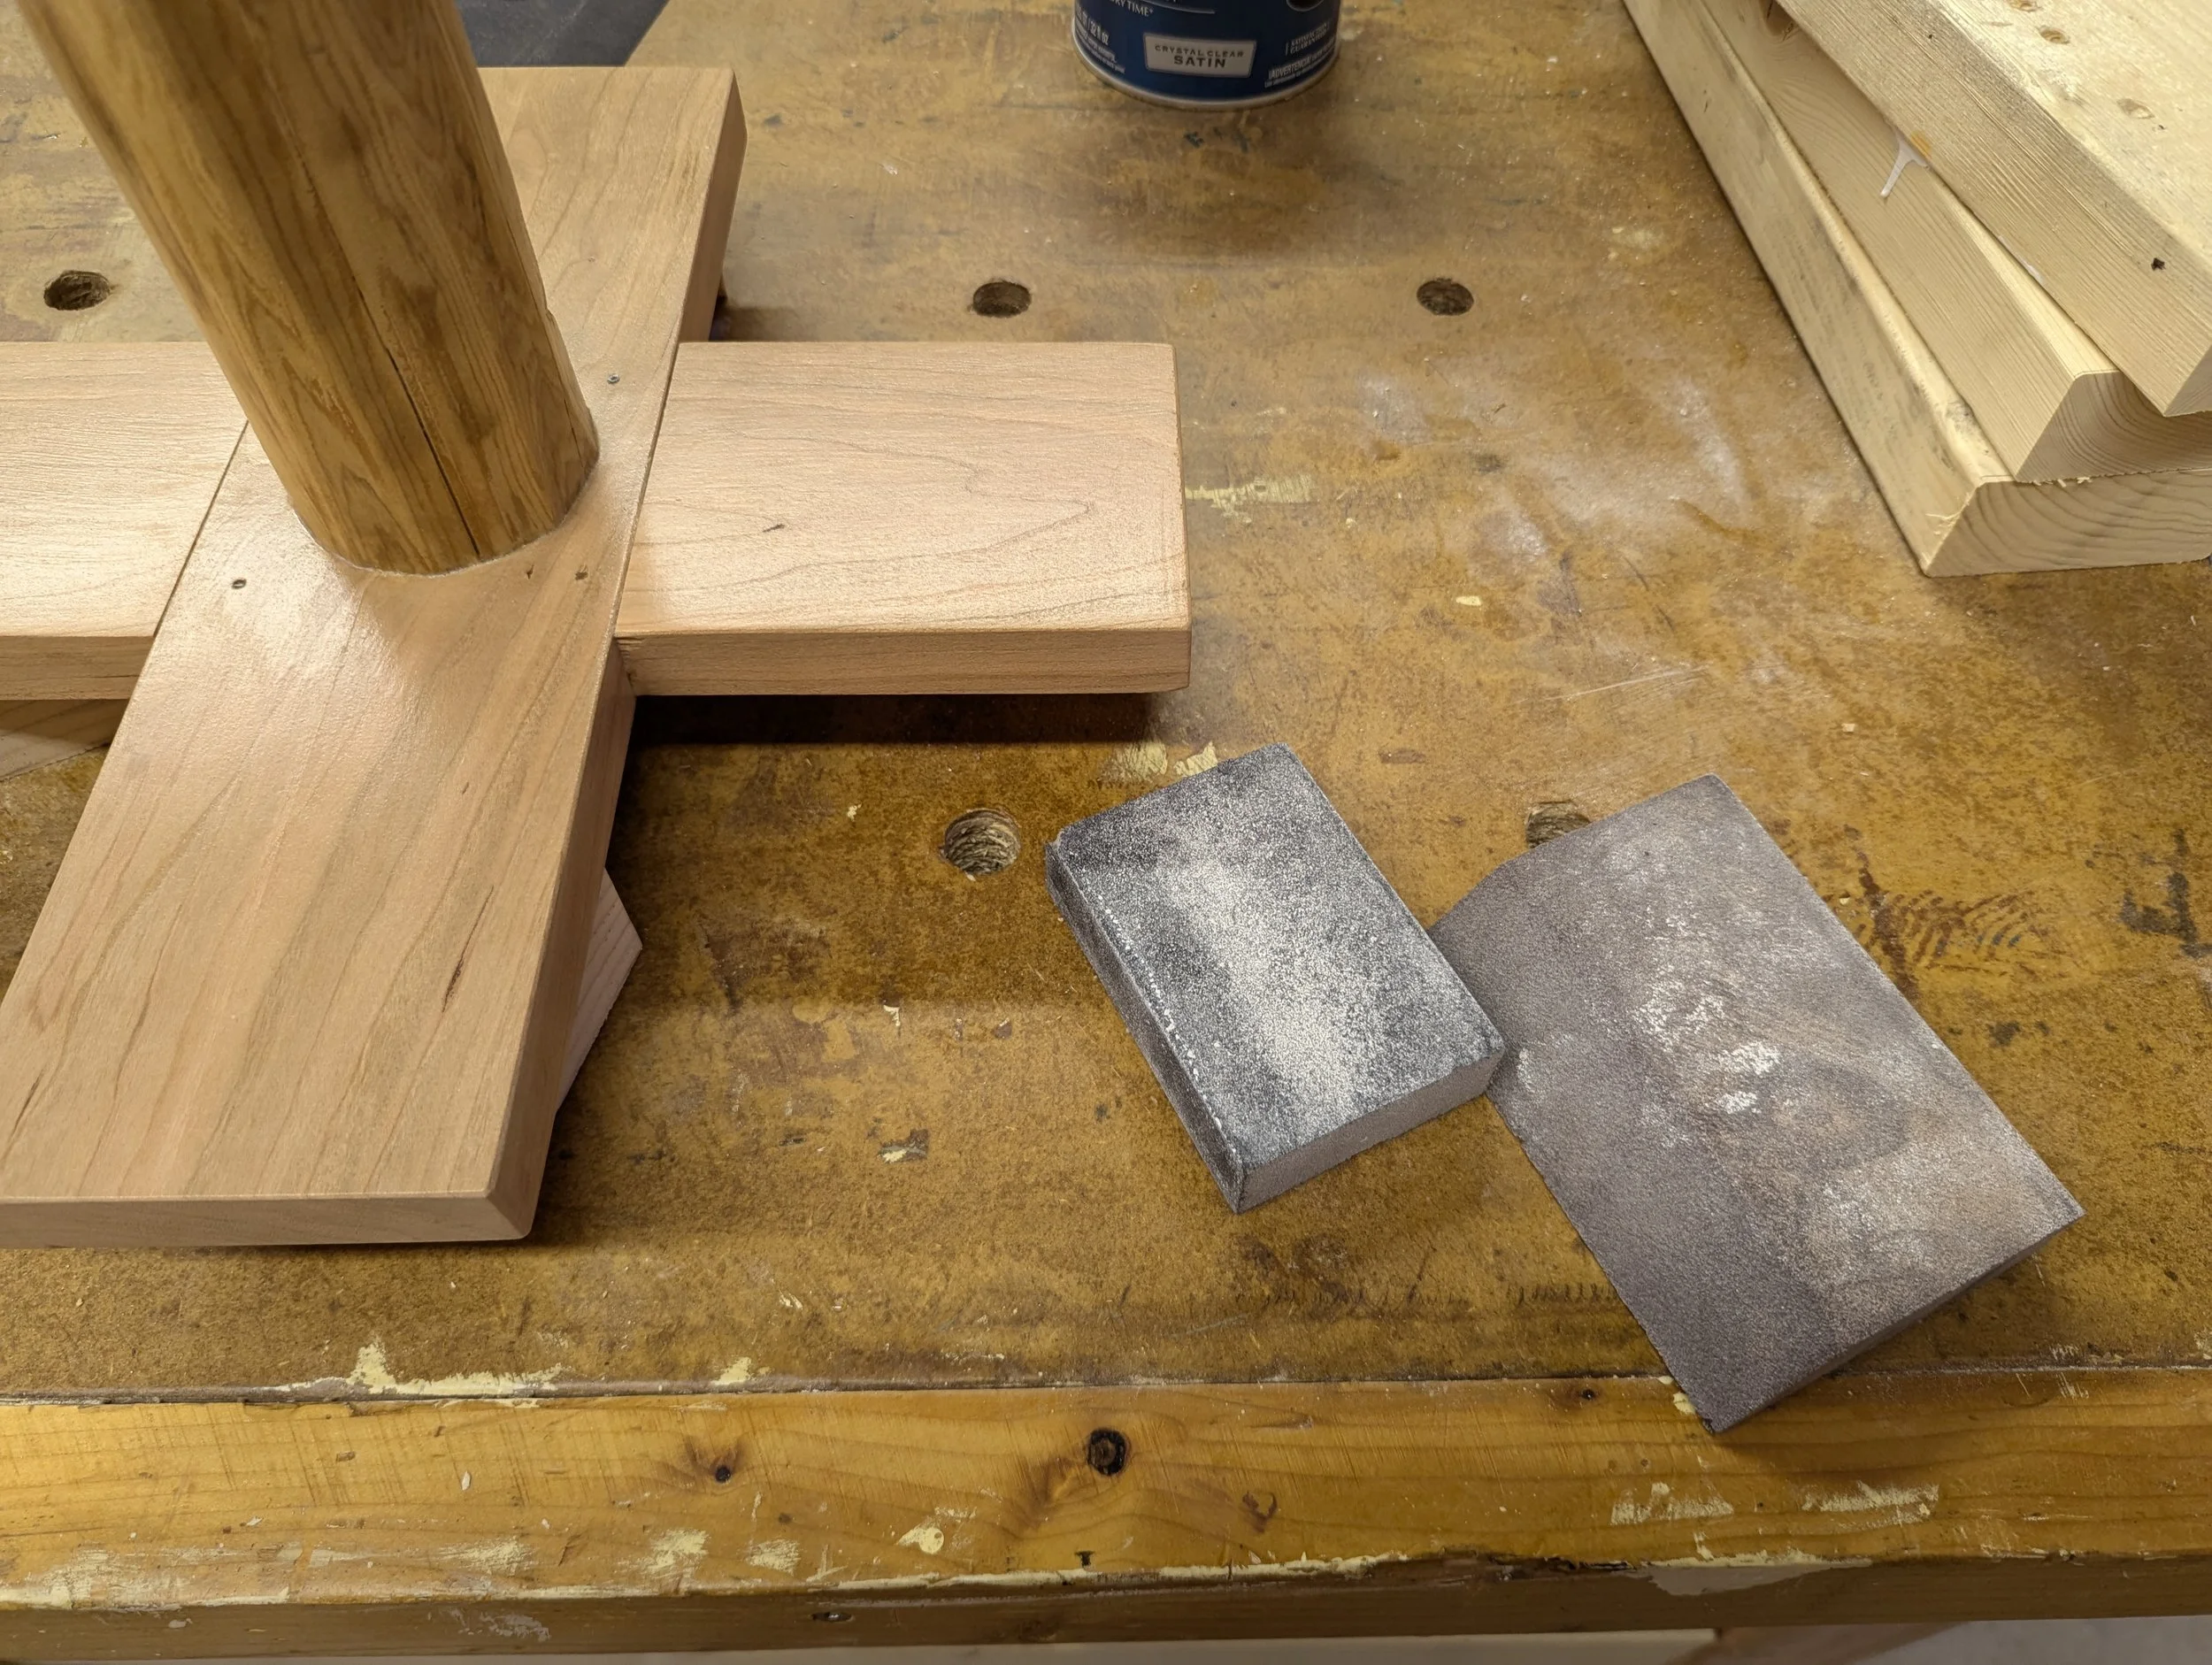
Sanded stands following joinery
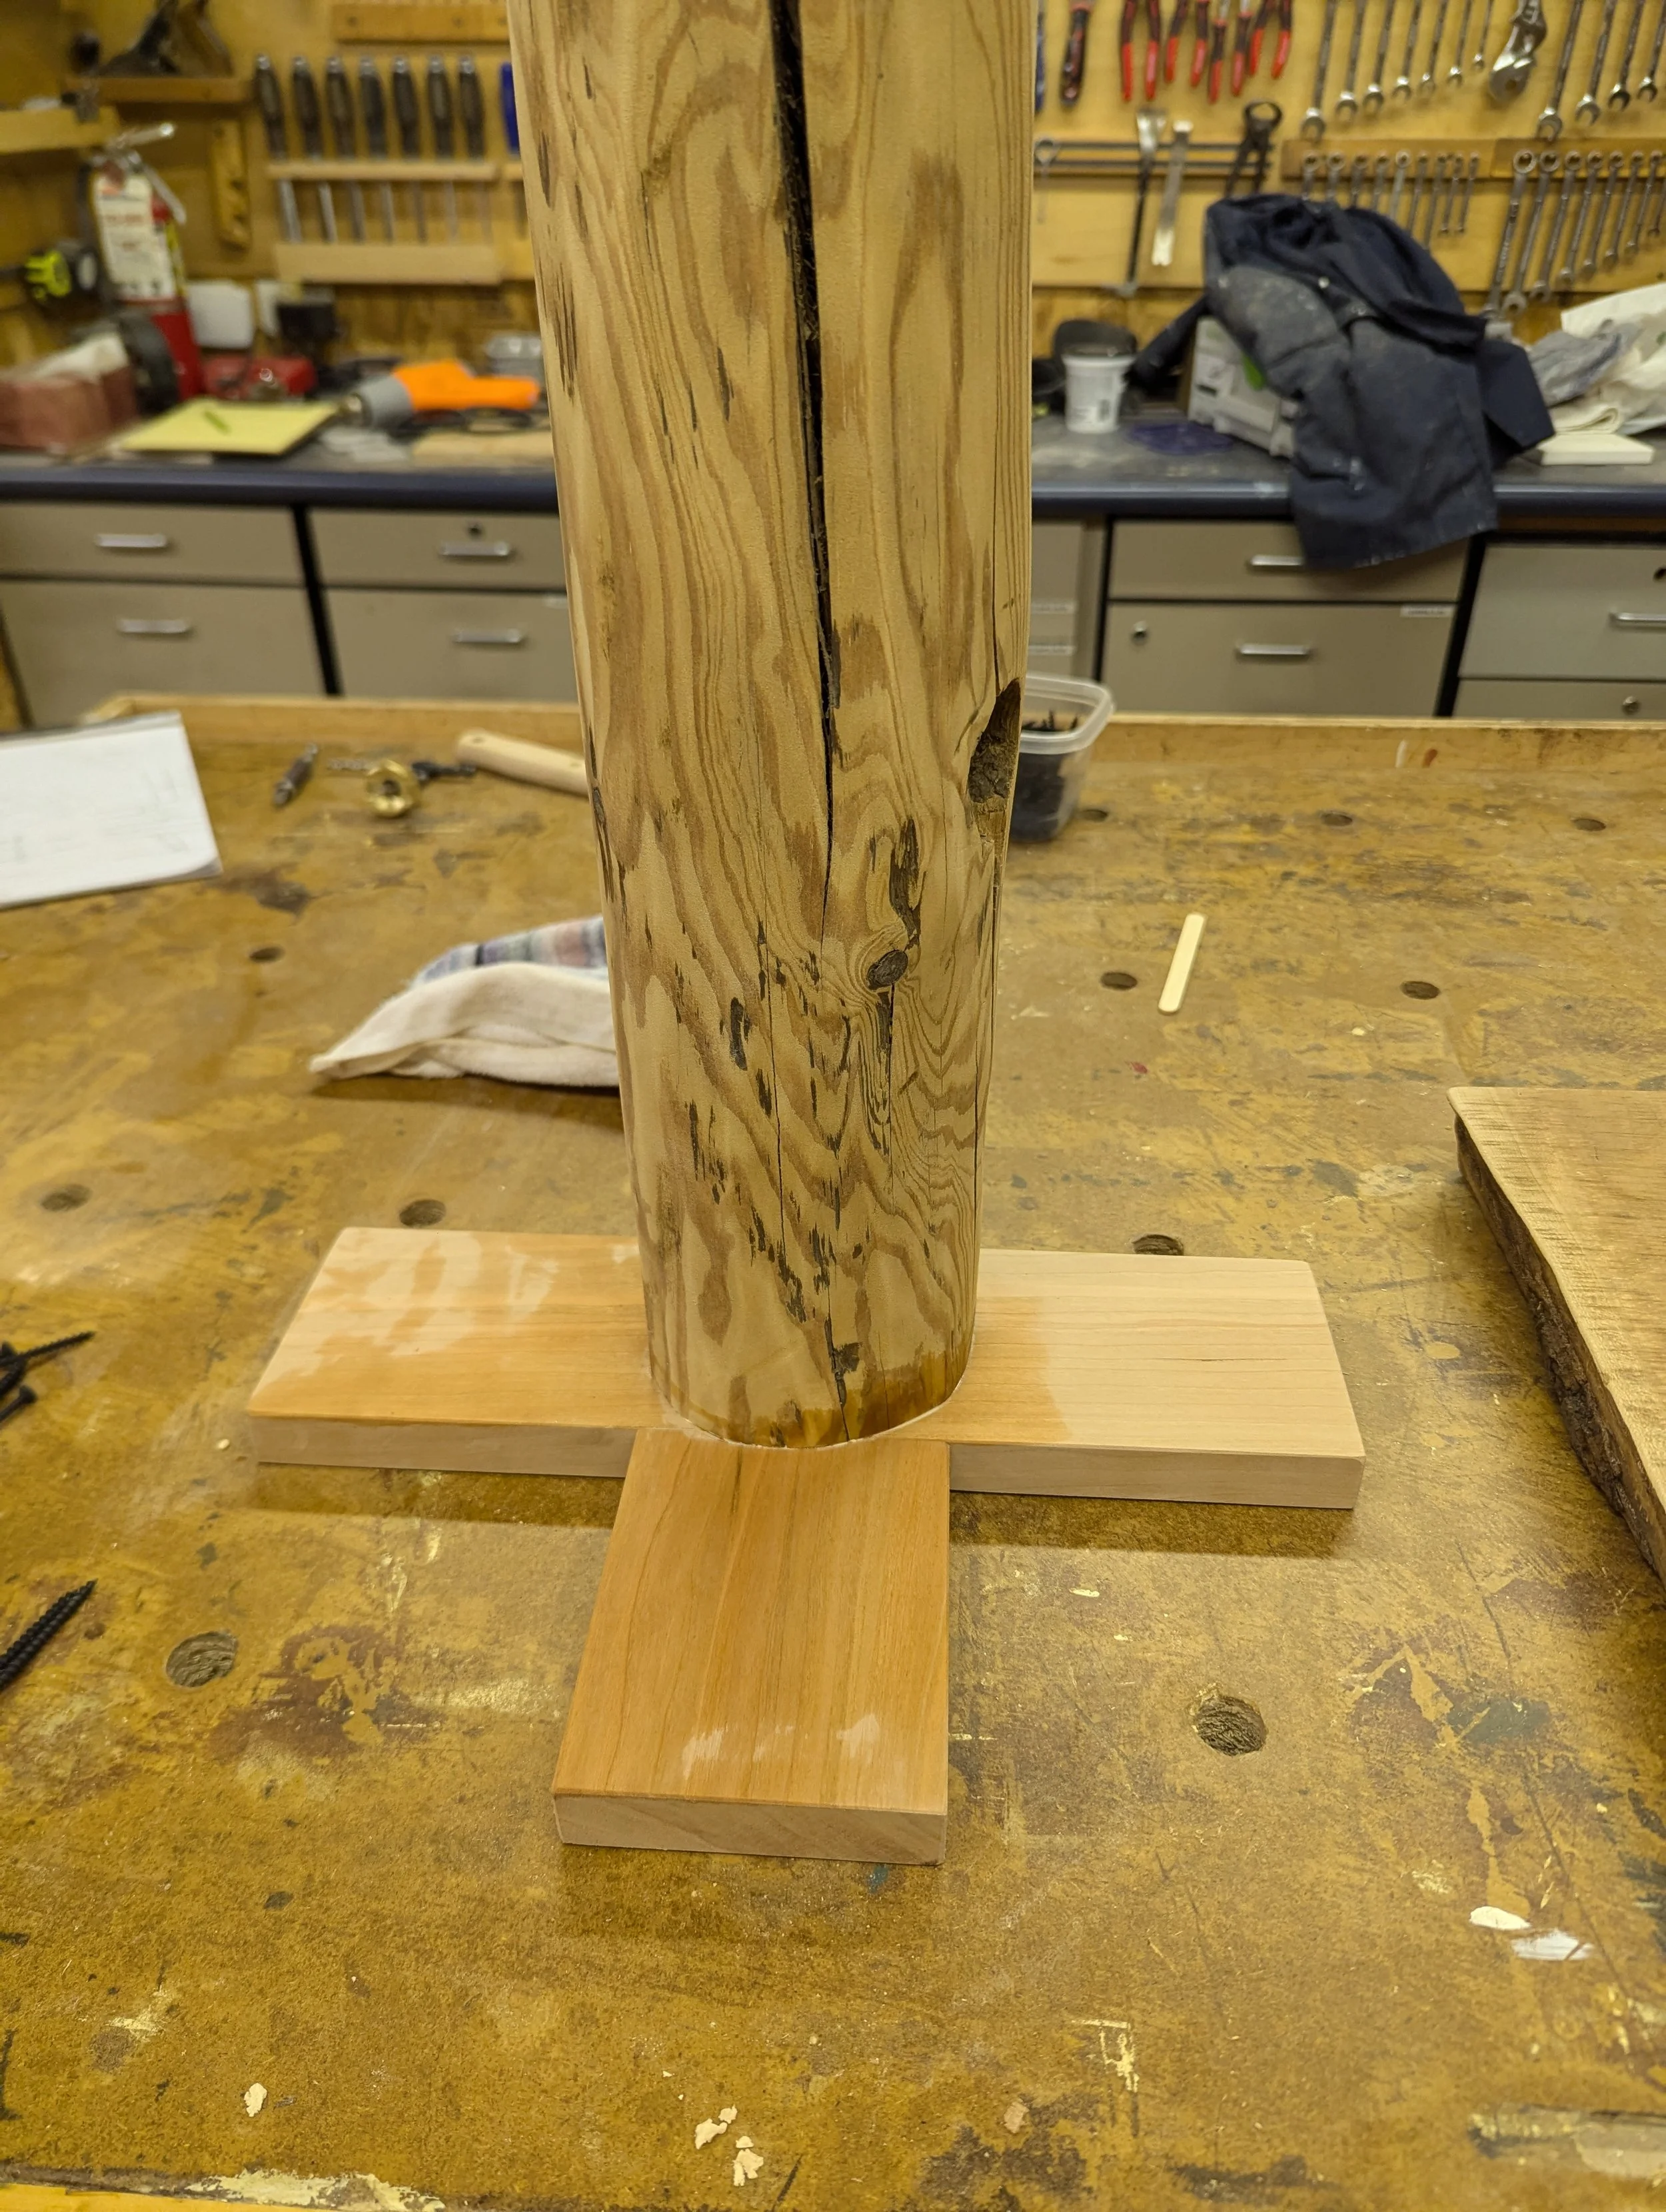
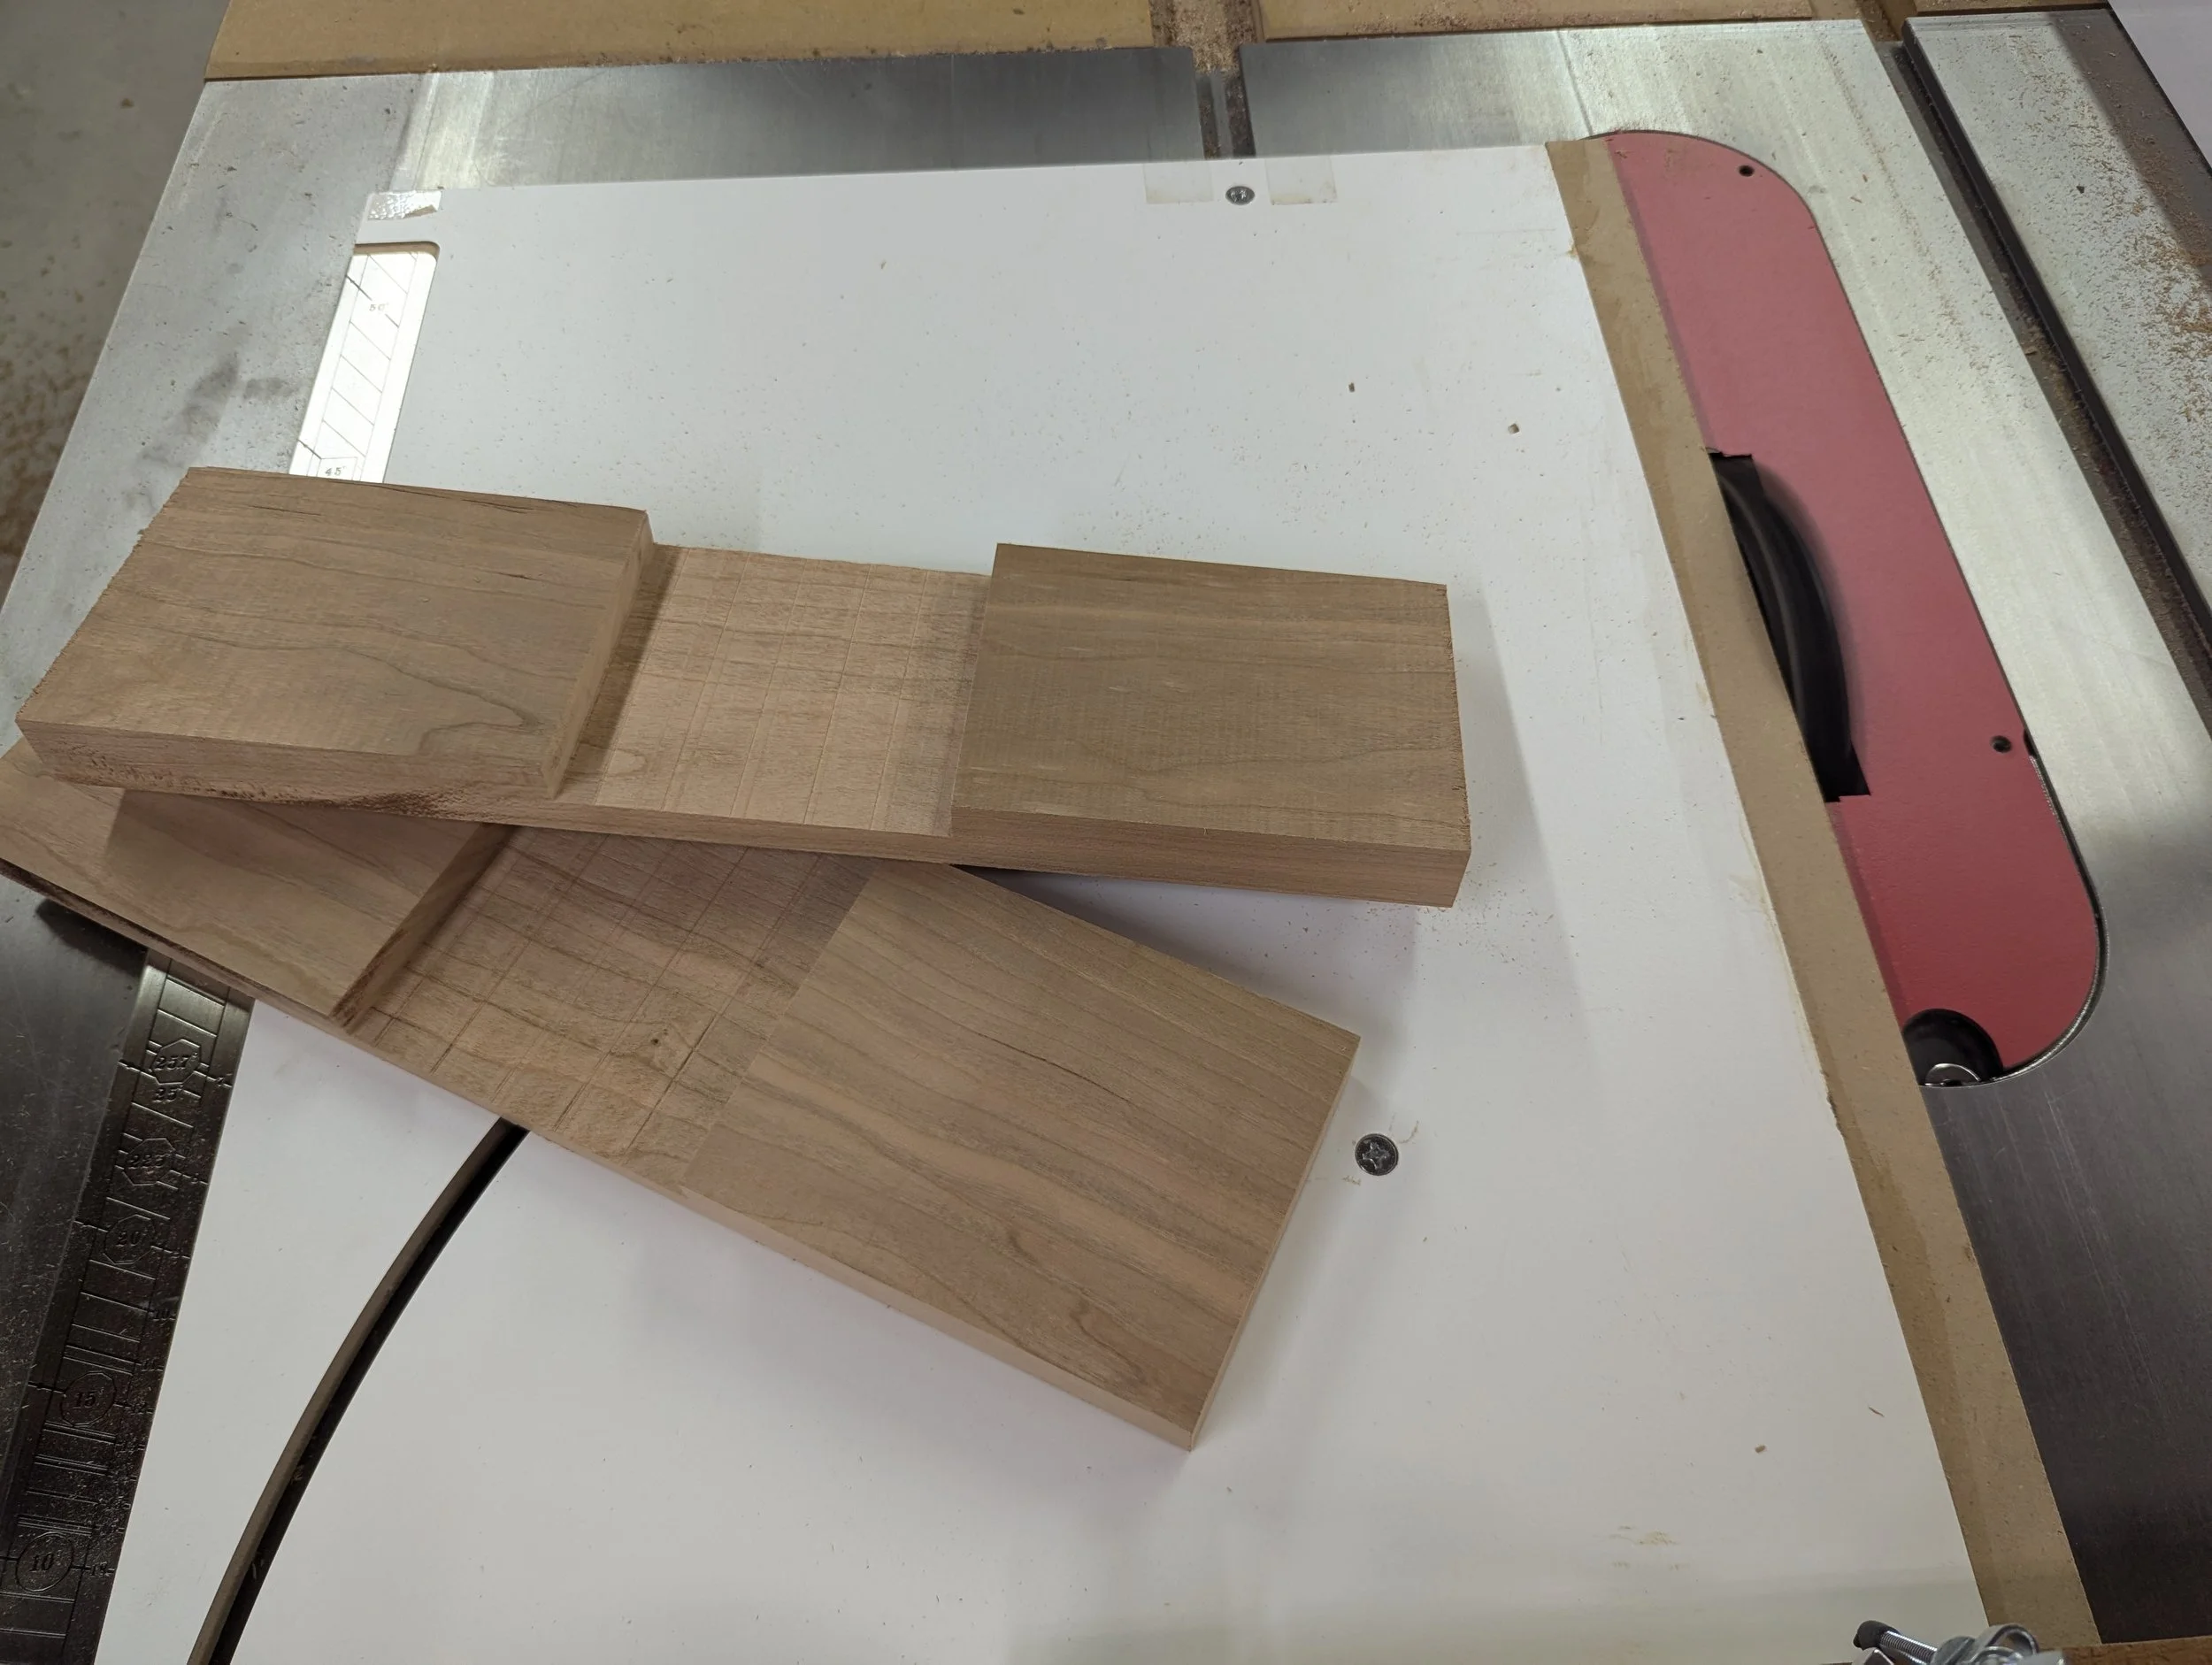
JOINERY
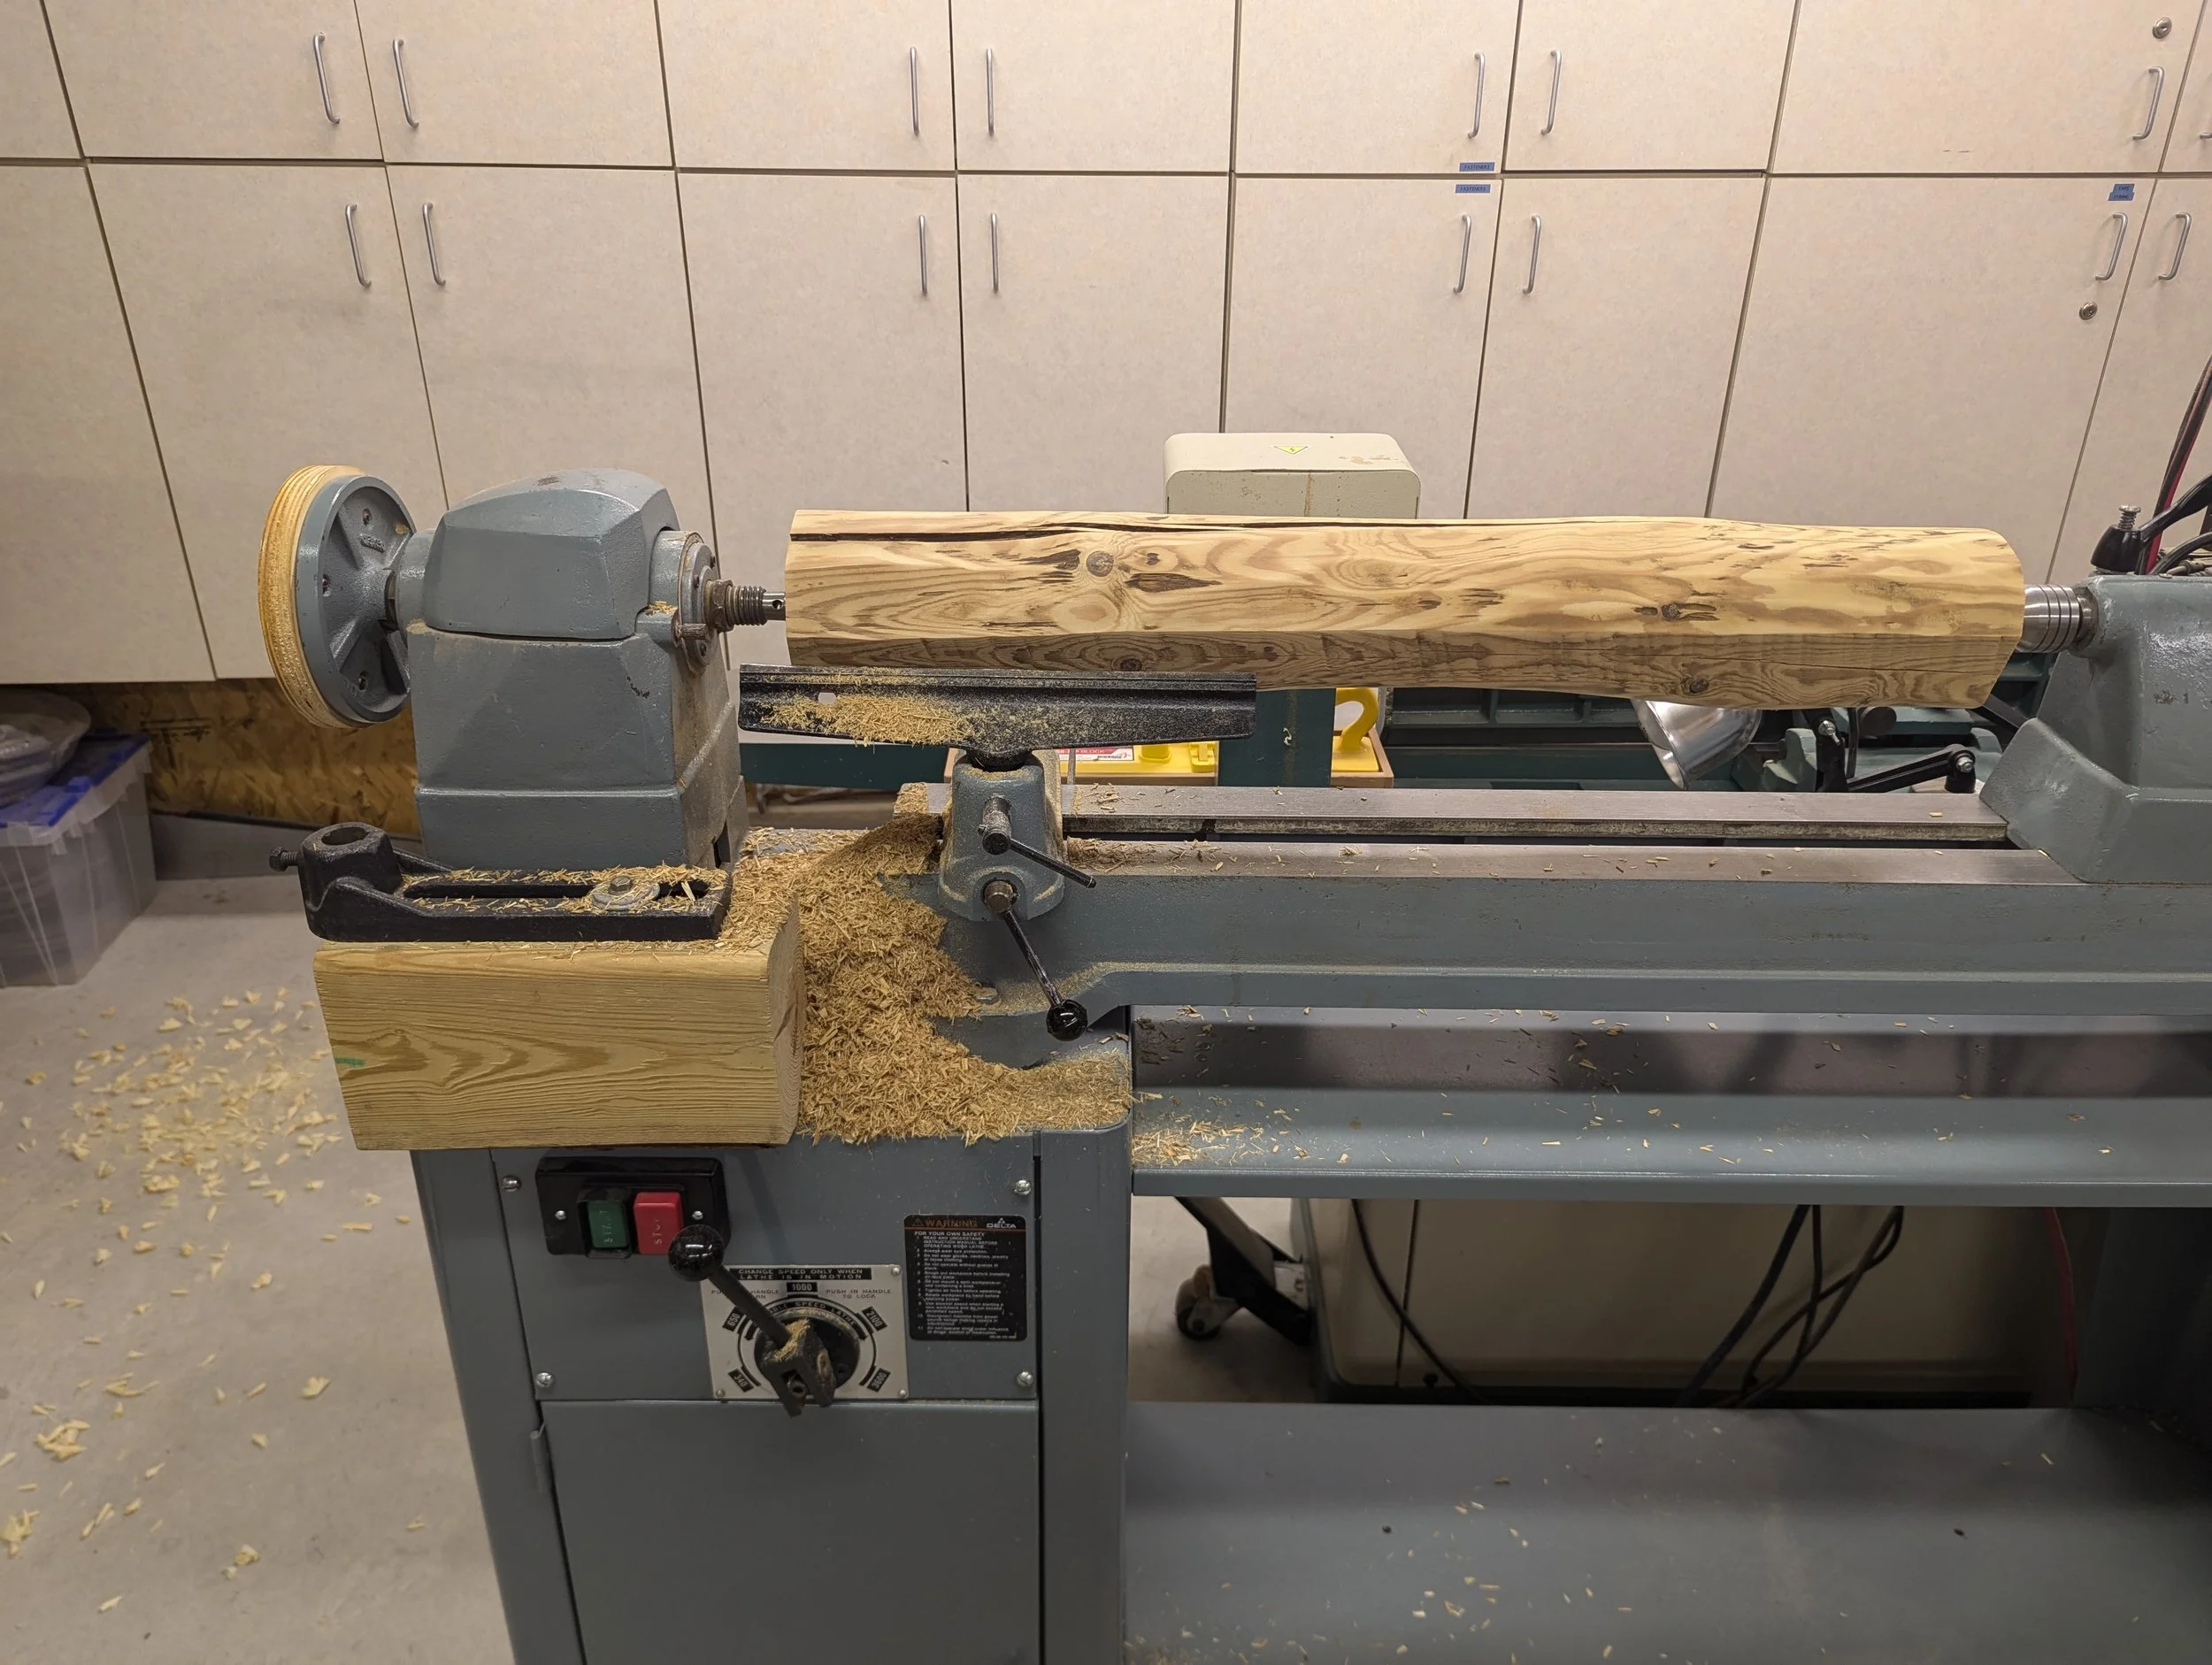
Cylindrical tenons made on the lathe
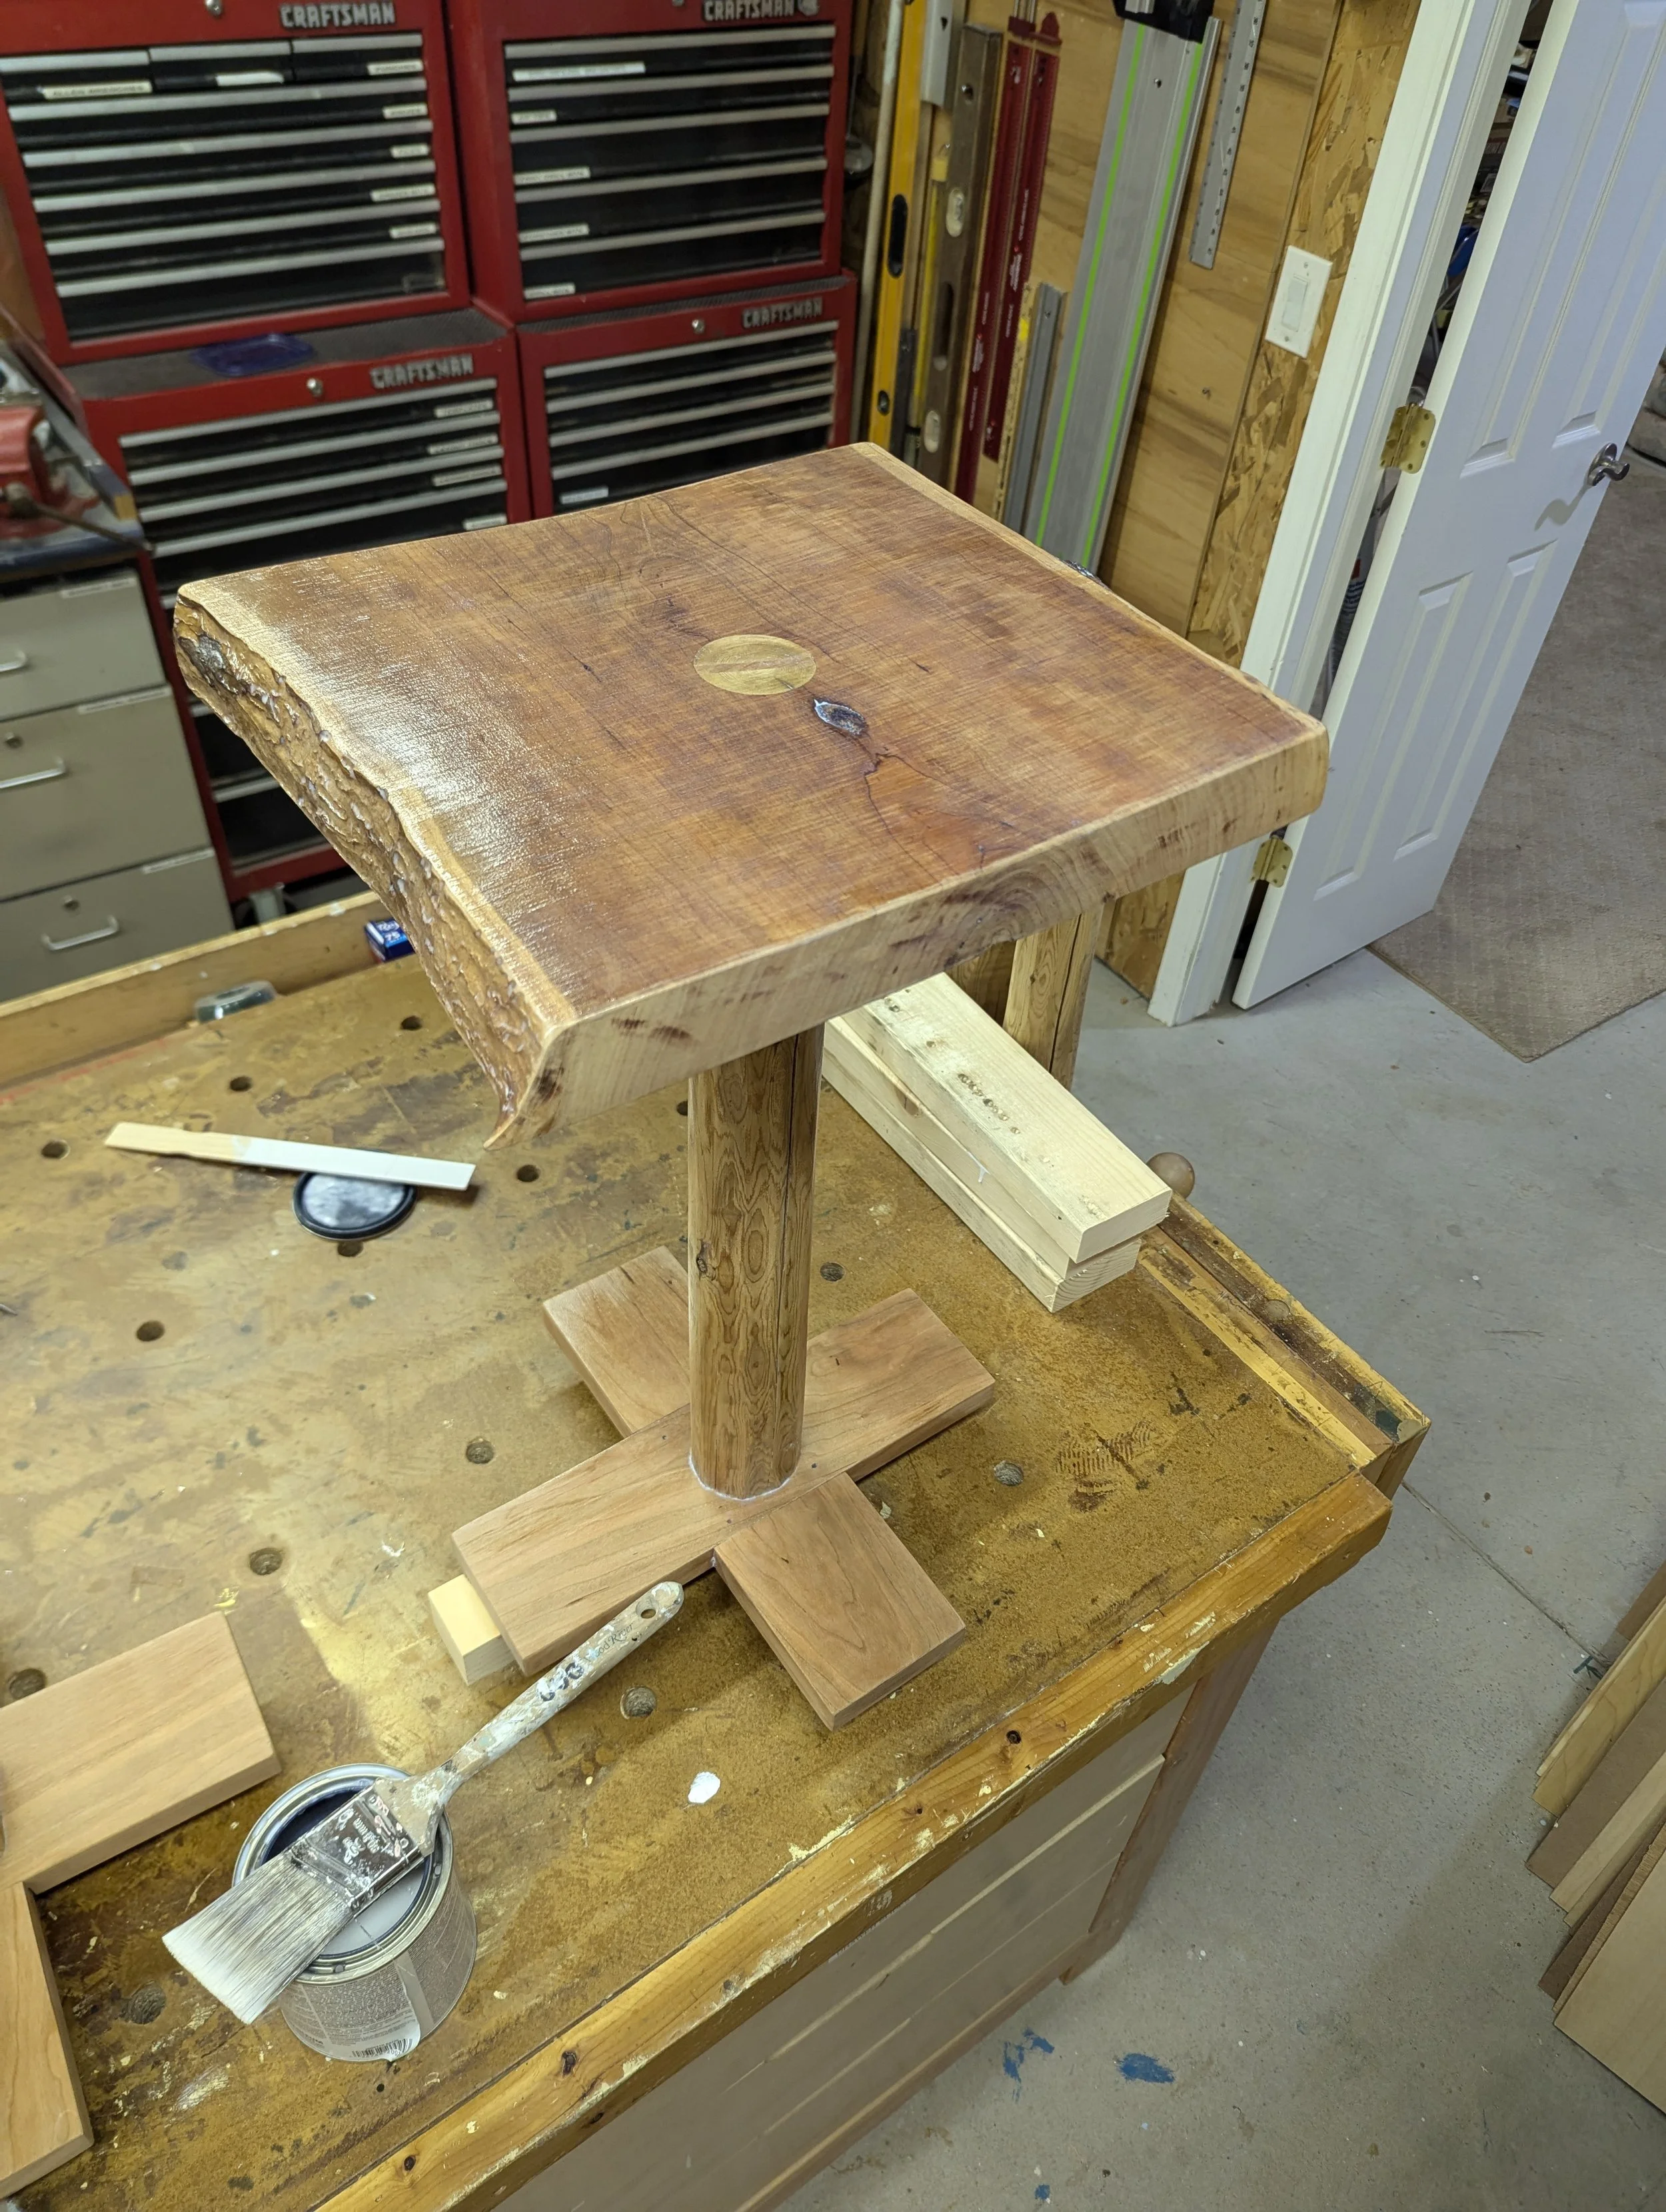
FINISHING
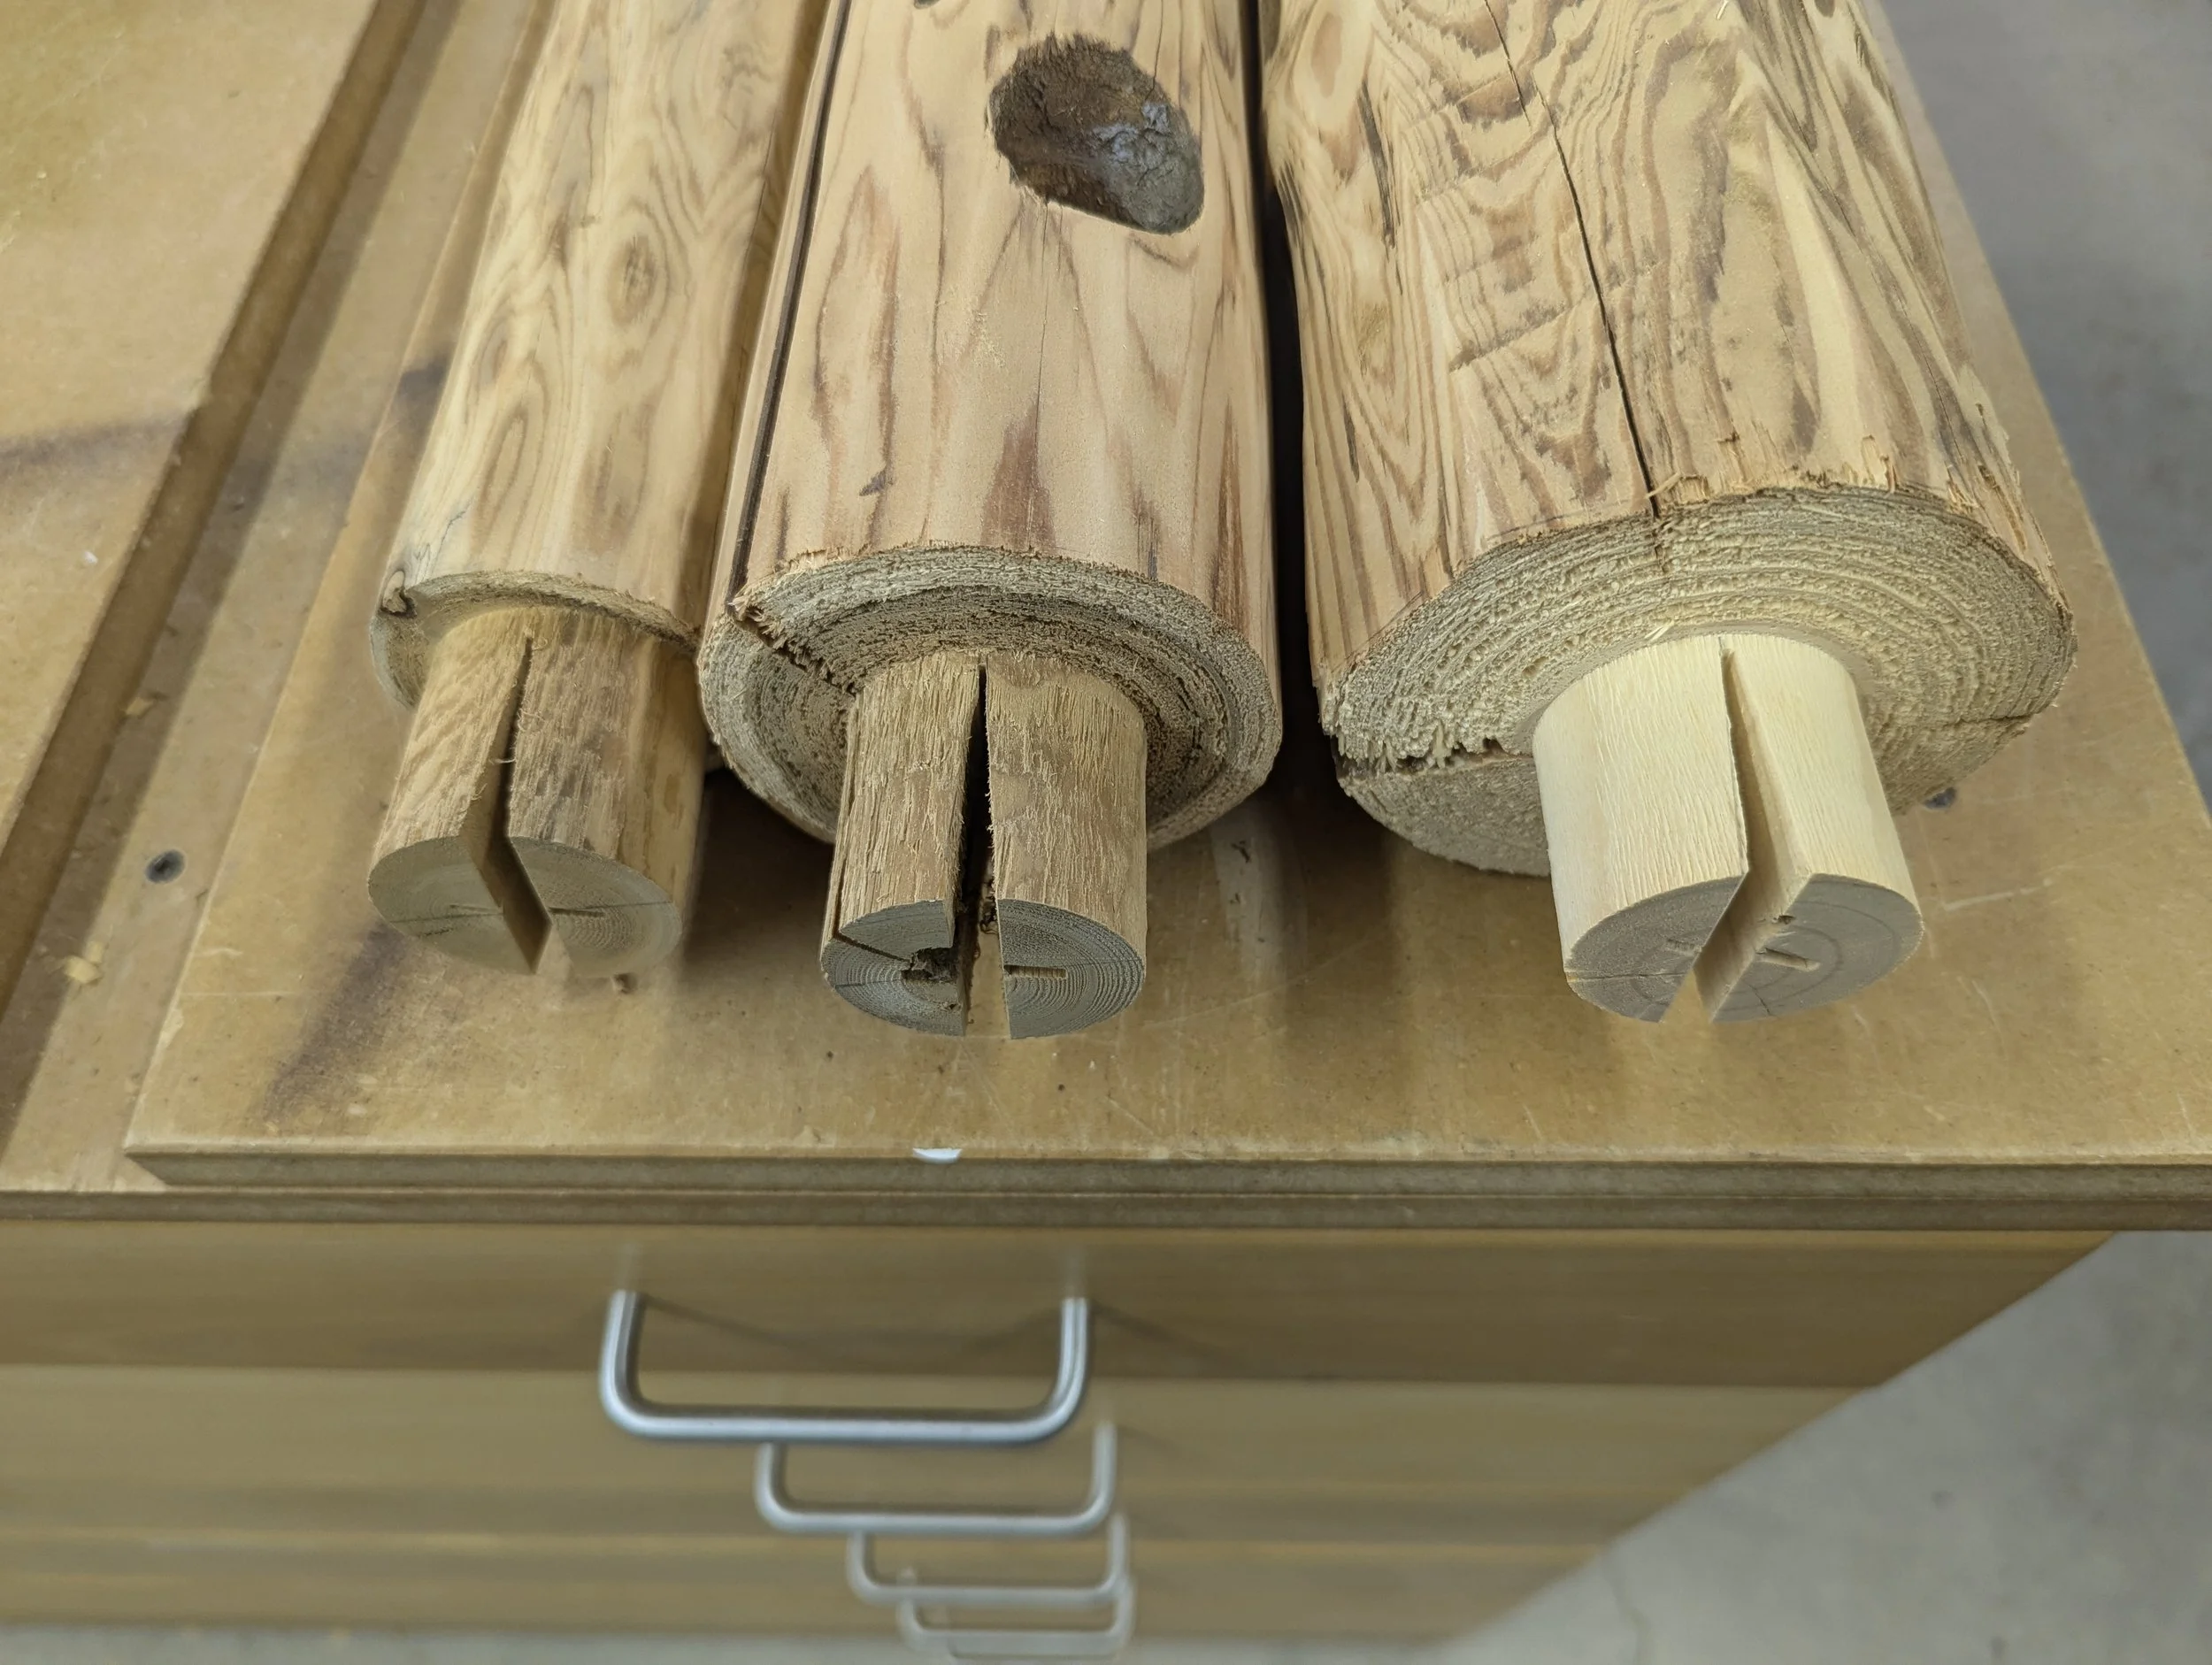
Slices taken from tenons via jigsaw
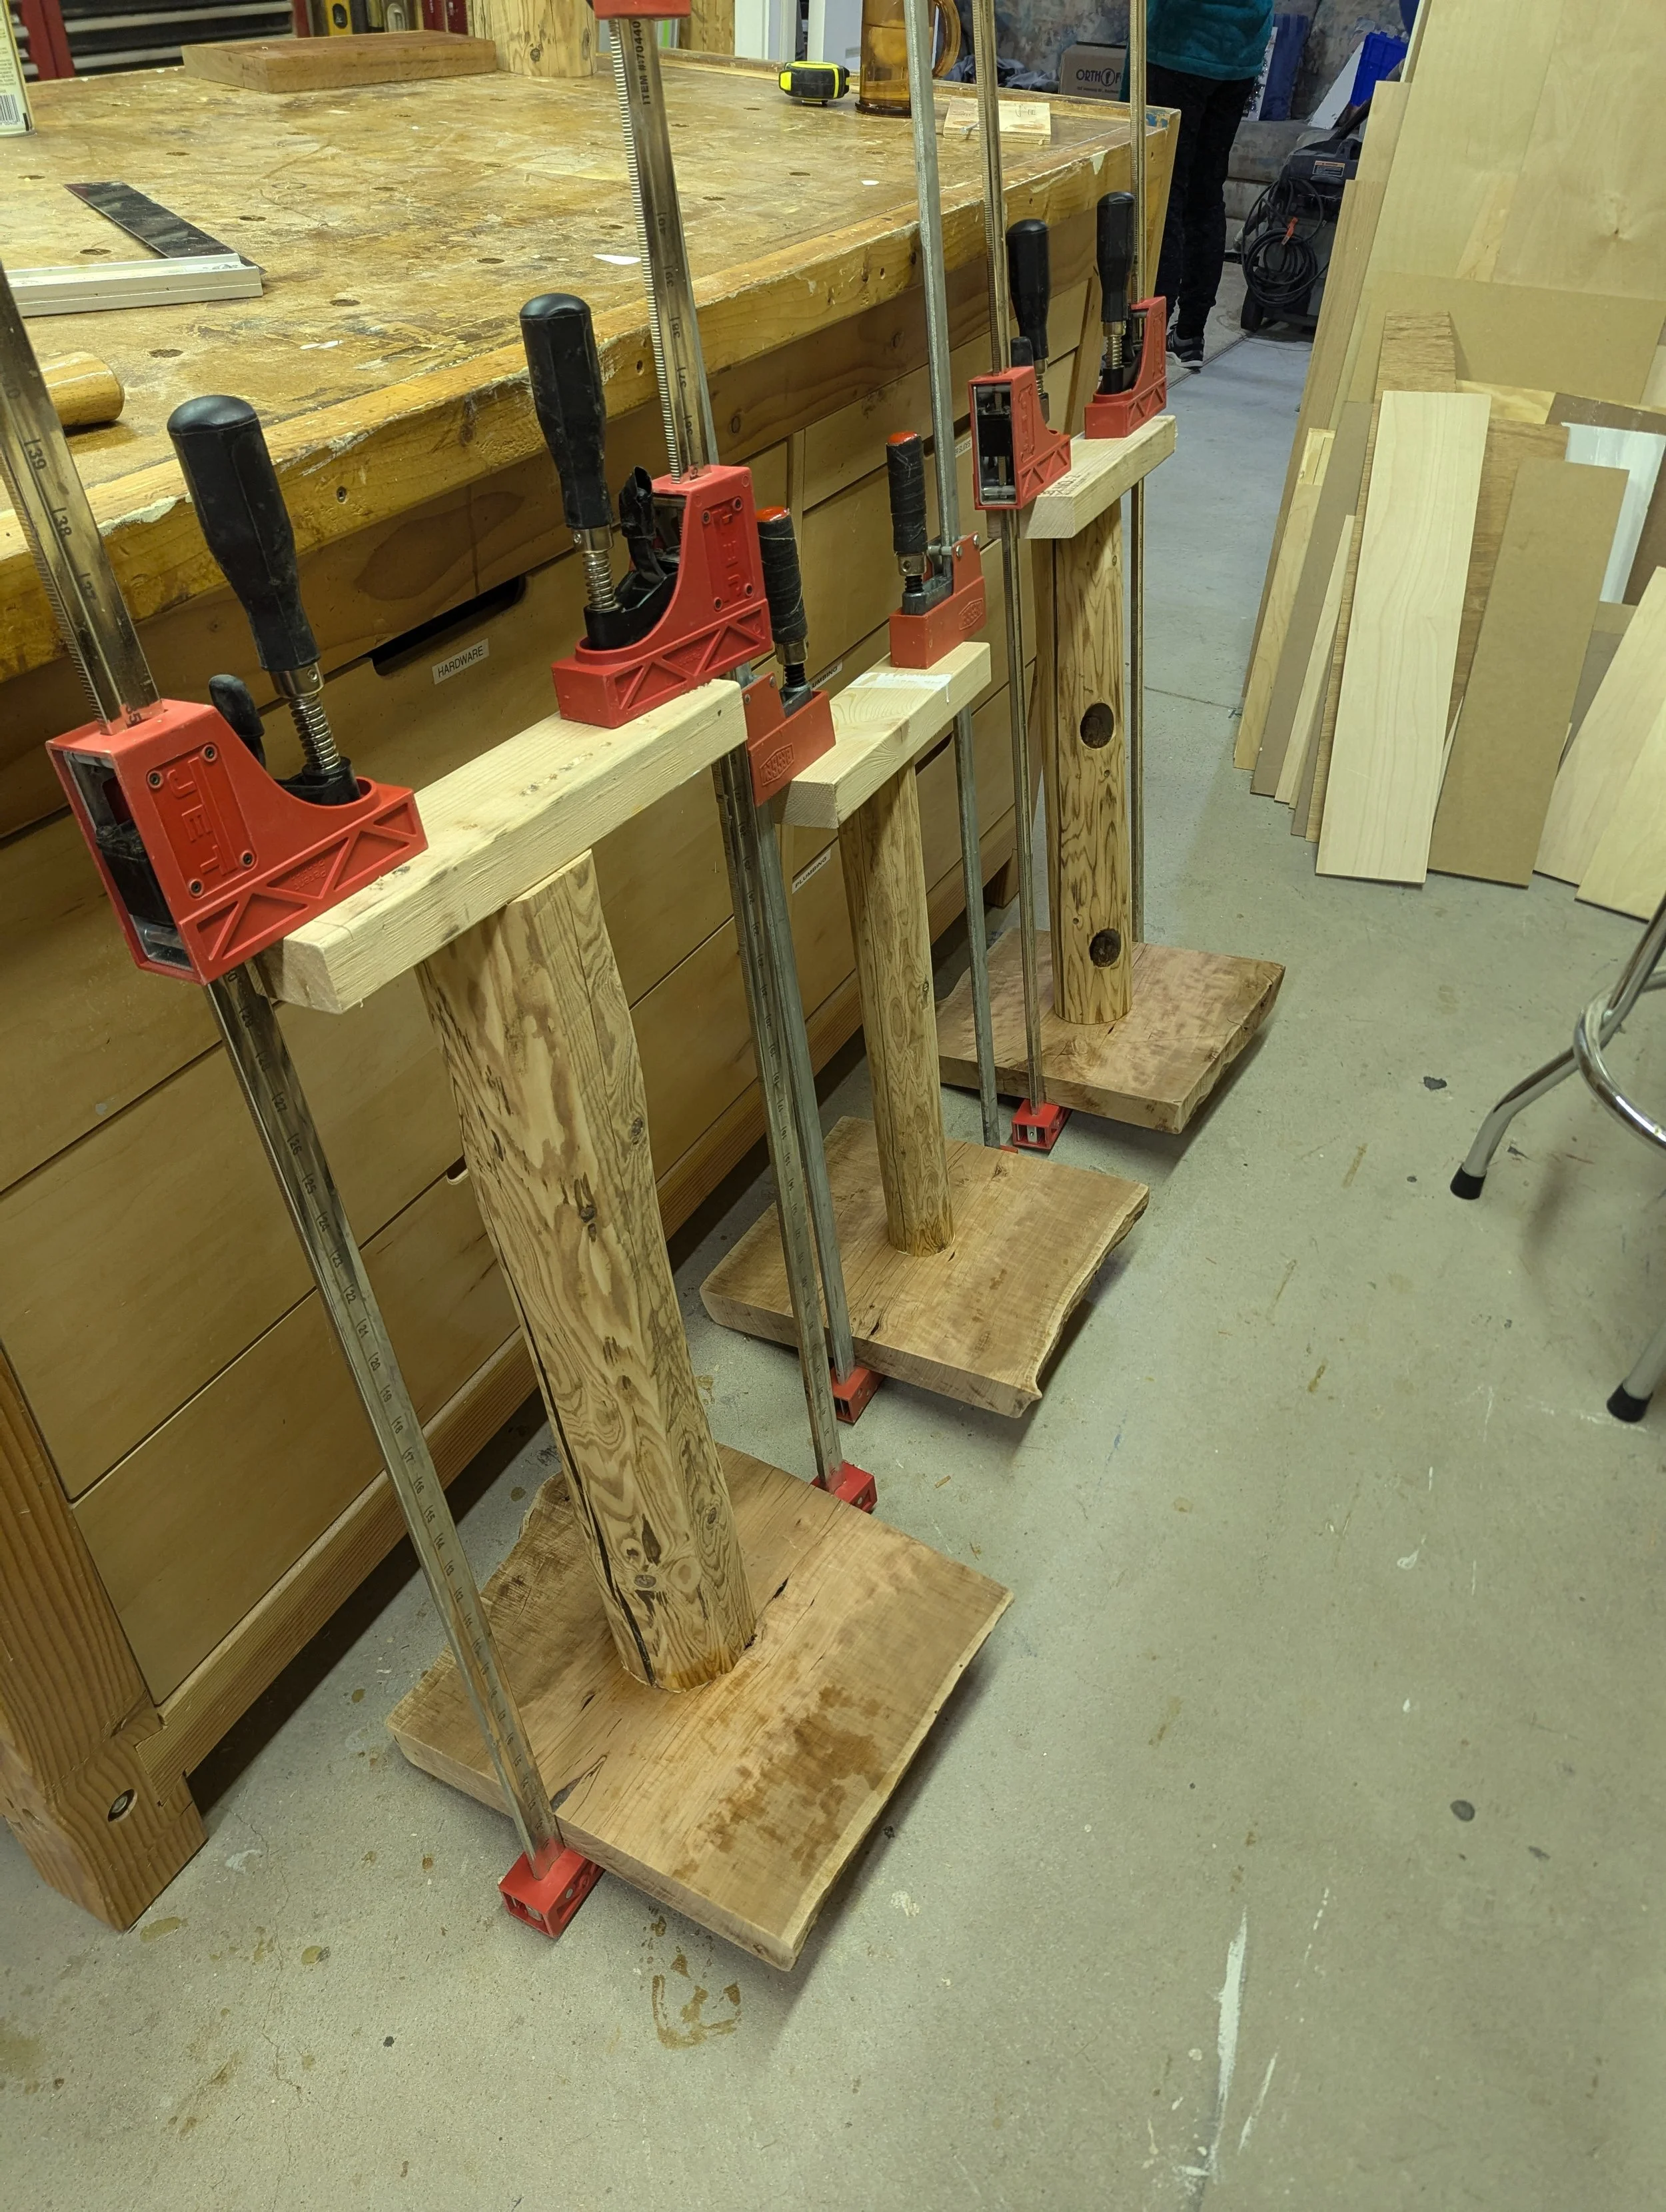
CONSTRUCTION
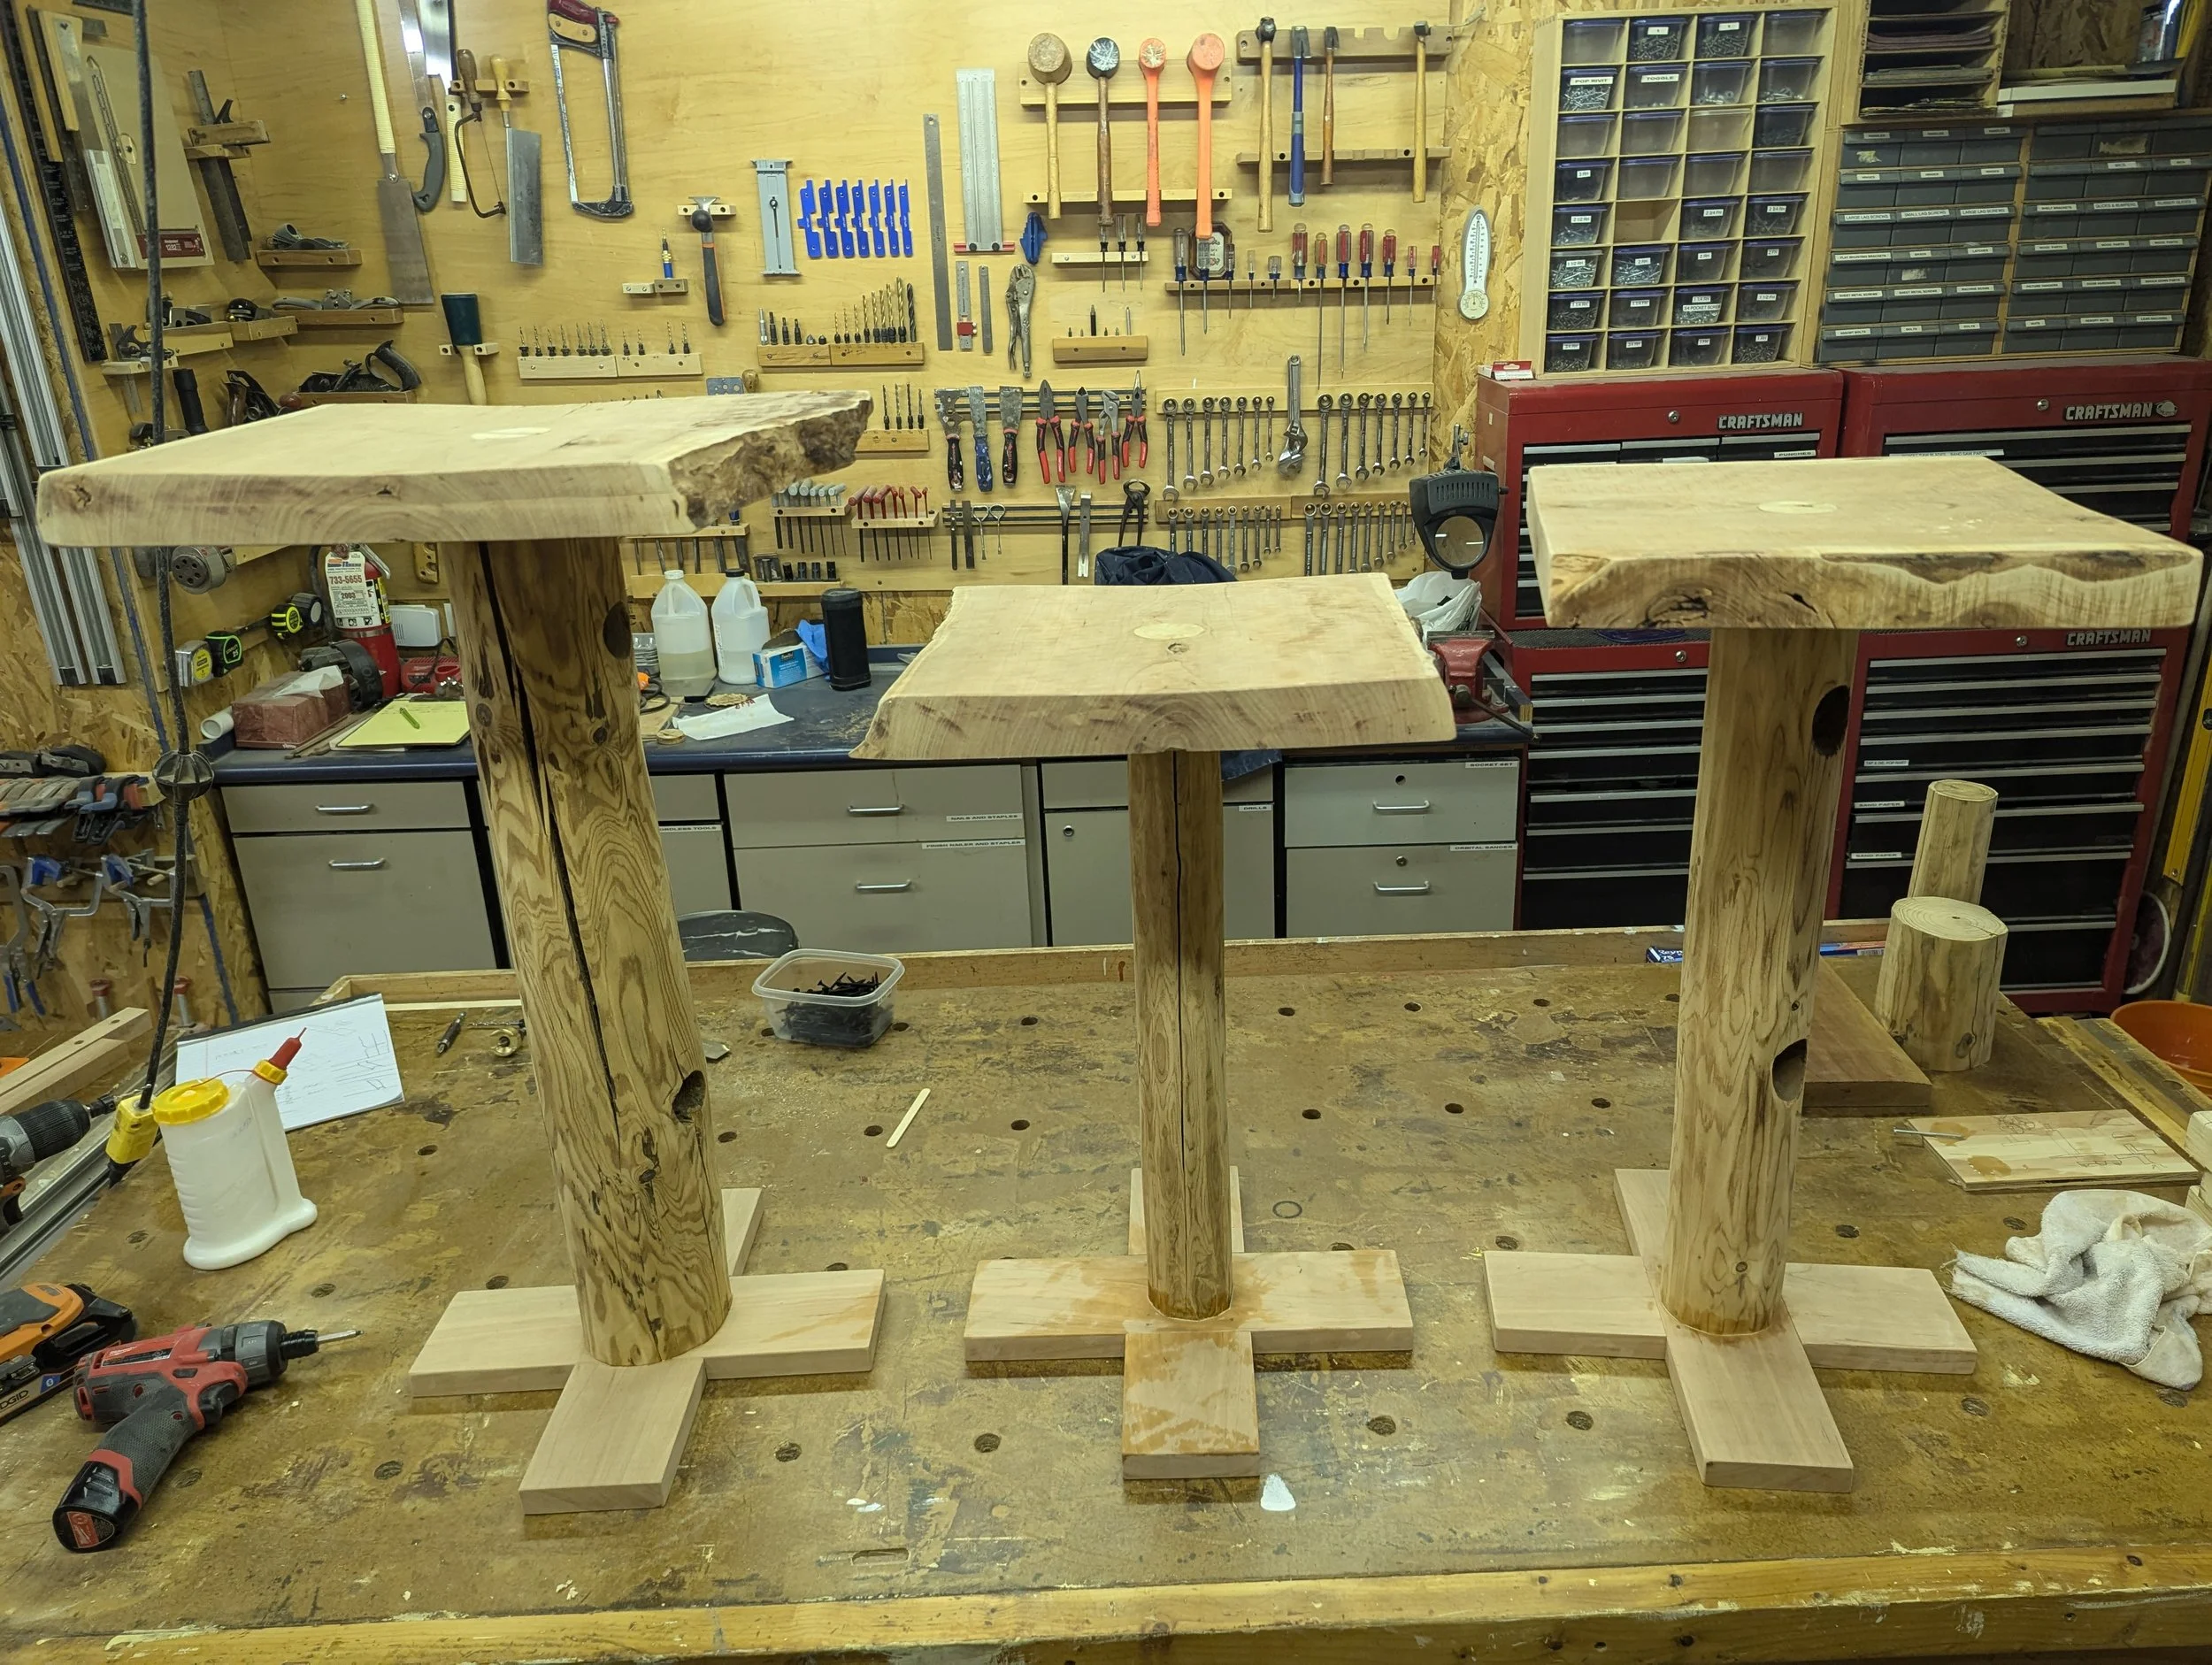
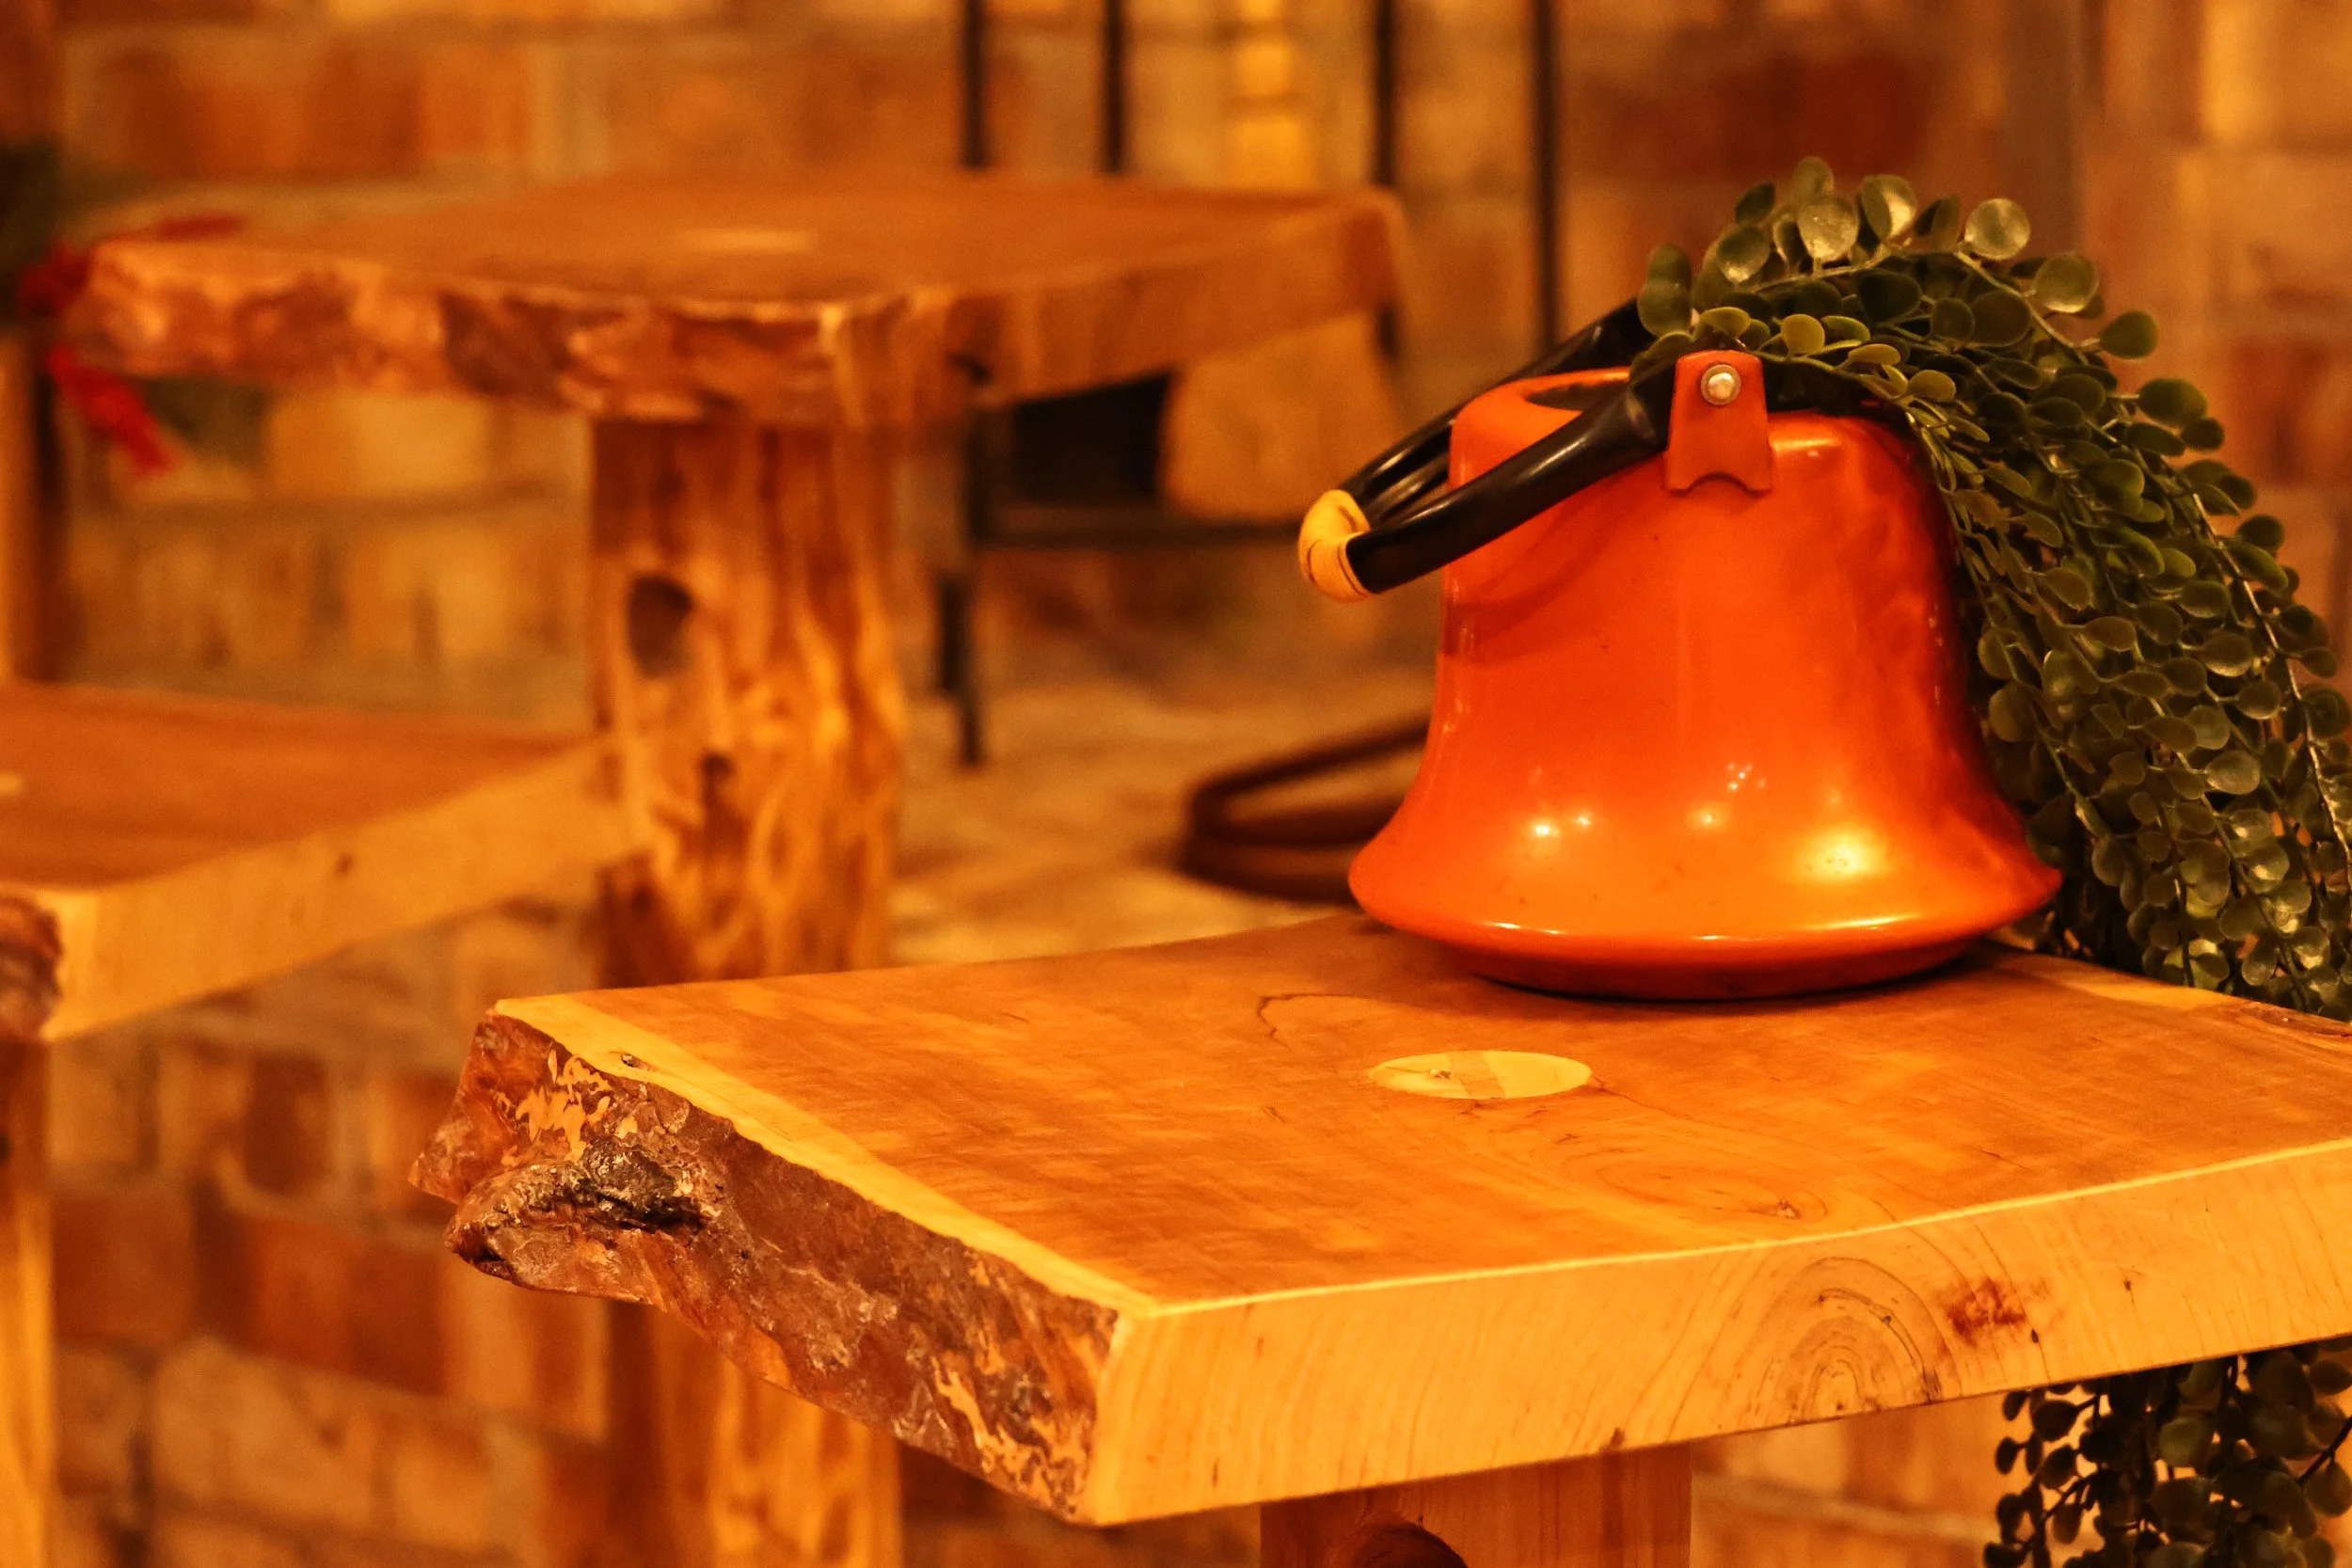
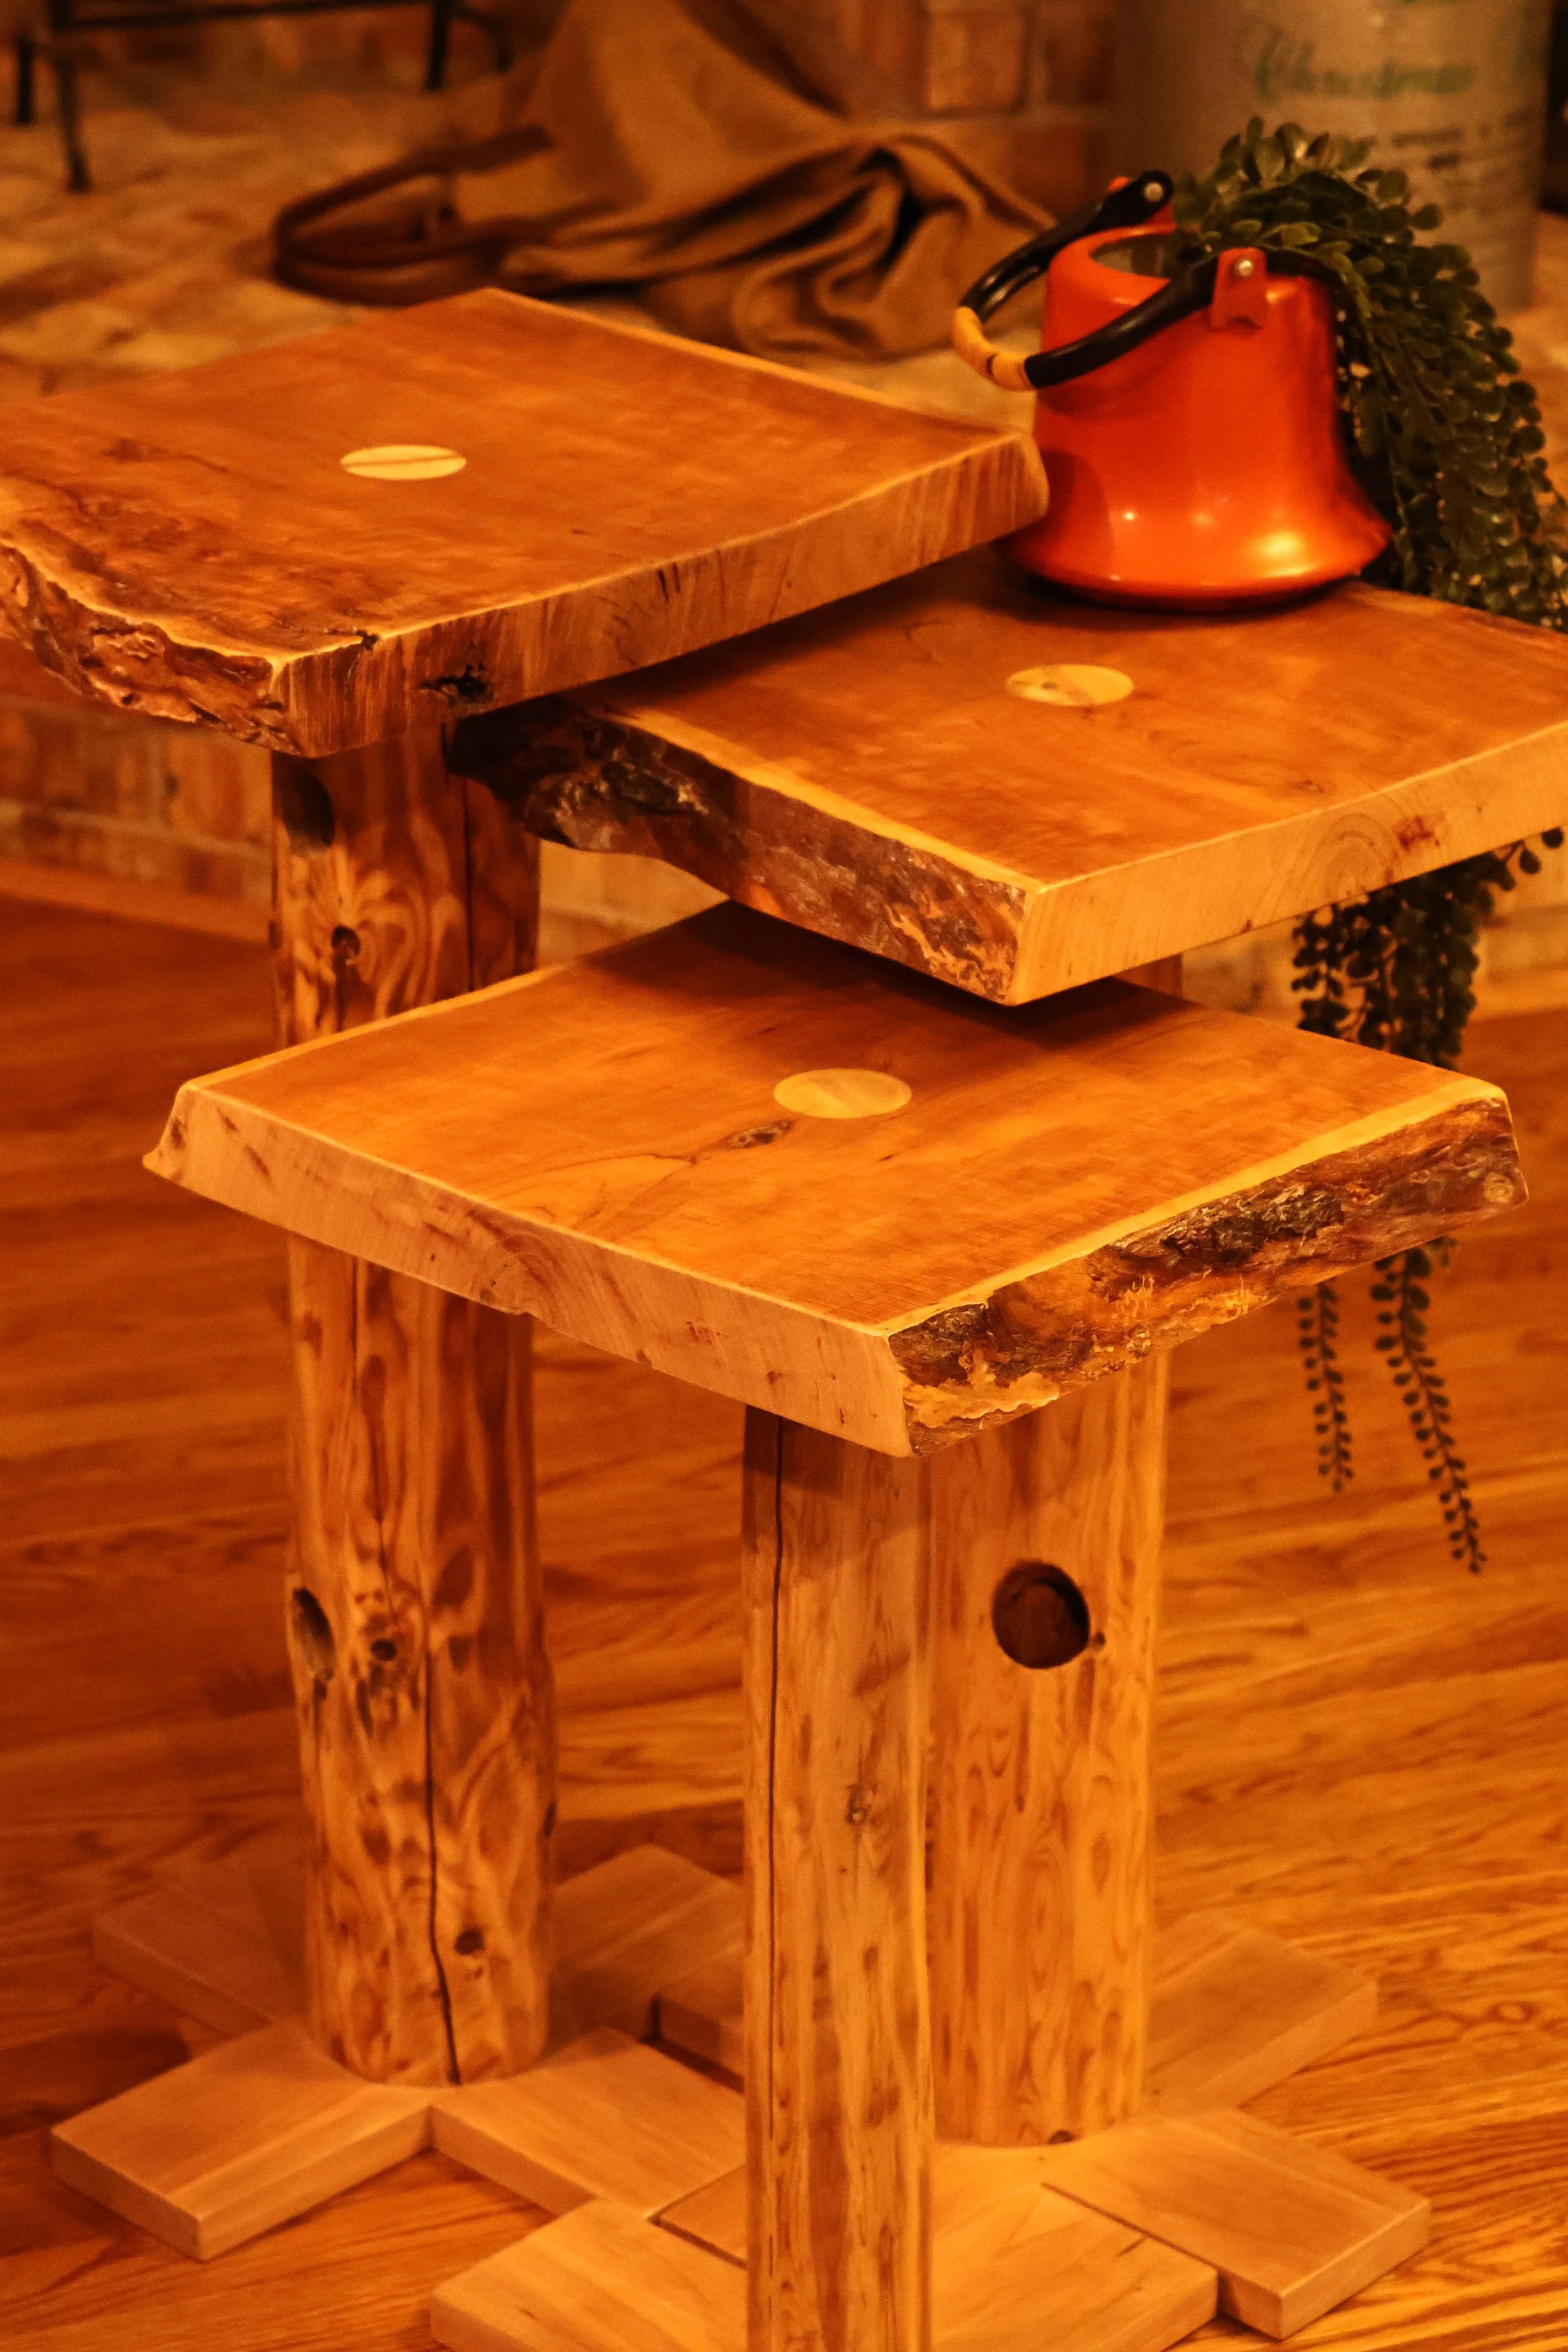
FINALS

Project goal: spend $10 or less
Wood posts = $9, live-edge wood = $0 (leftover from another project)
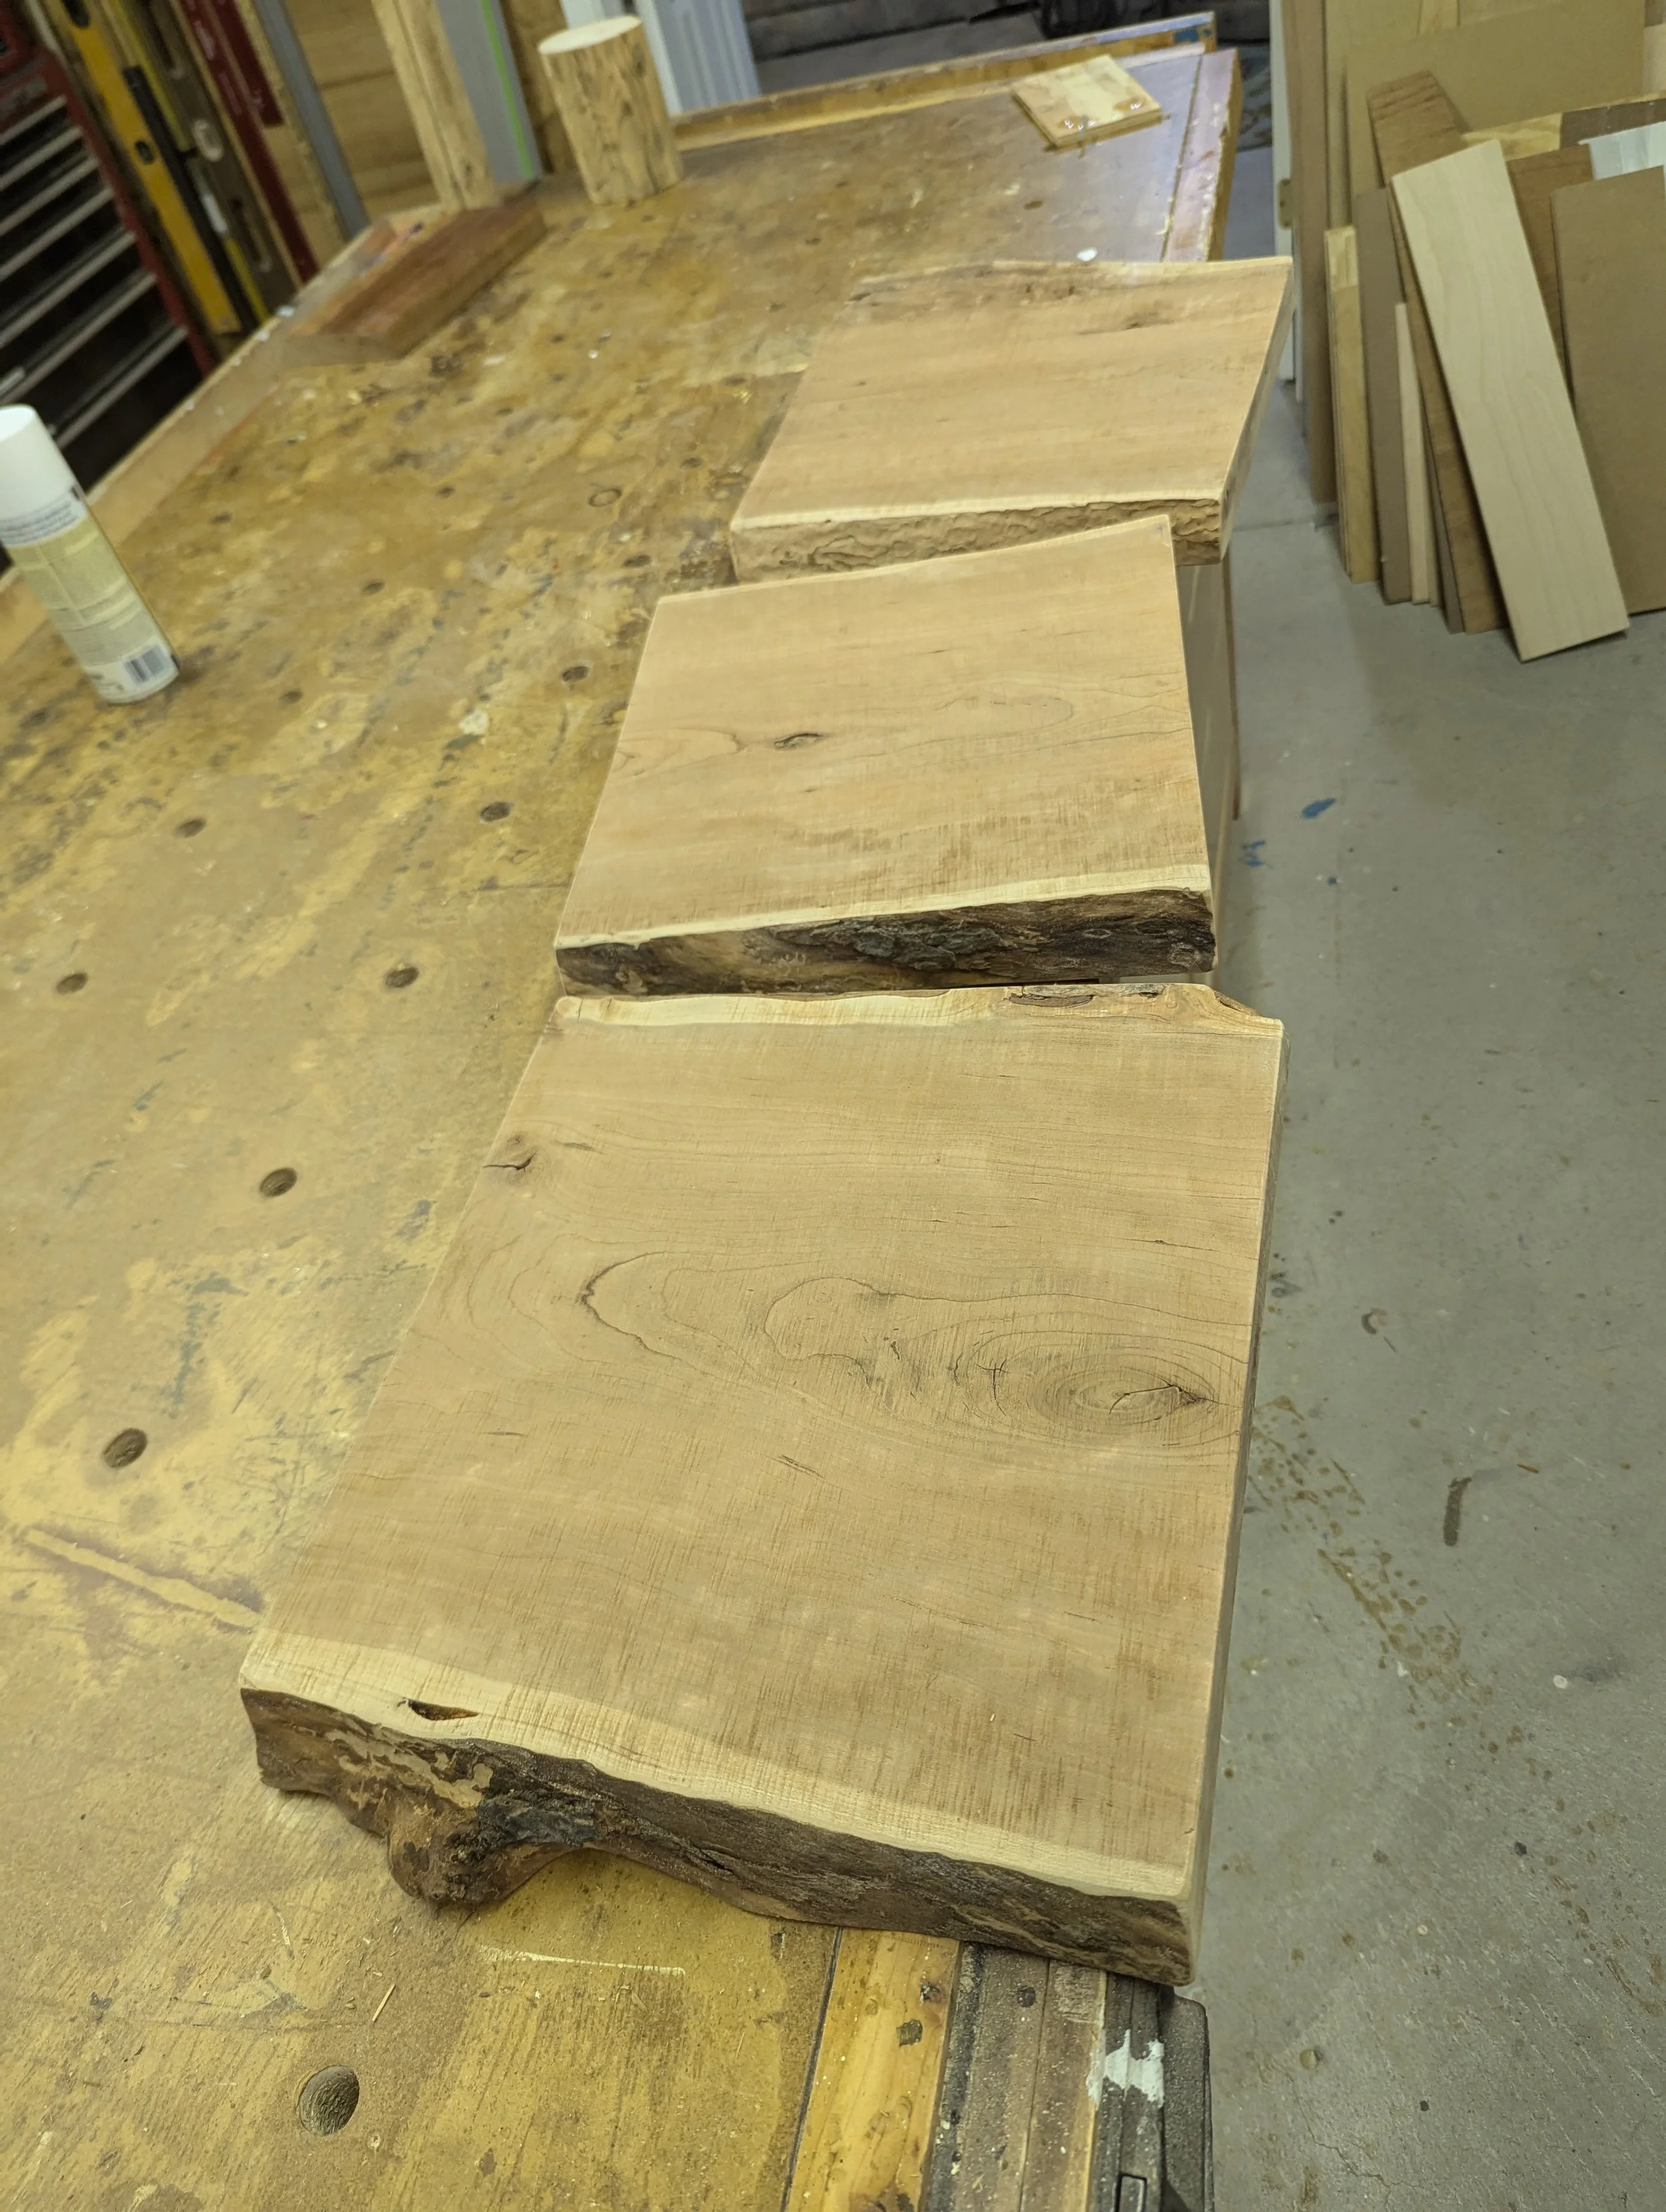
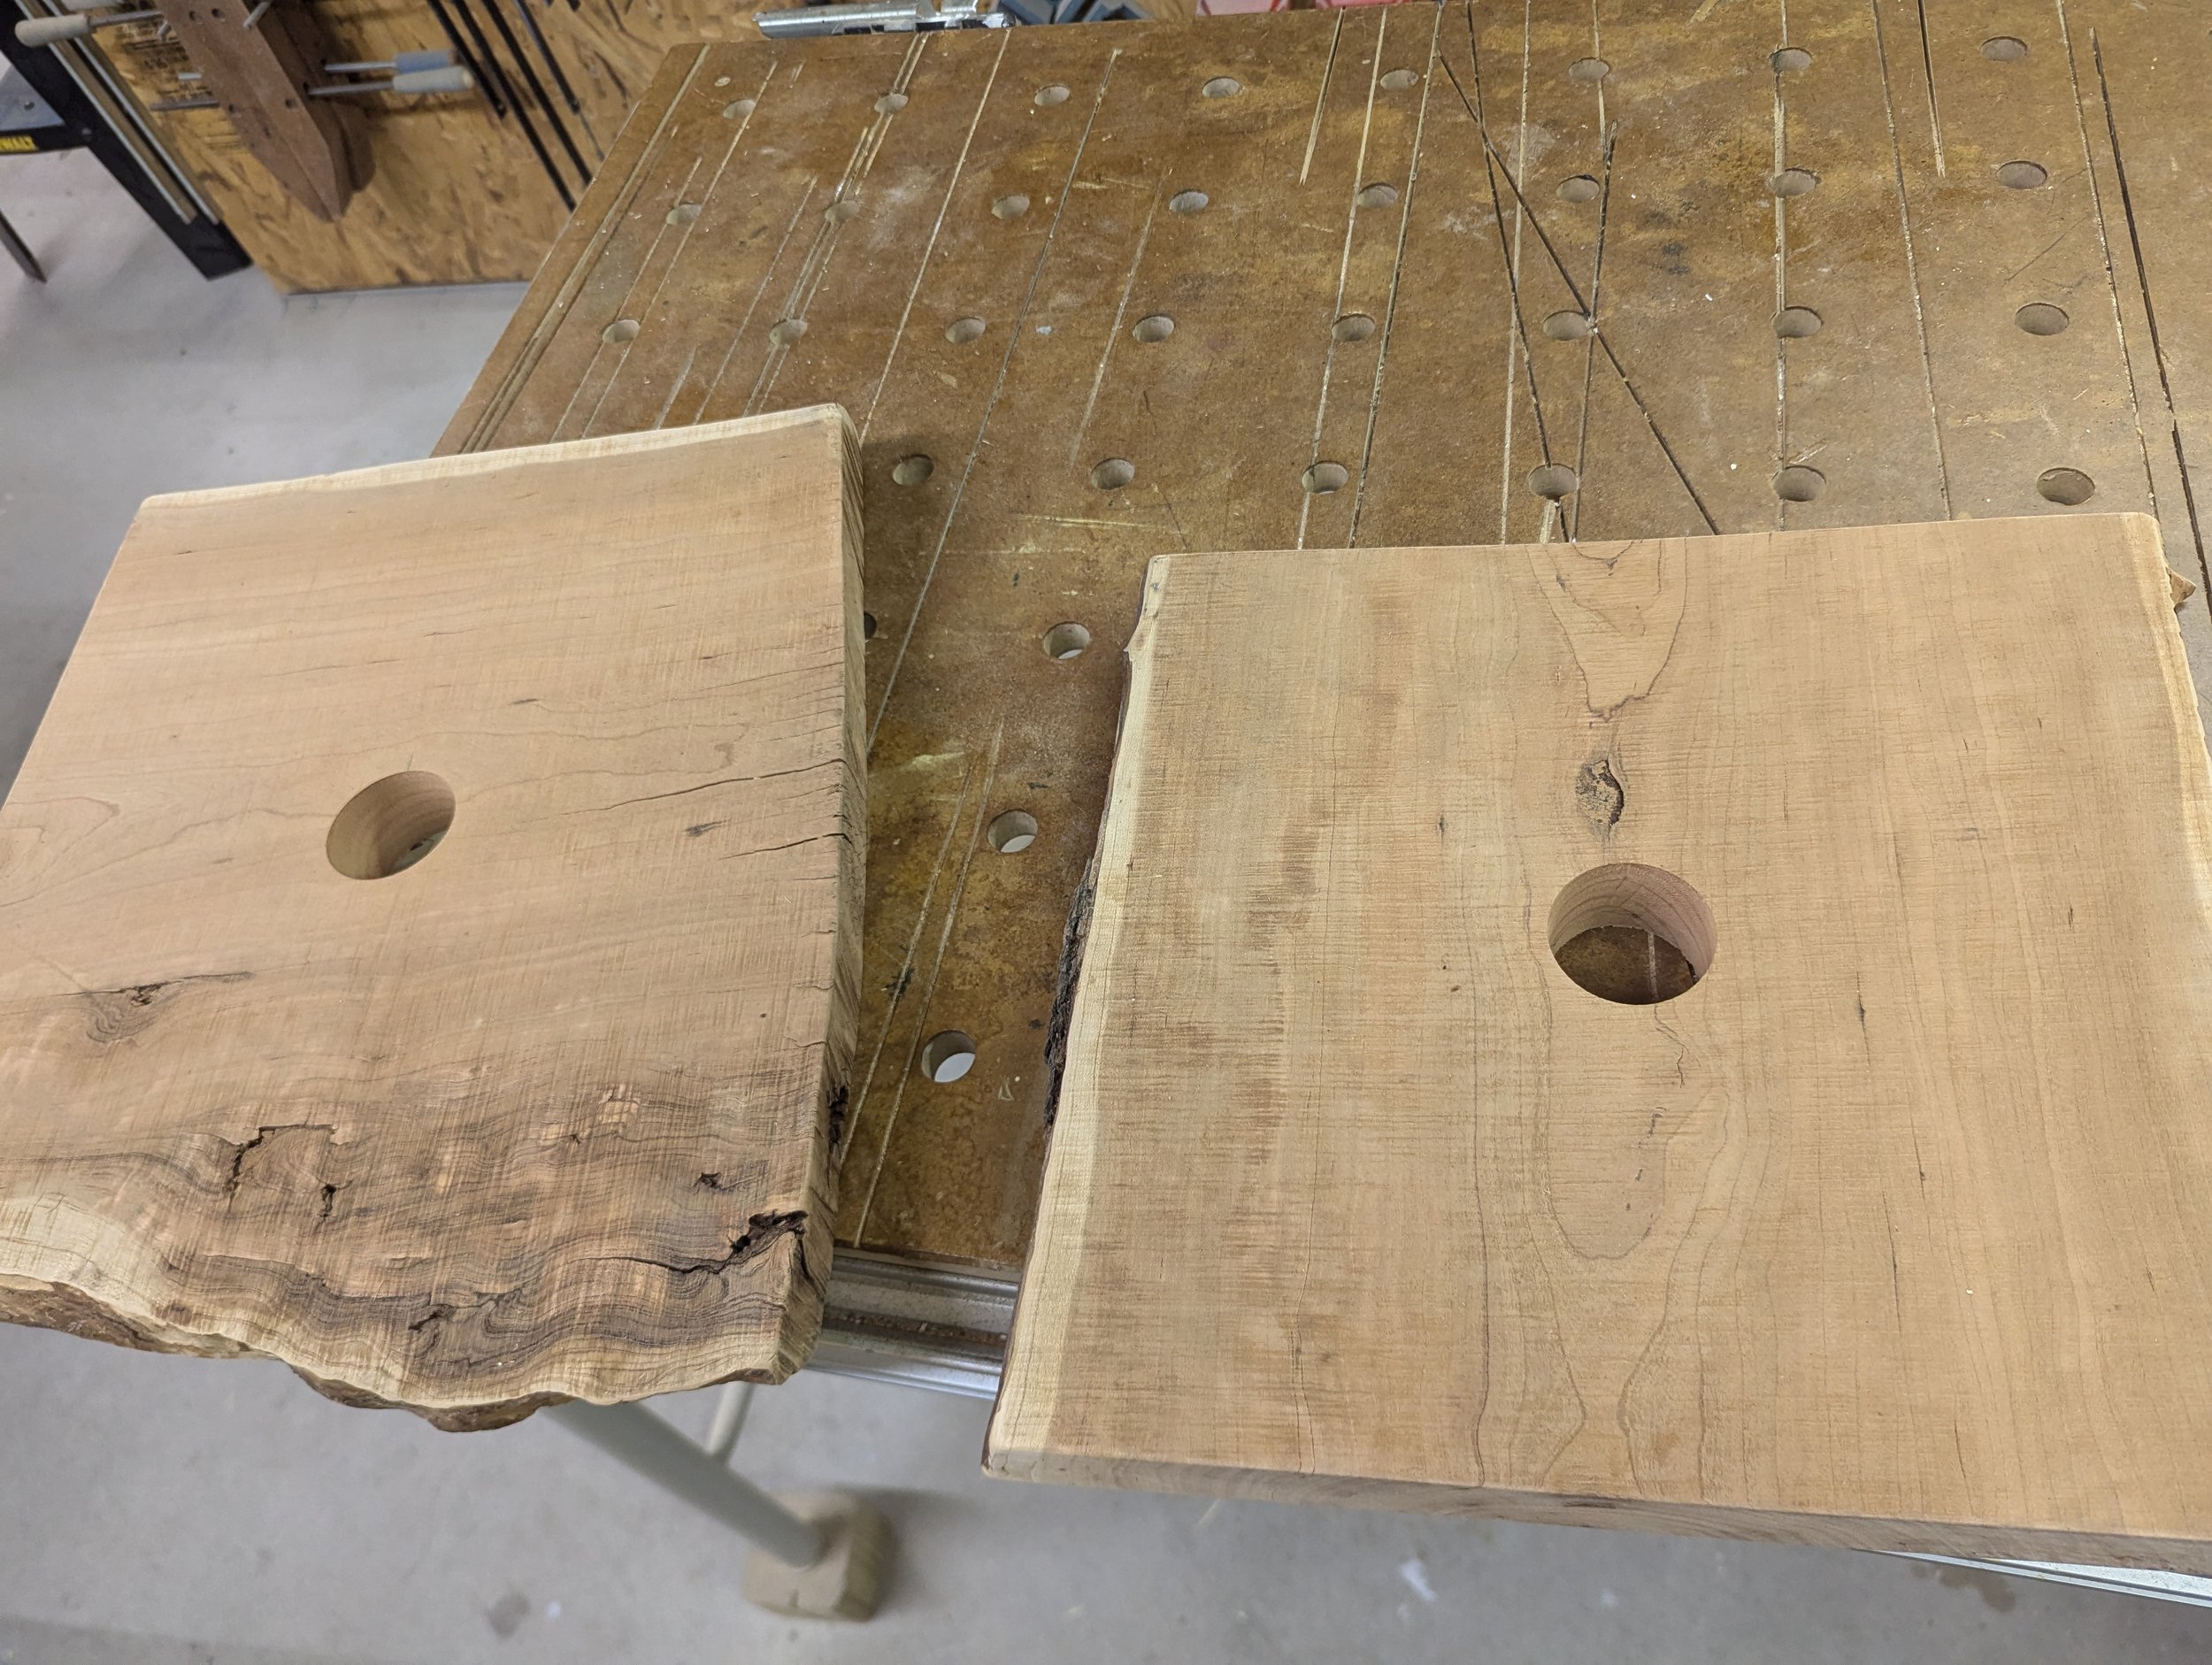
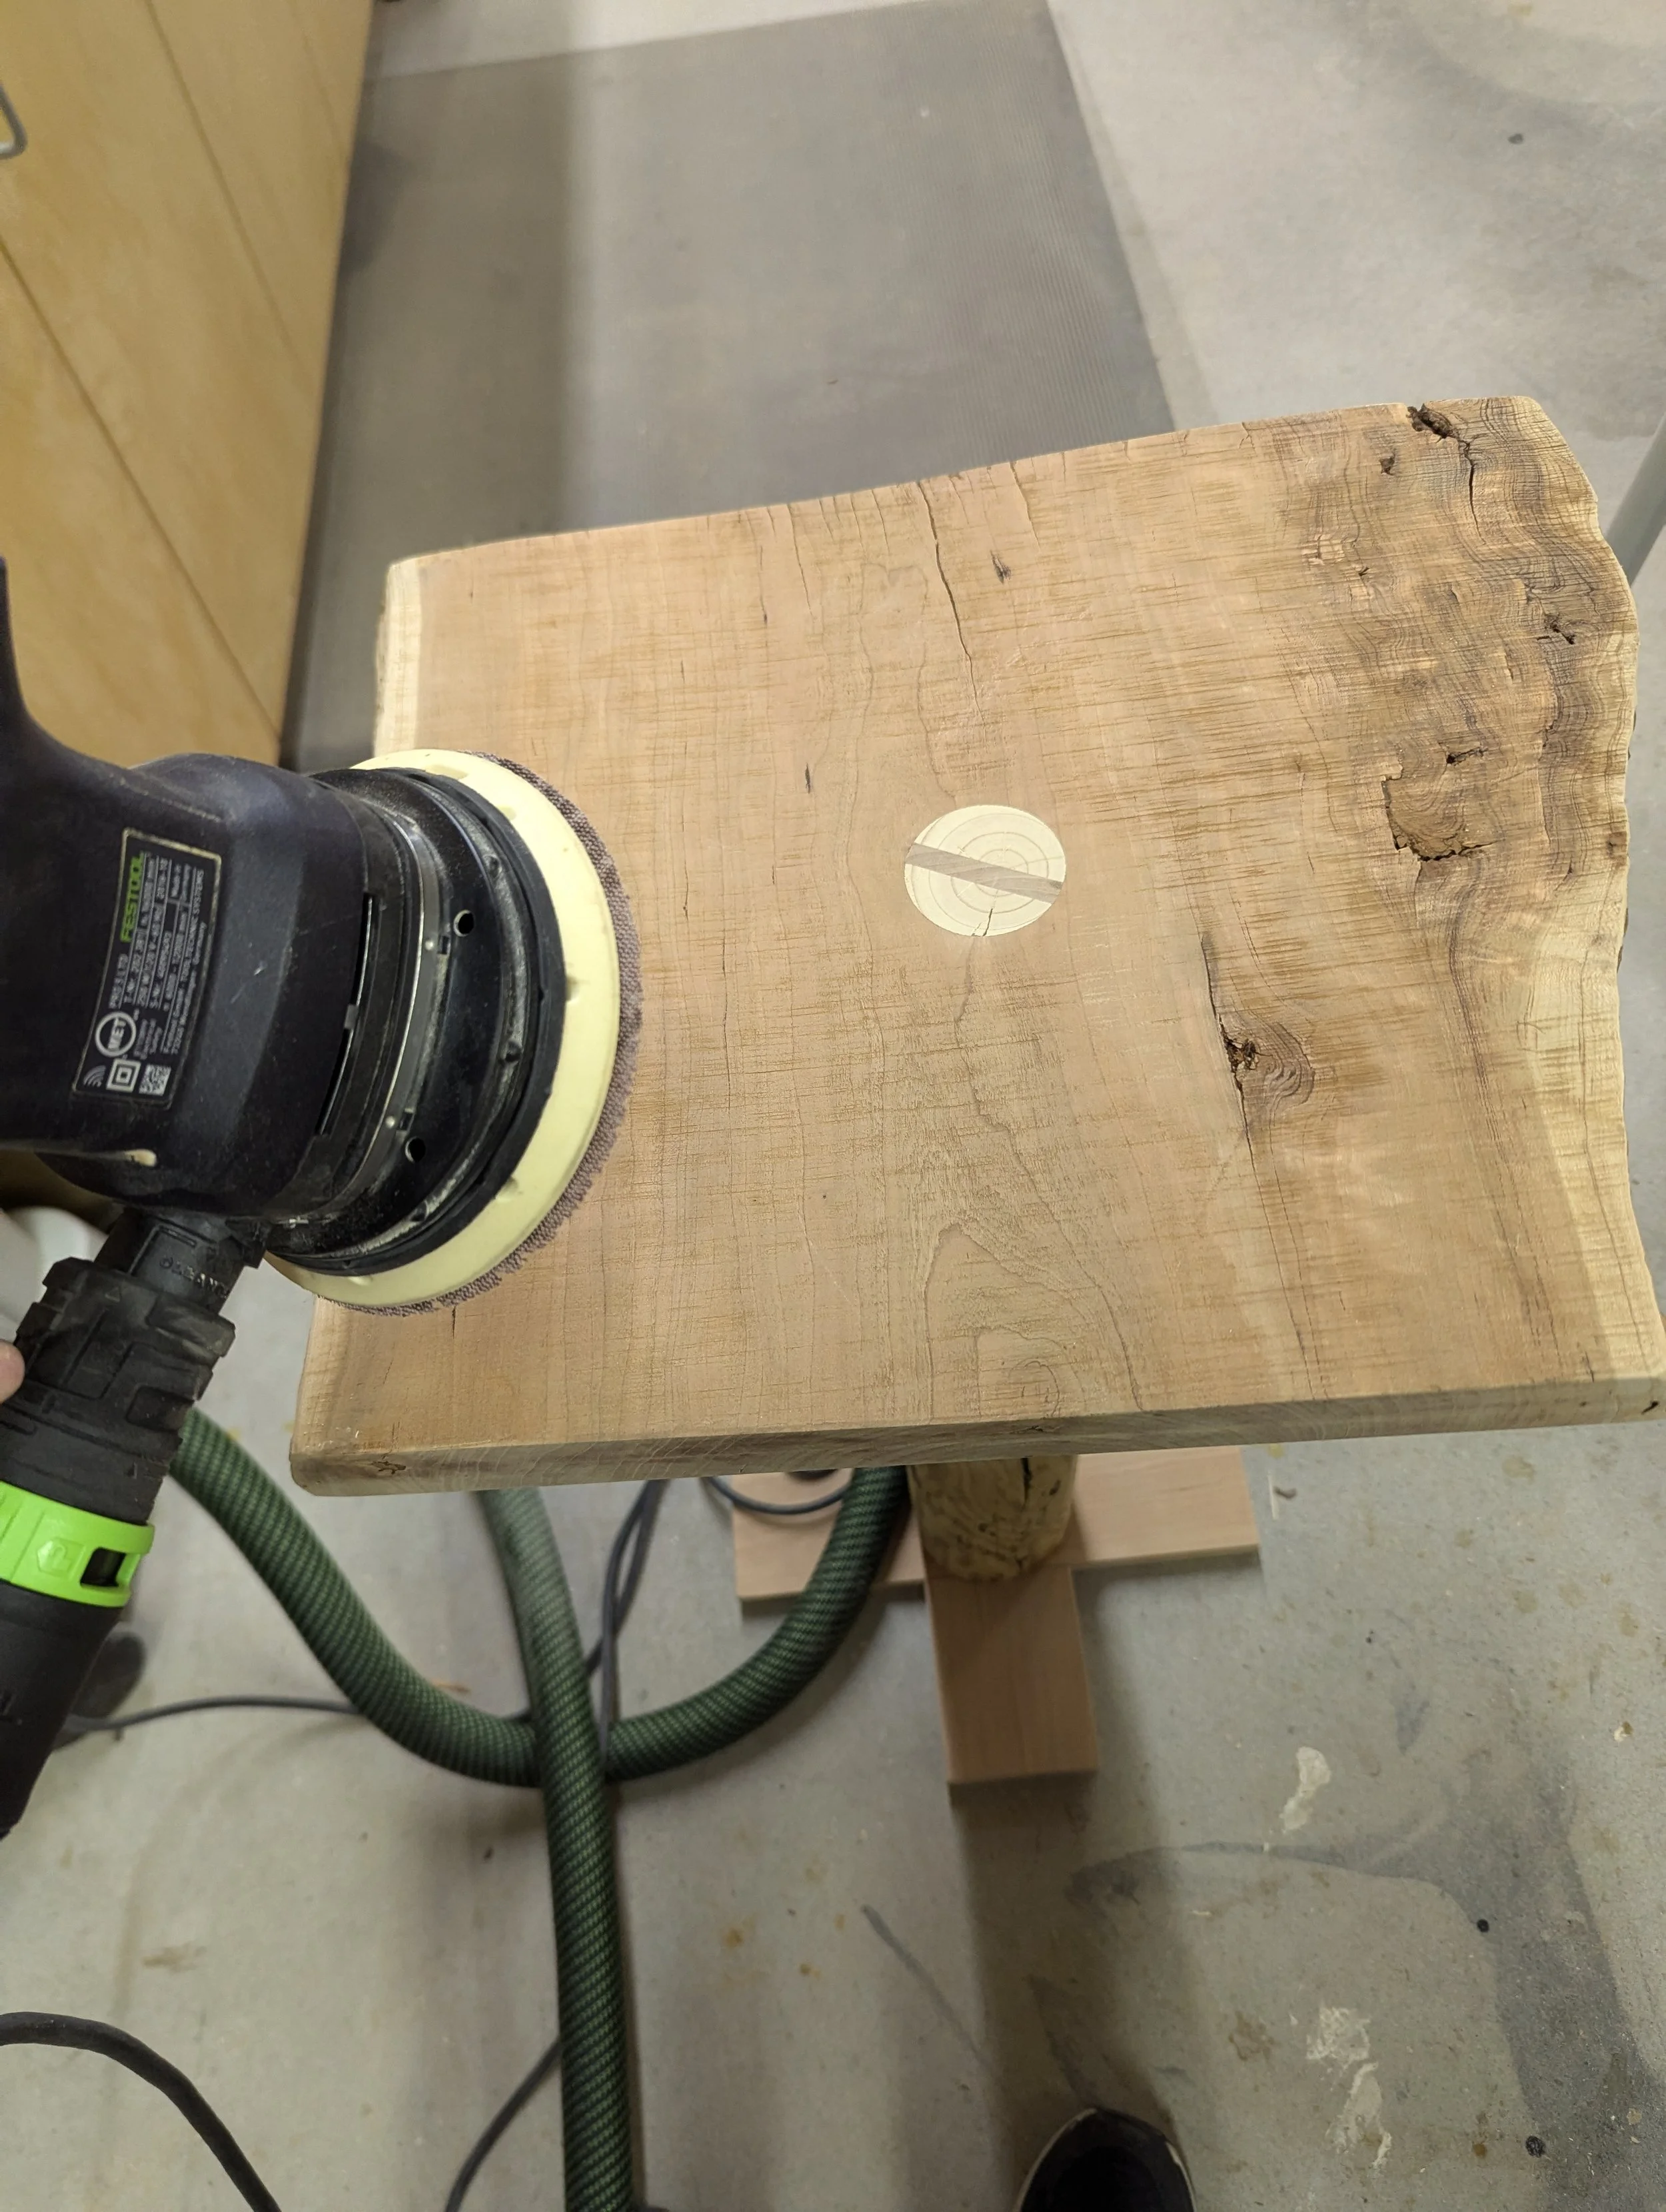
Holes drilled in table tops to match tenons
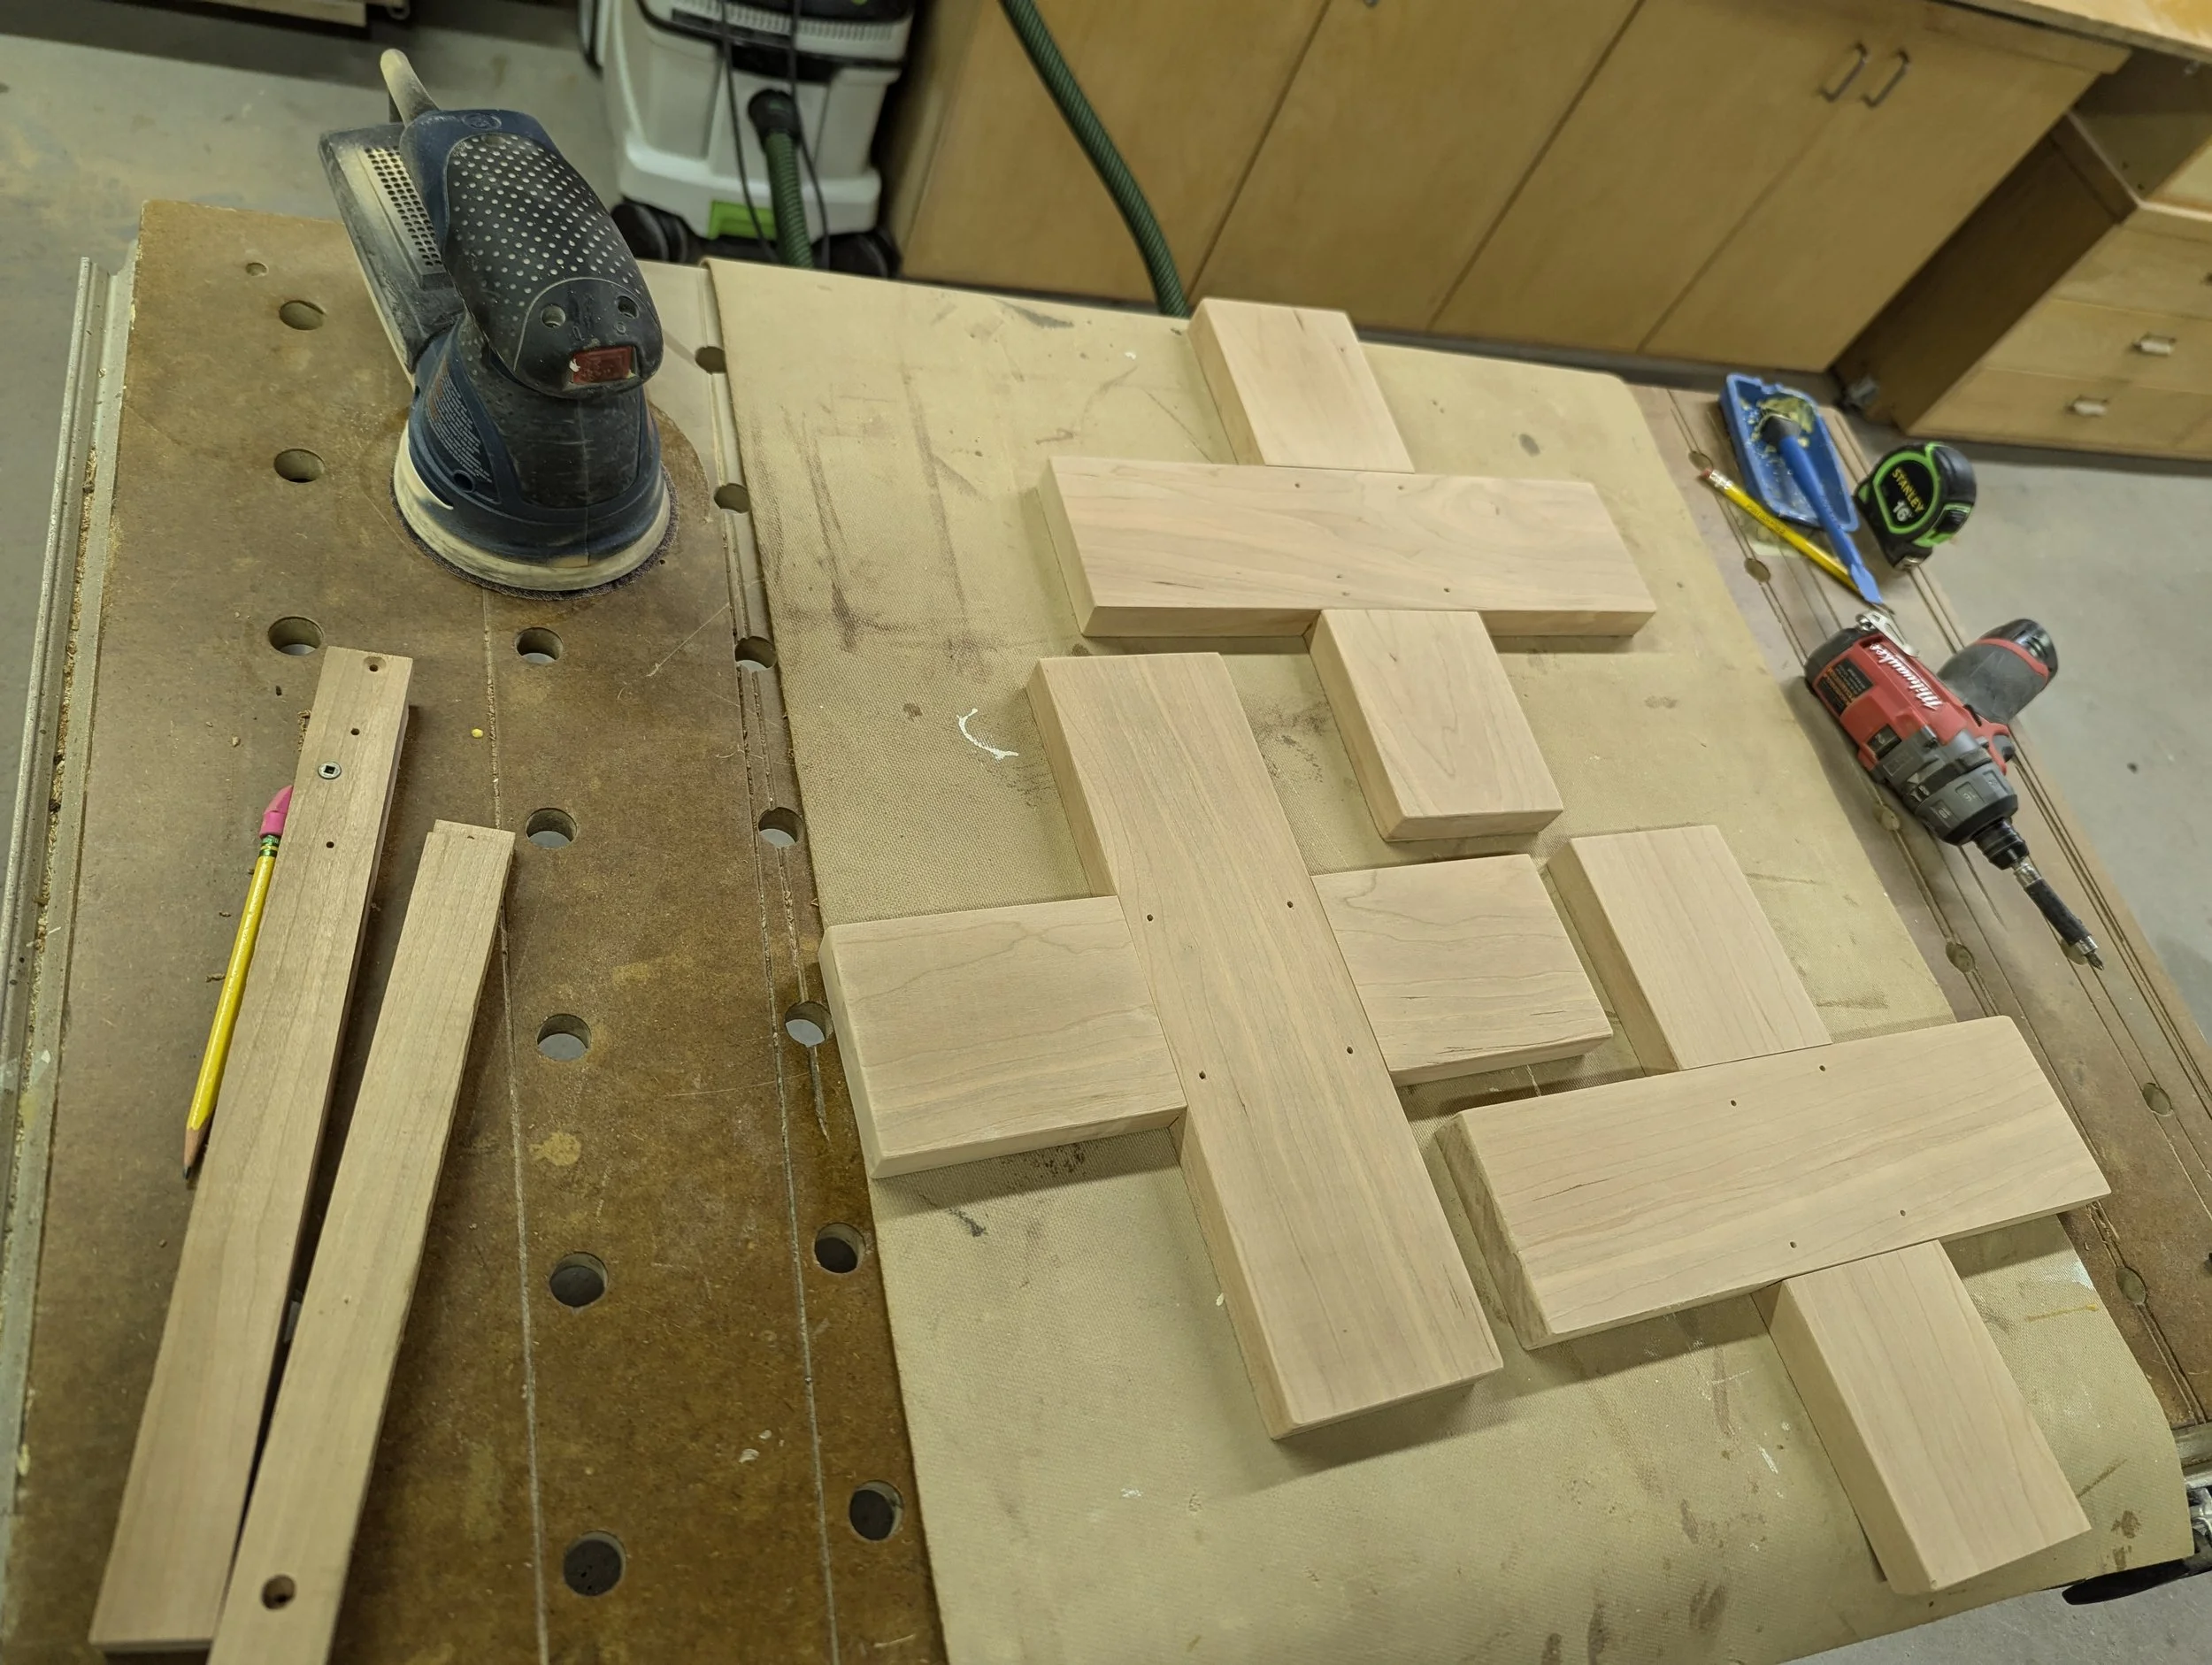
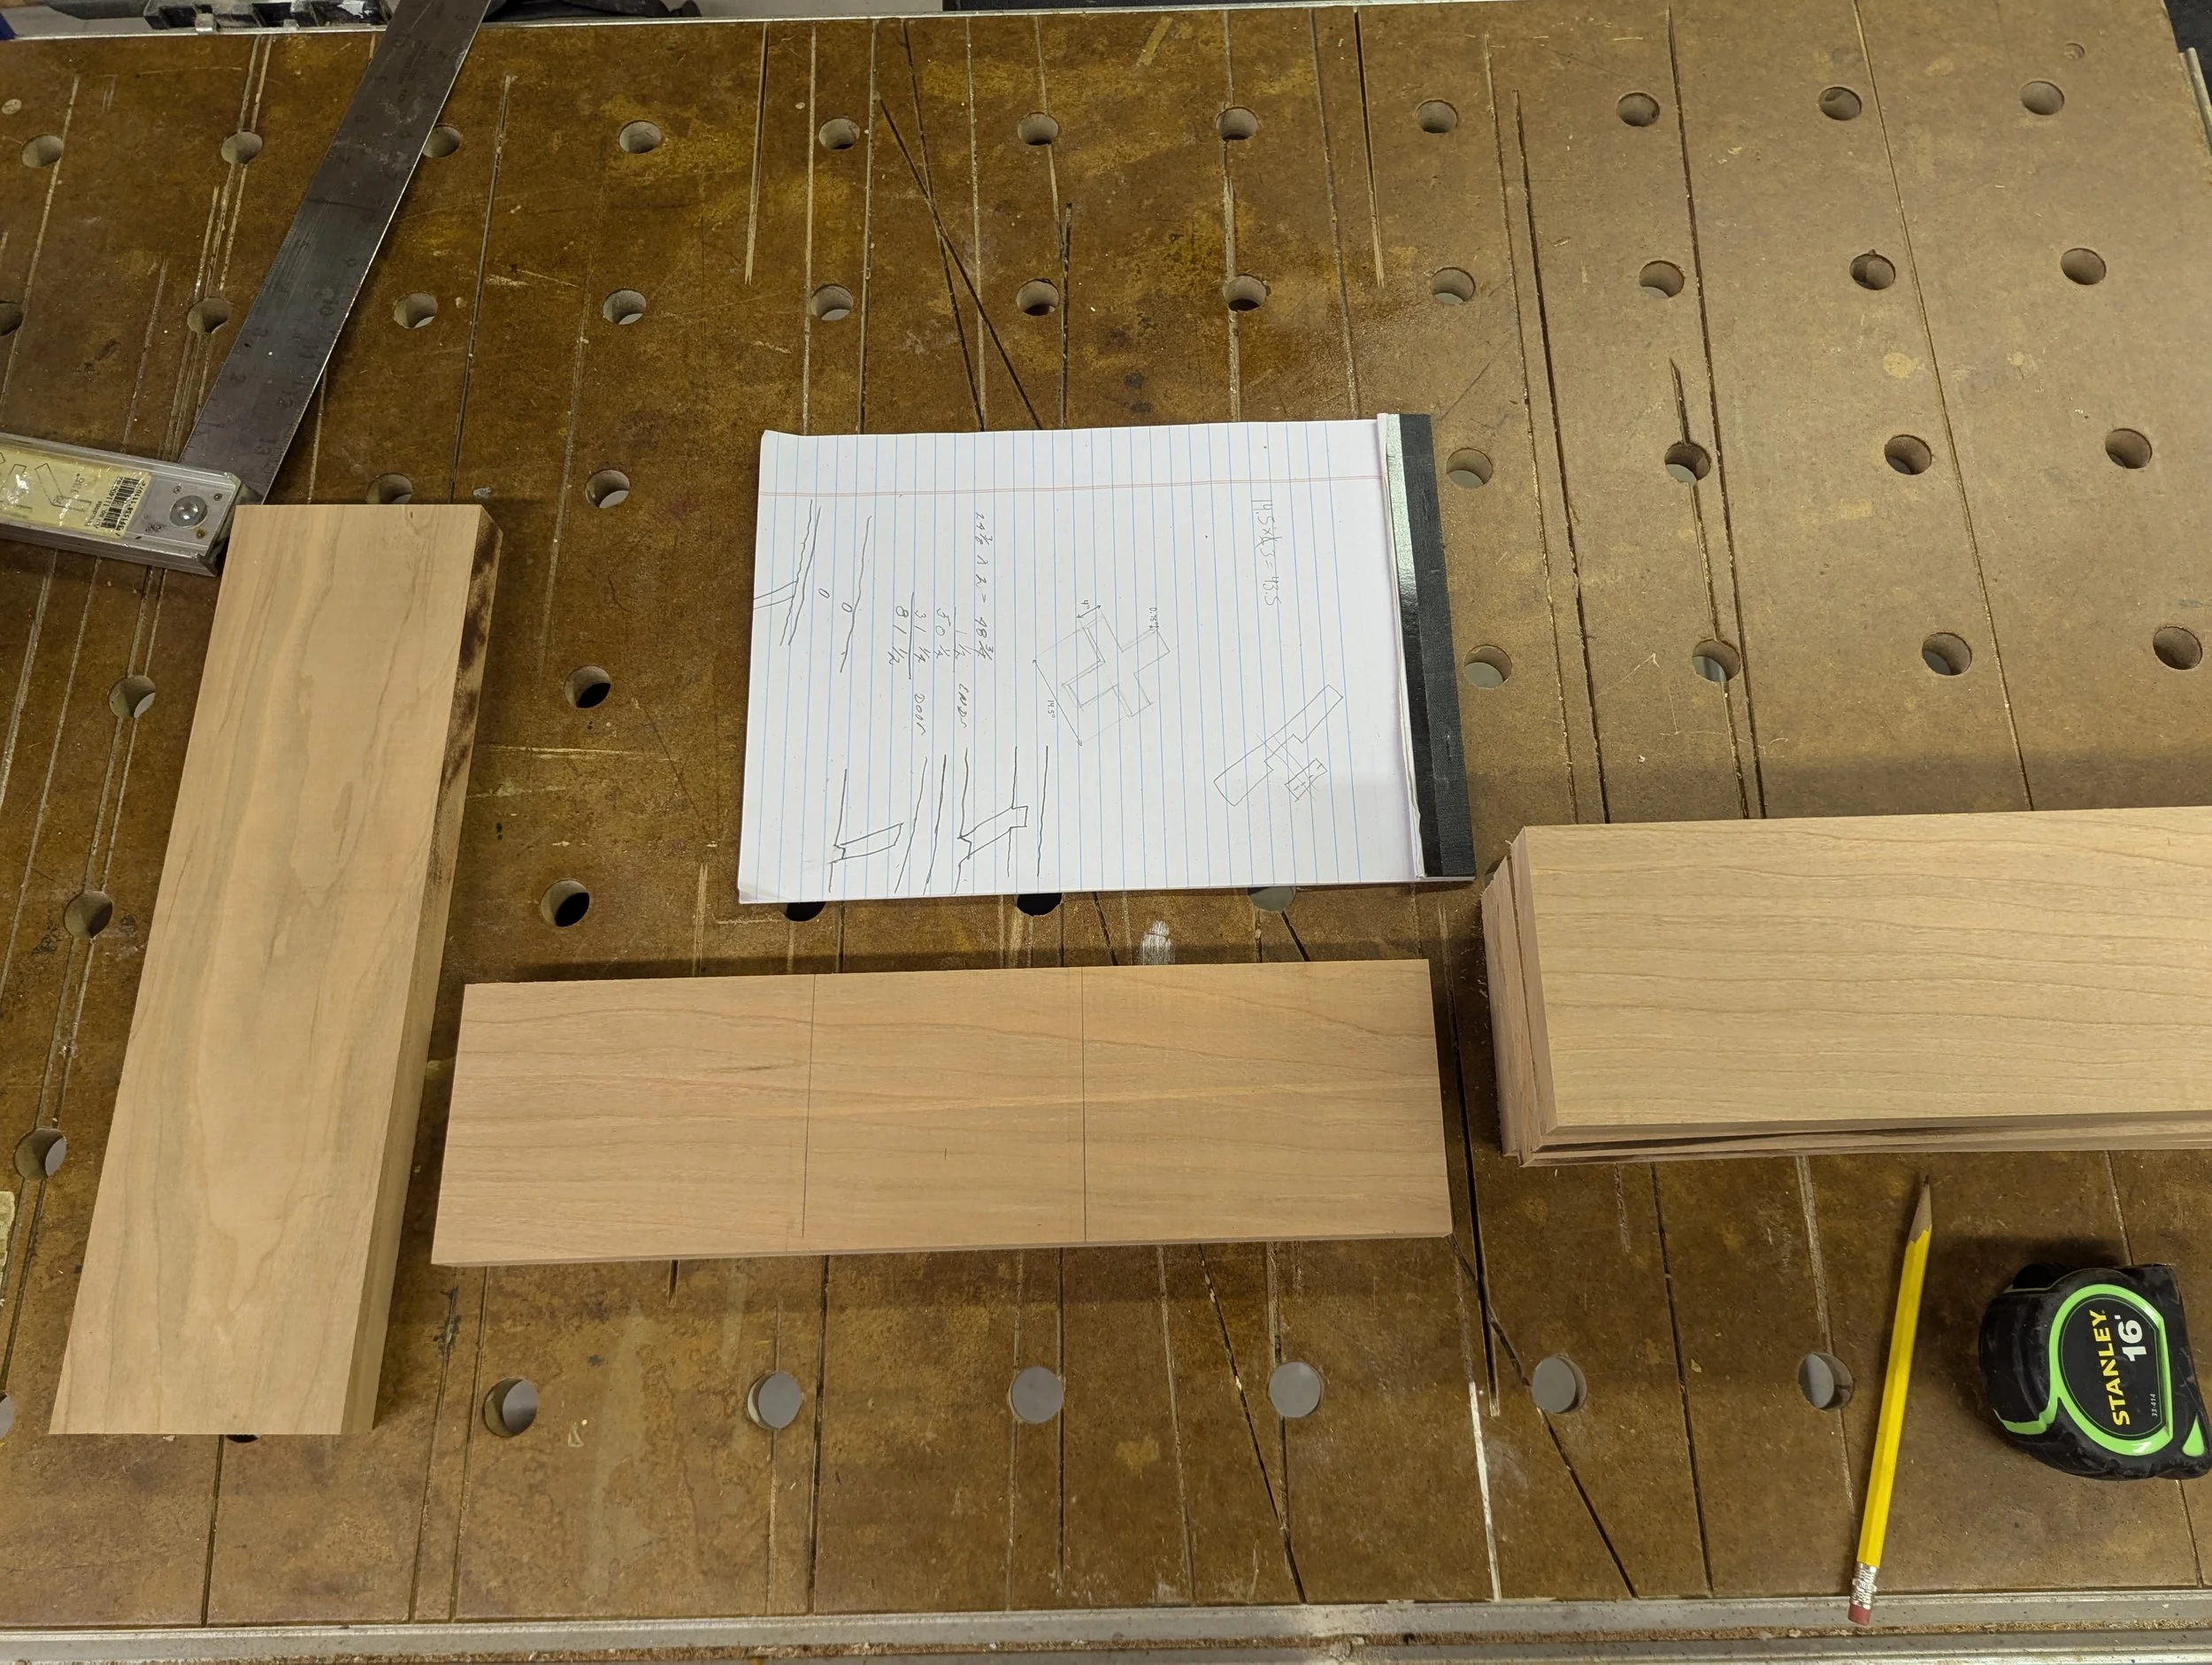
Table stands created via dado blade on the table saw for joinery, glued and screwed in from beneath
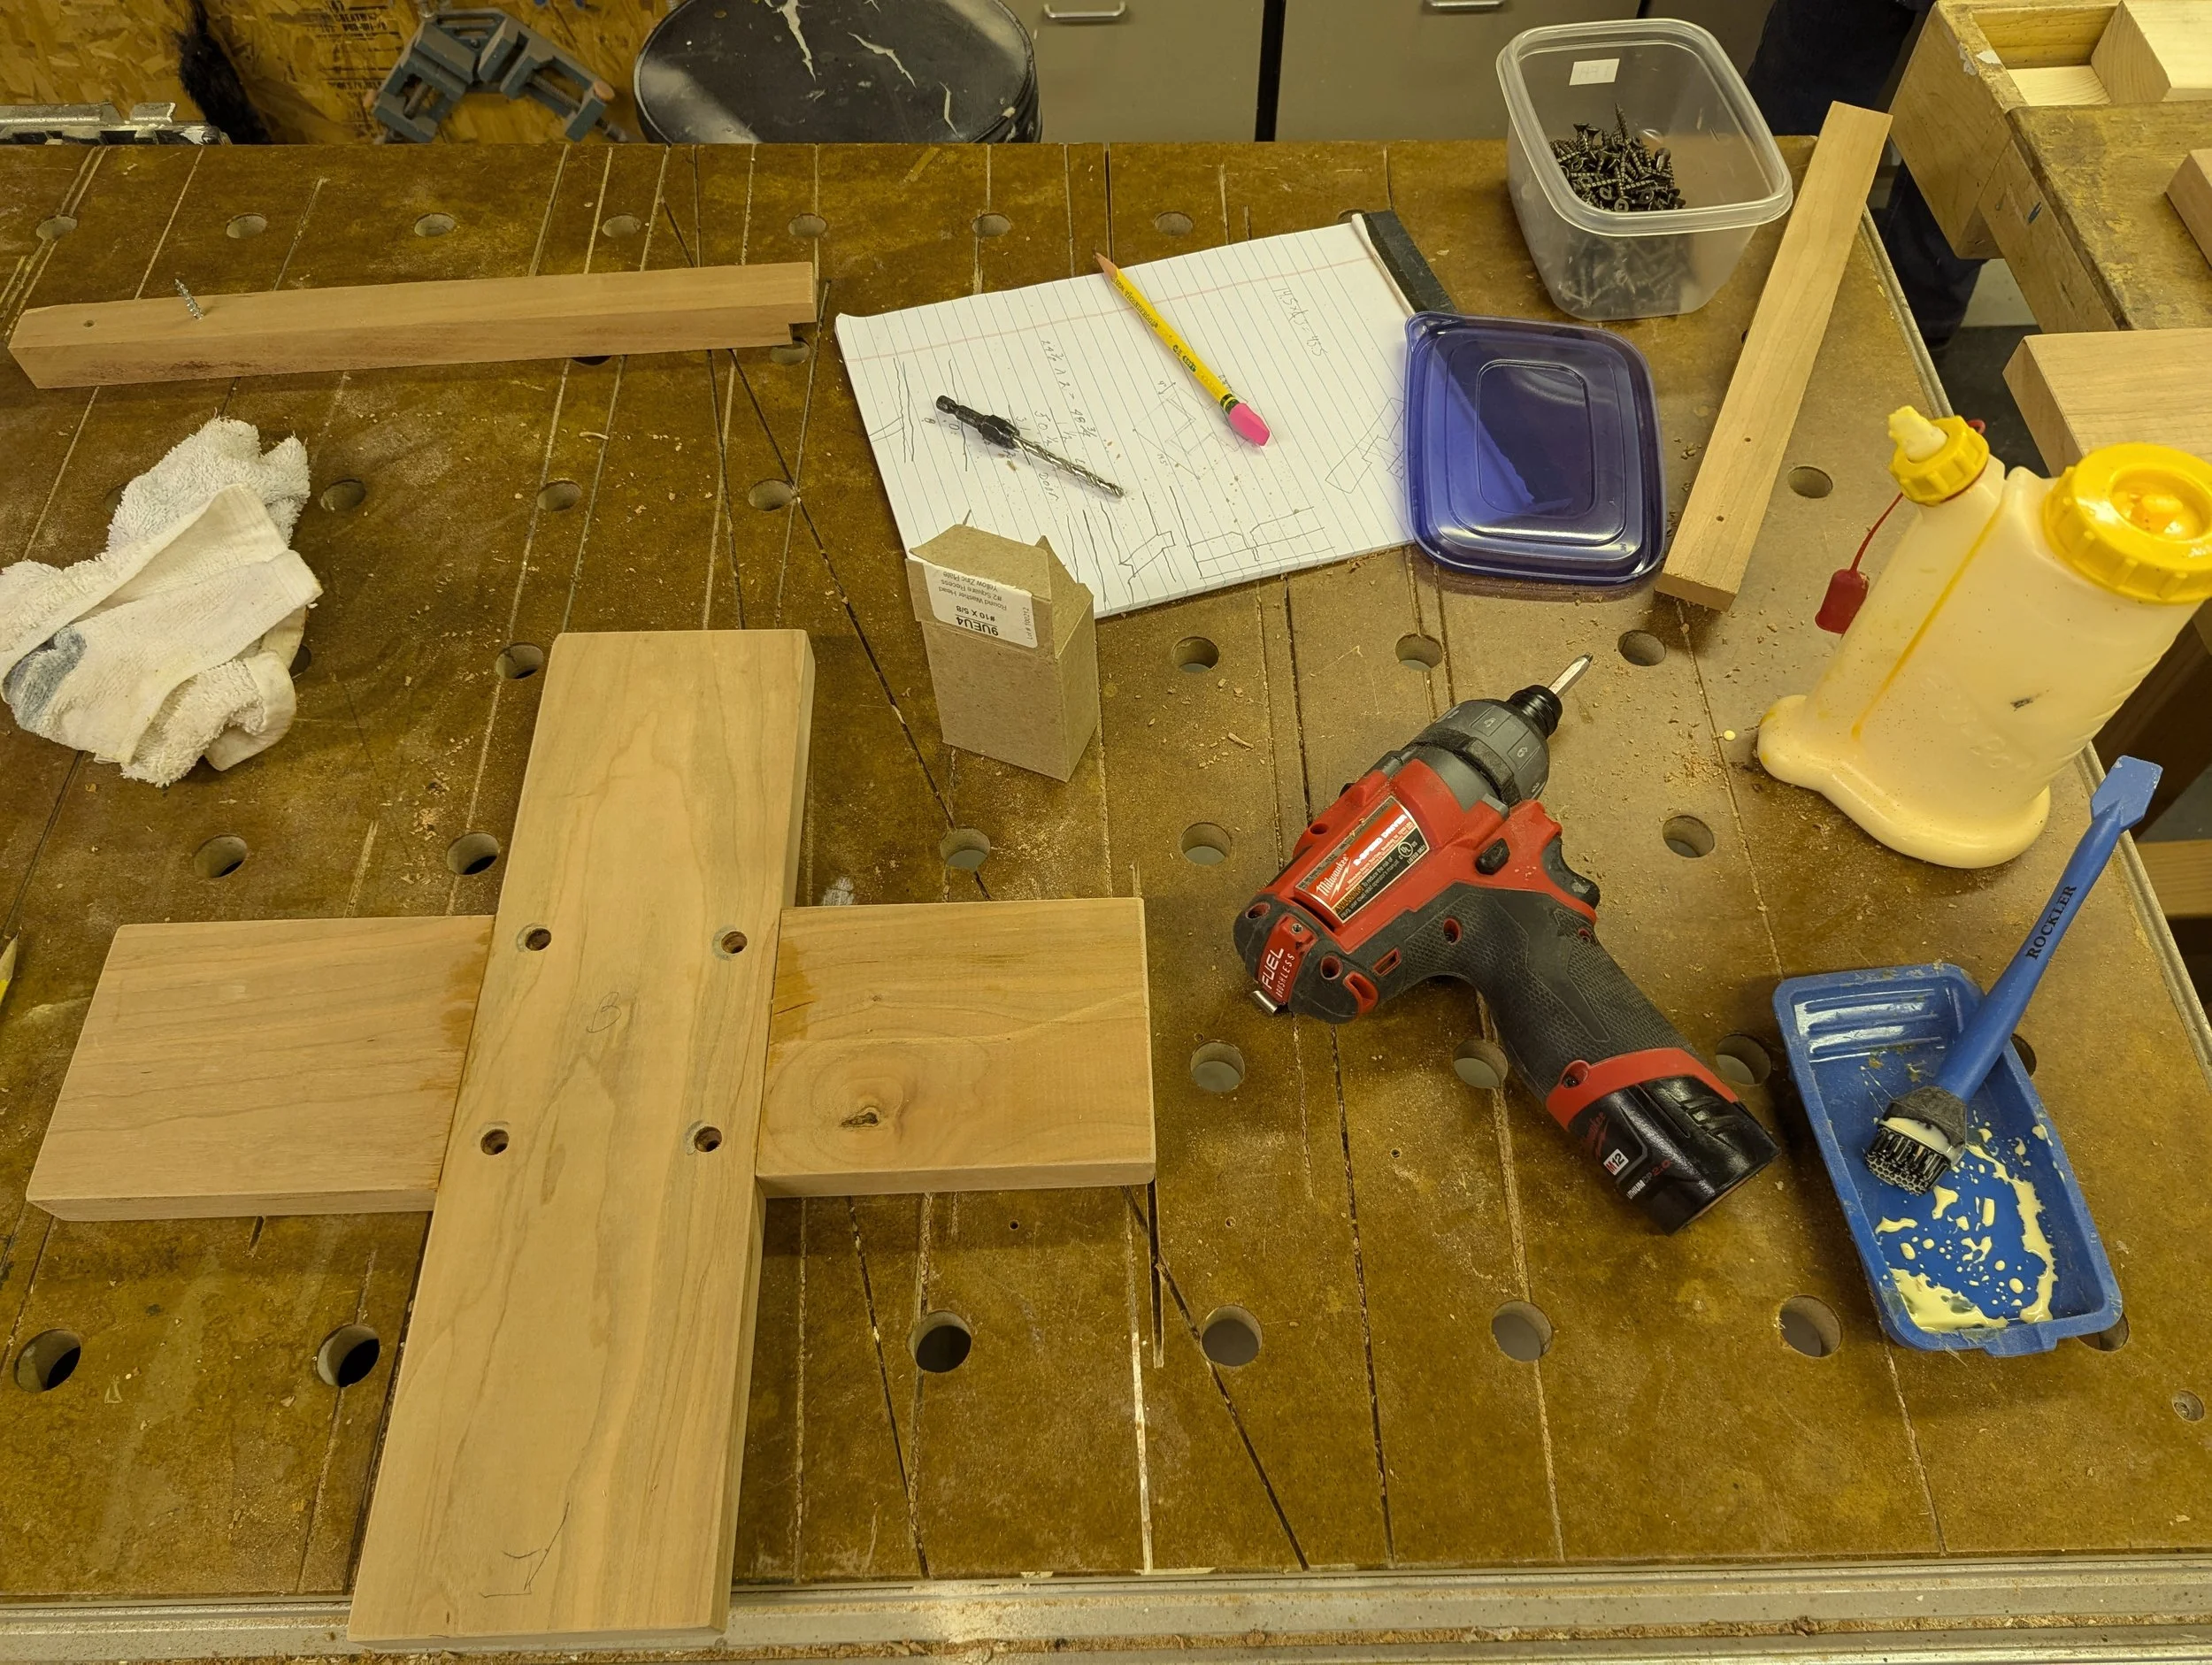
Stands attached to posts with screws and glue
Table tops sanded smooth via random orbital sander
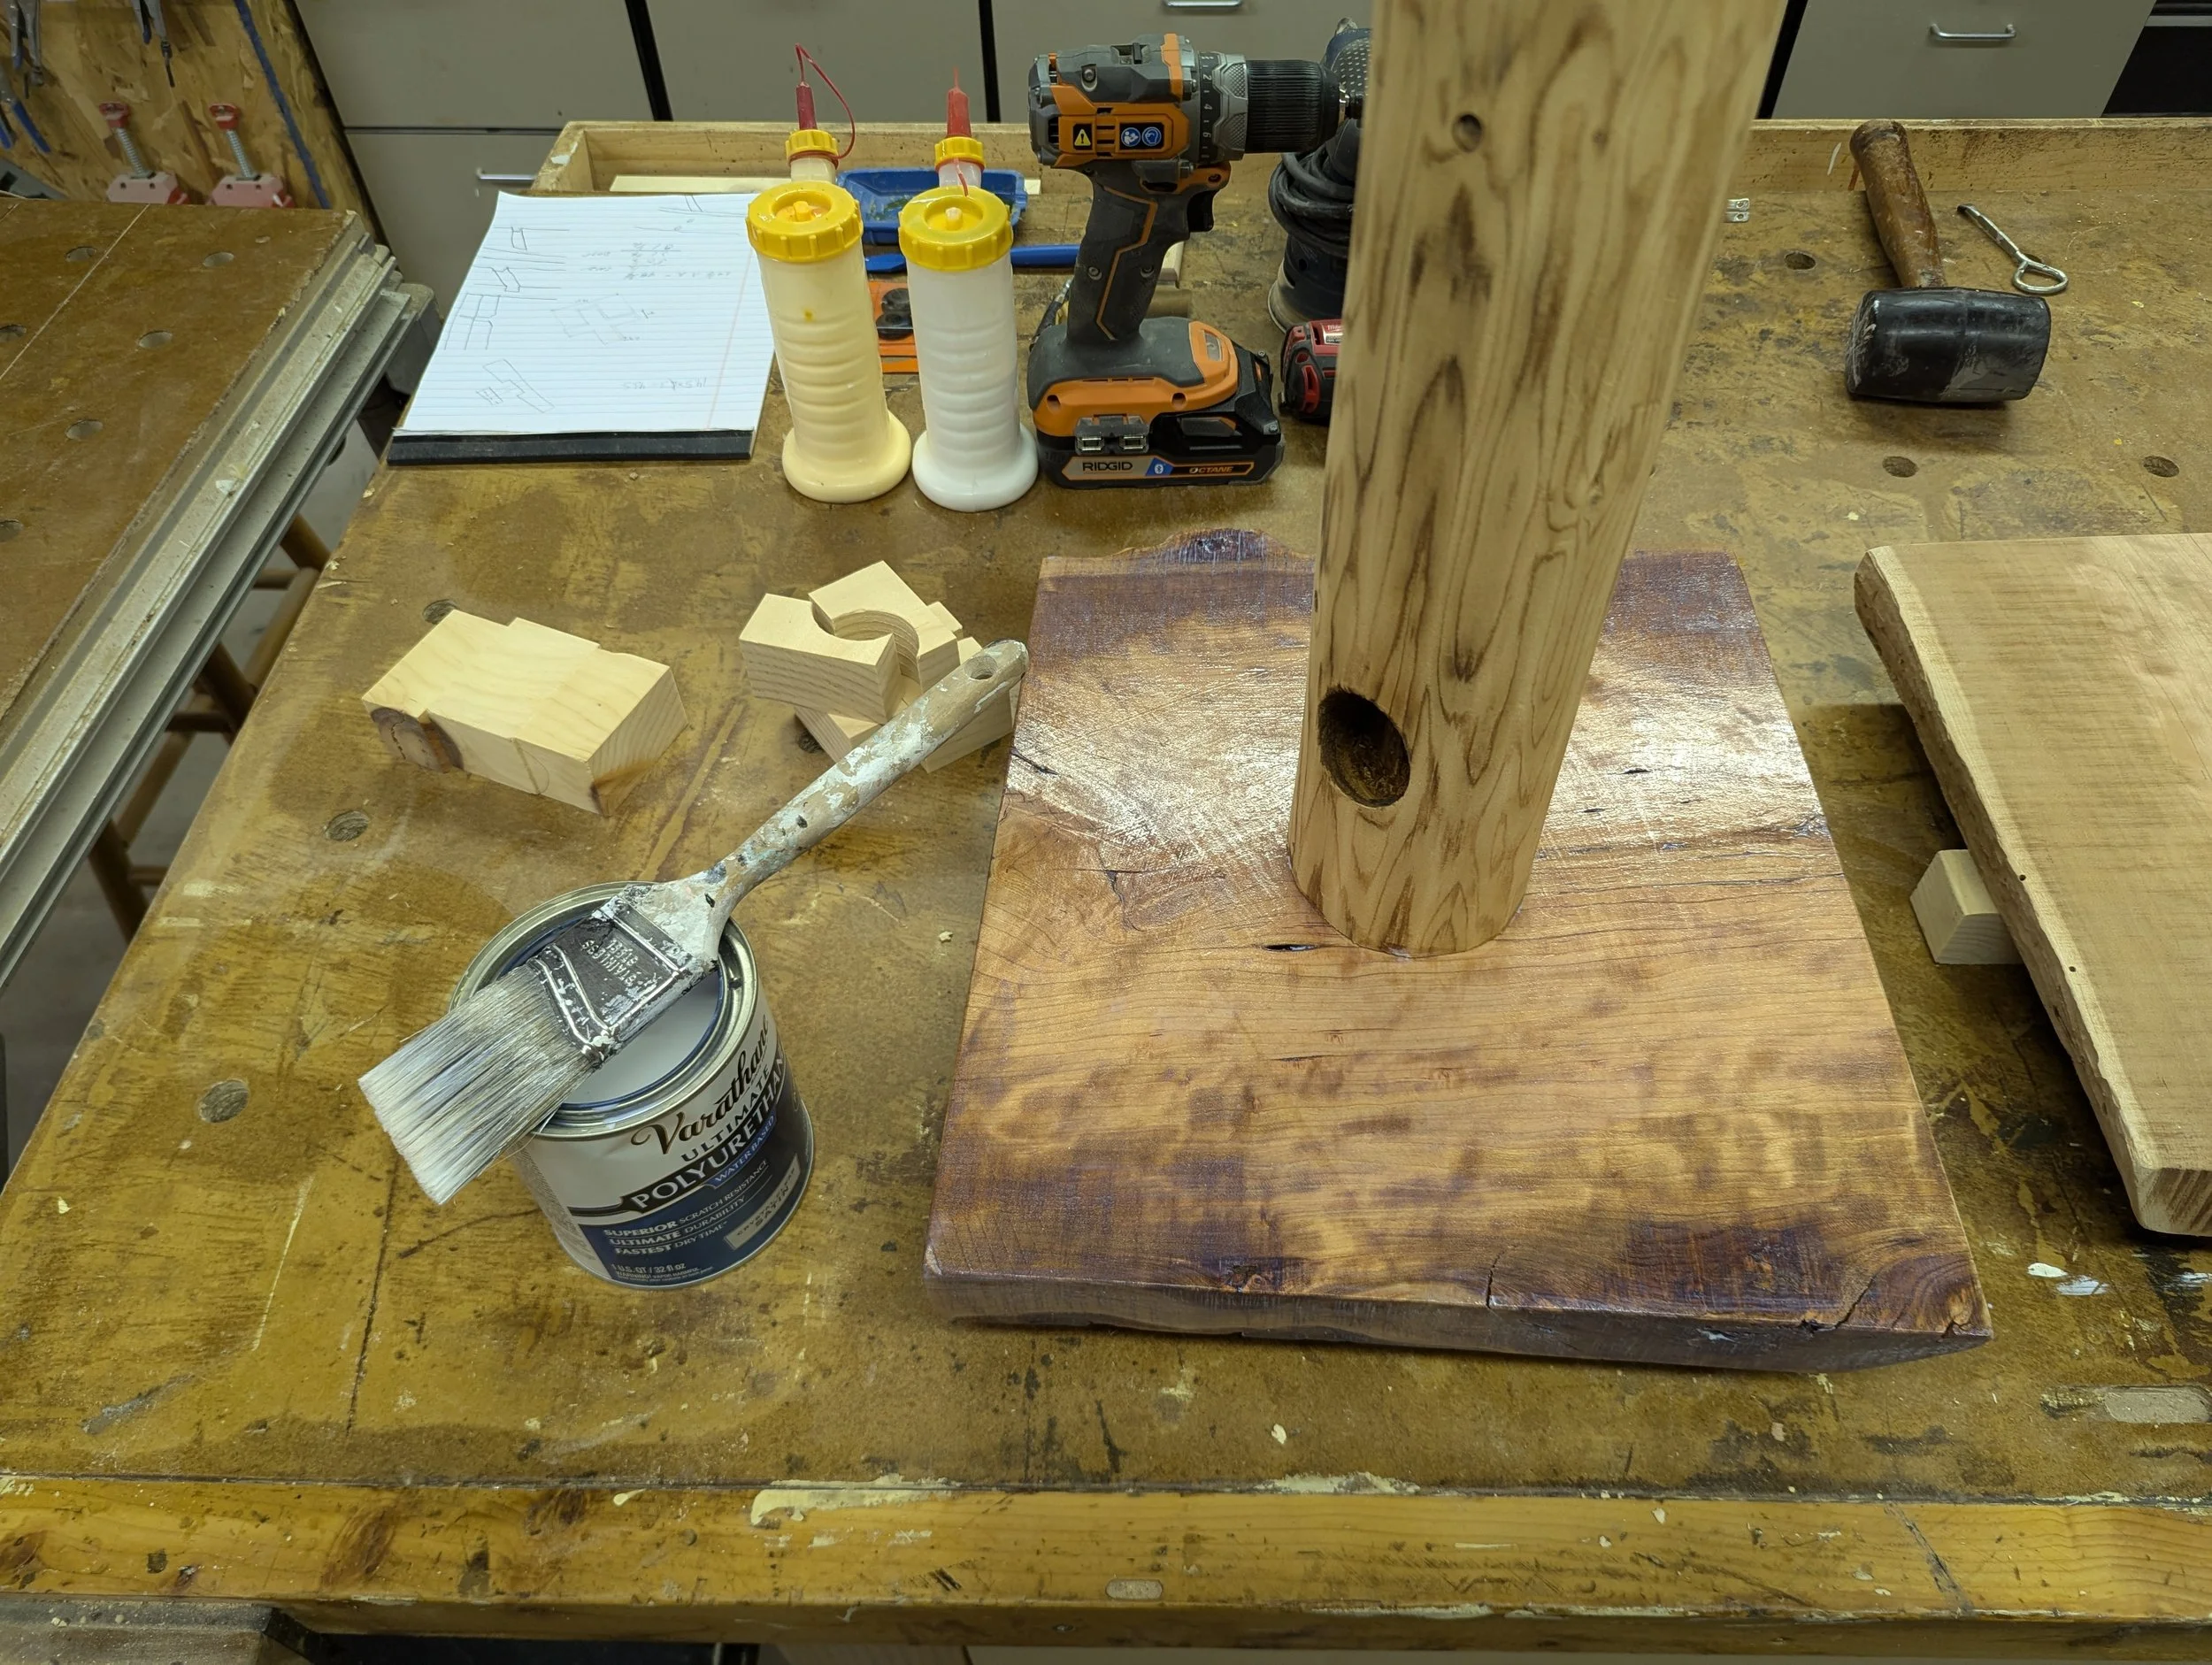
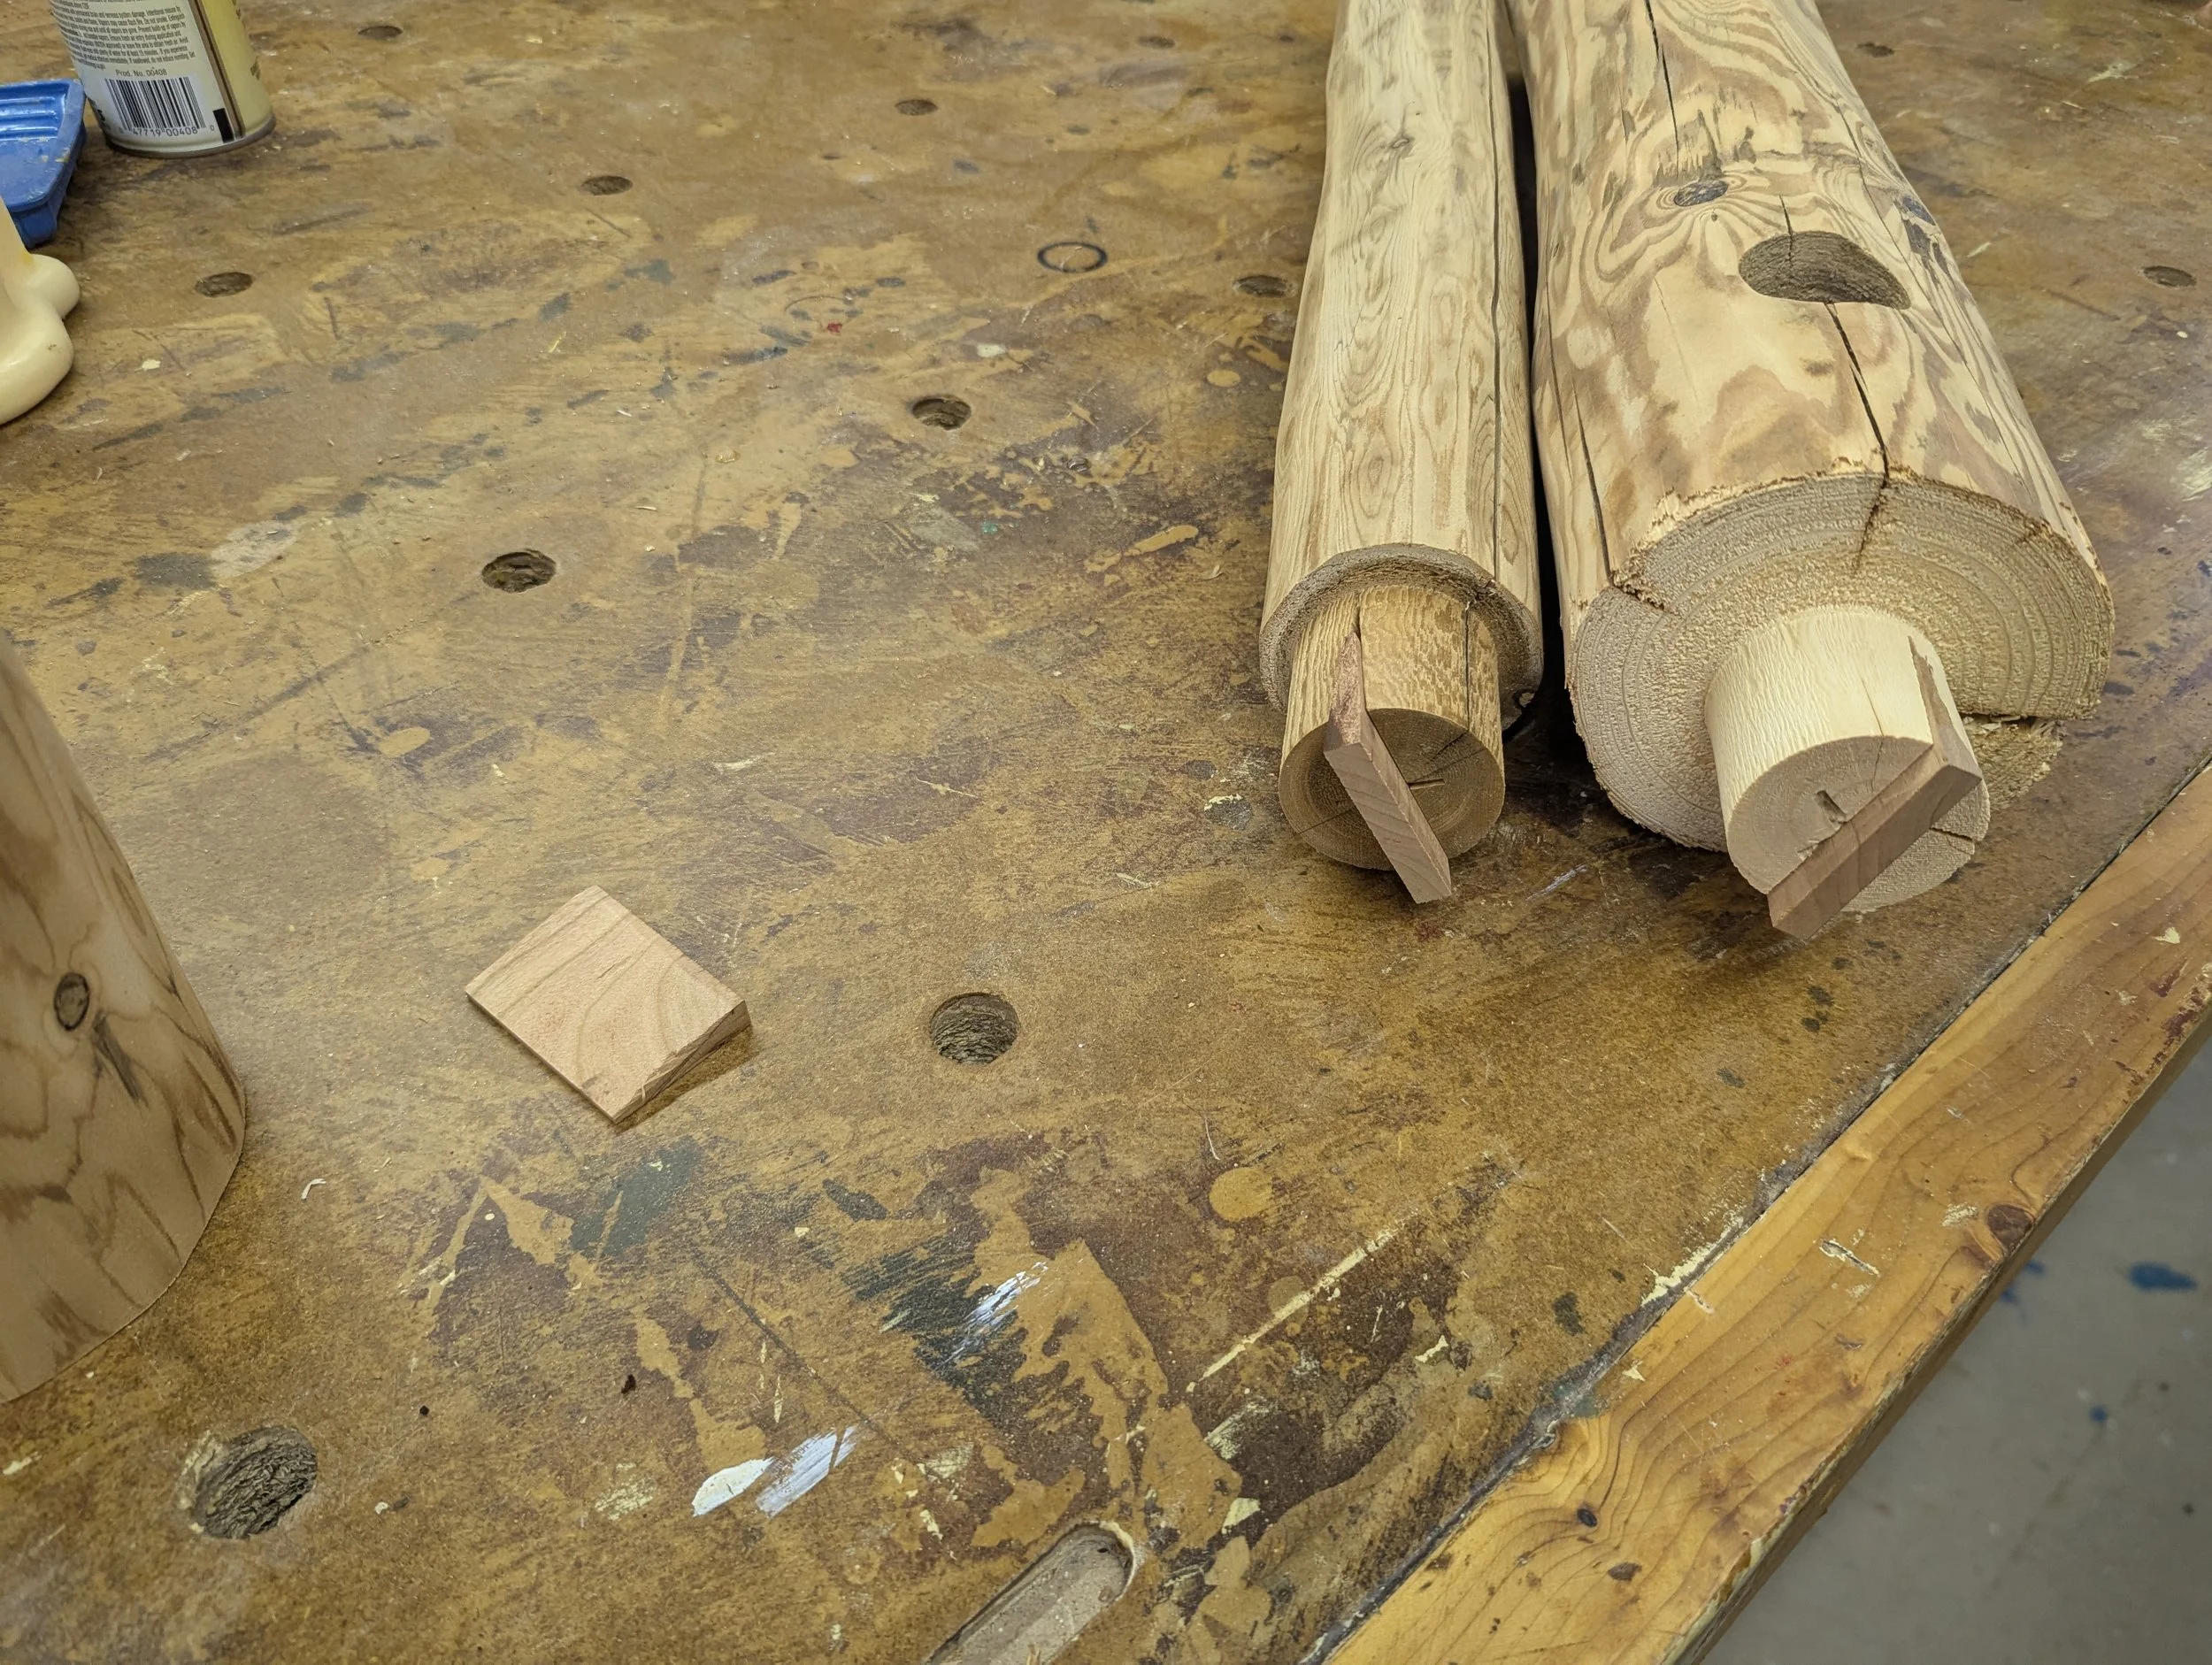
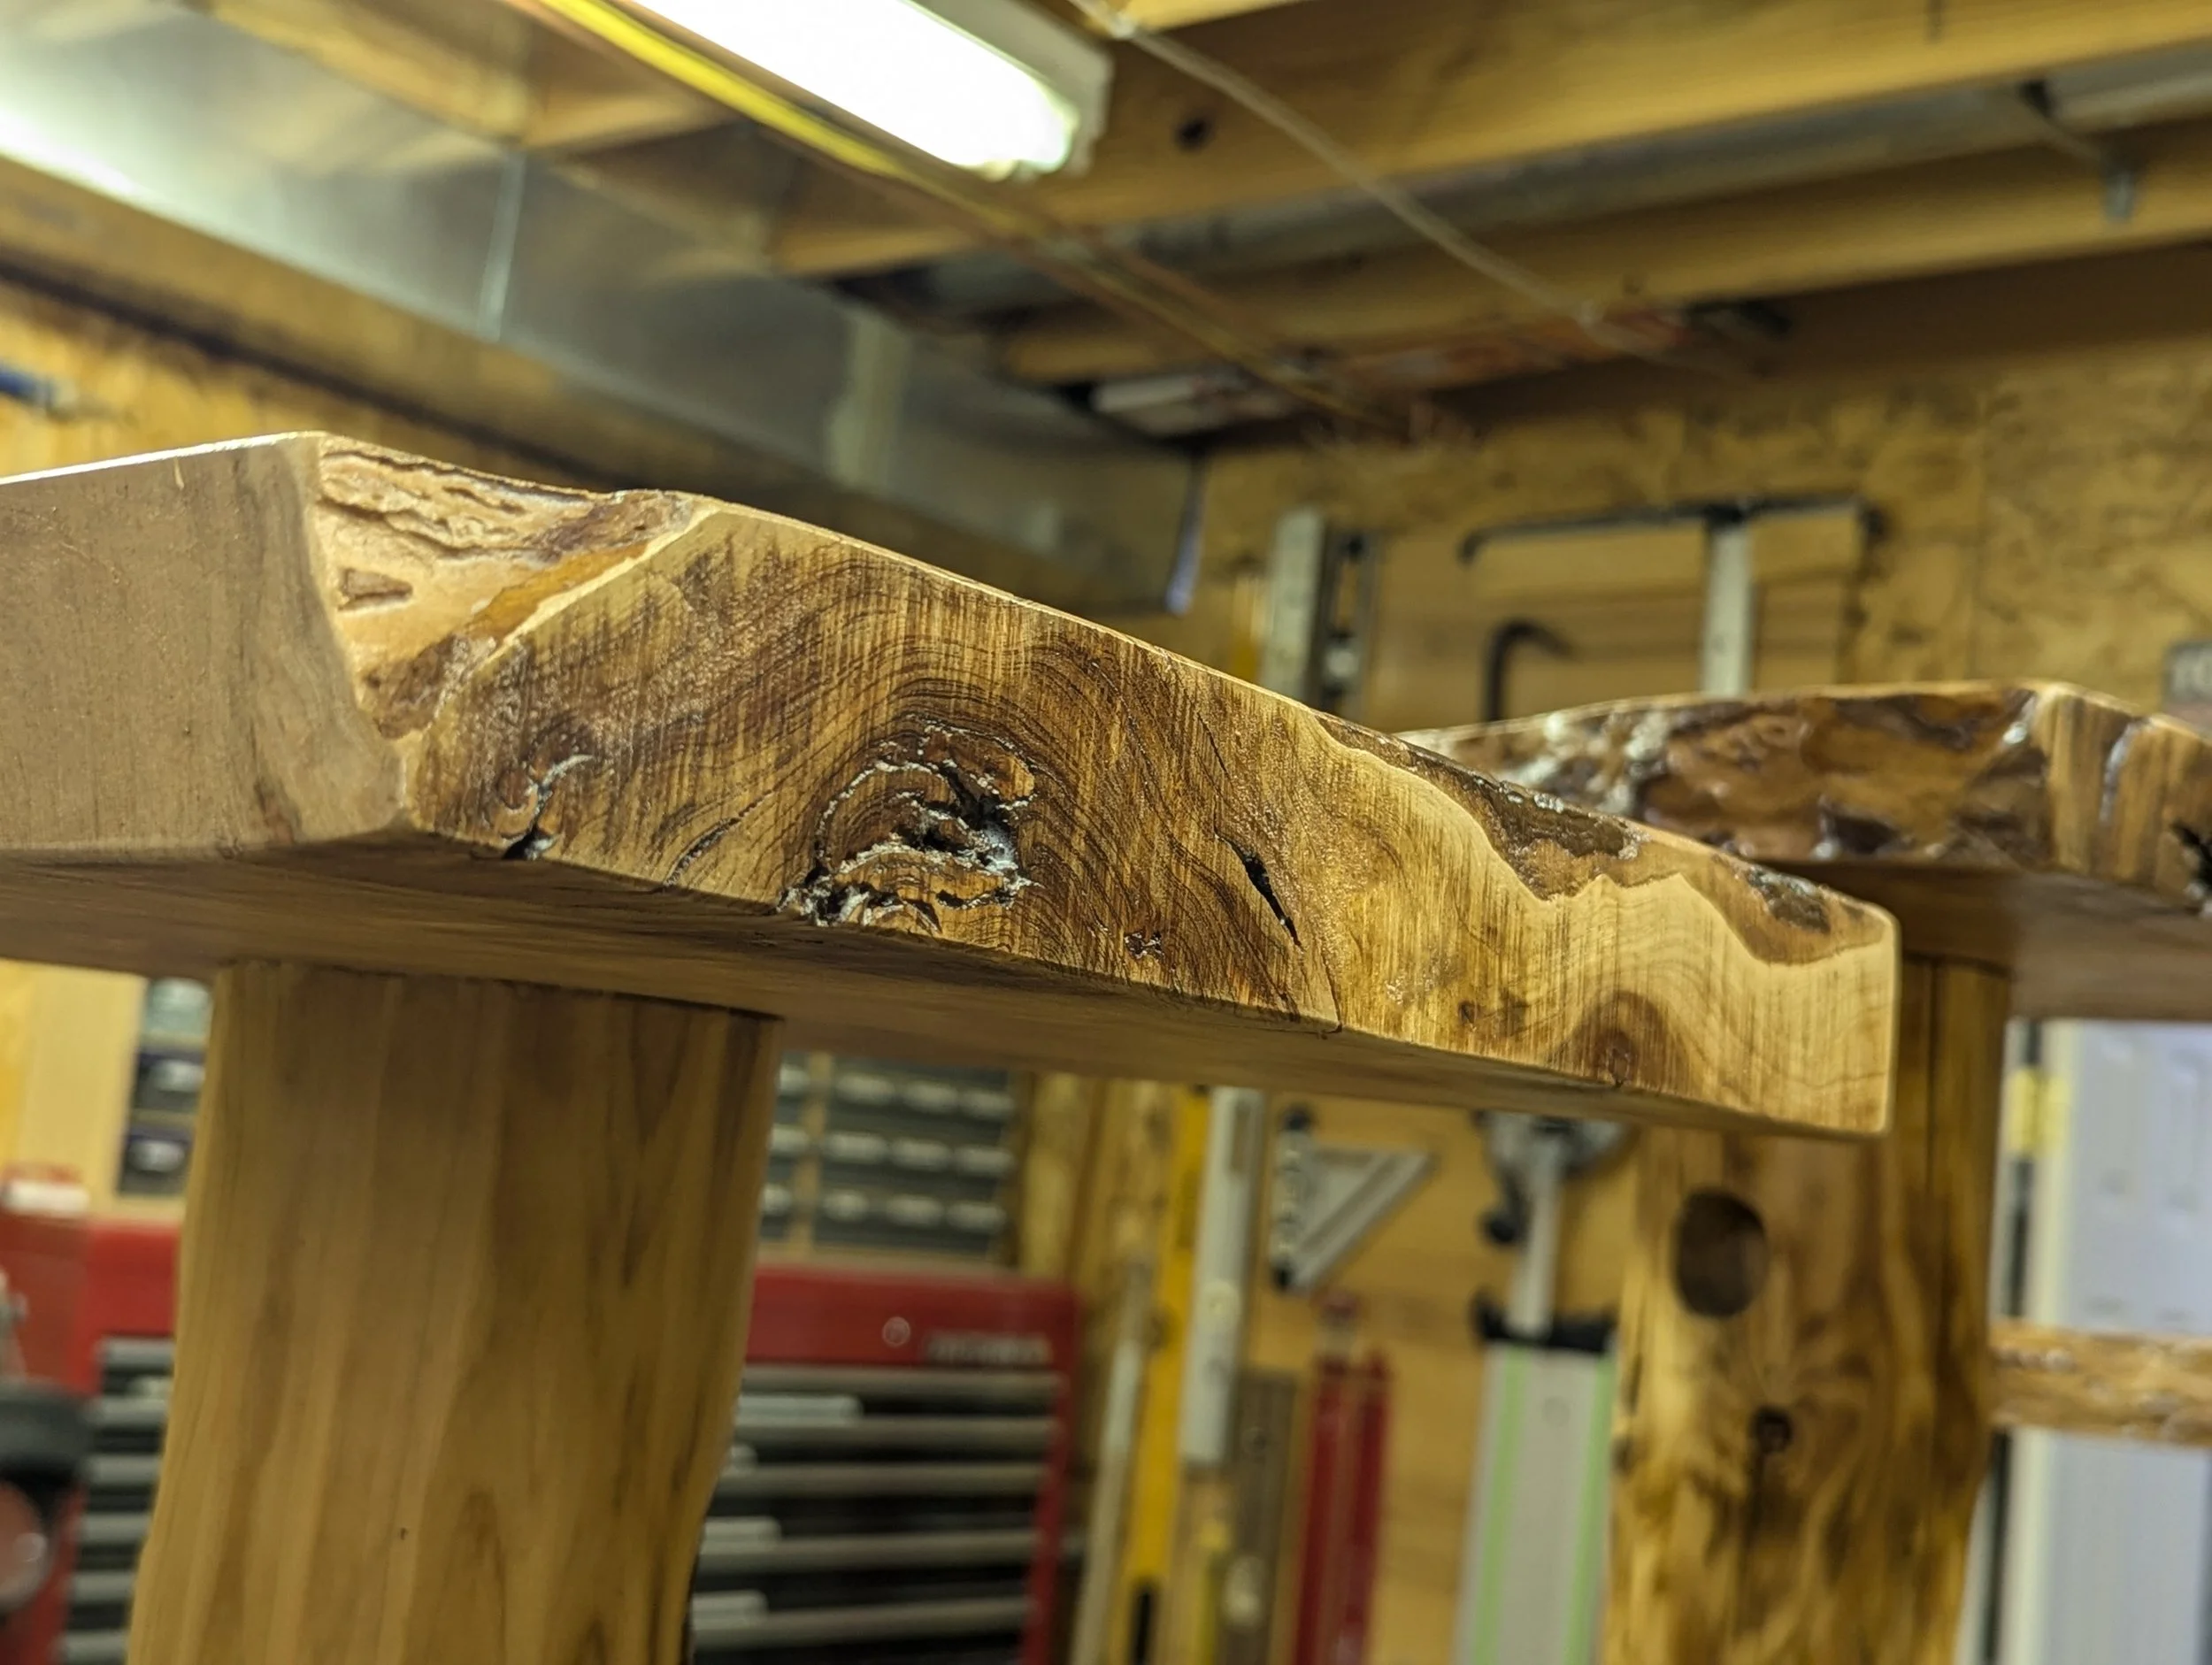
Cherry wedges used to tighten tenon joints once attached

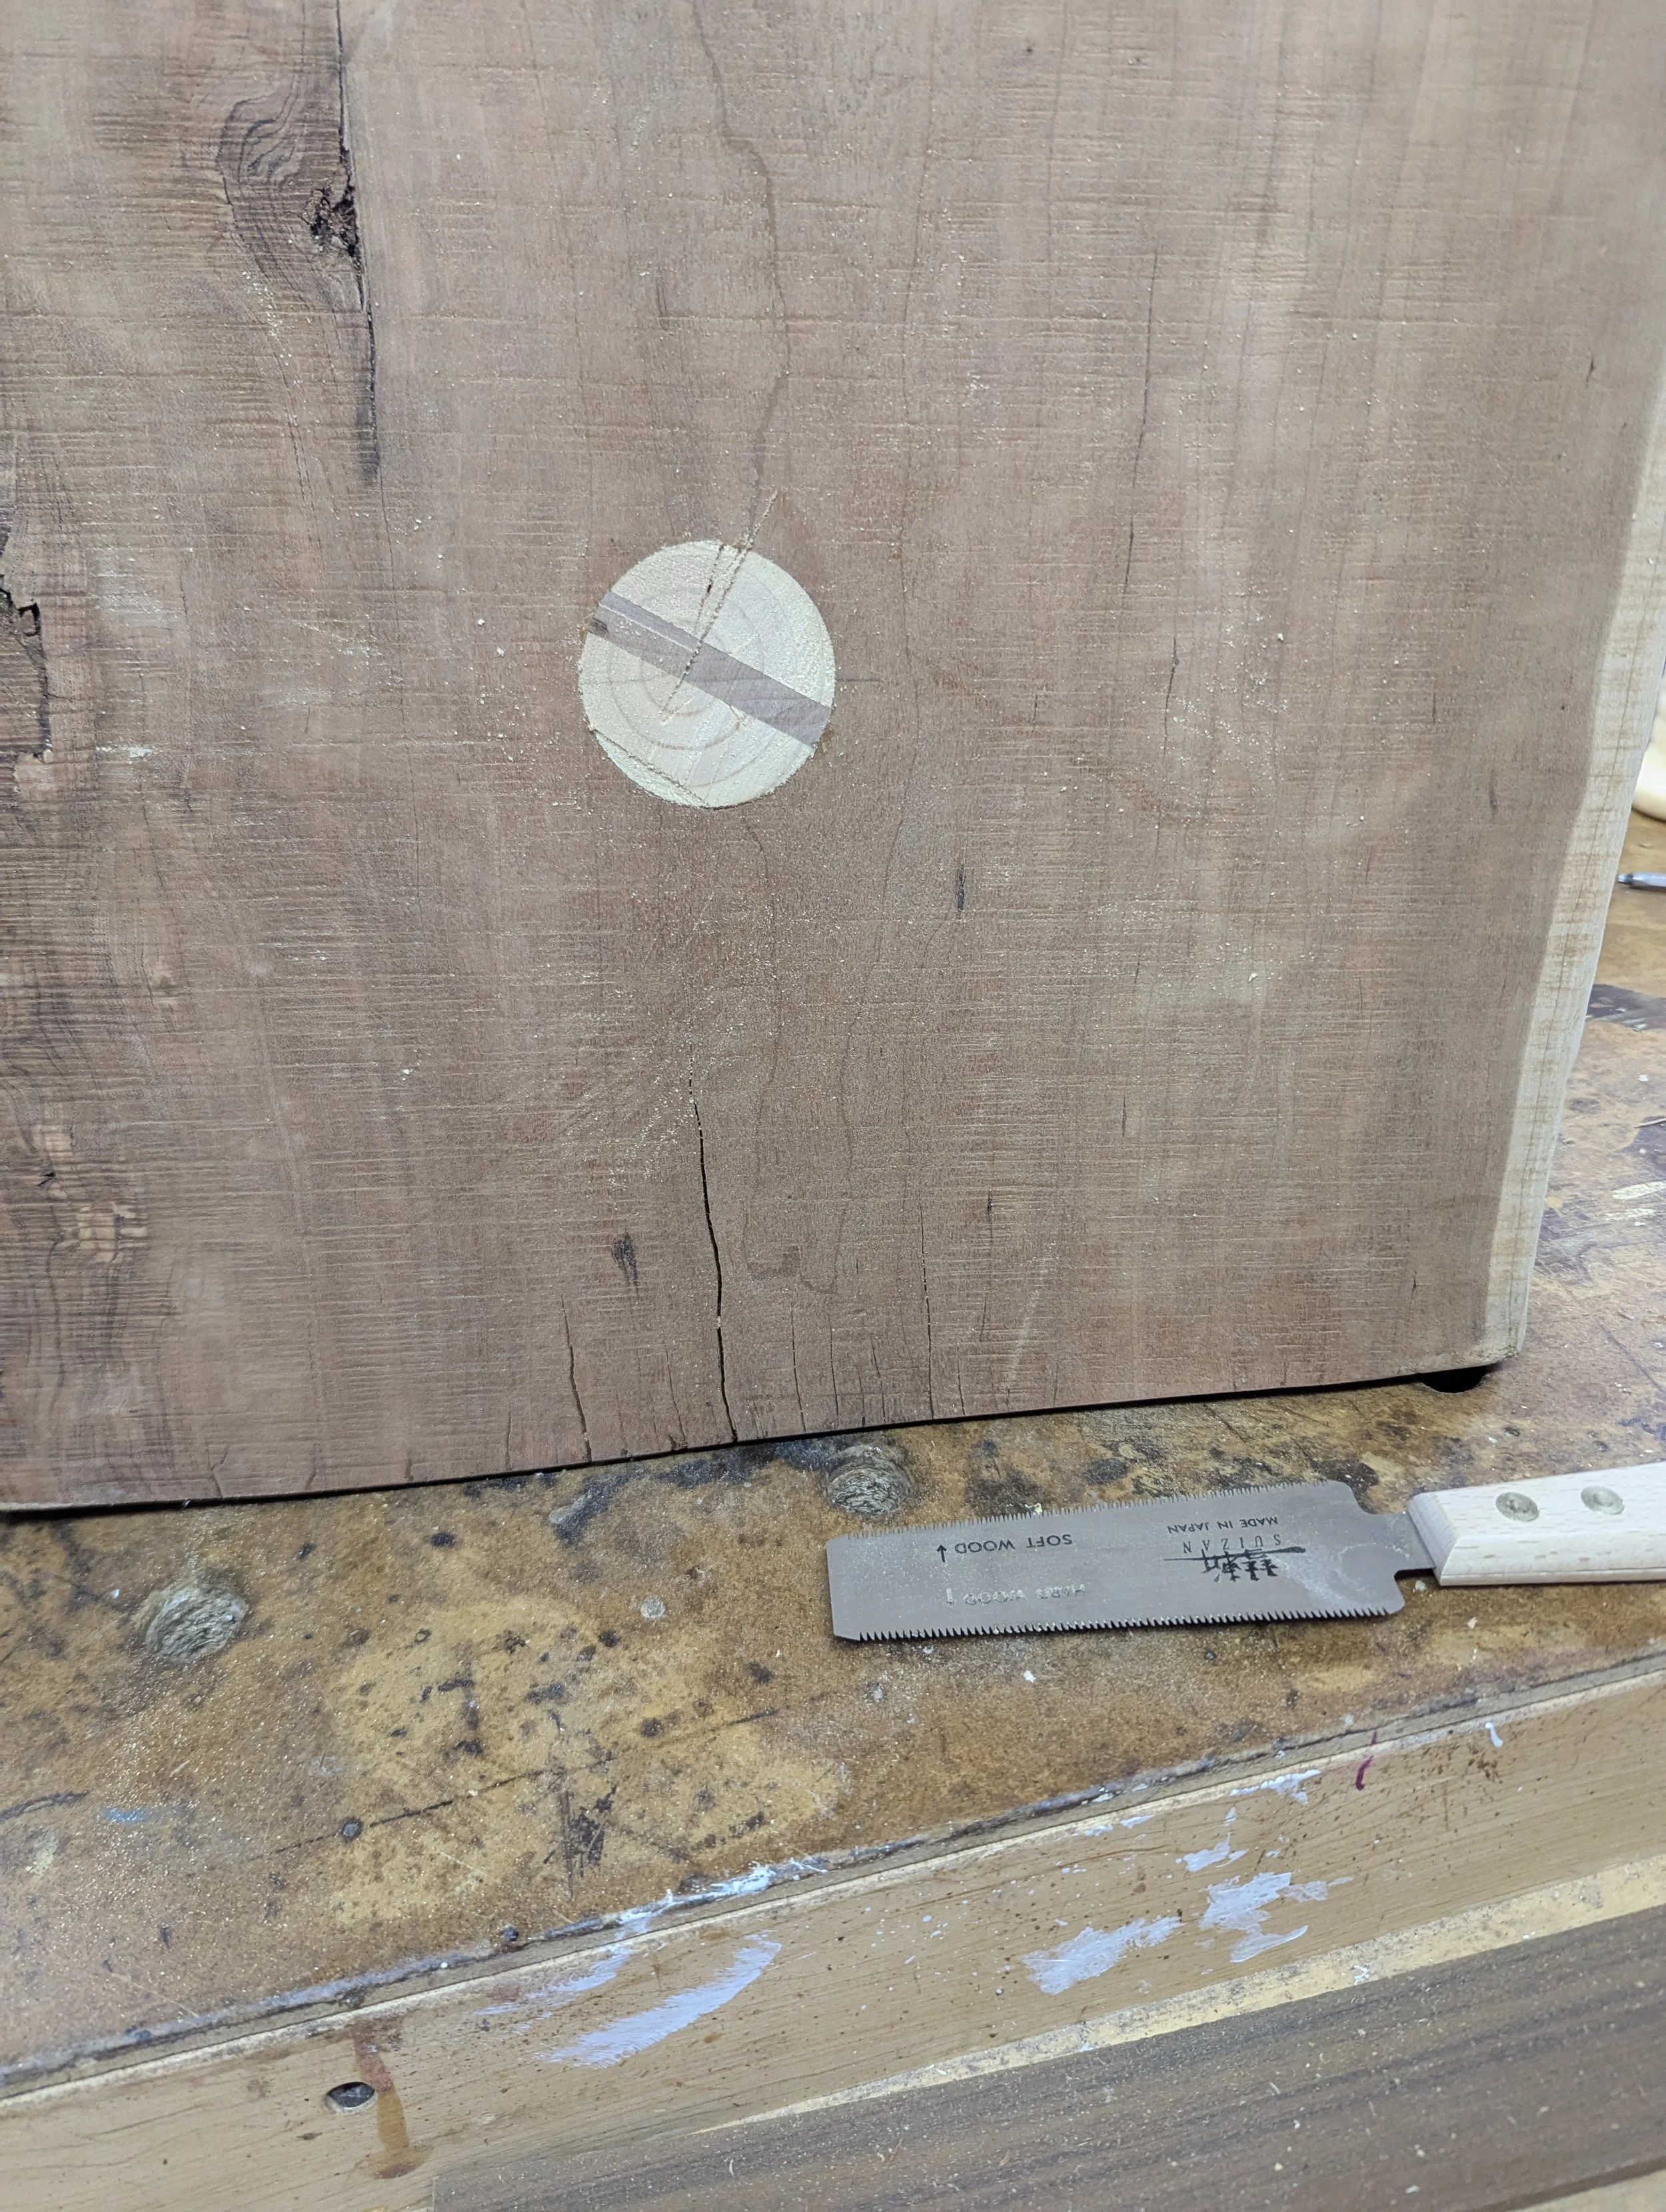
Attachment of tenons and table tops with glue and wedges (hammered into tenon gaps); protruding material cut off via Japanese pull saw