Lego Table
May-December 2025
Duration: 7 months
Project Description:
What began as a summer project turned into a long journey with many learning opportunities. This table required a combination of skills, including fine woodworking, pattern making, and knowledge of epoxy resin. The final result highlights all of these areas of expertise as a stunning and functional coffee table.
Project Goals:
I had an ambitious vision heading into summer break for this table. My original goal was just to get rid of some of my old Legos that had been sitting around for so long. But once I got the project rolling, I was determined to make this a highlight of my portfolio.
Legos used: ~6,000
Epoxy poured: 3.5 gallons
Weight: 160 lbs
Wood species: White oak & cedar
IDEATION
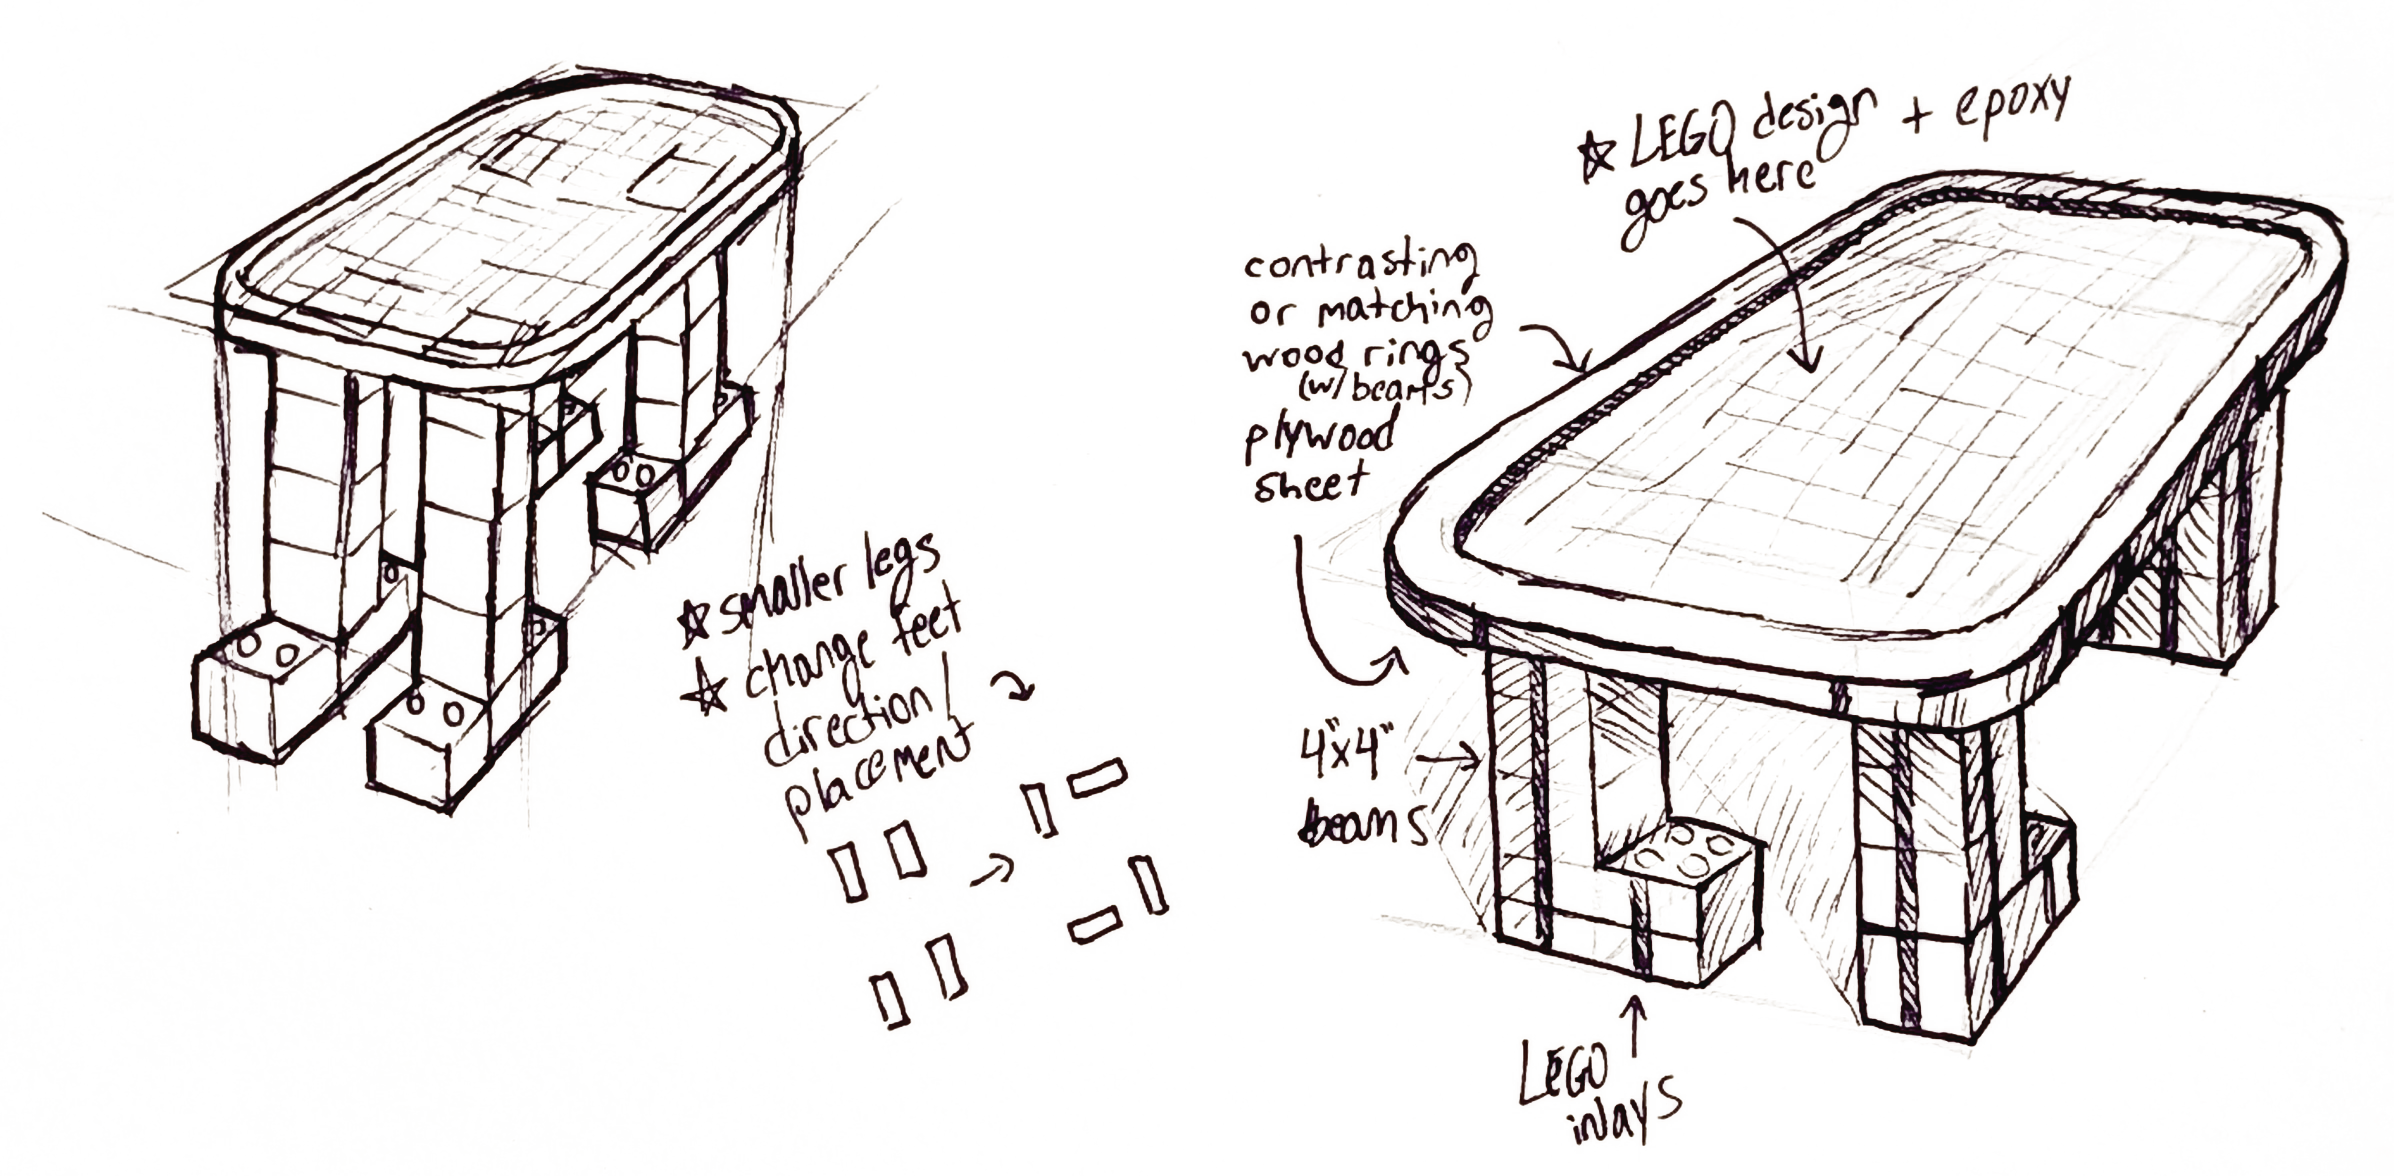
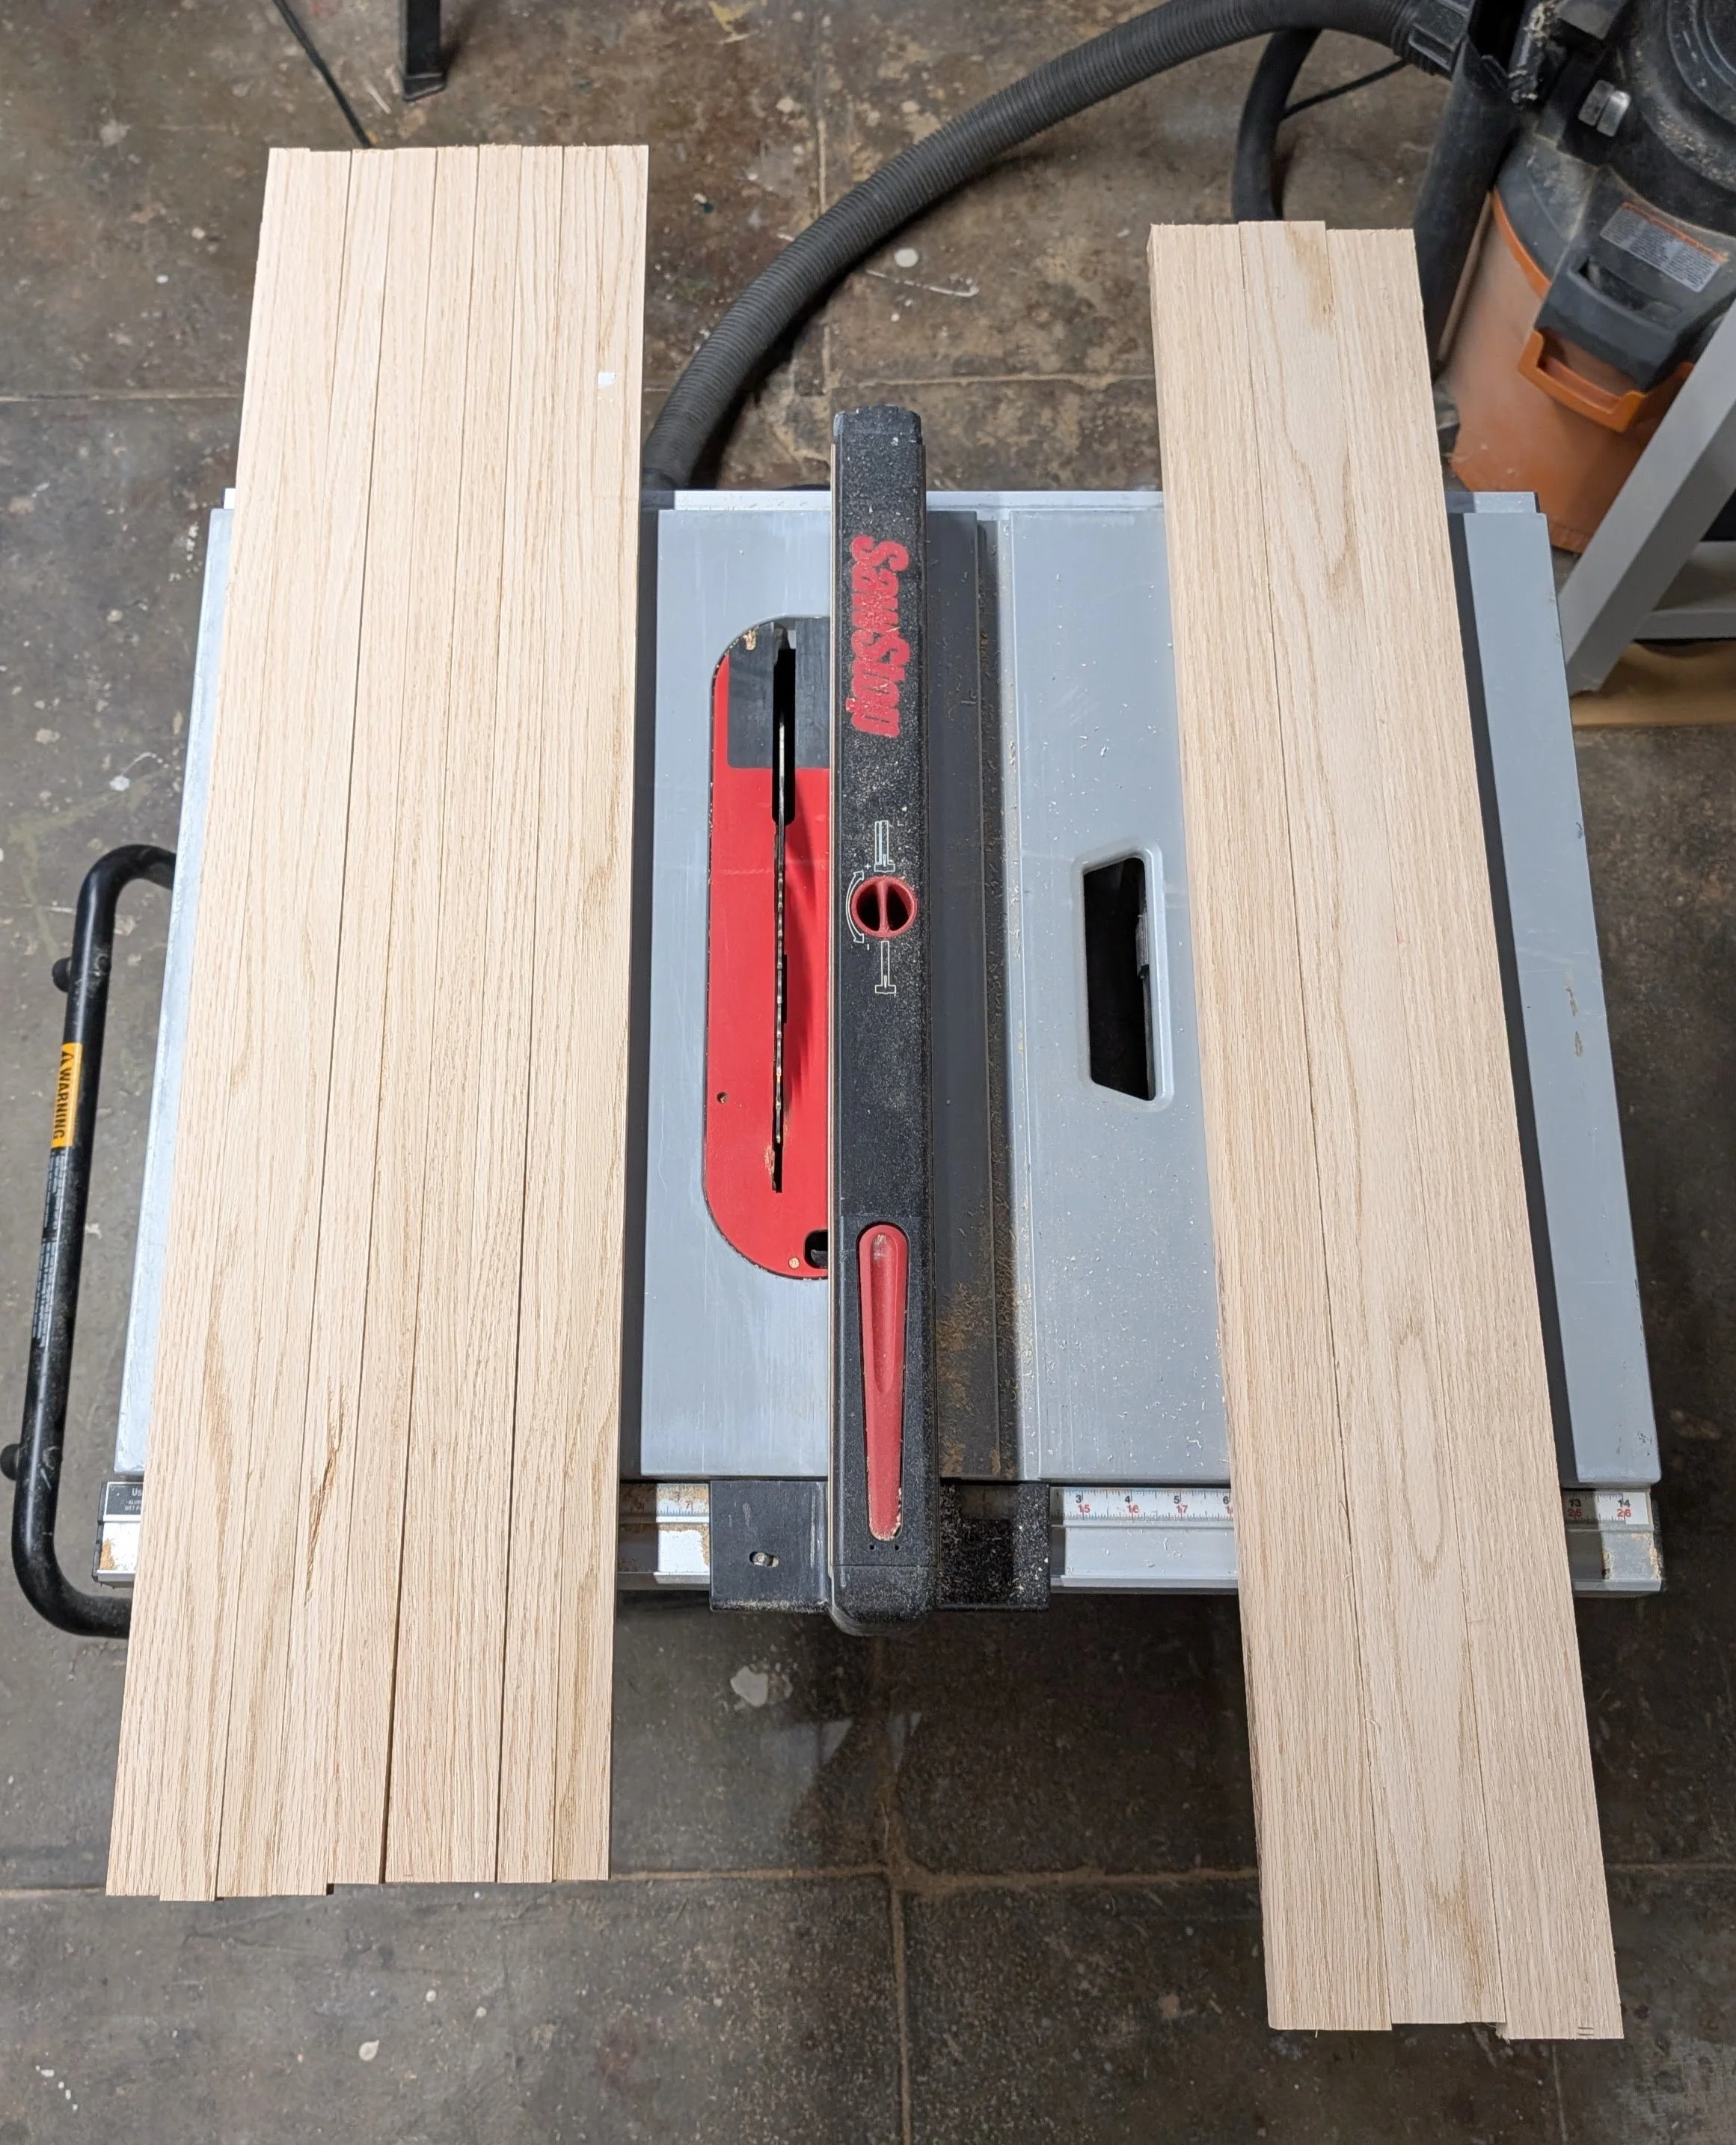
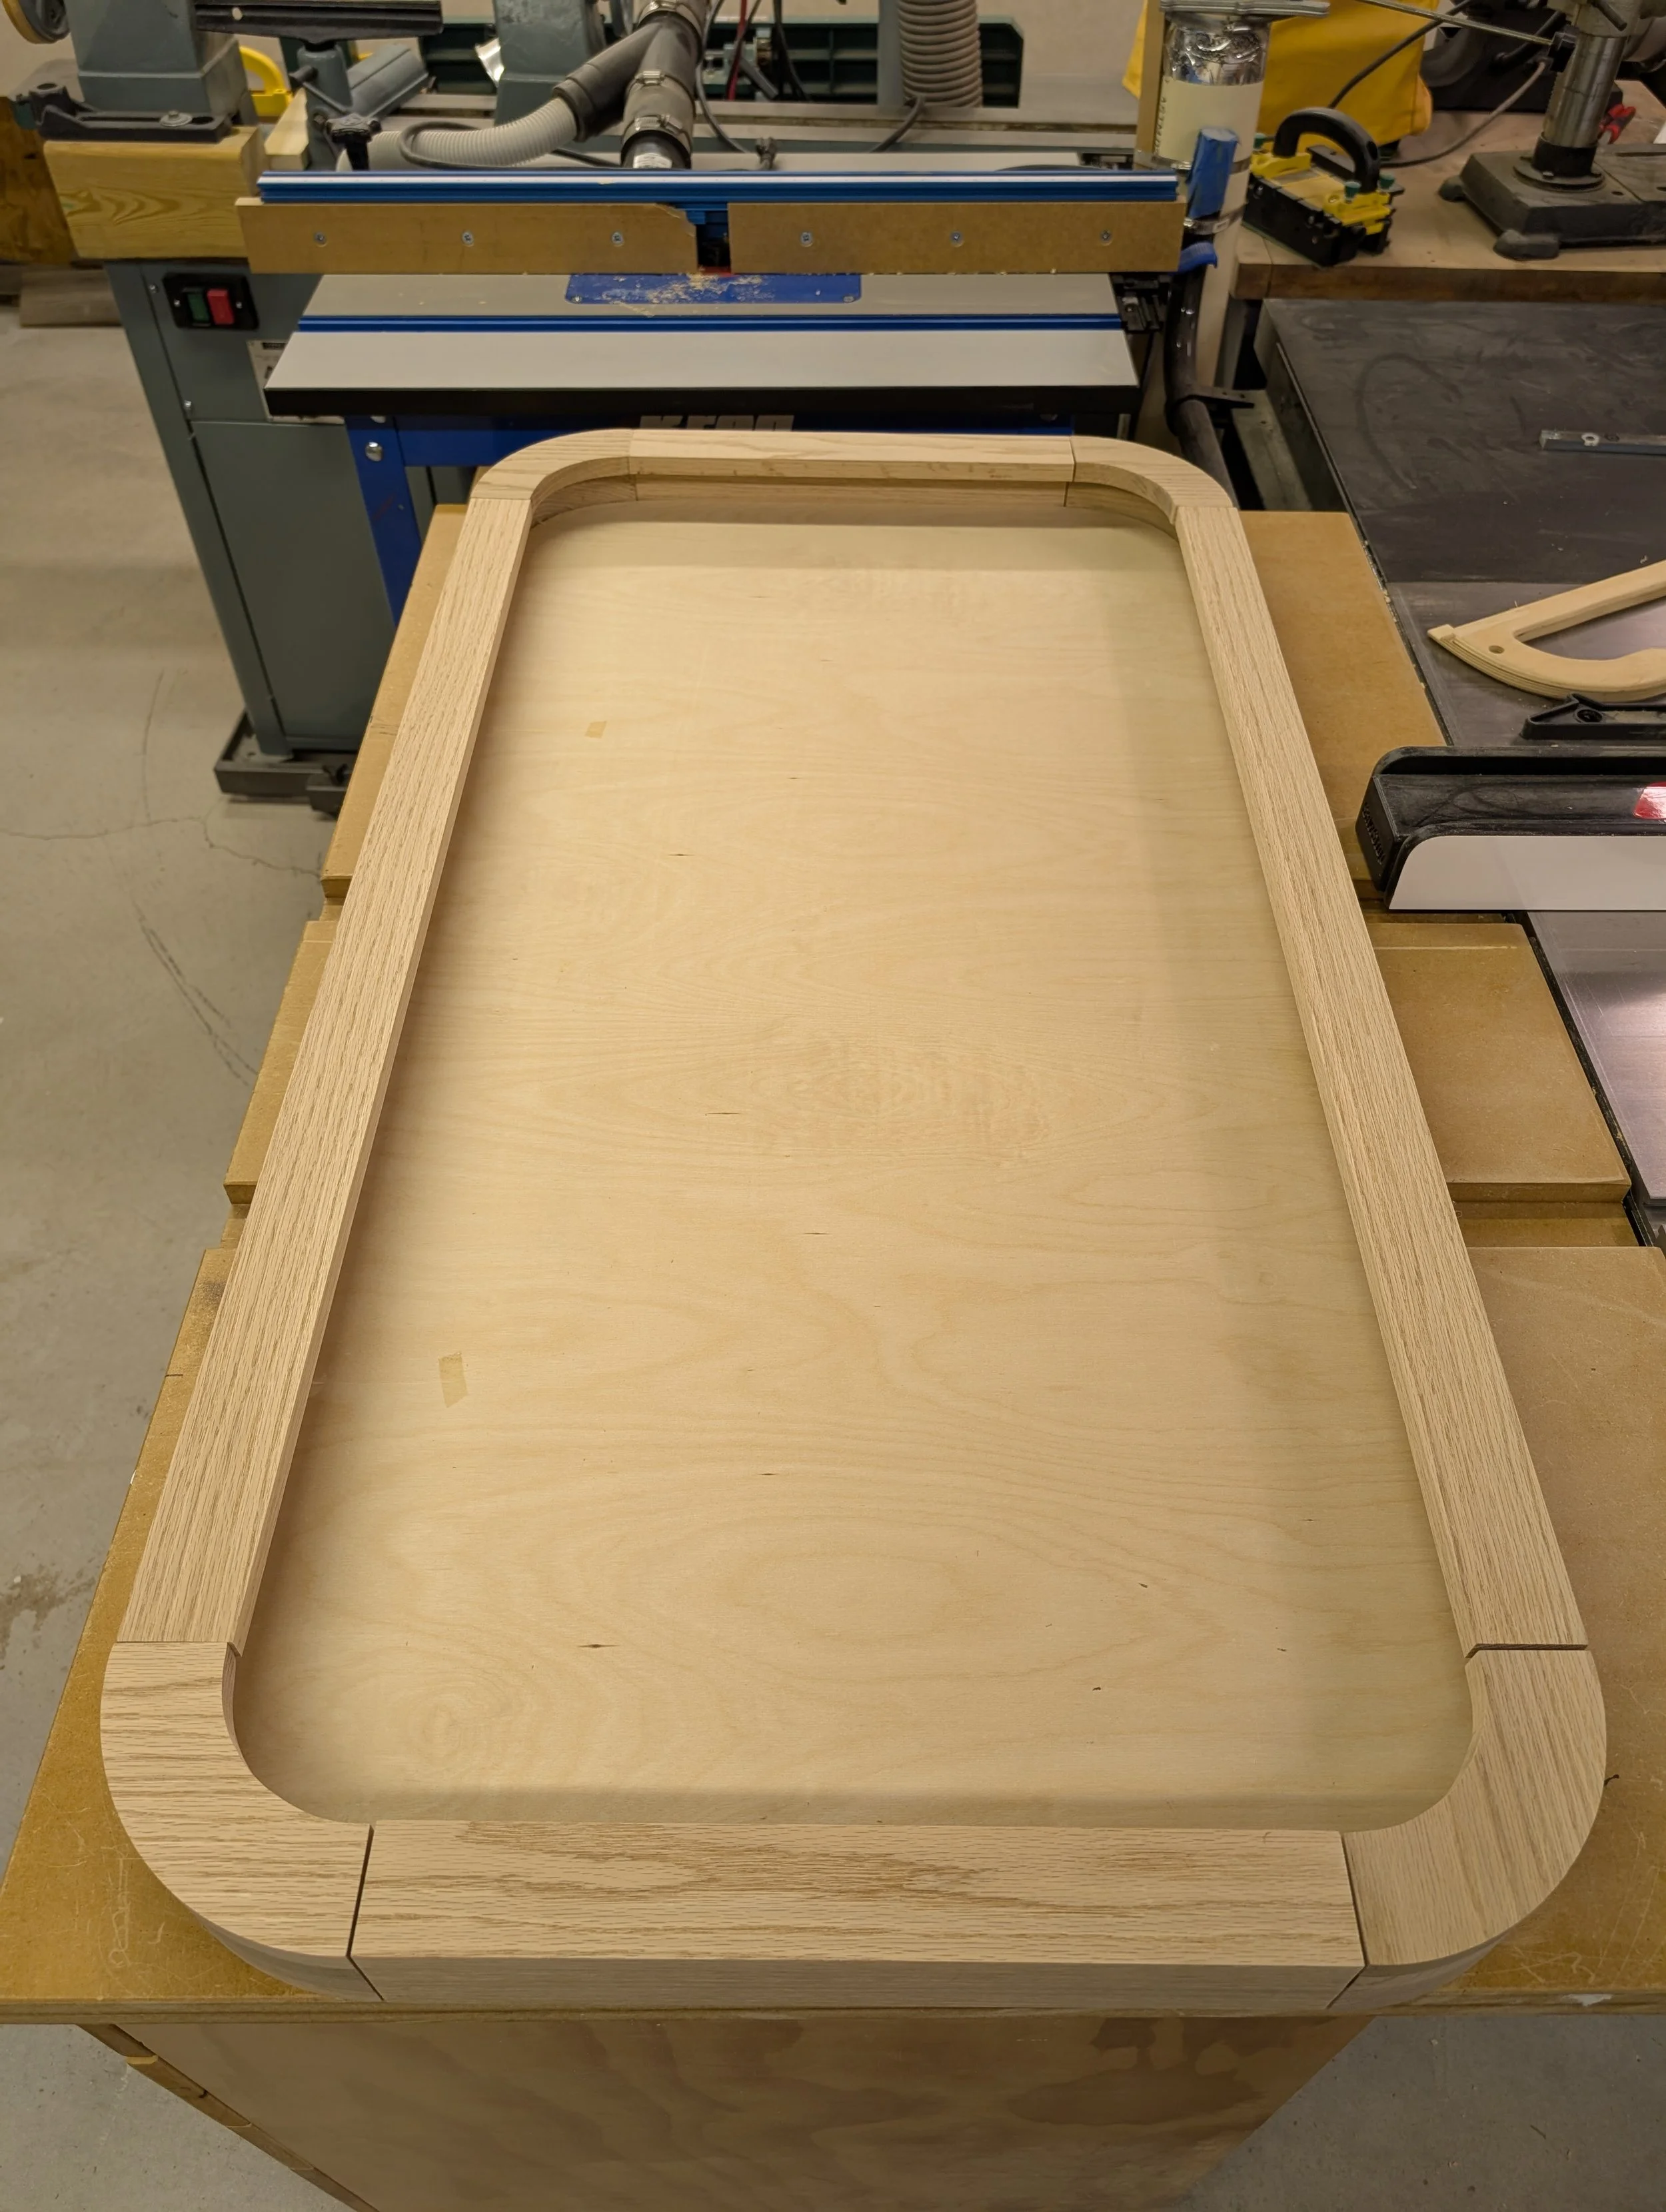
Table Top
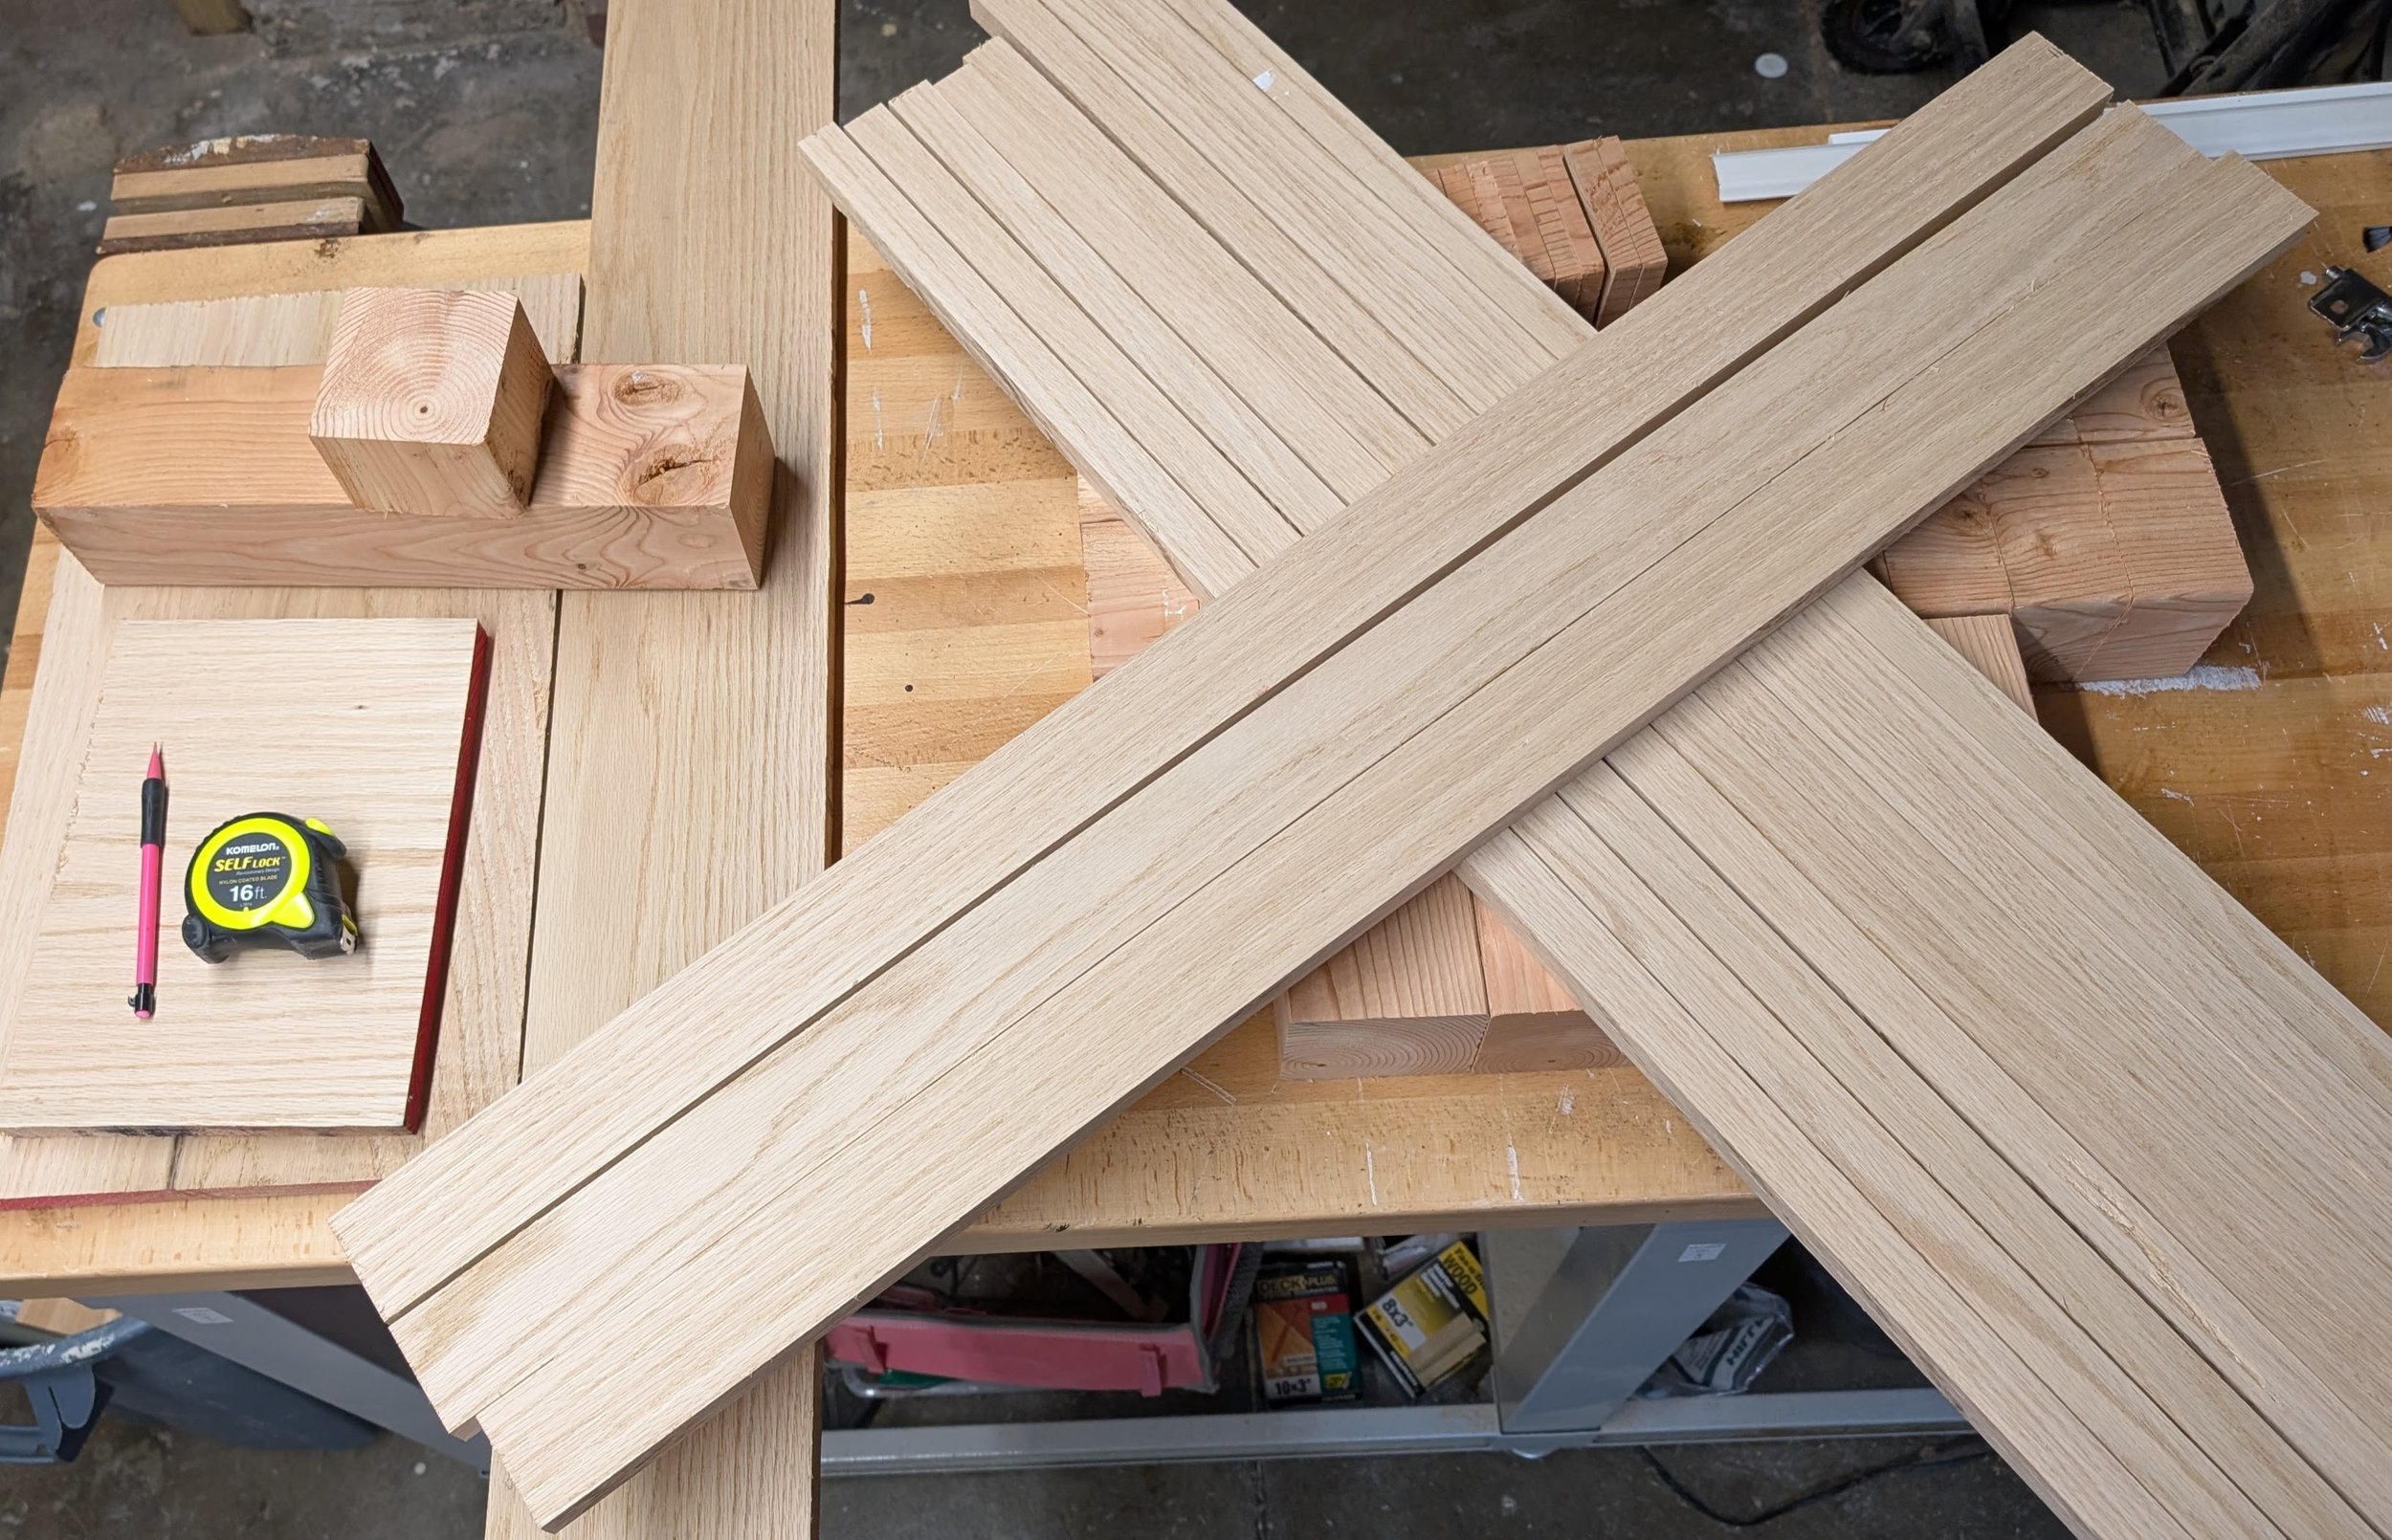
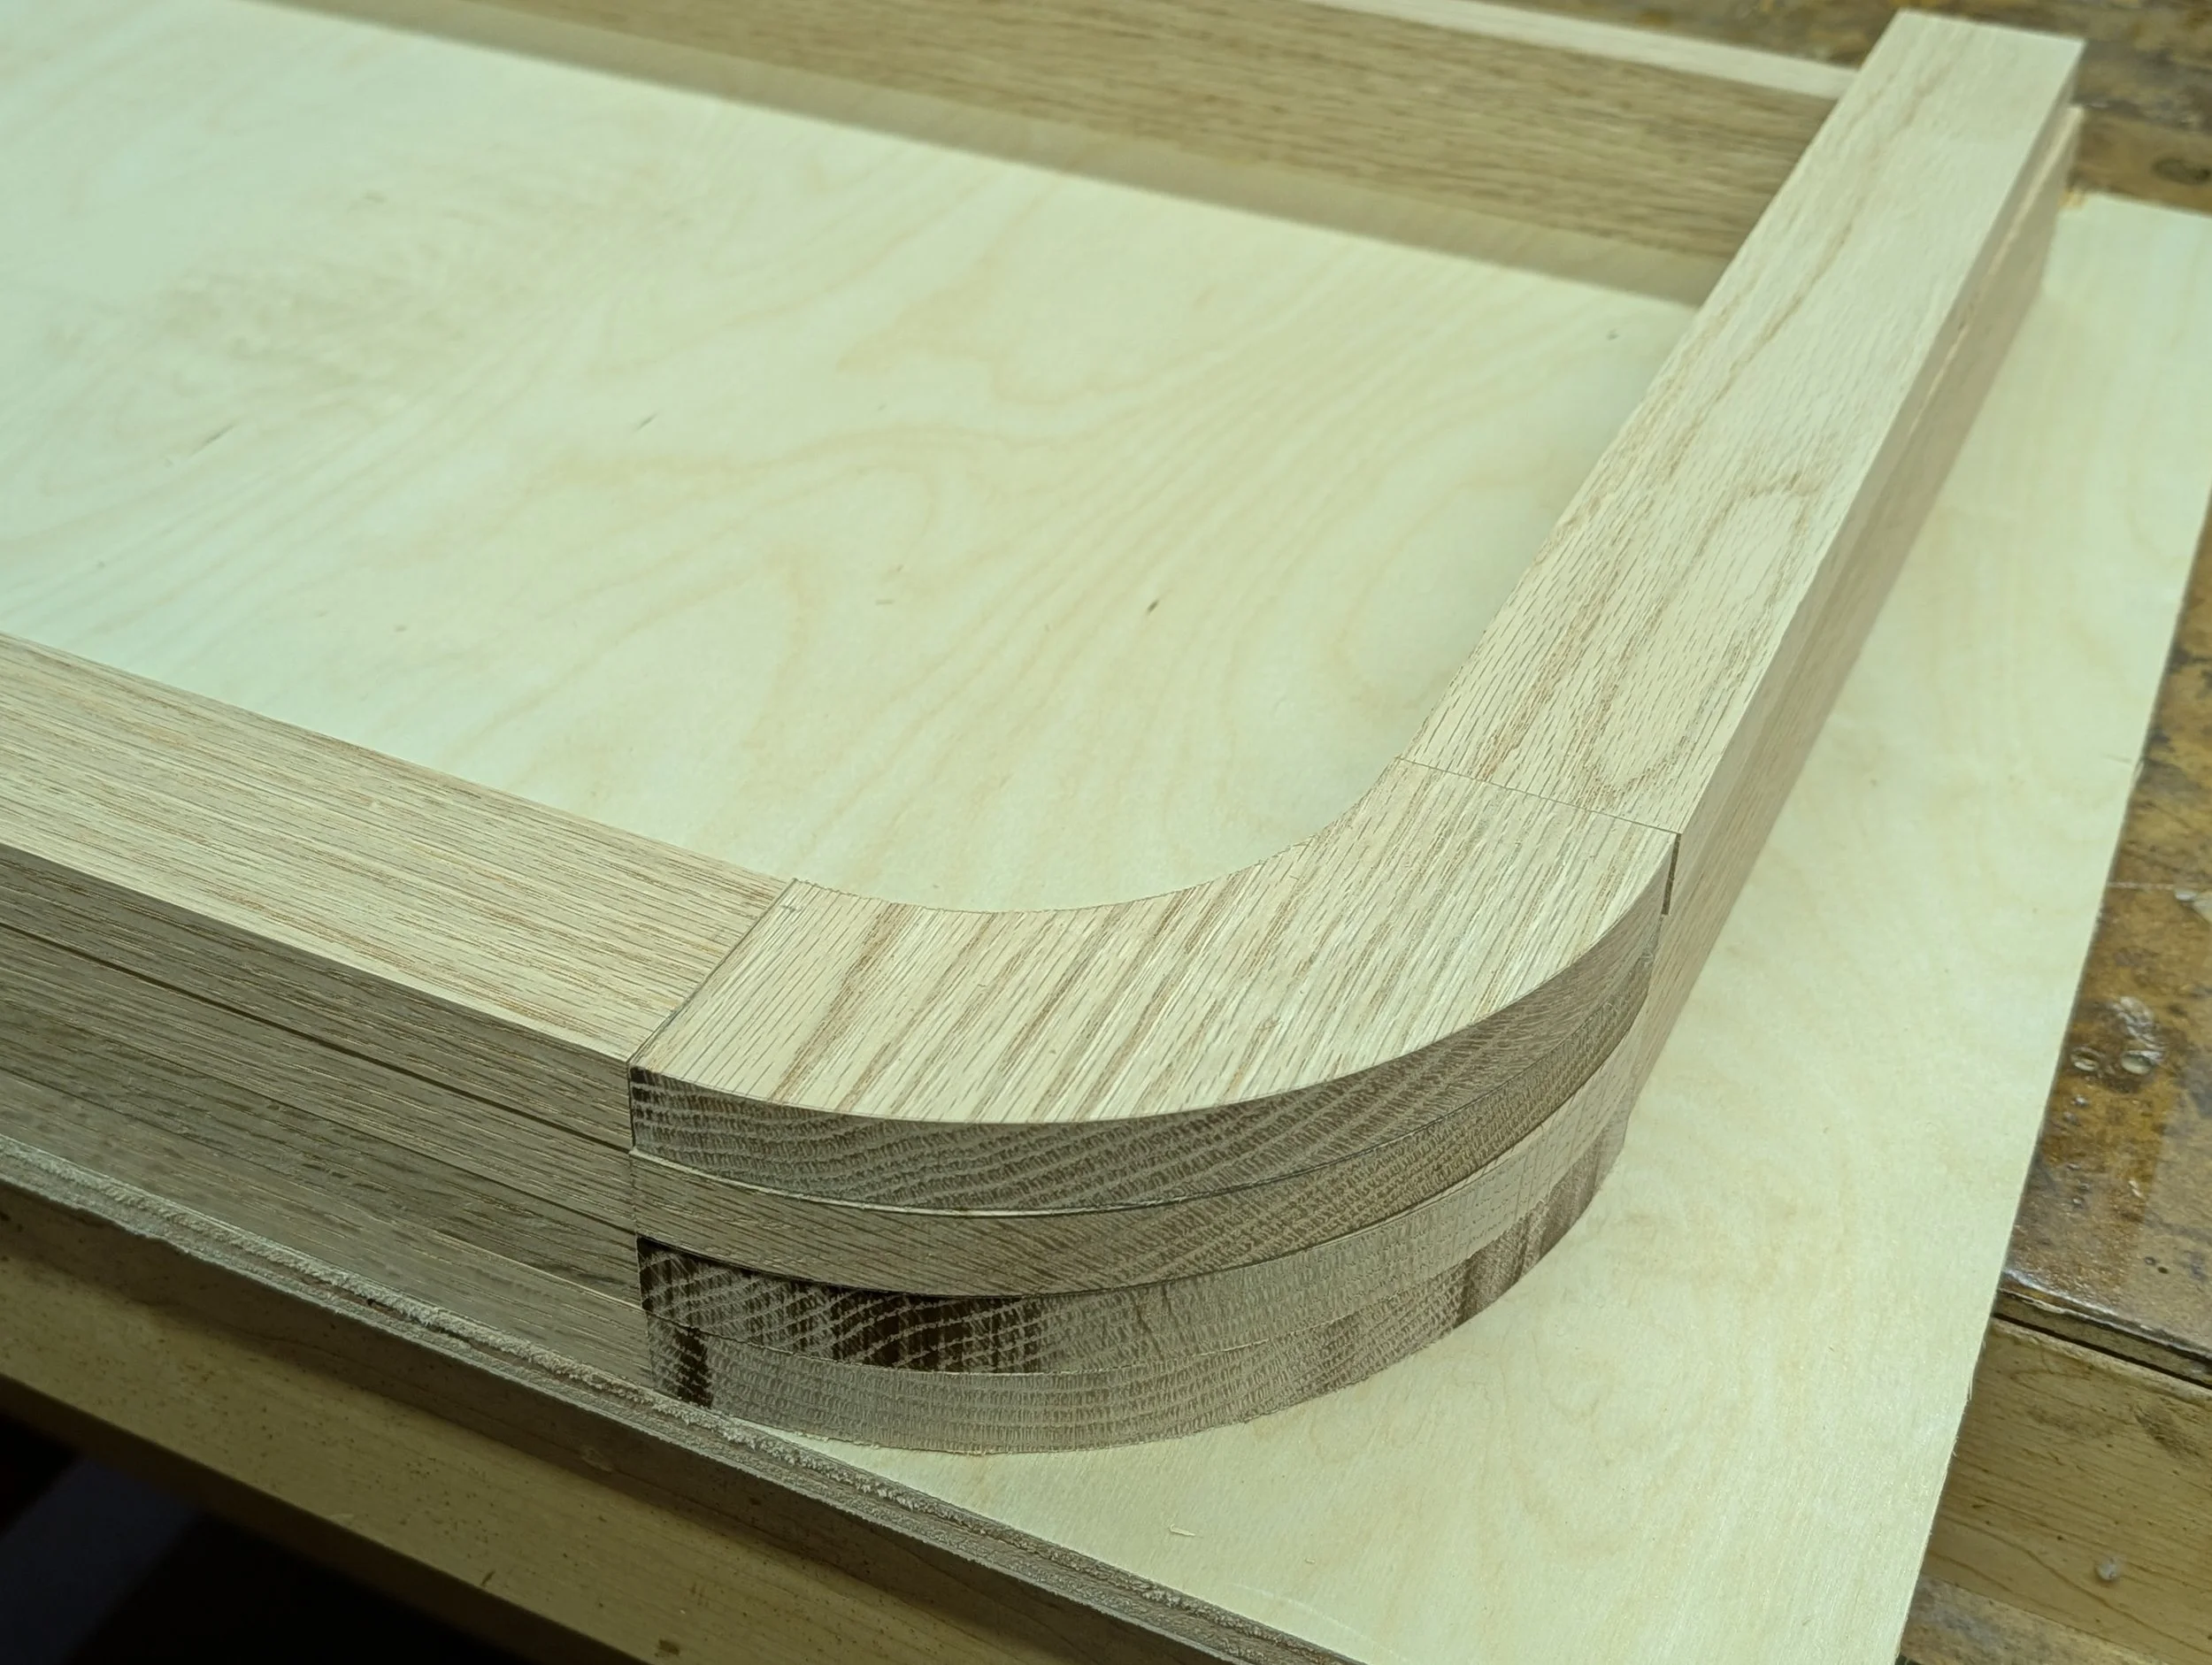
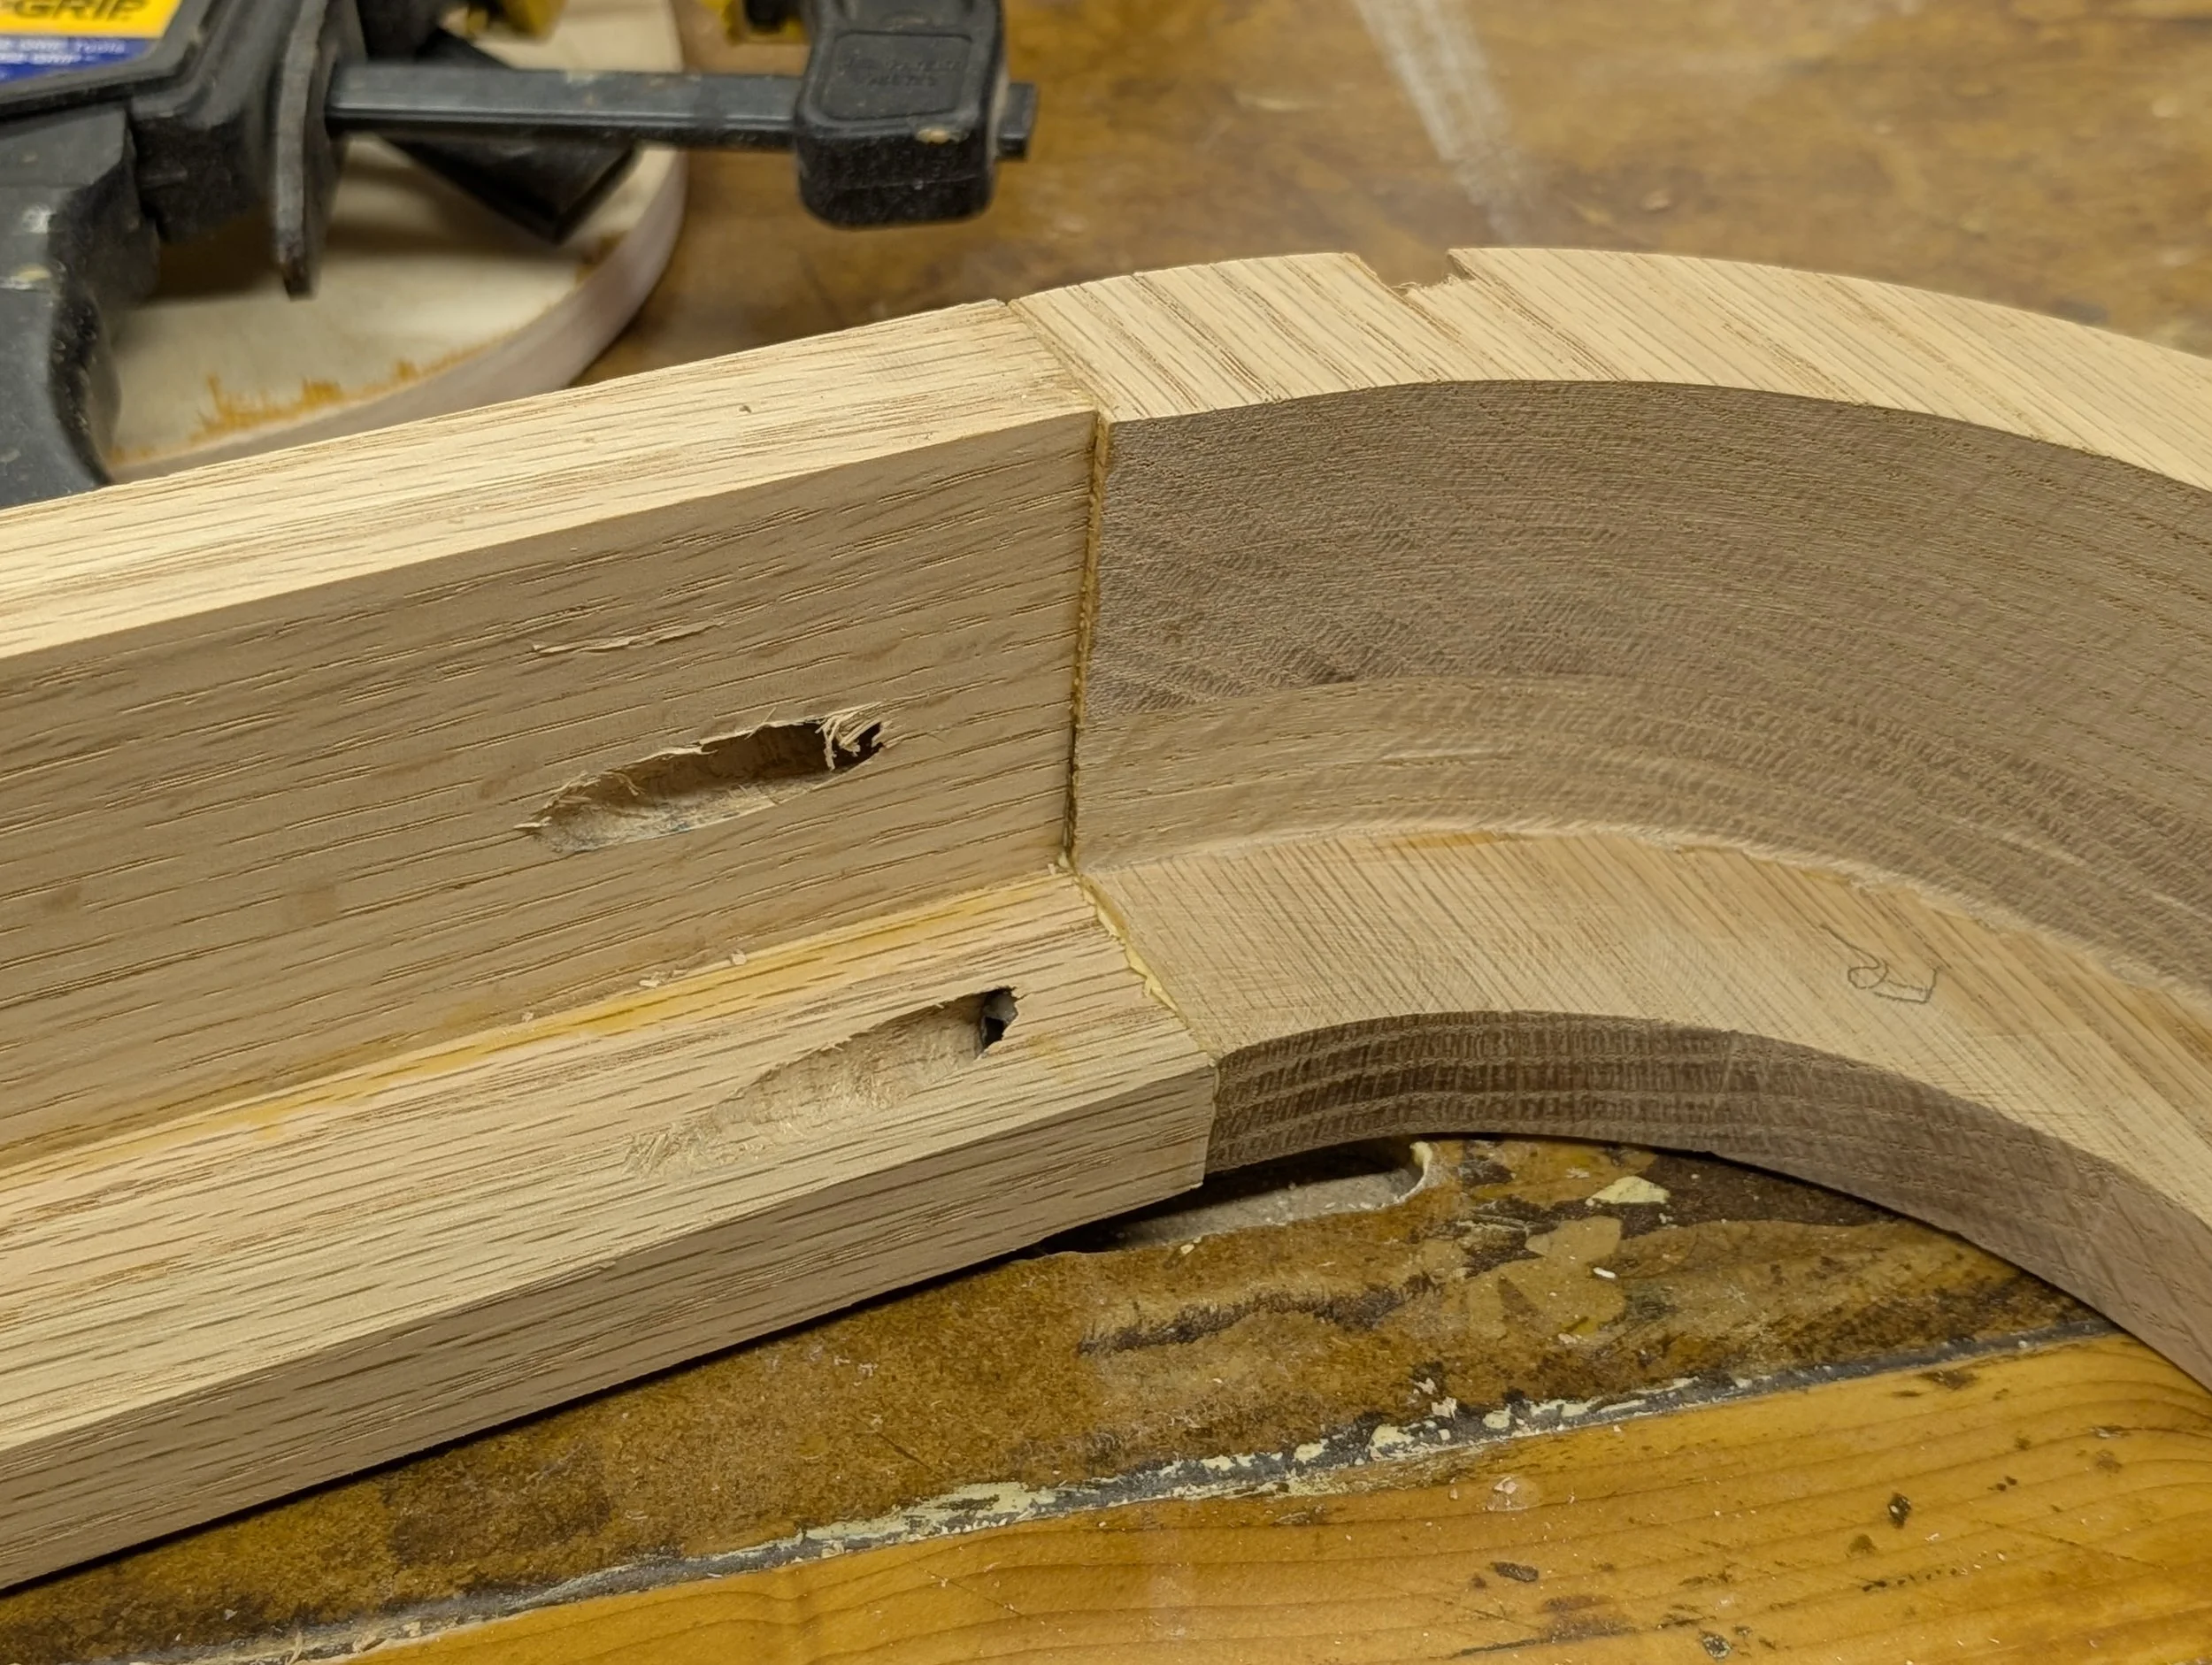
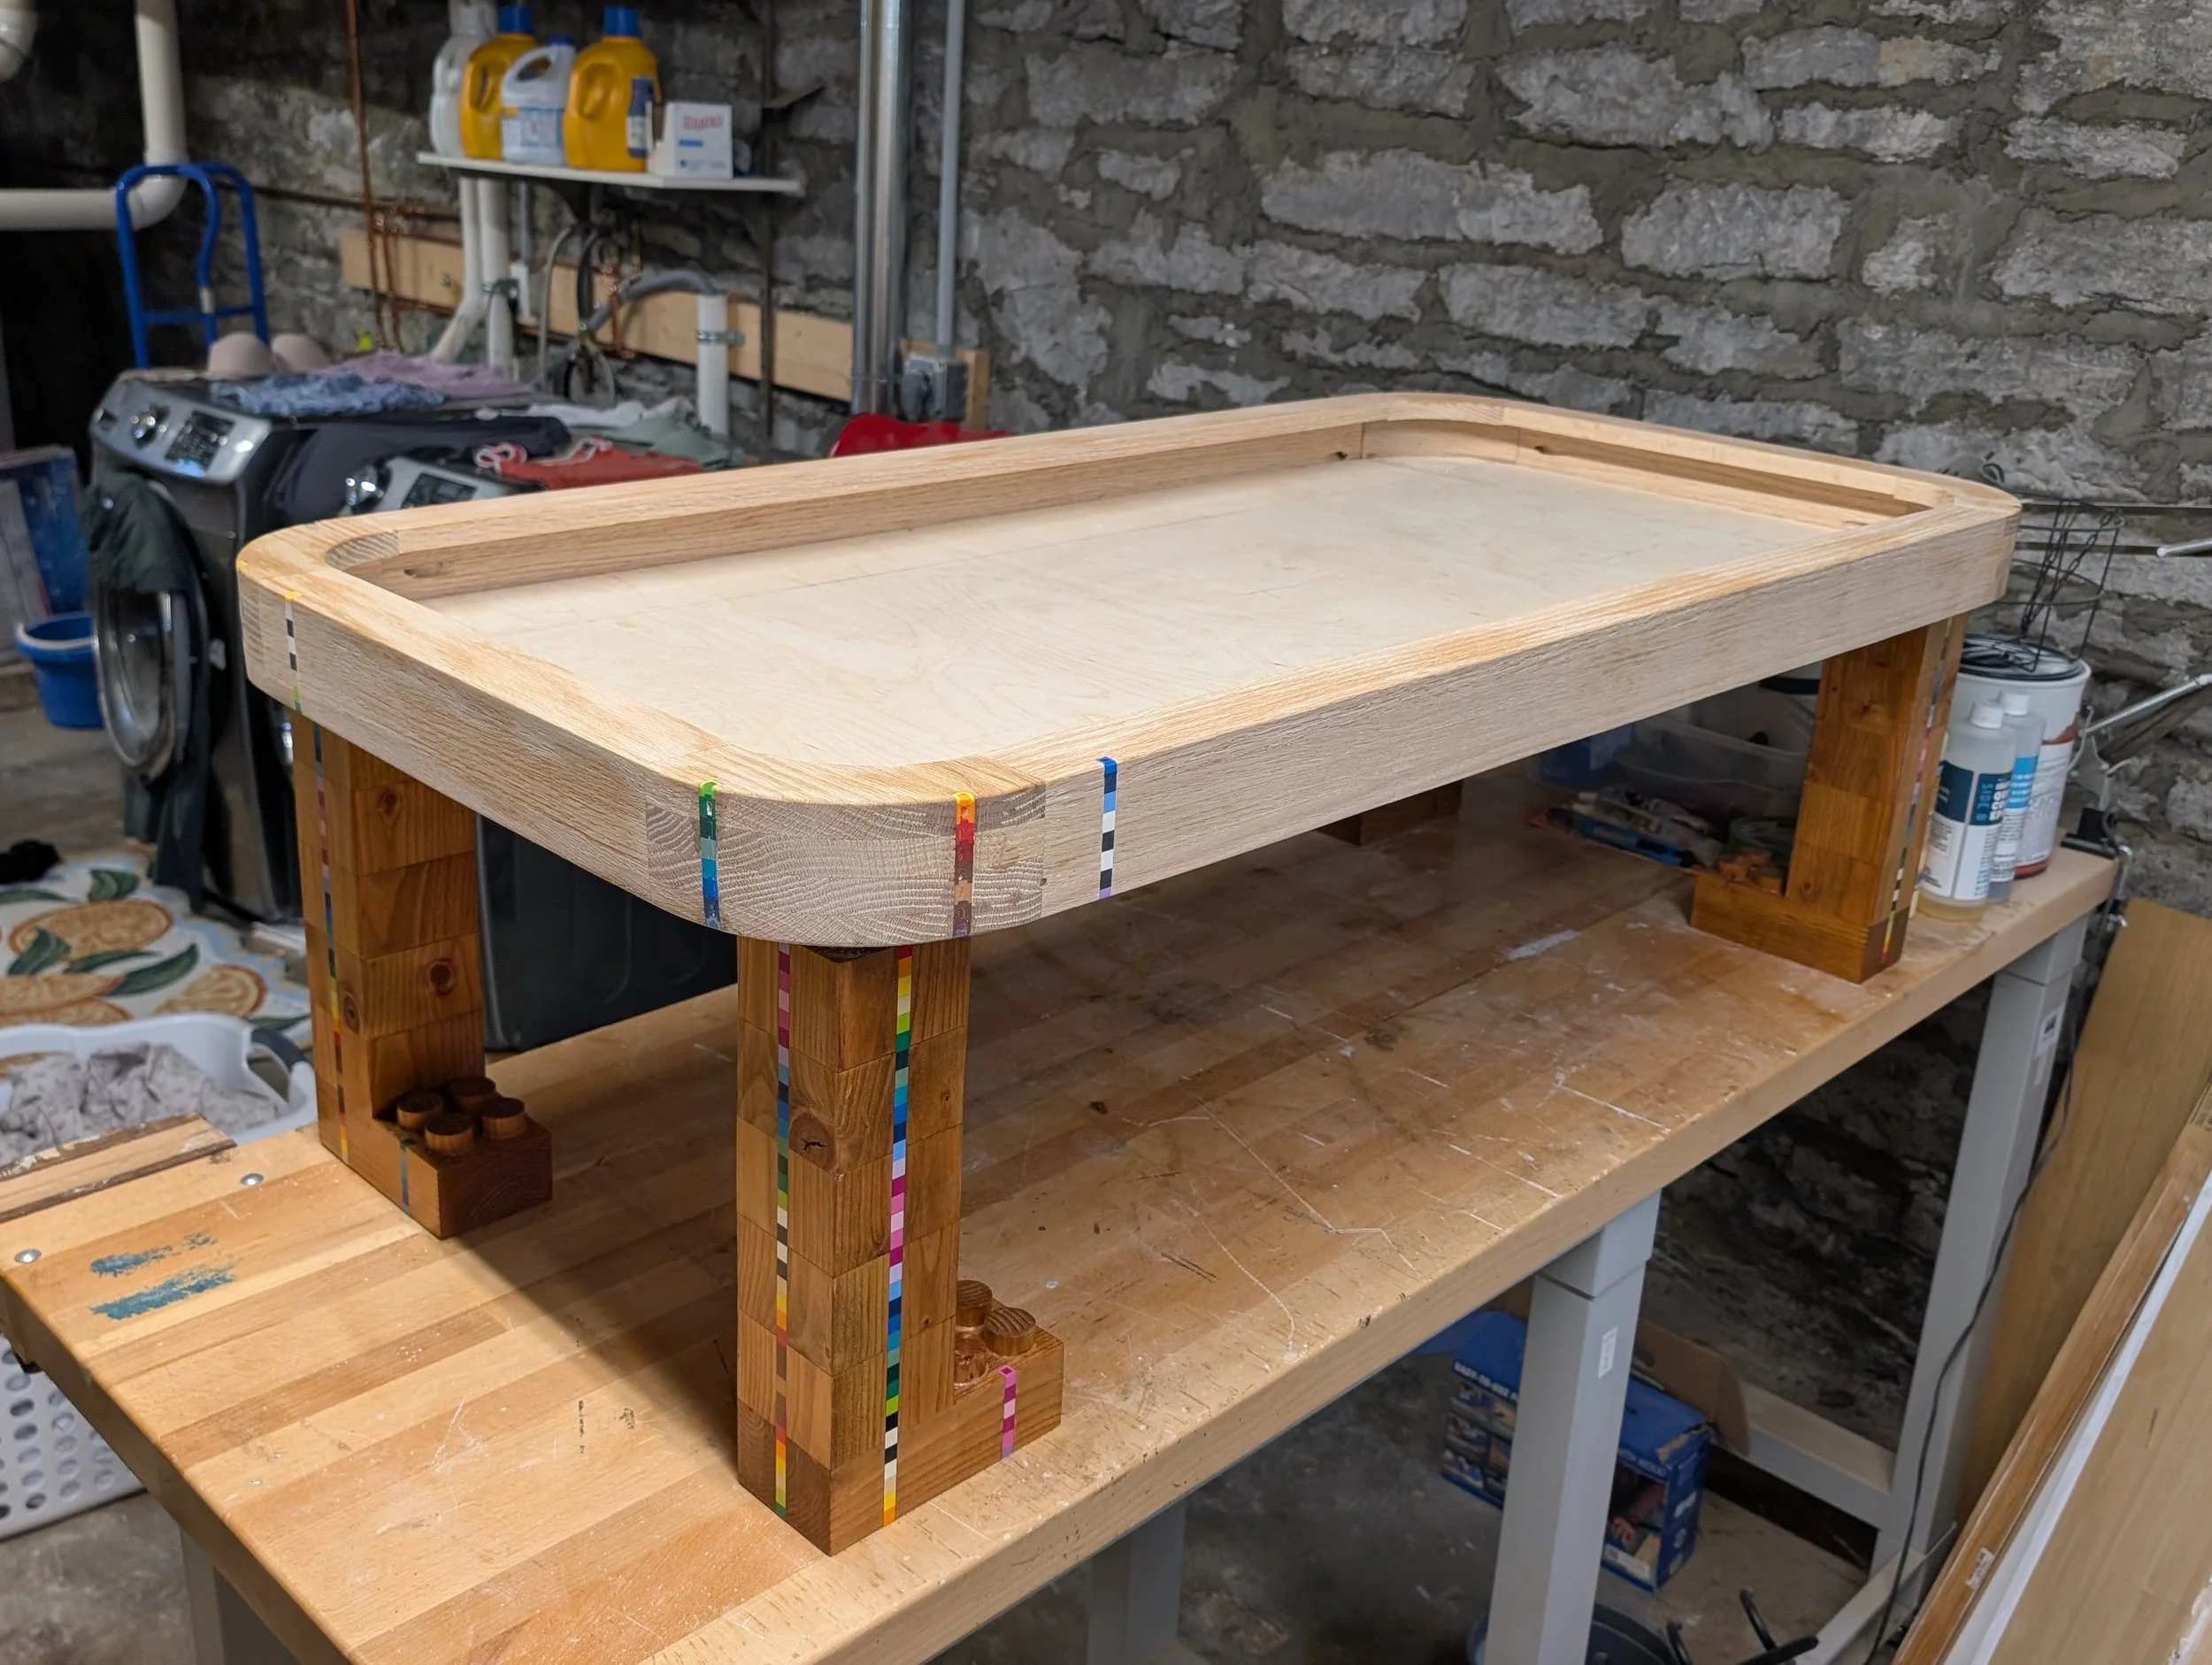
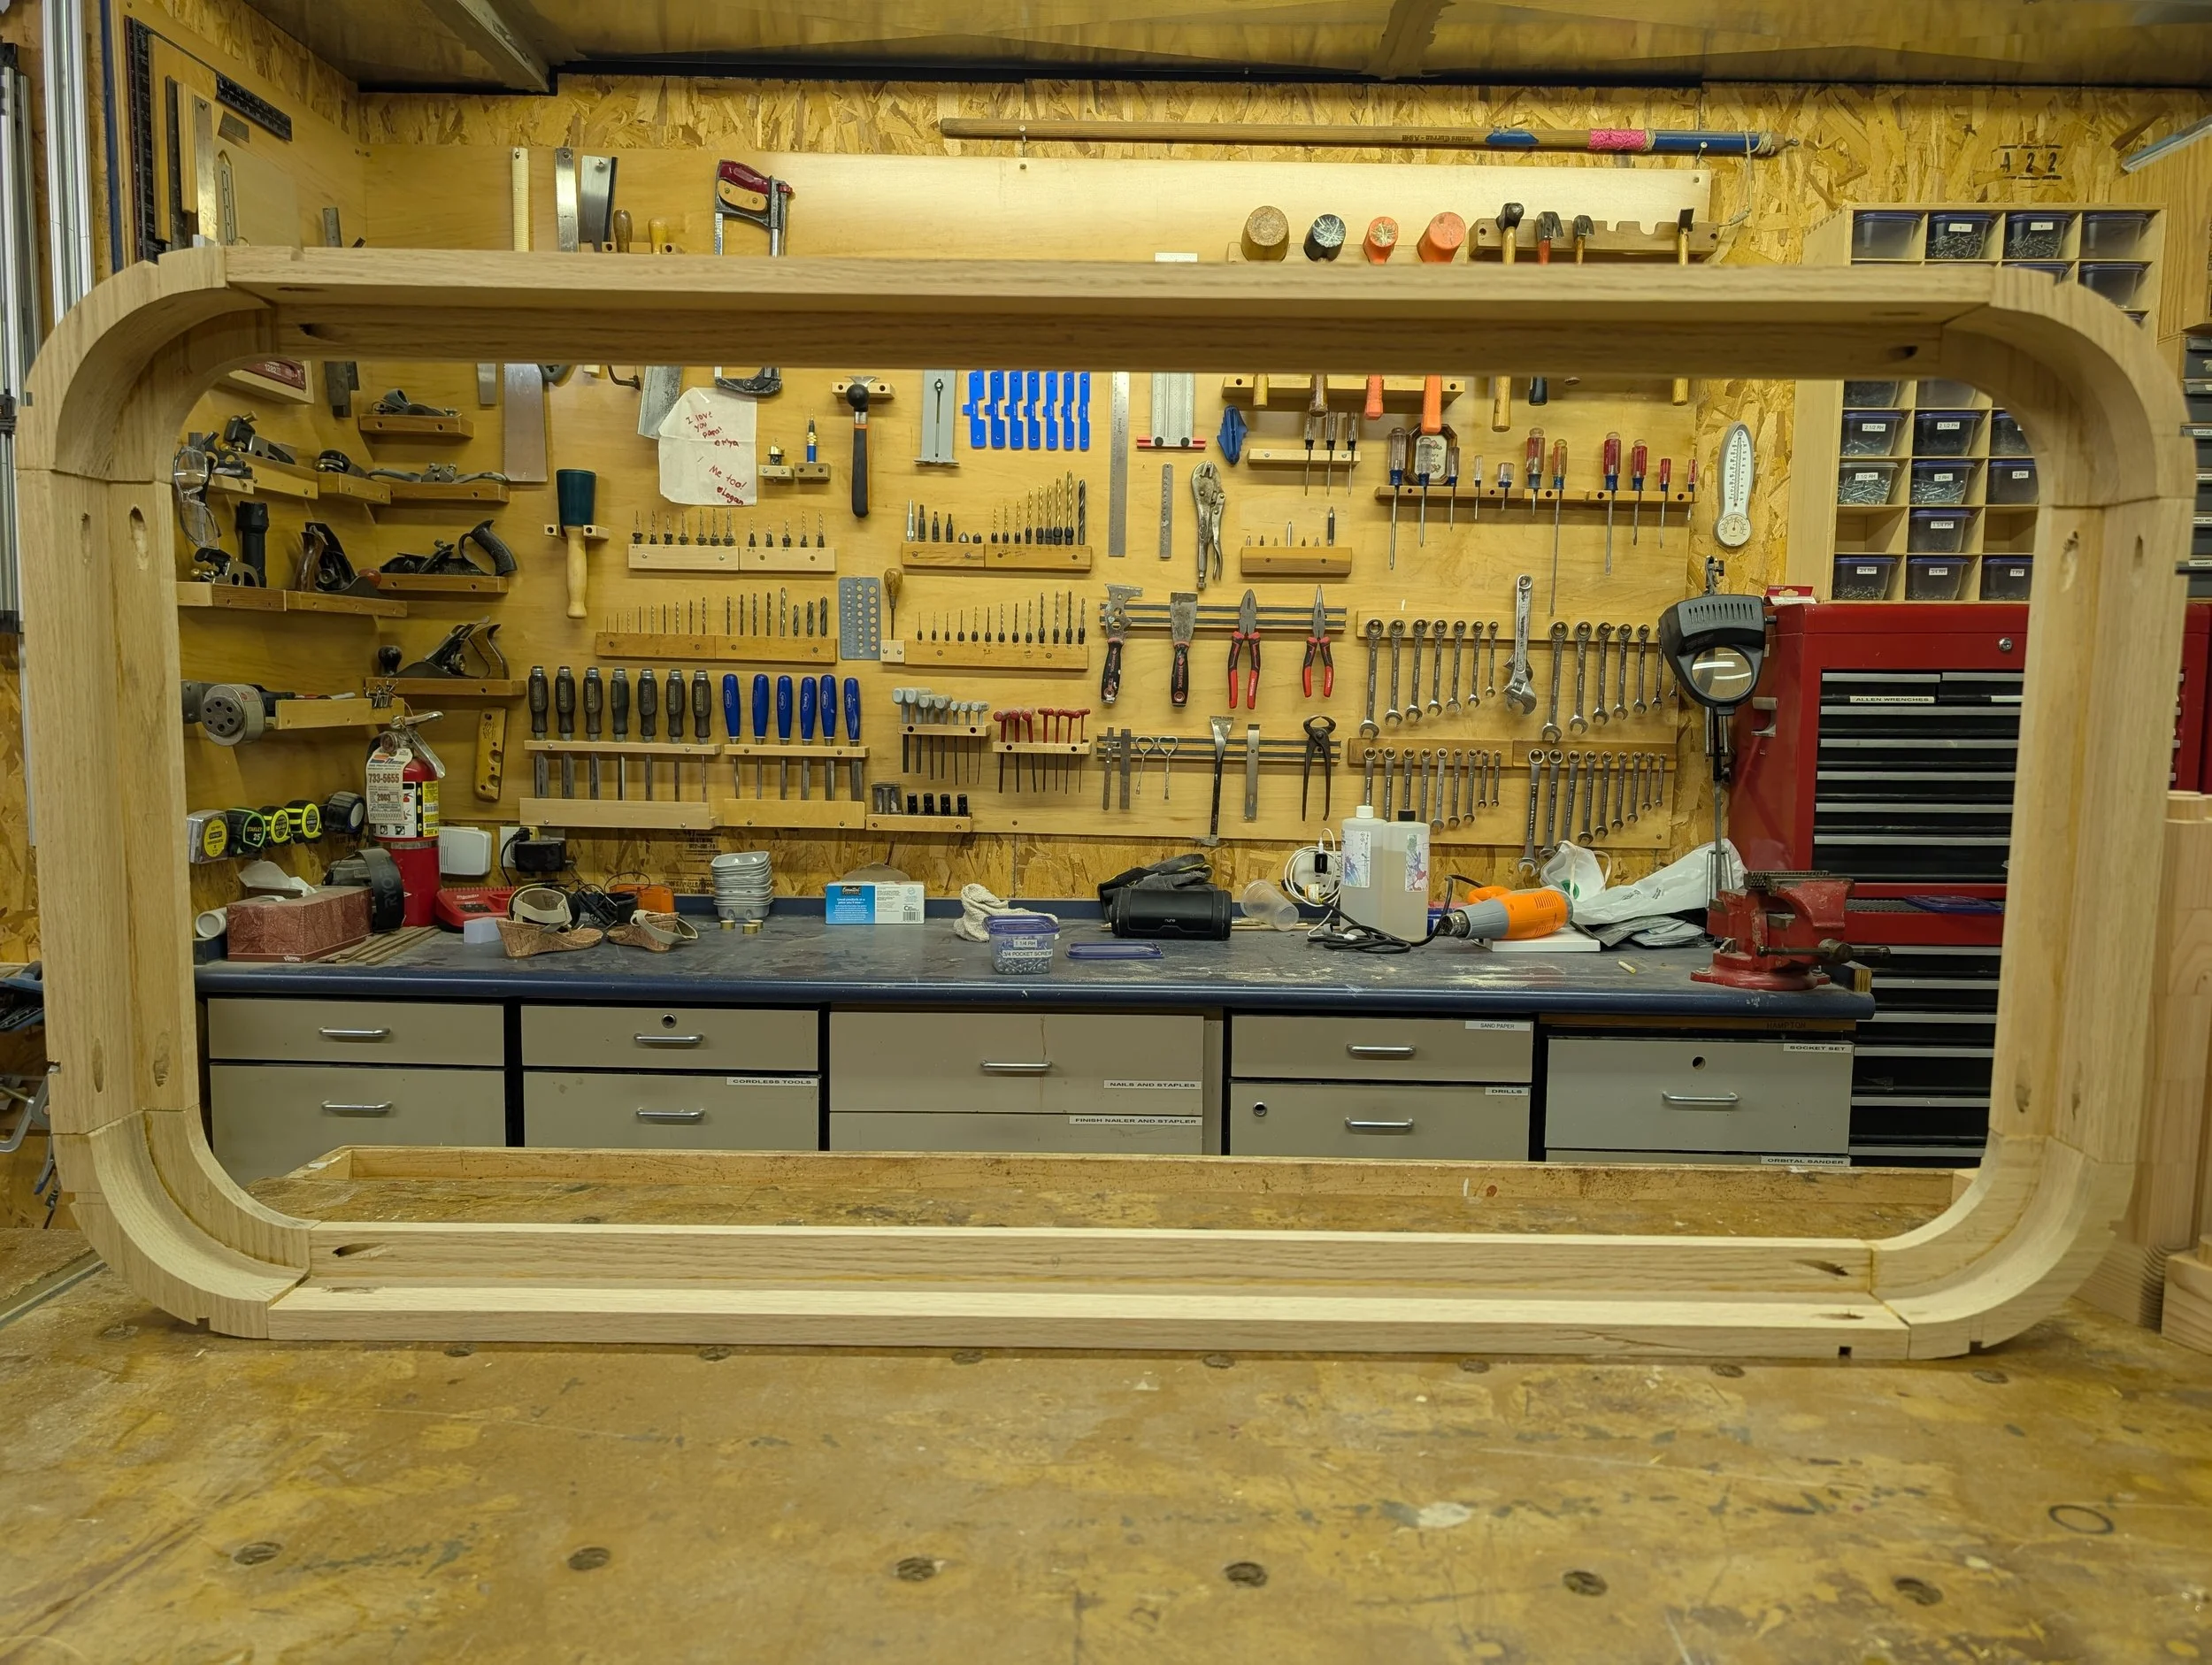
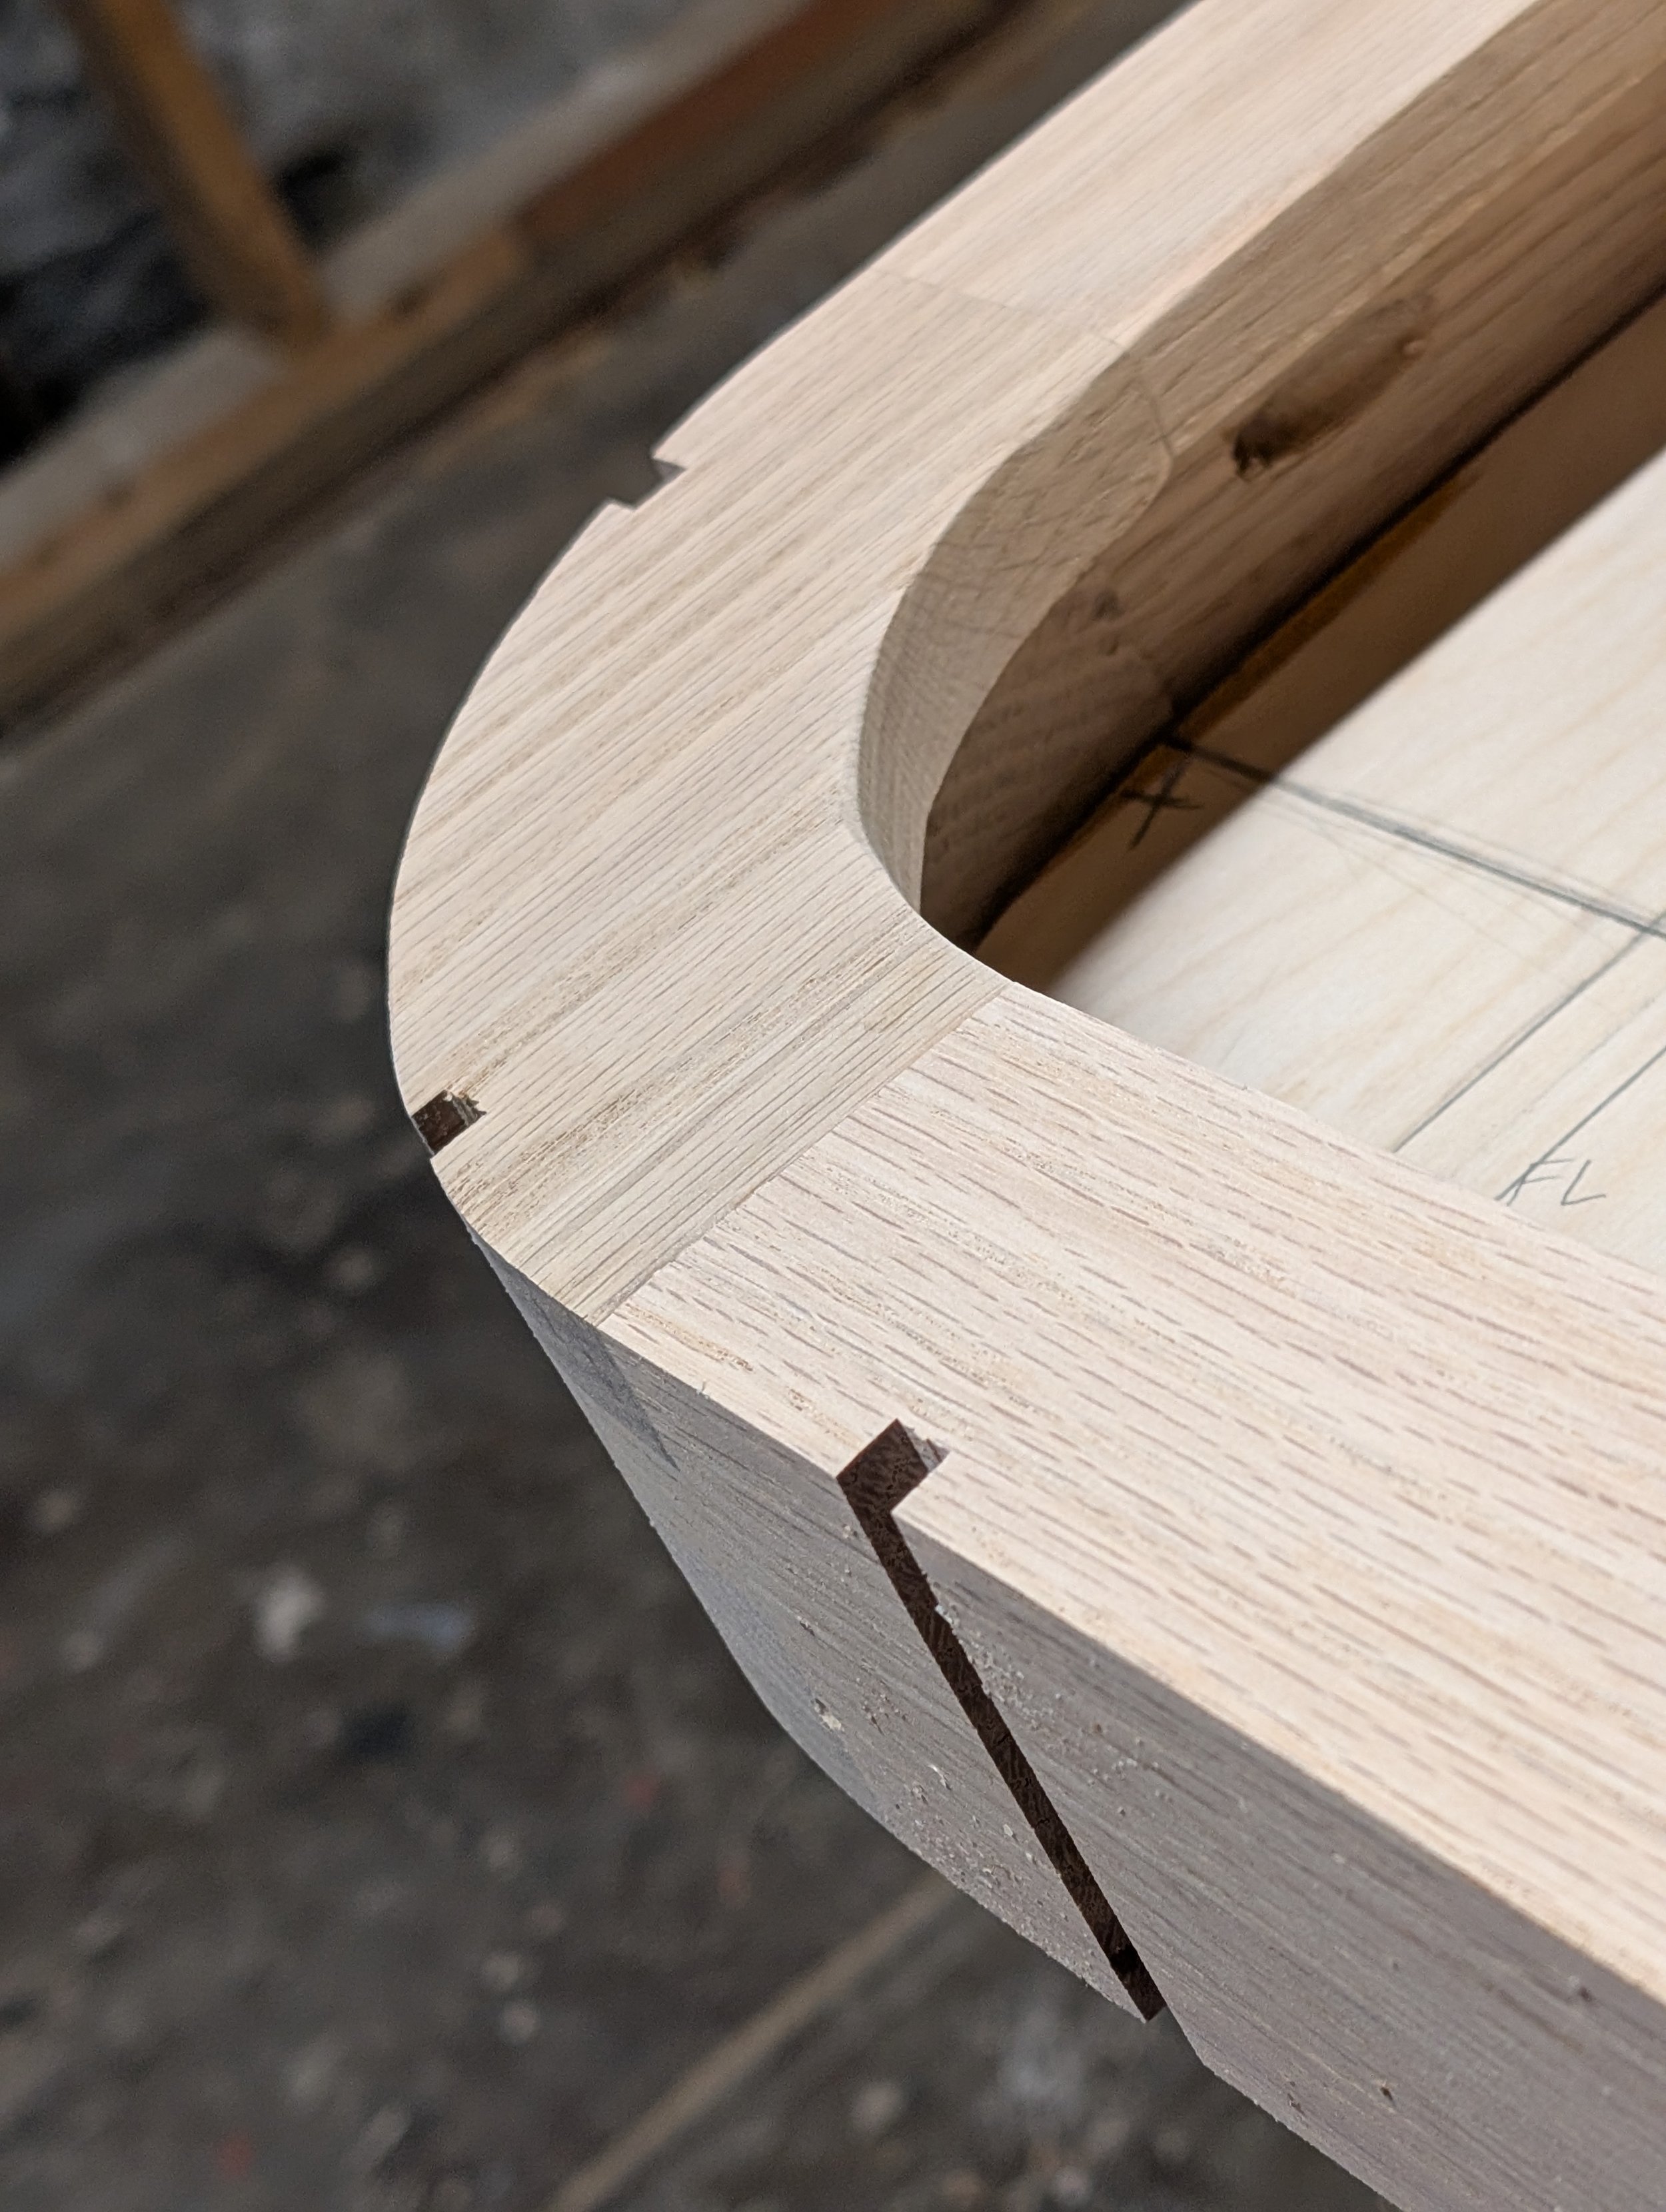
The frame was made using two primary forms: beams and arcs (to act as corners). Both would stack to create the depth of the table. This was the best way for me to create rounded corners, as opposed to bending wood.


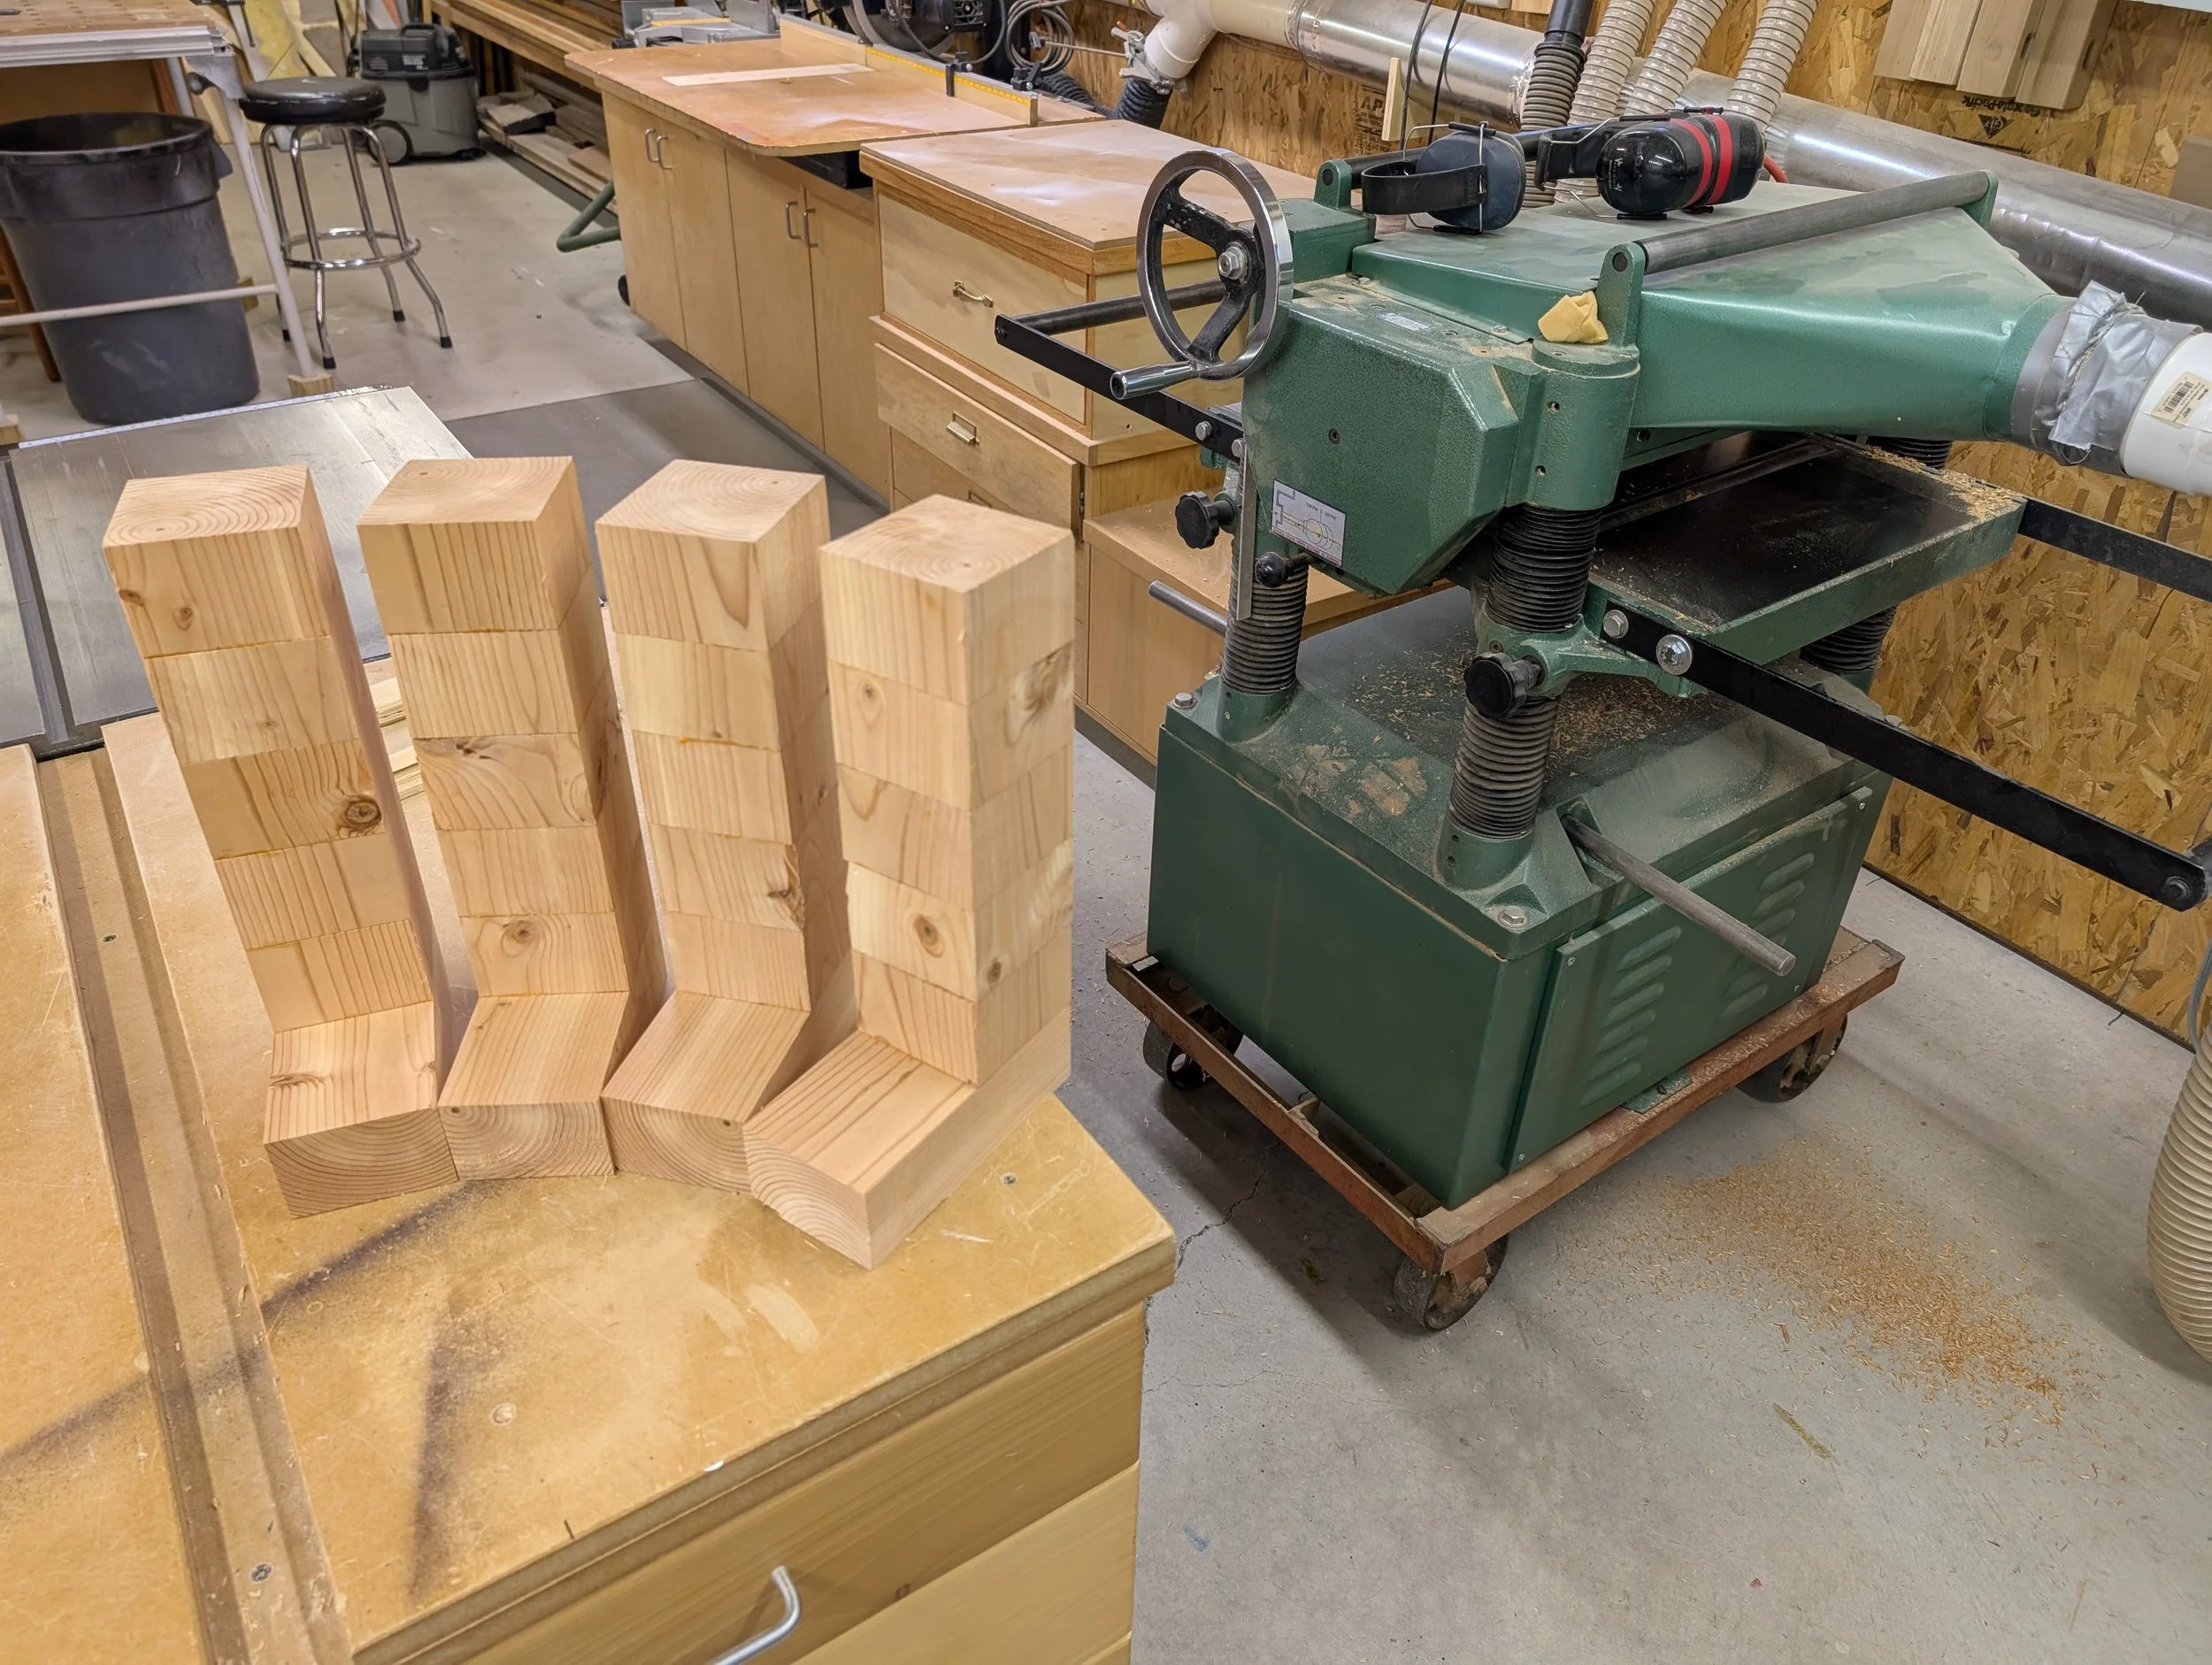
CONSTRUCTION


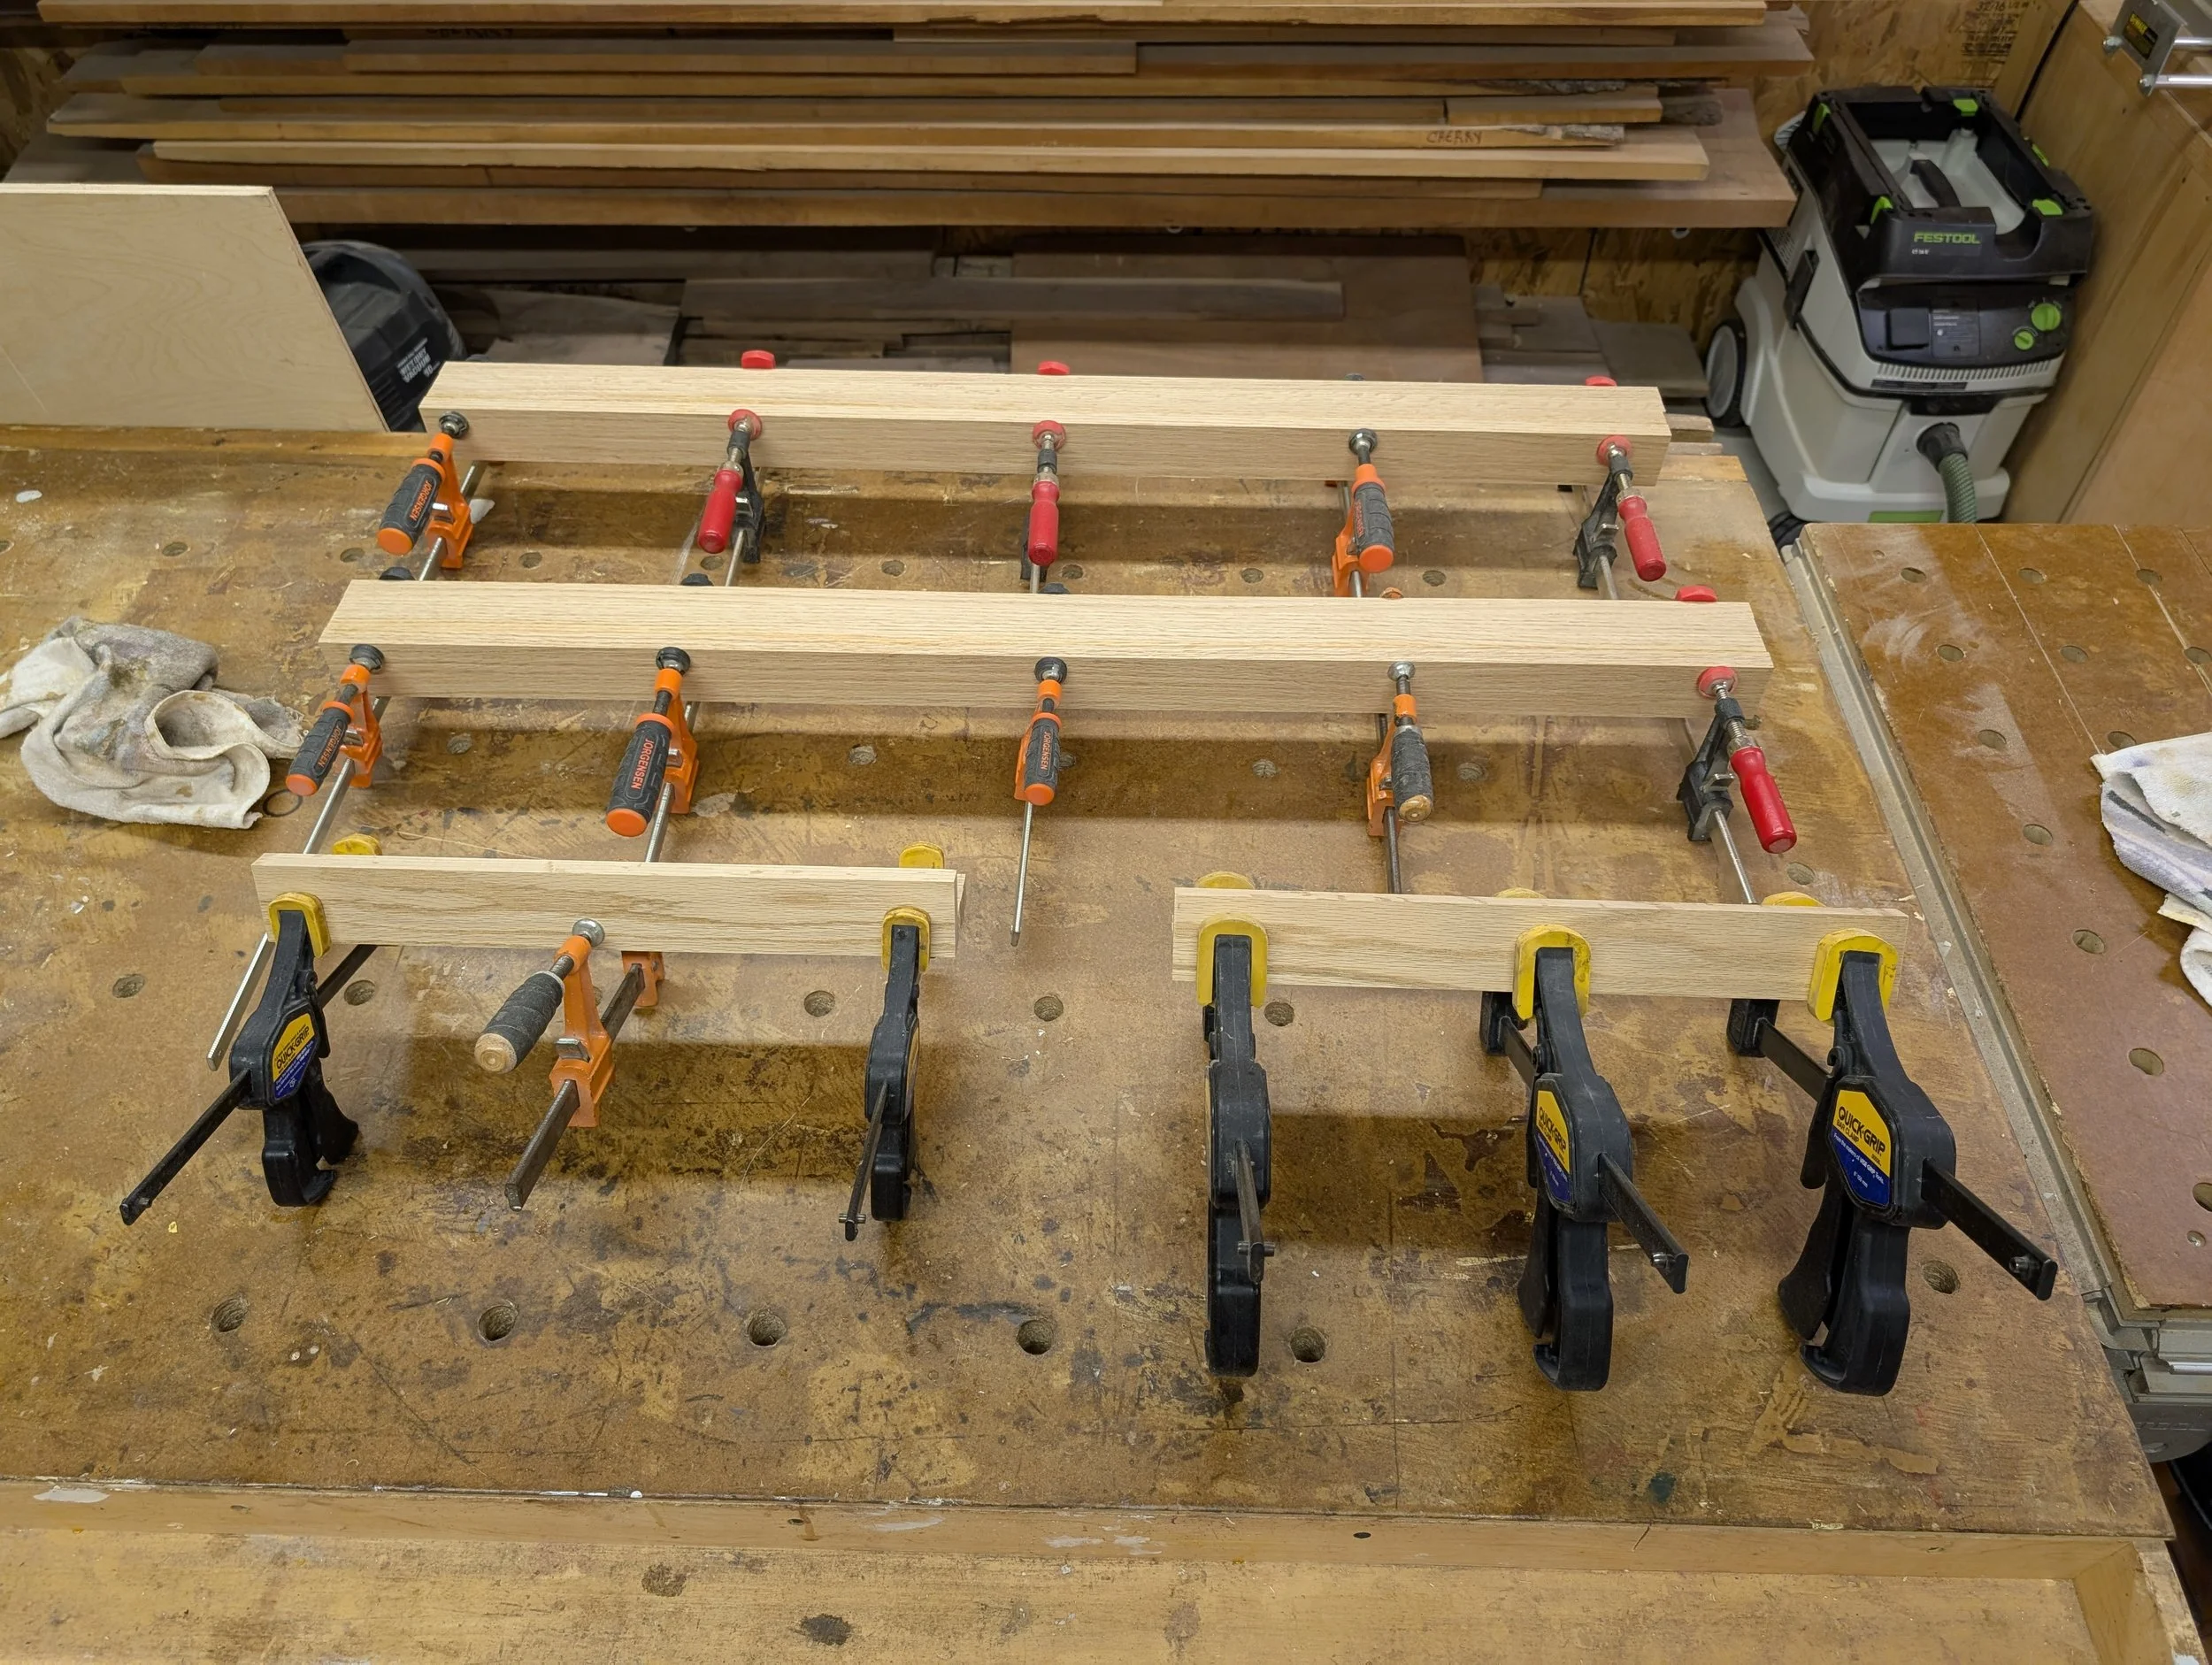
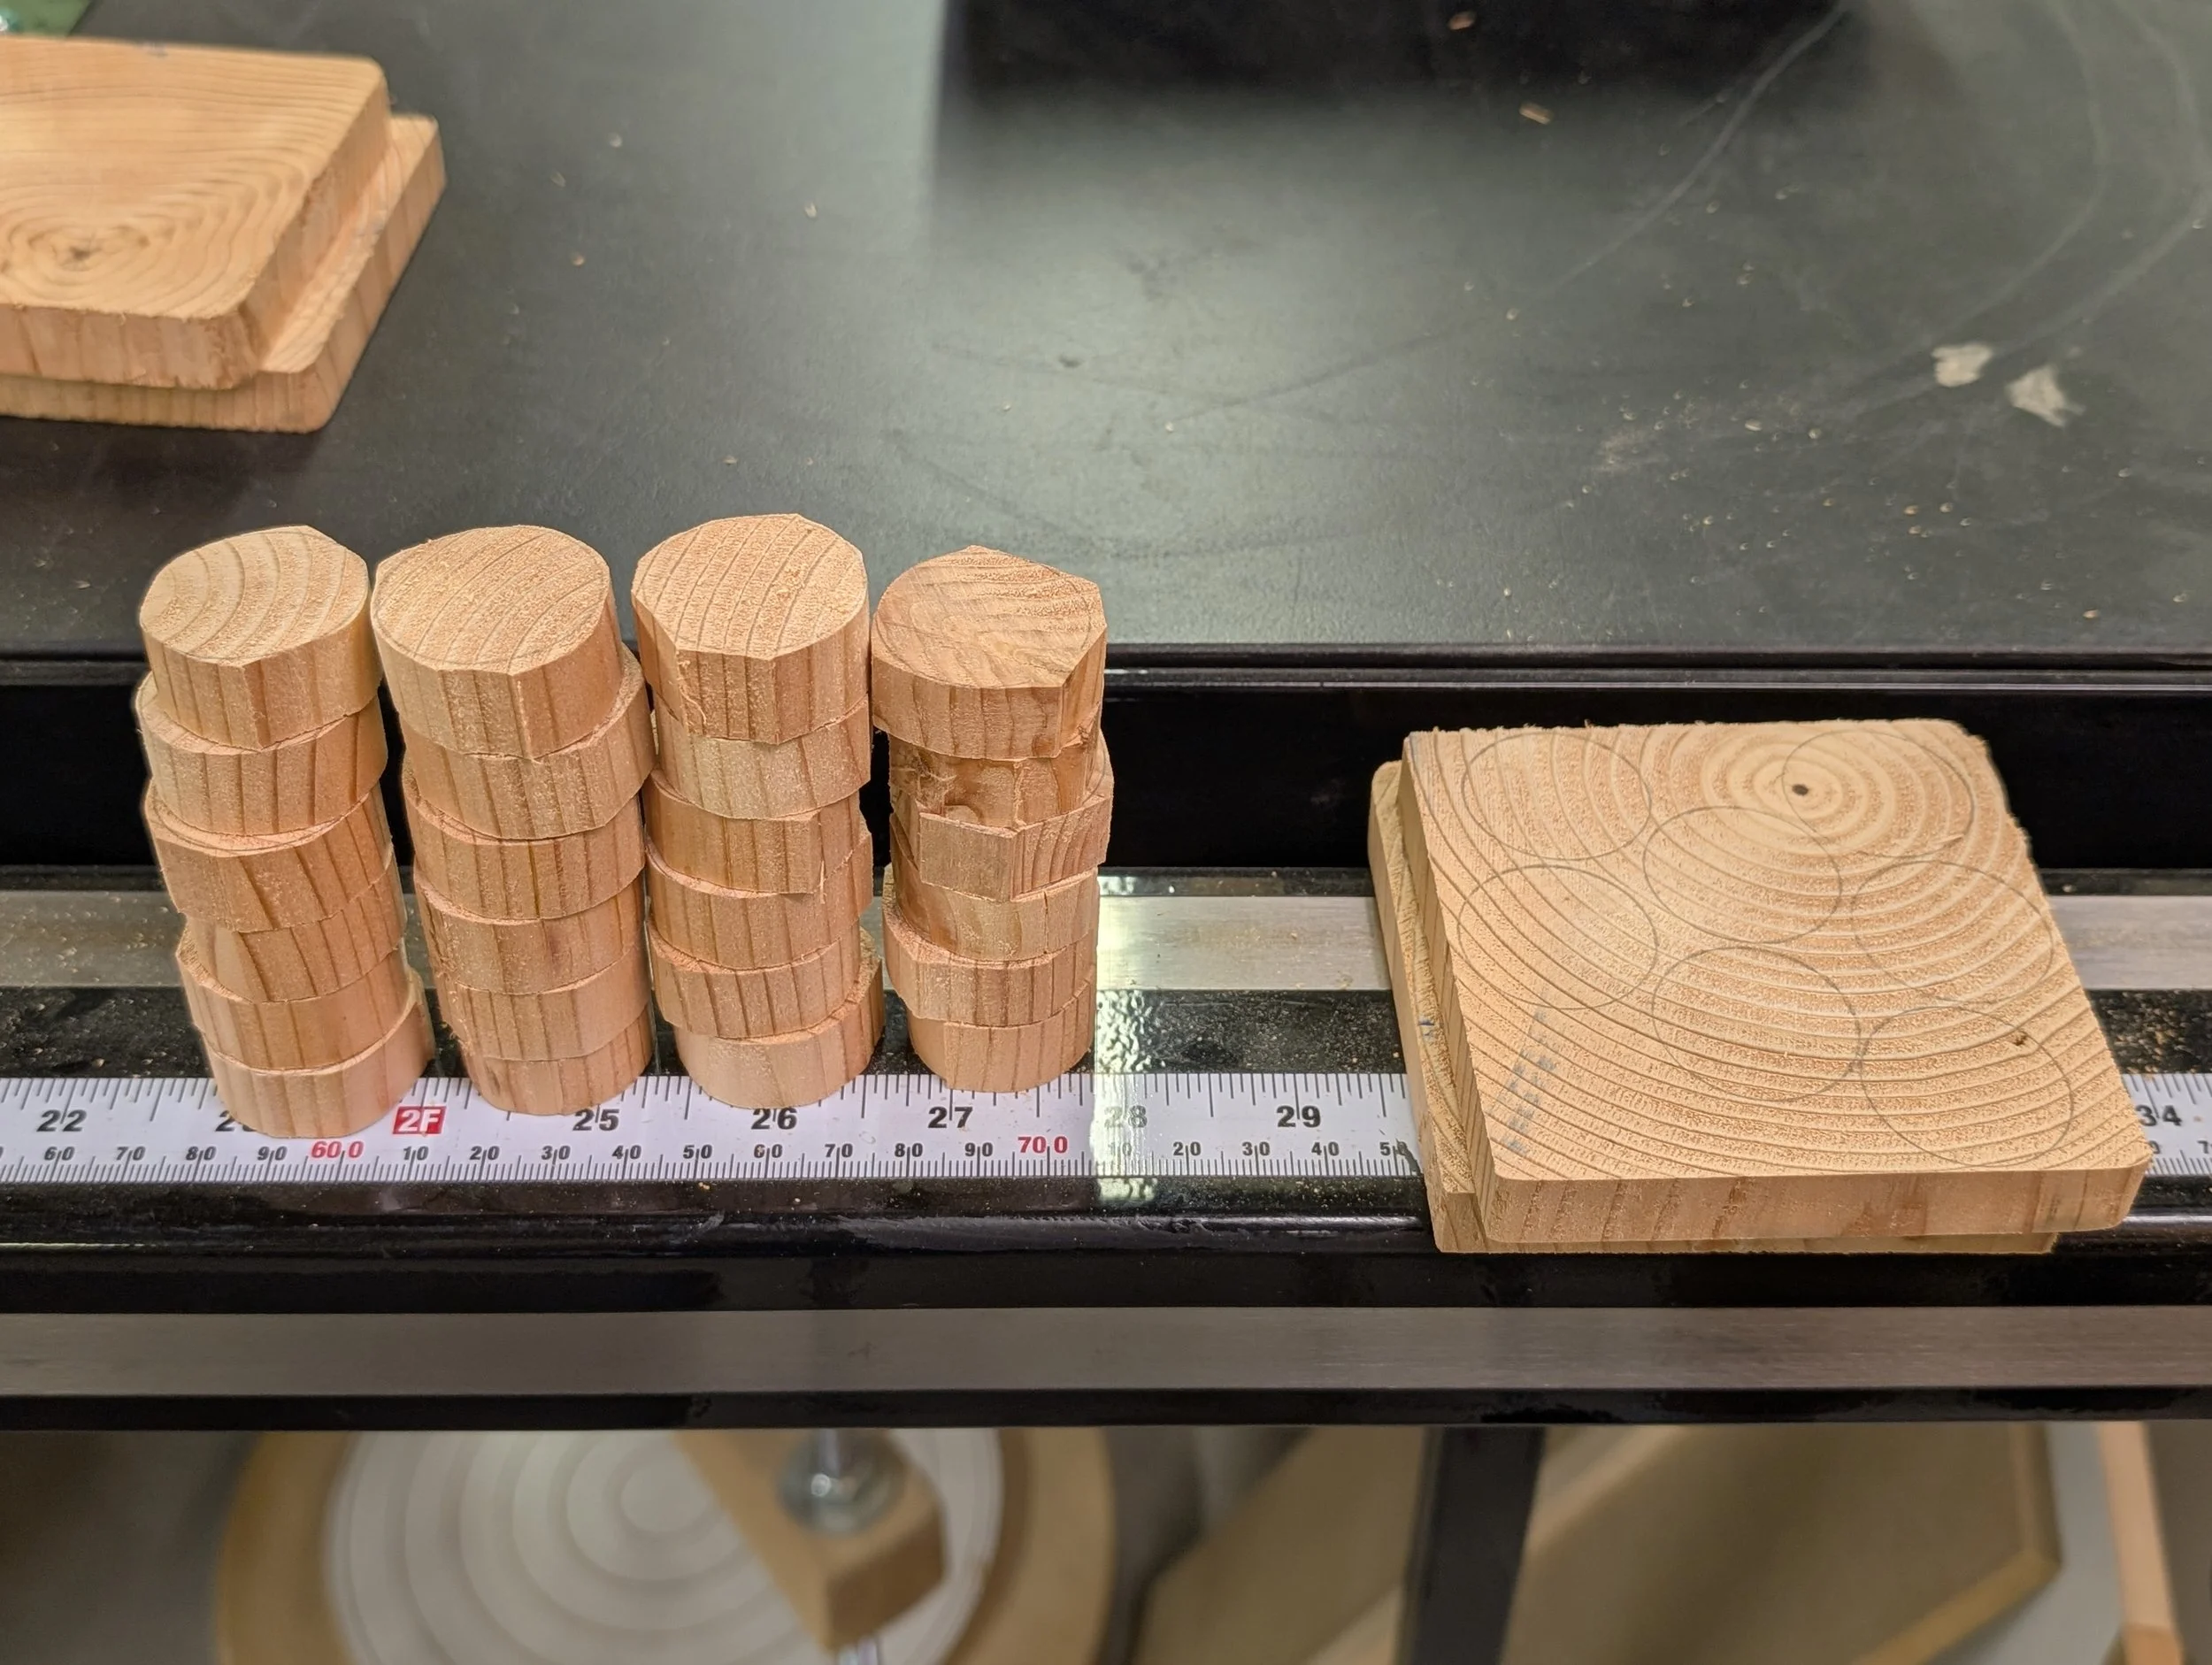
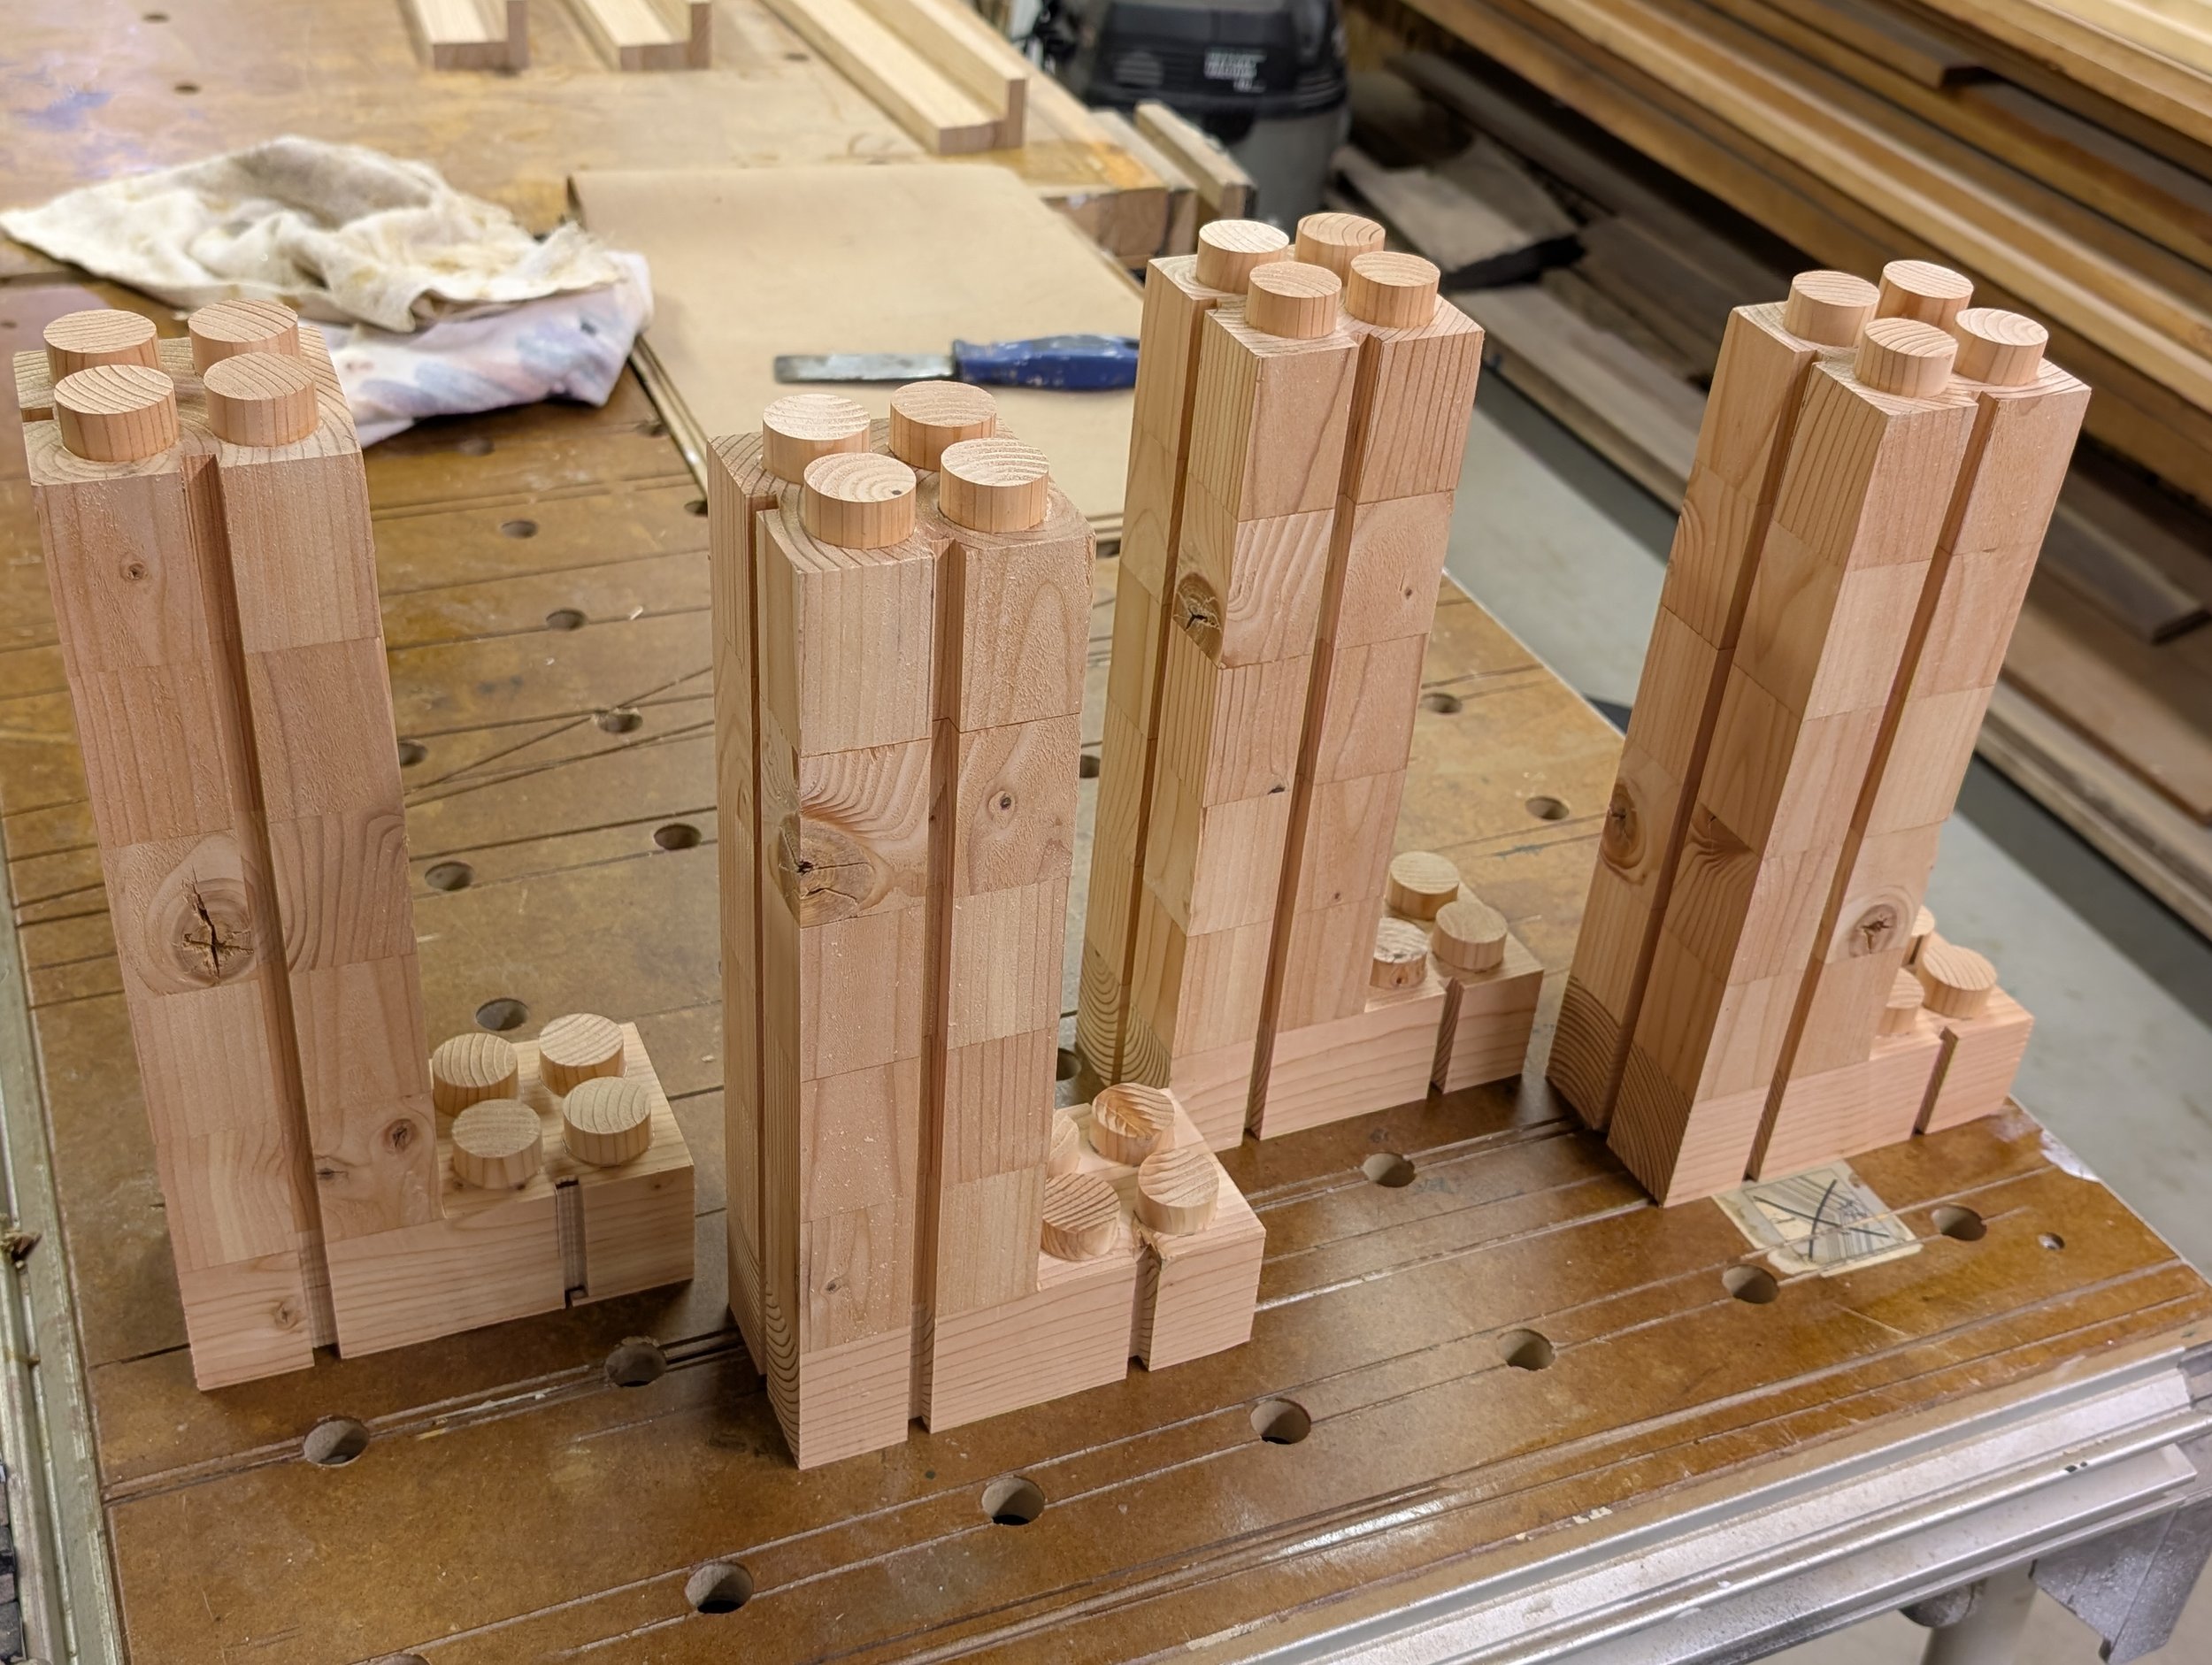
Planed and sanded down each leg smooth

Same process for the corners, while holding the flat edge against the fence
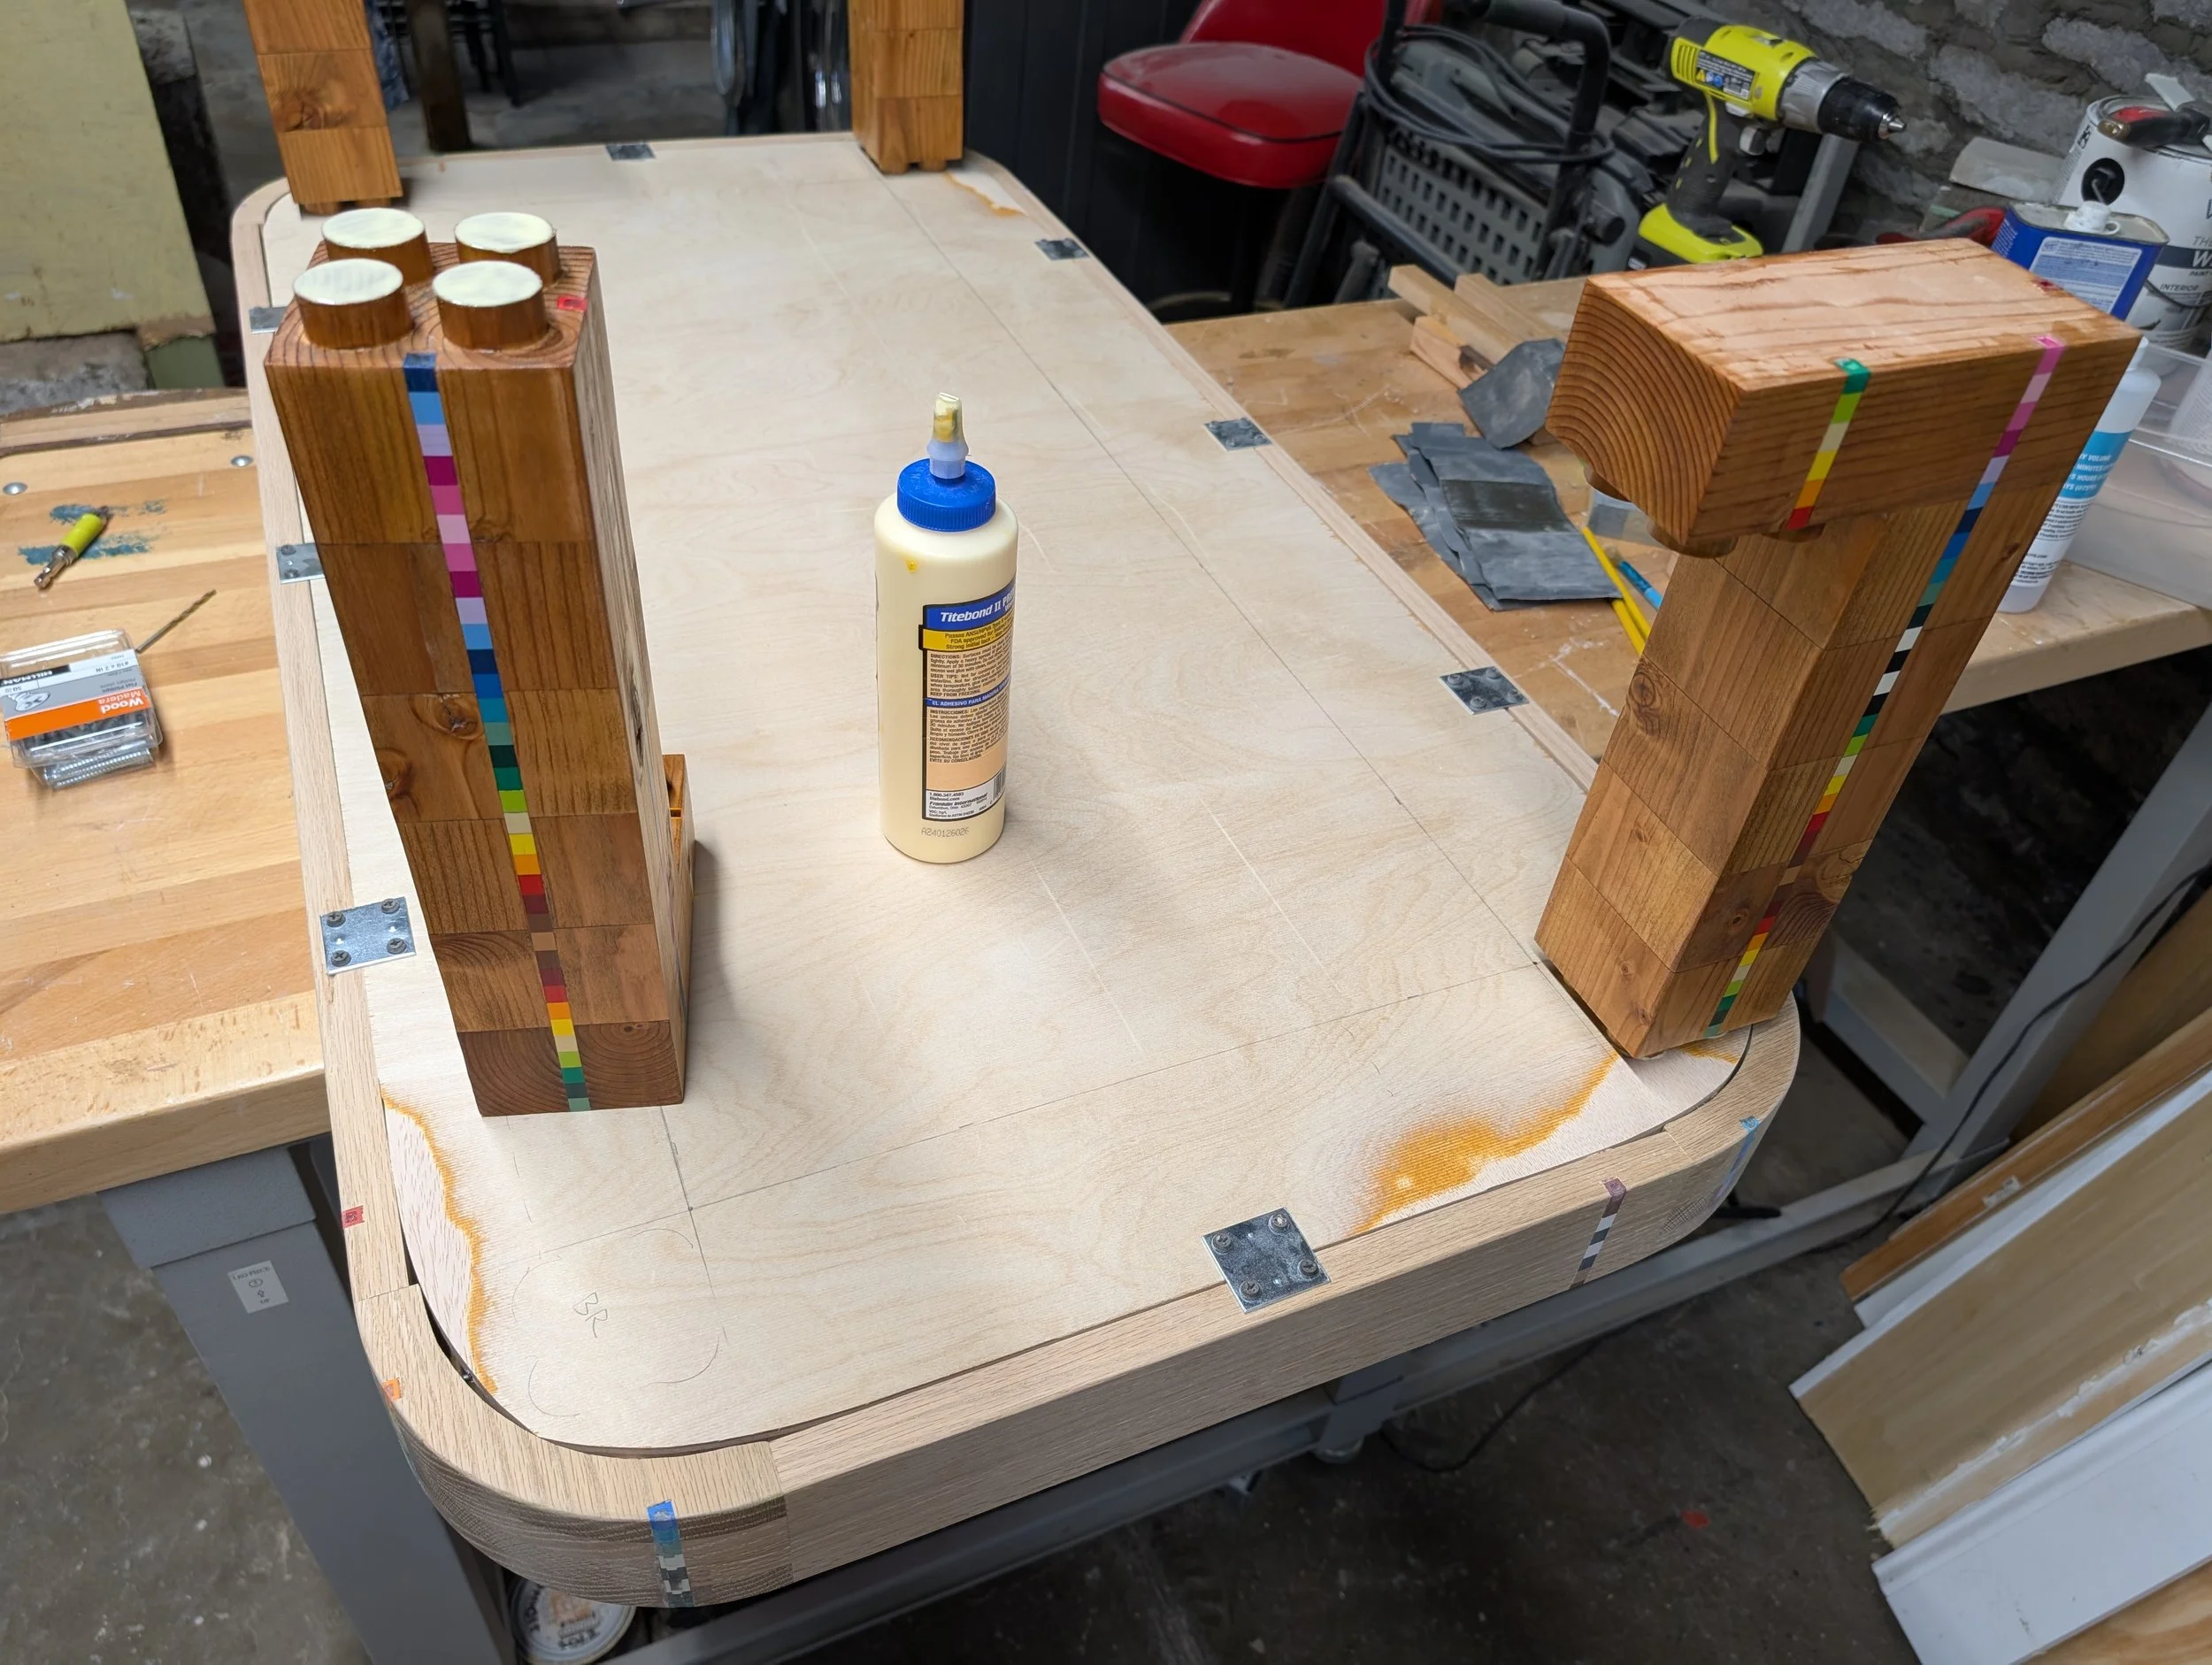
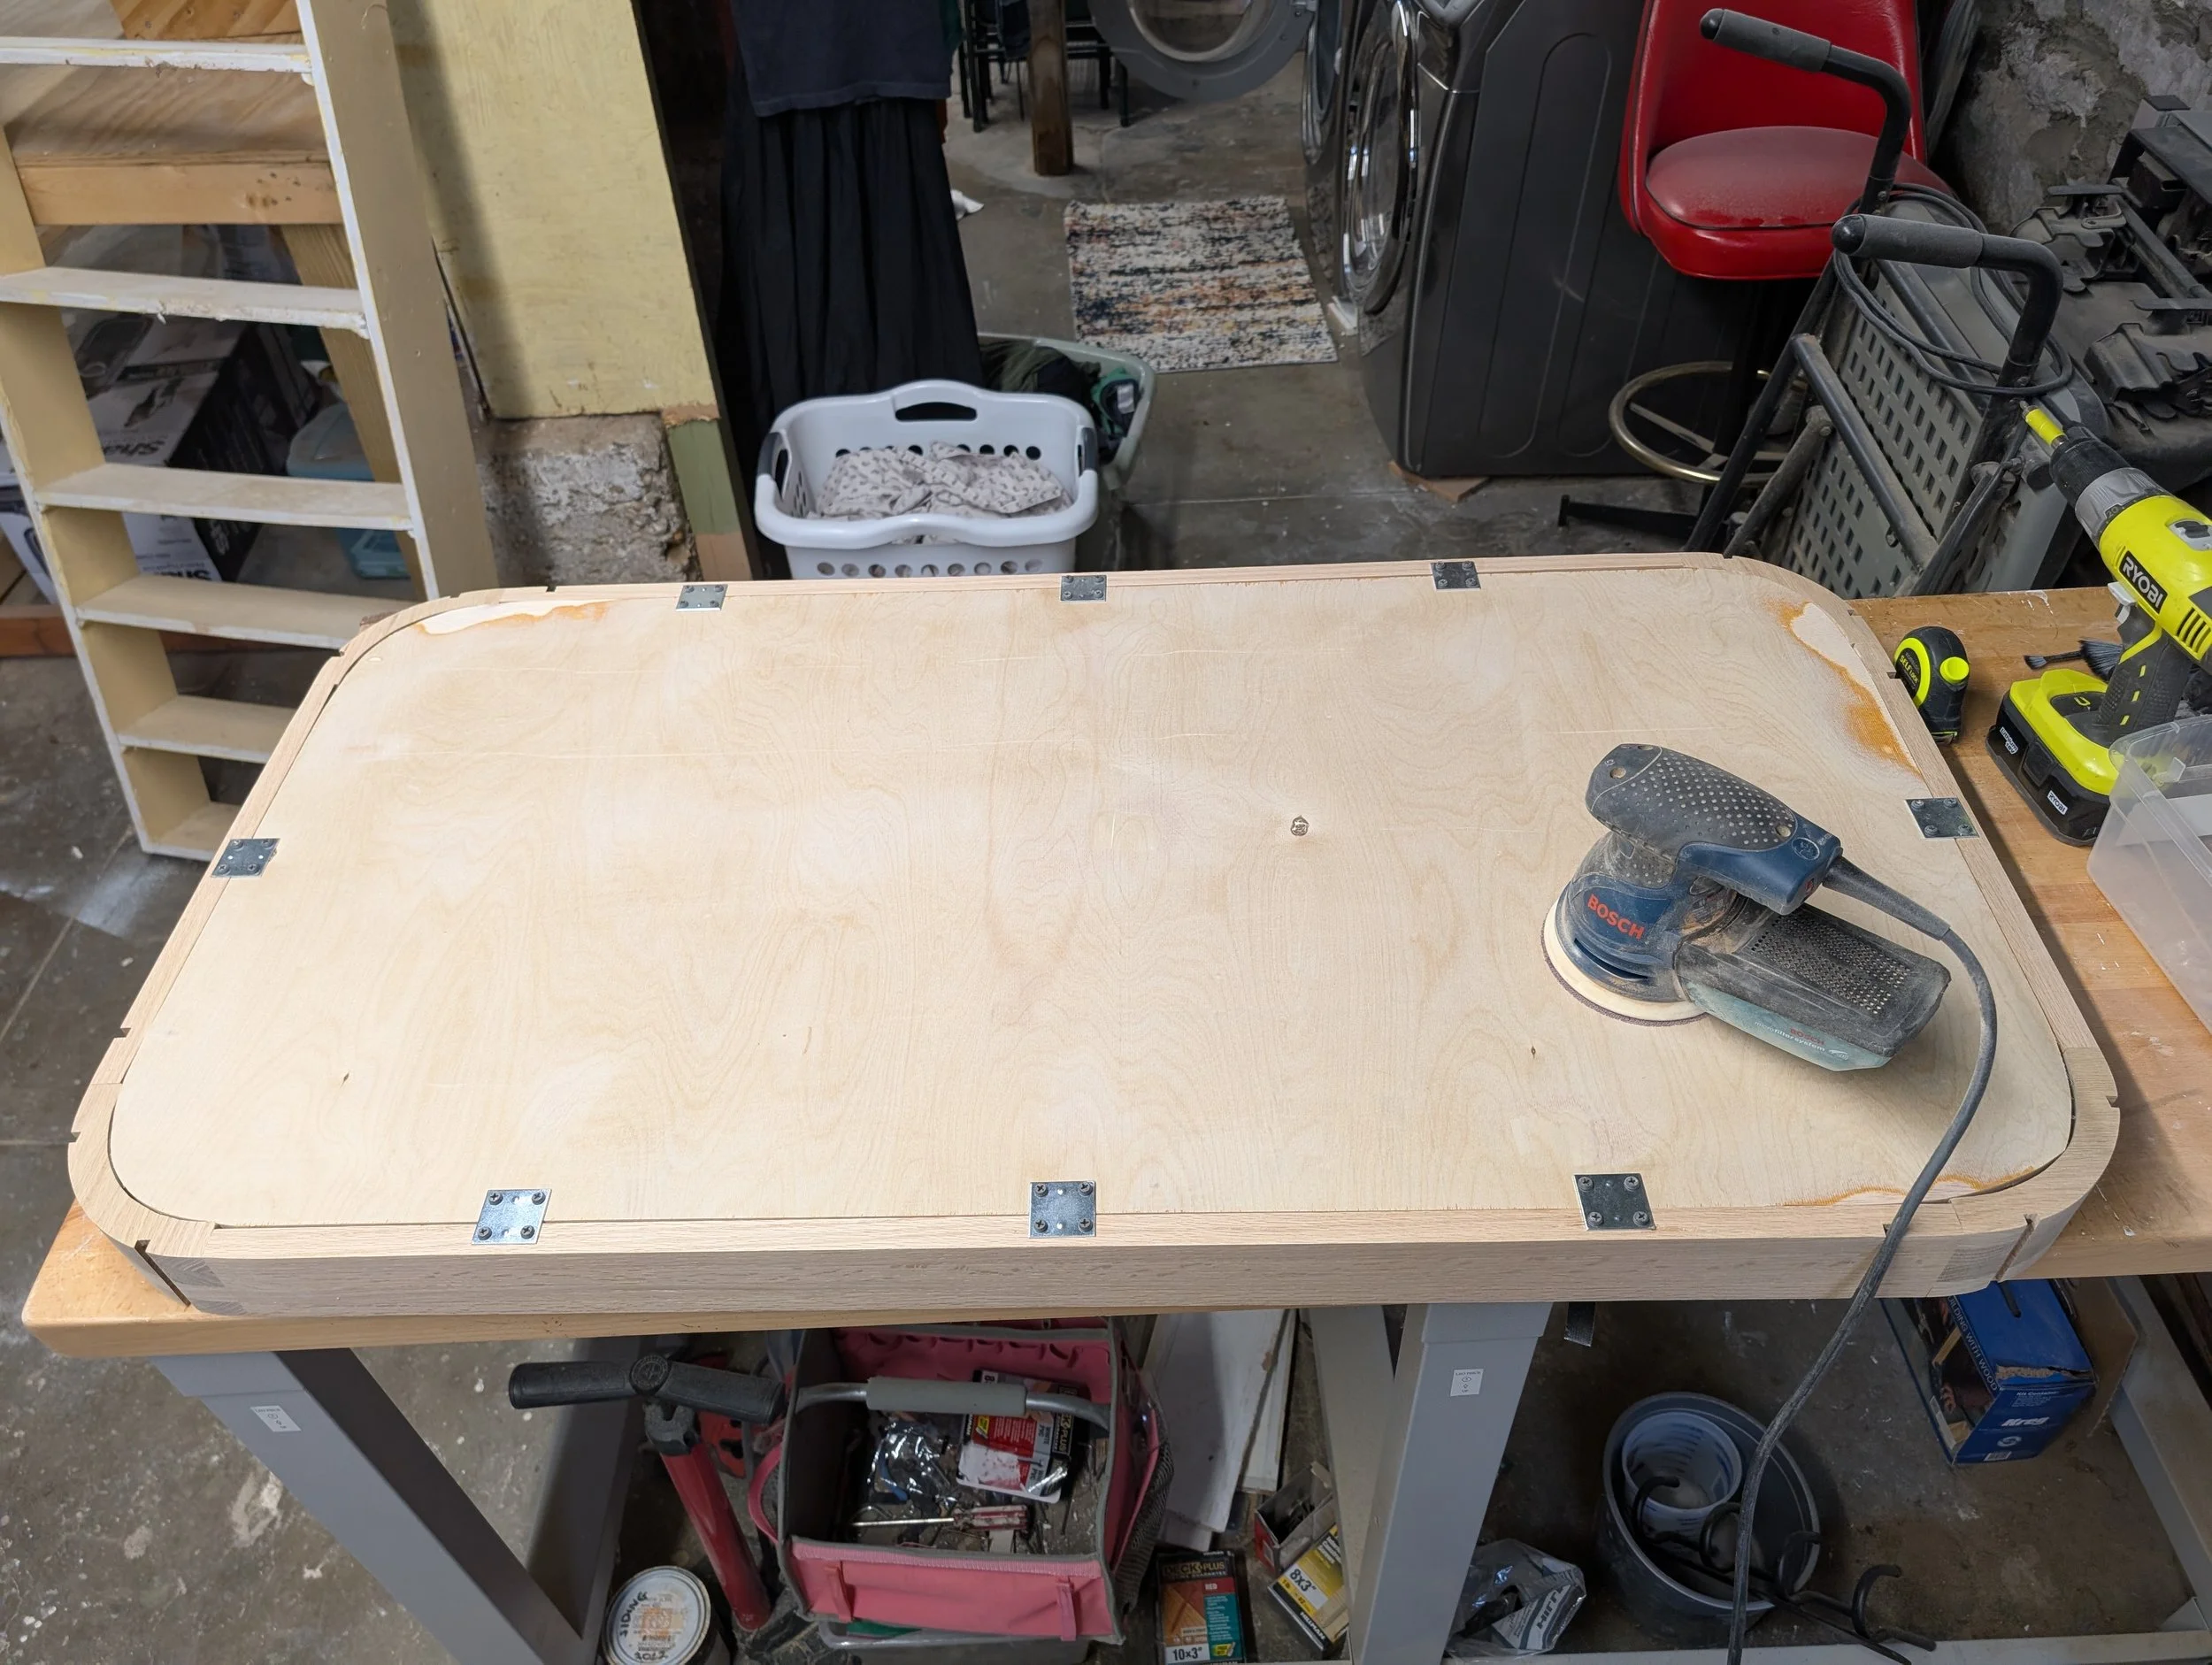
Table Top Assembly
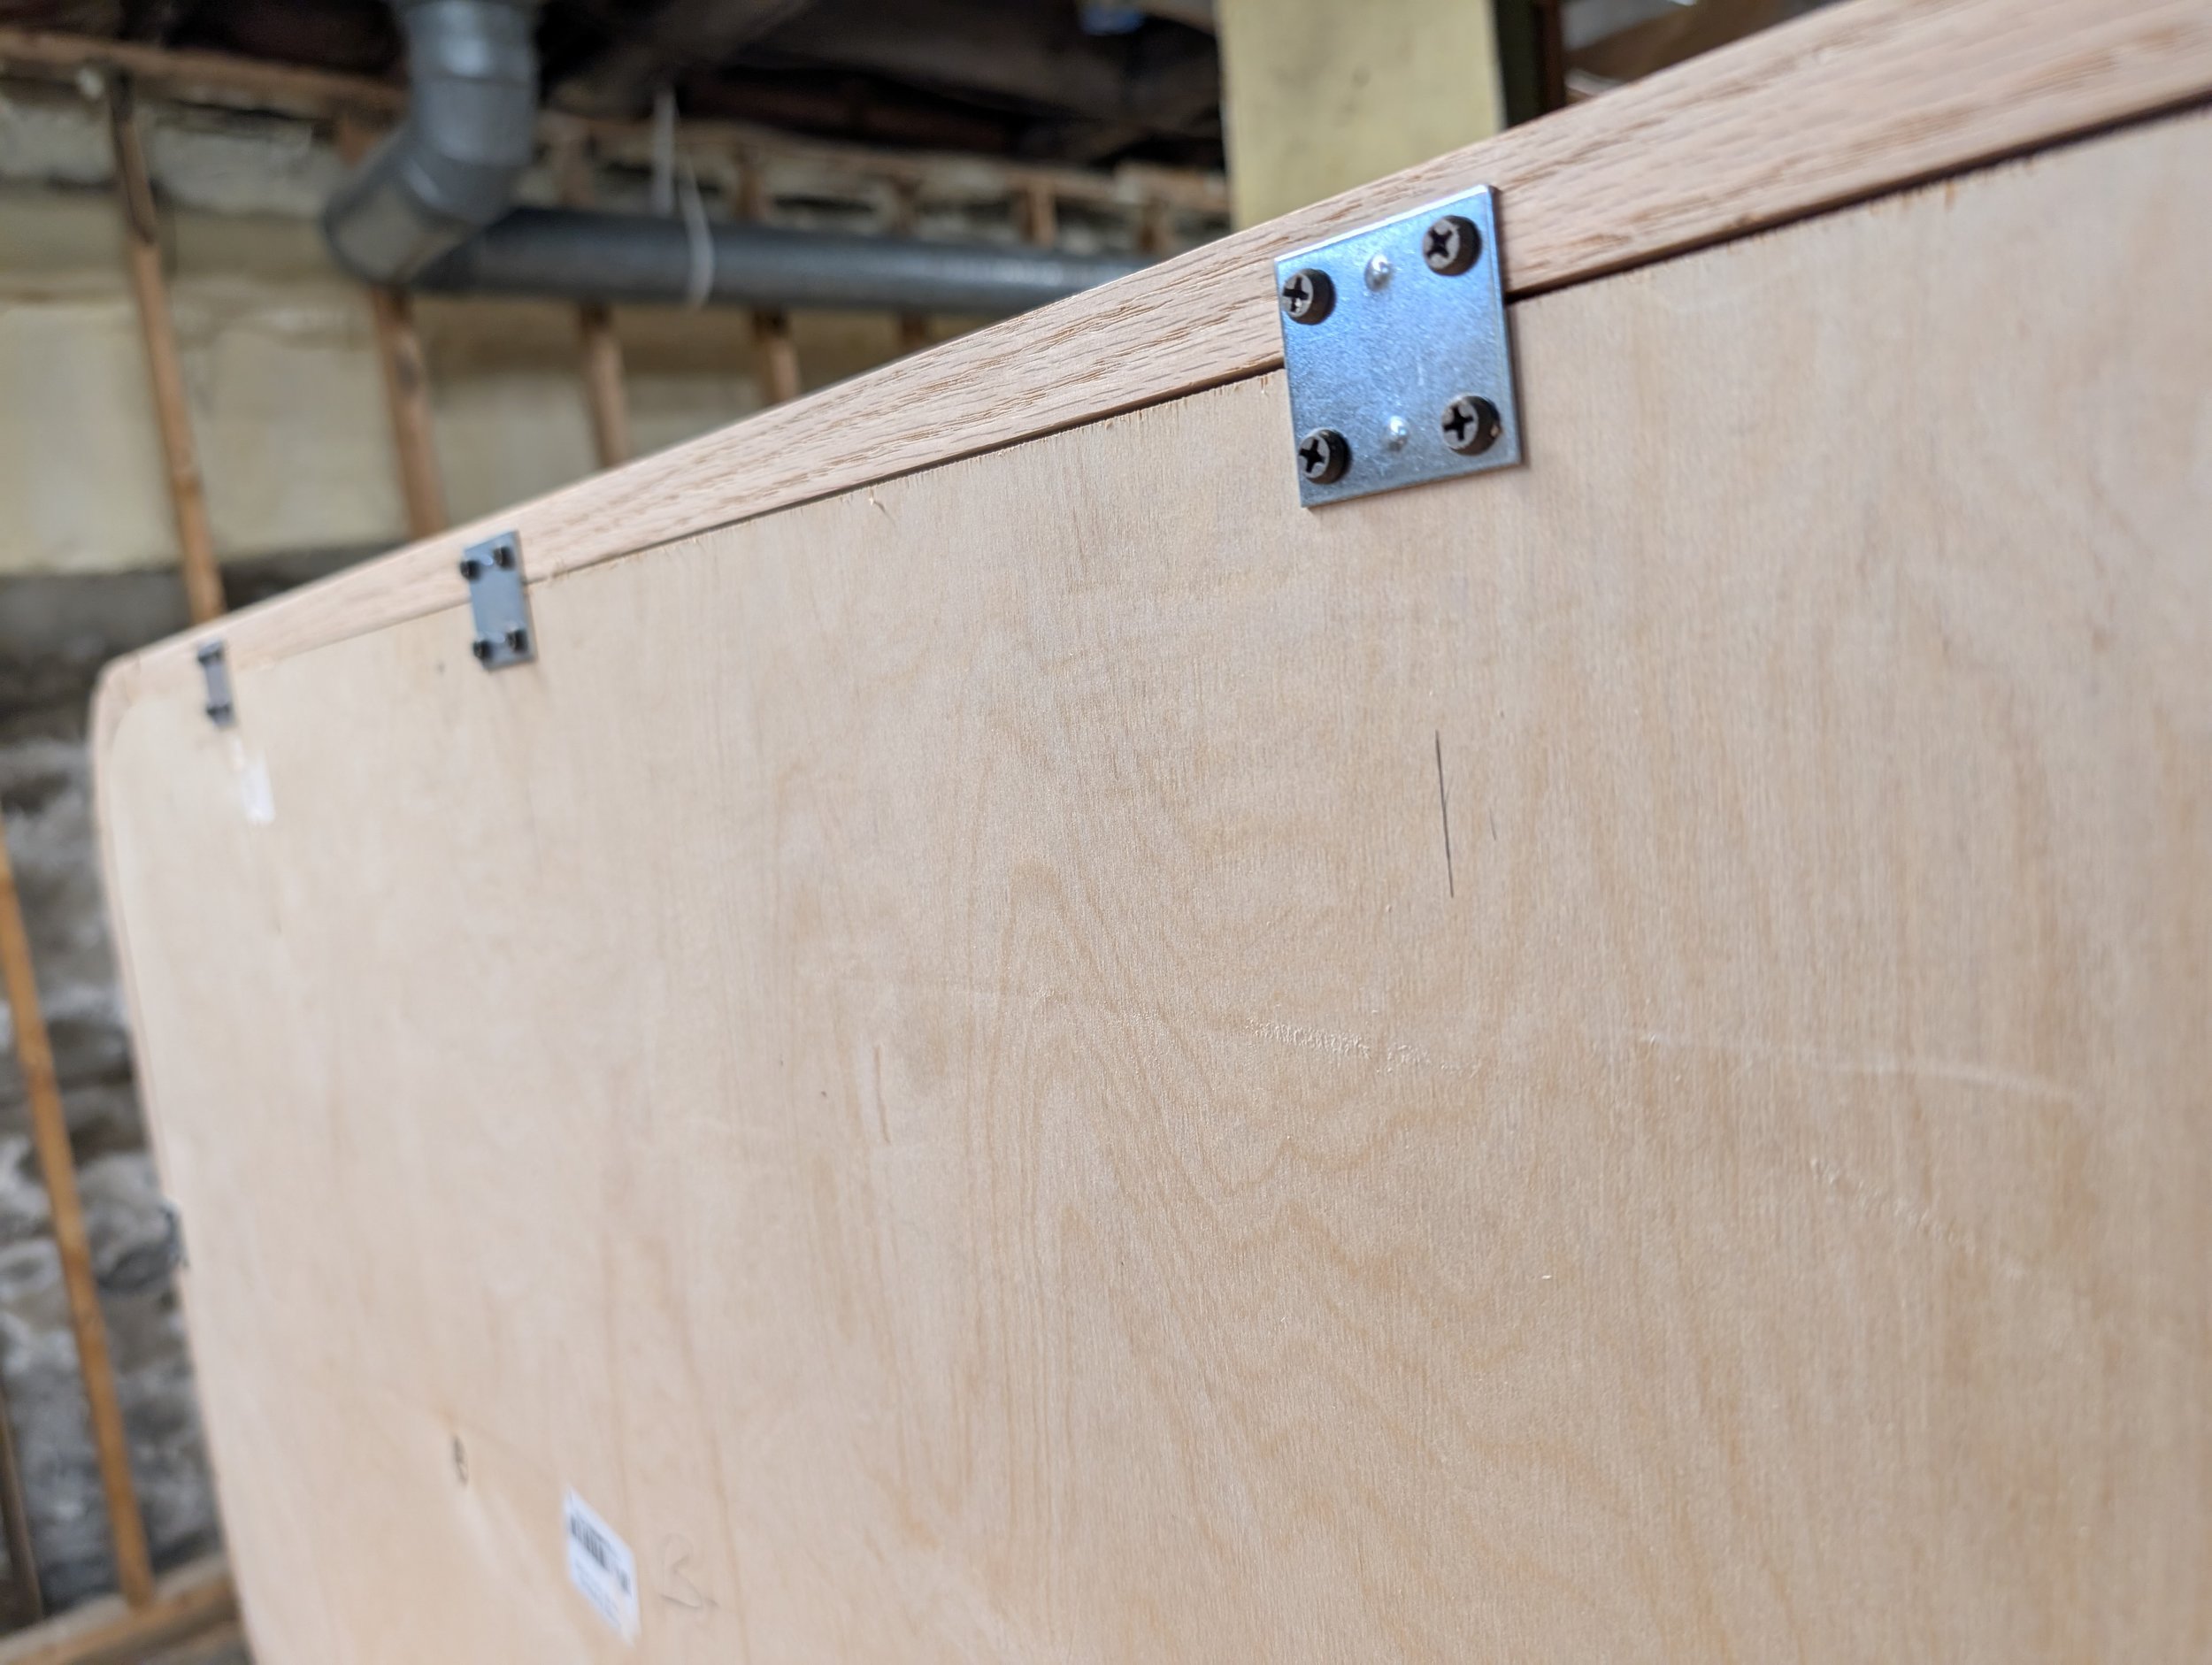
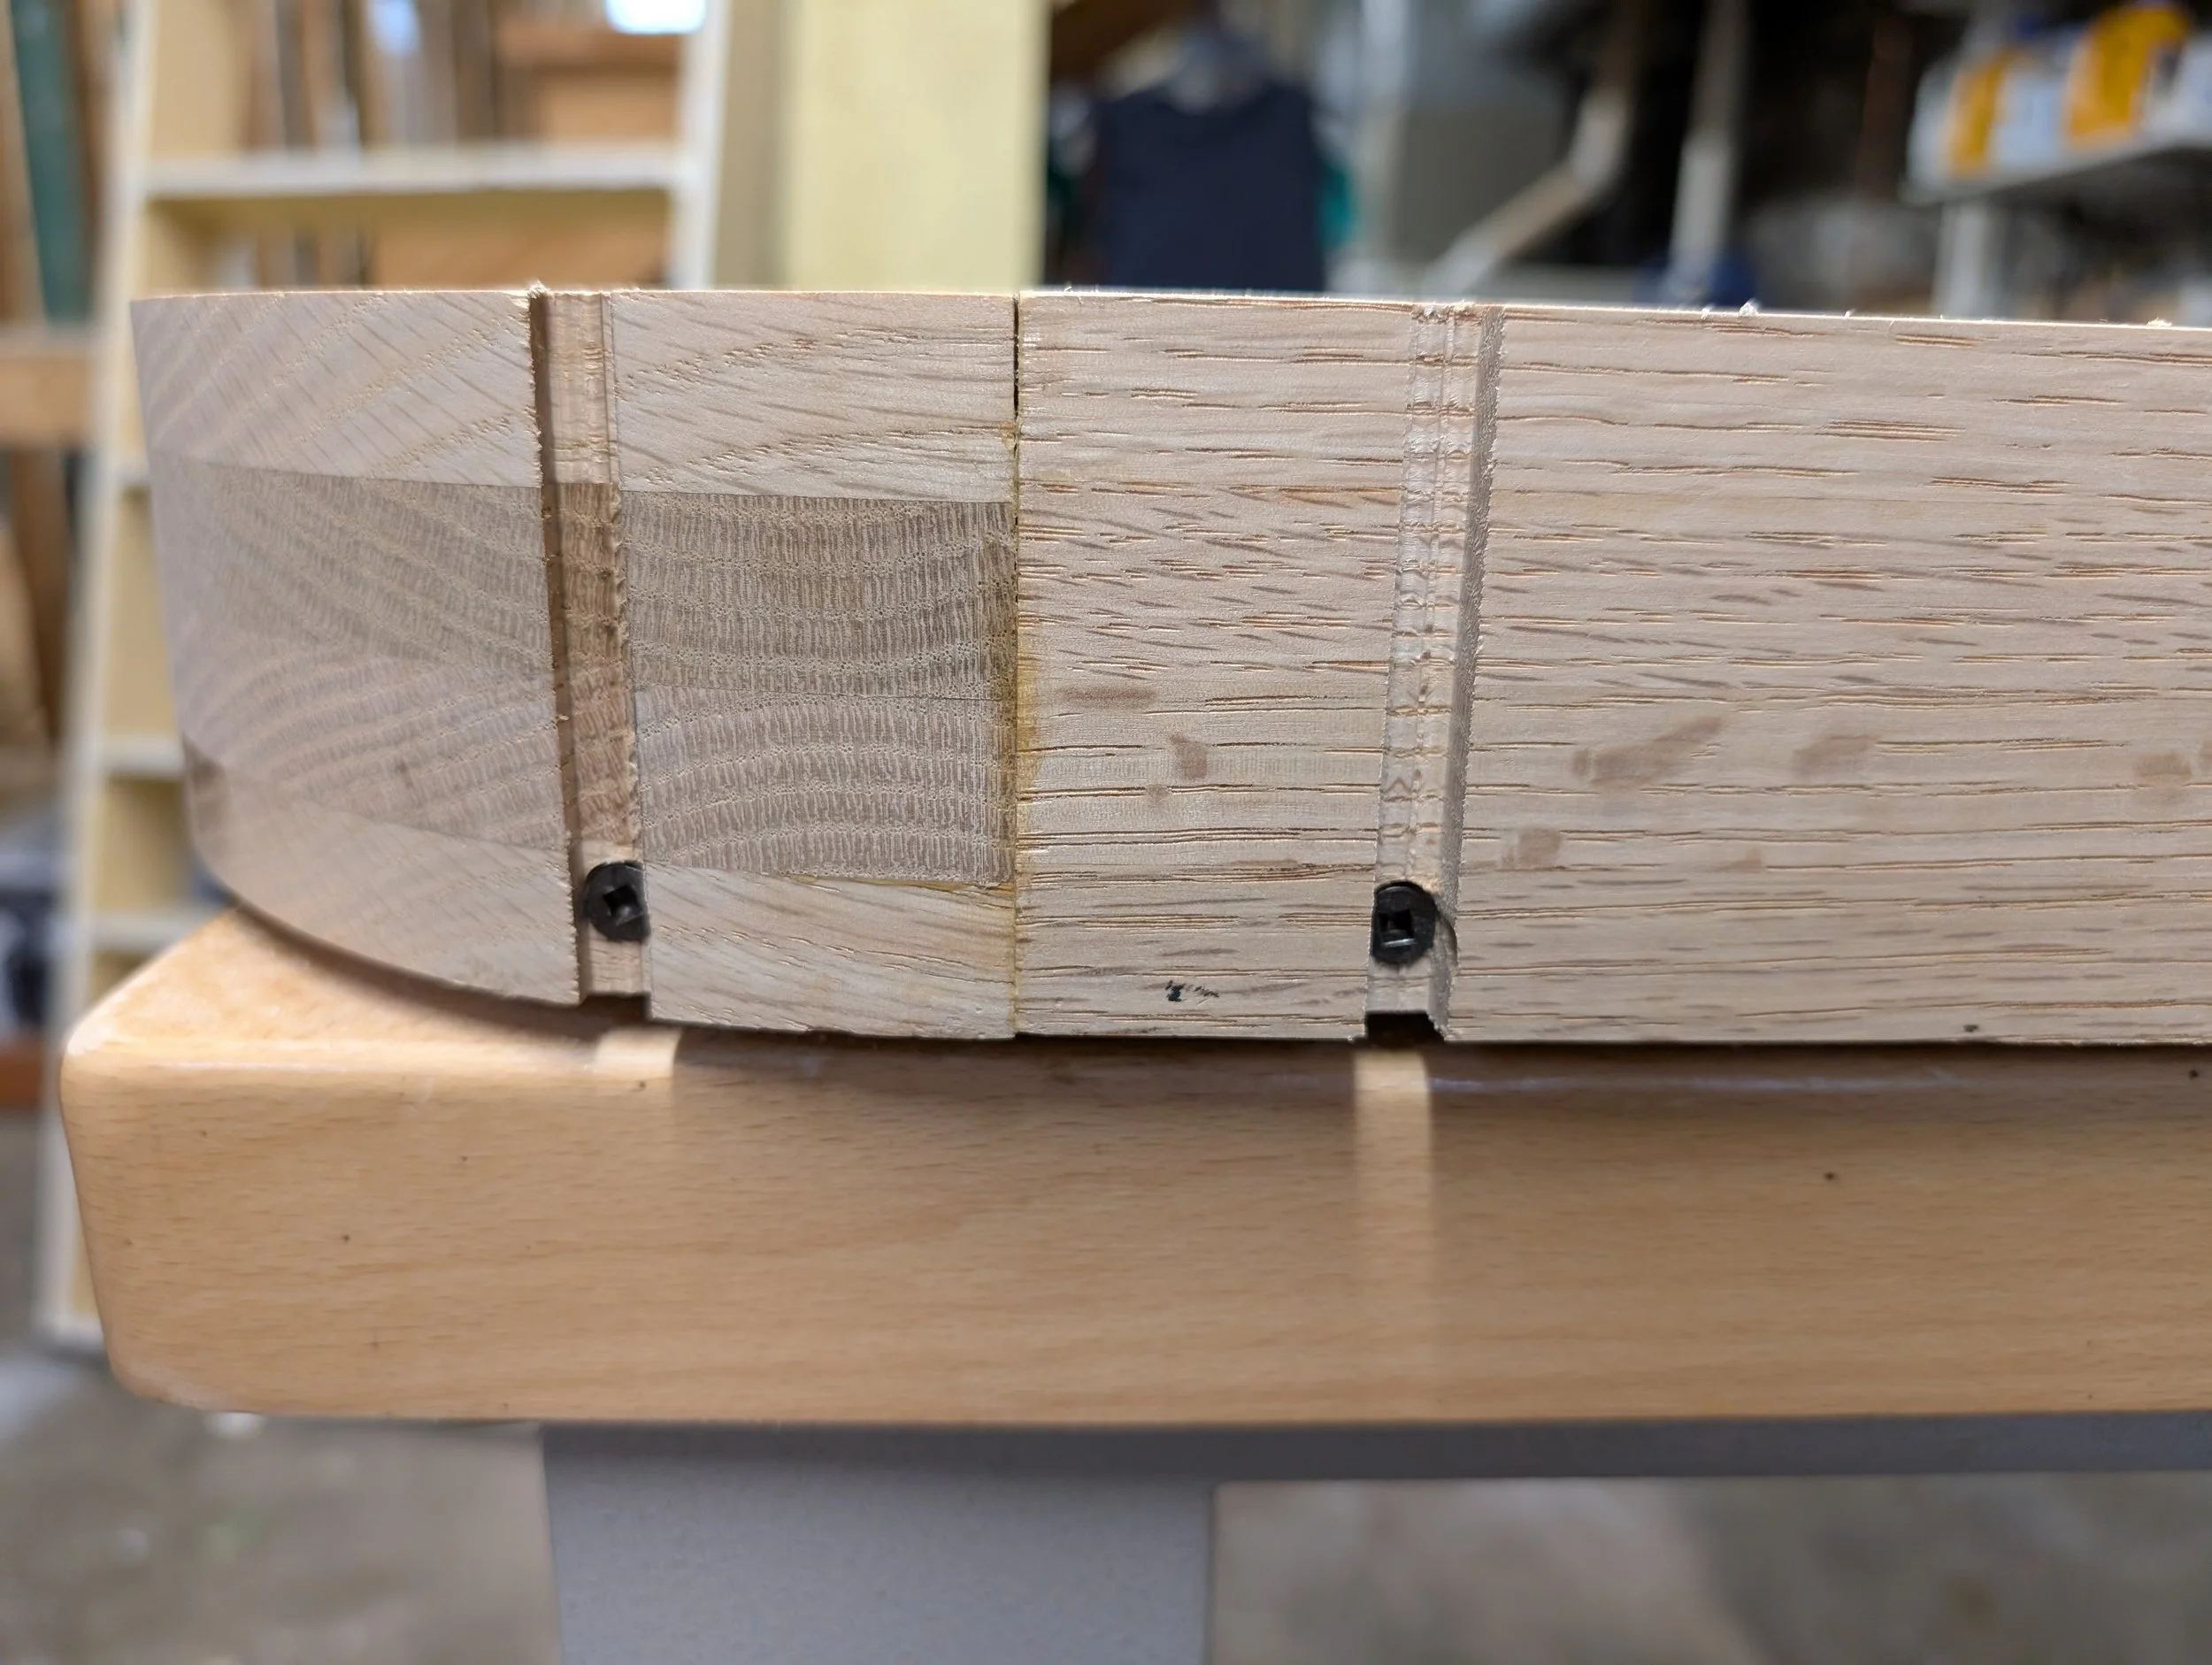
Joinery: screws and glue for the frame, screws and braces for the plywood
Sanded smooth with an orbital sander.

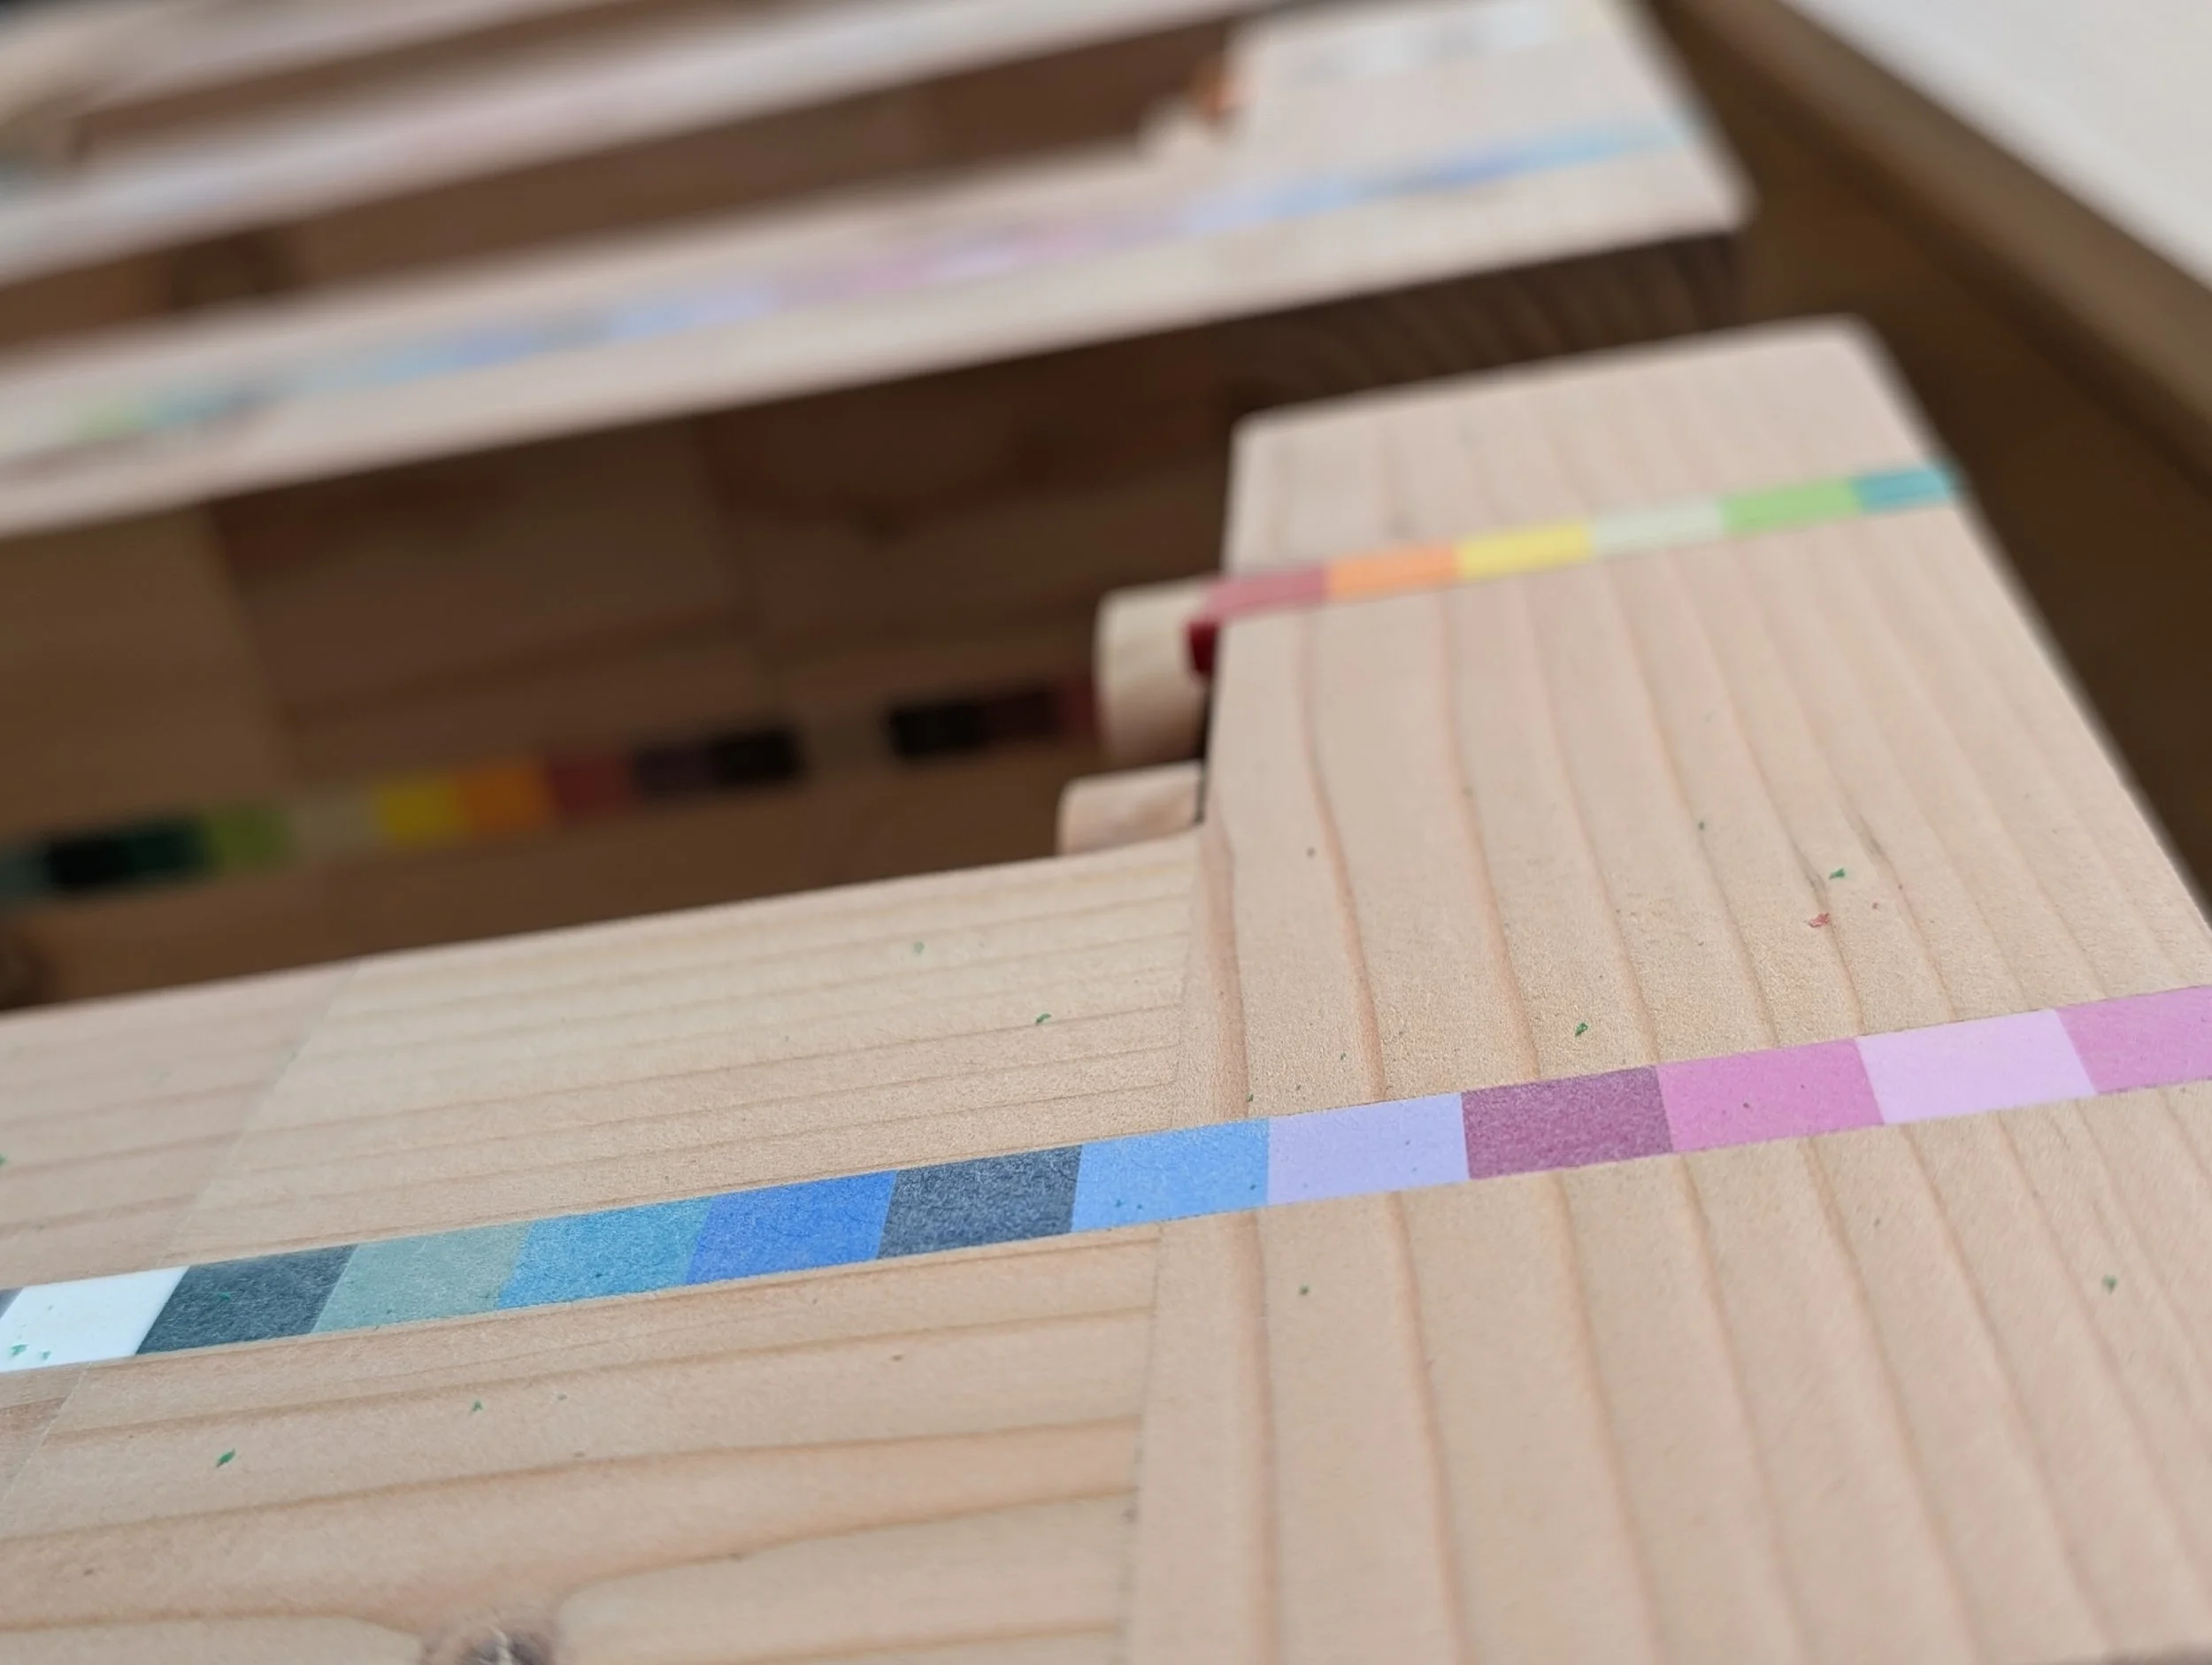
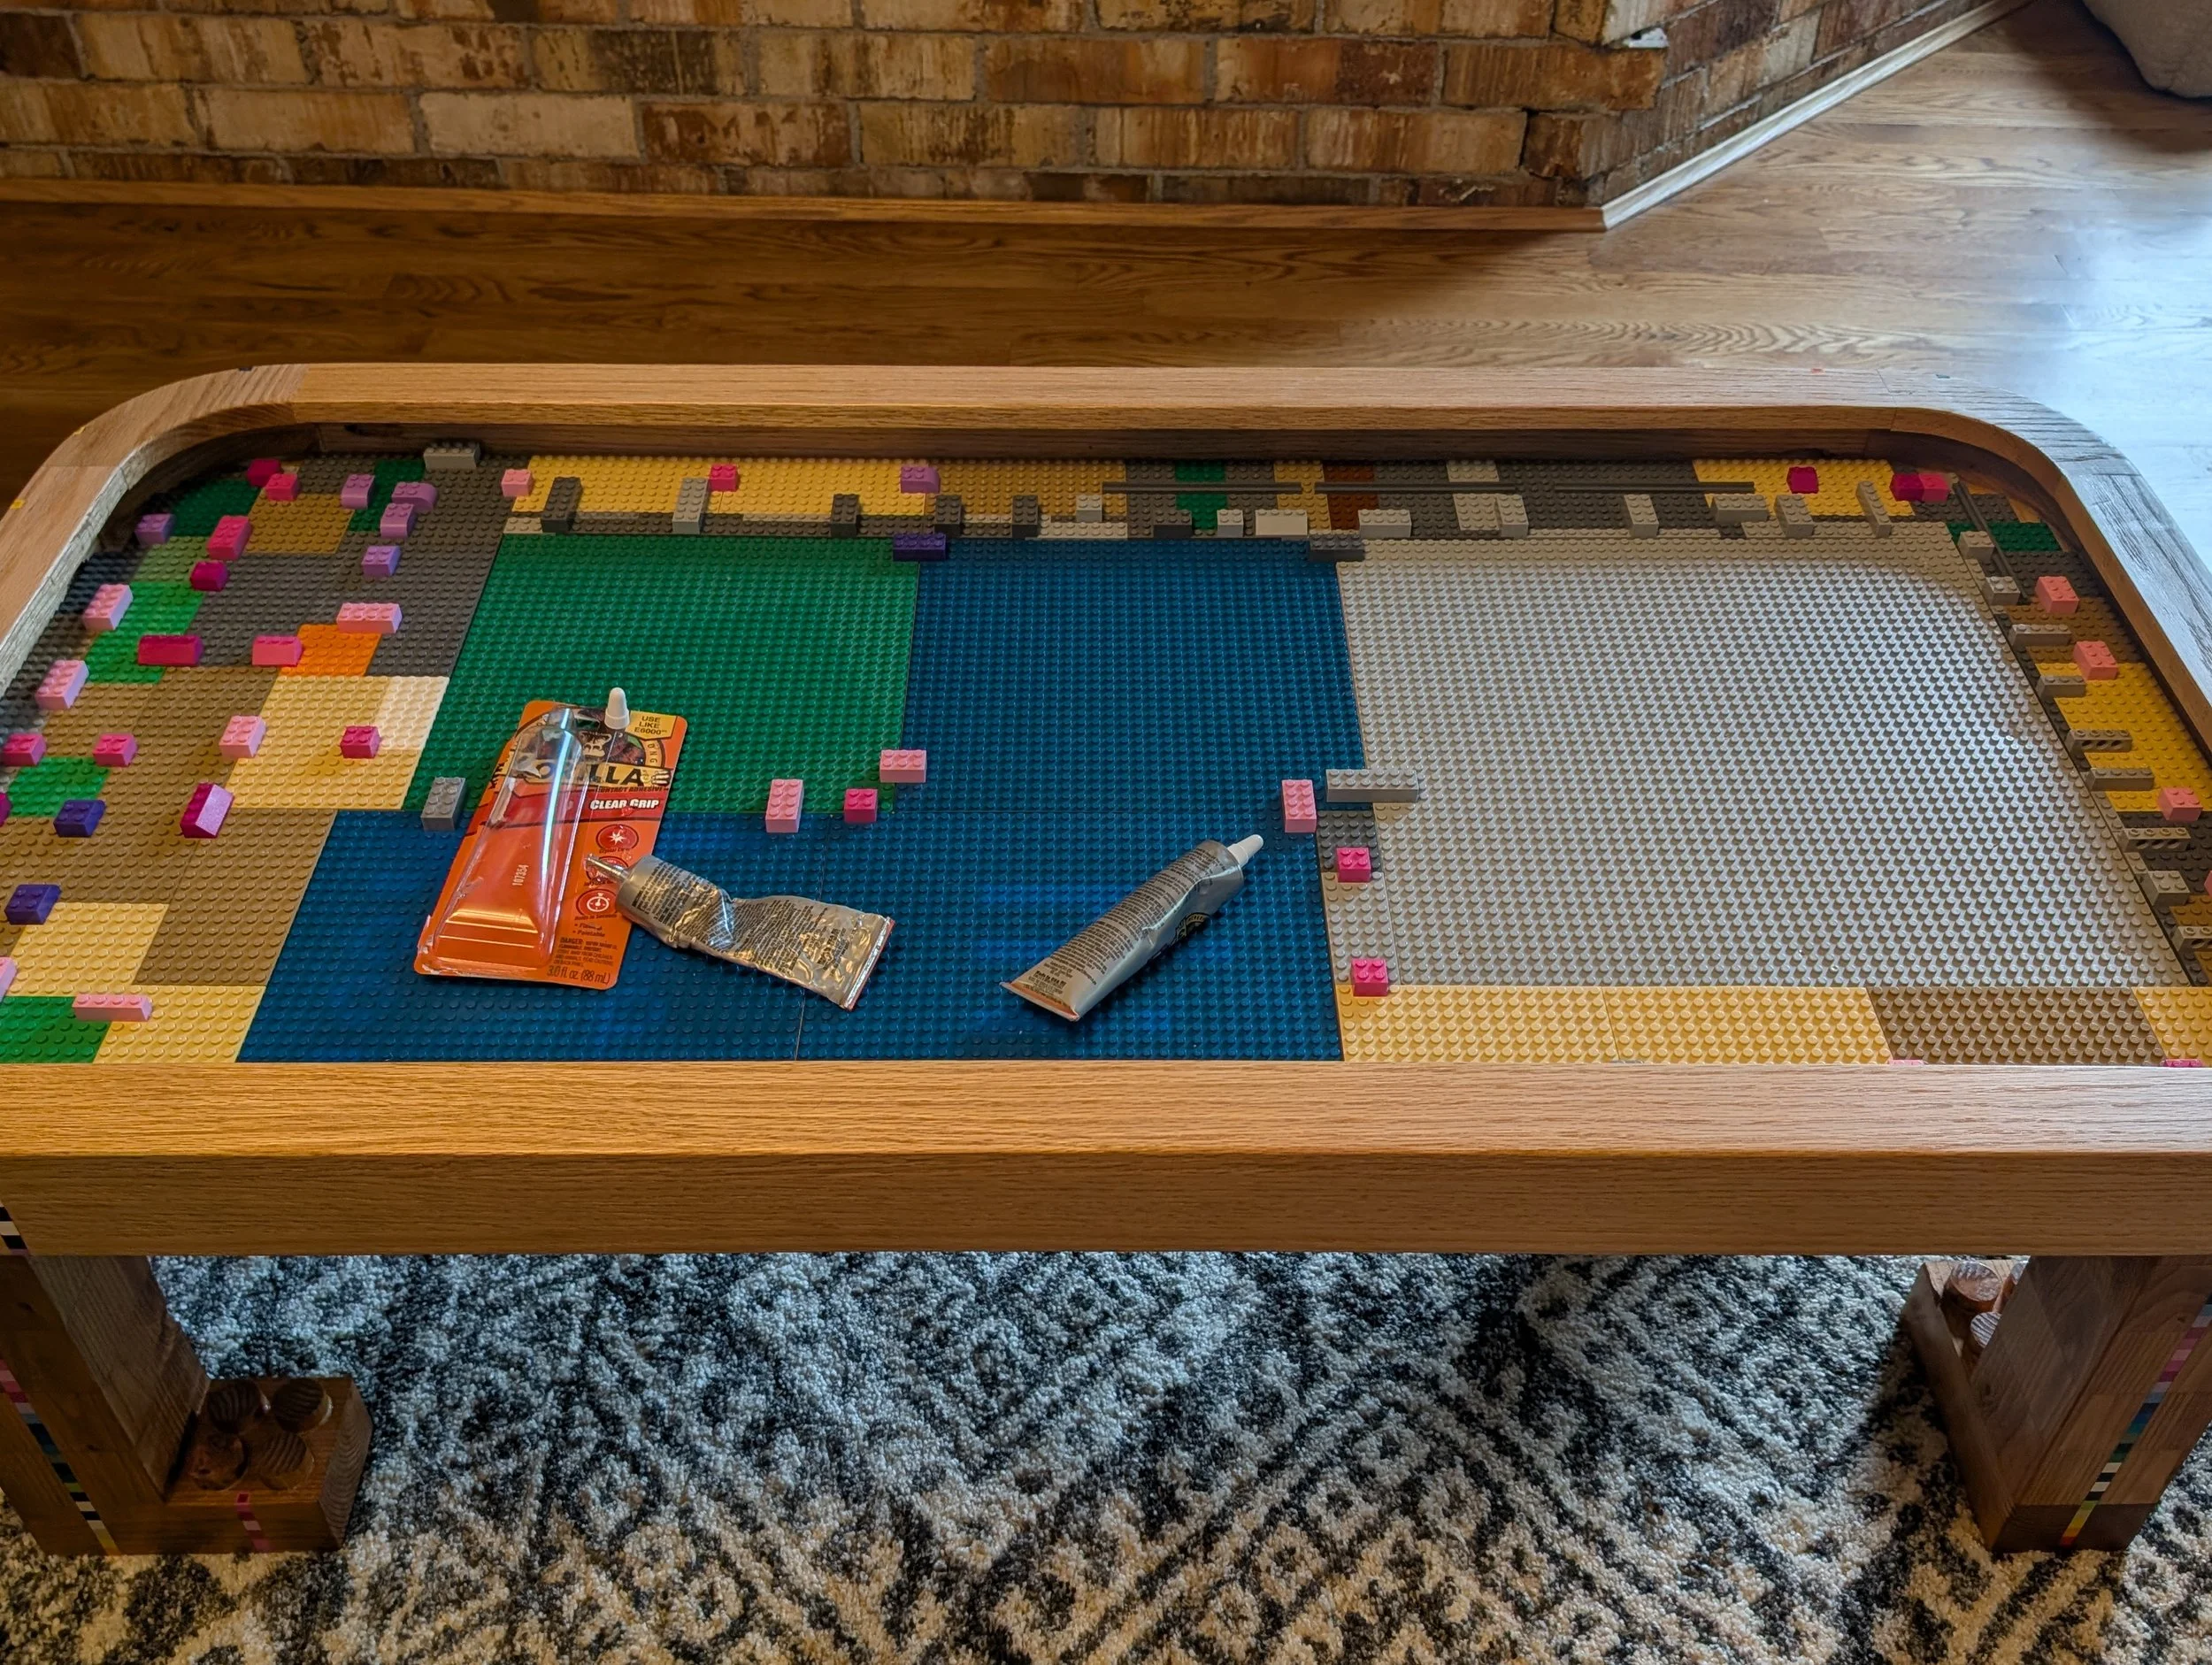
Embedding Legos
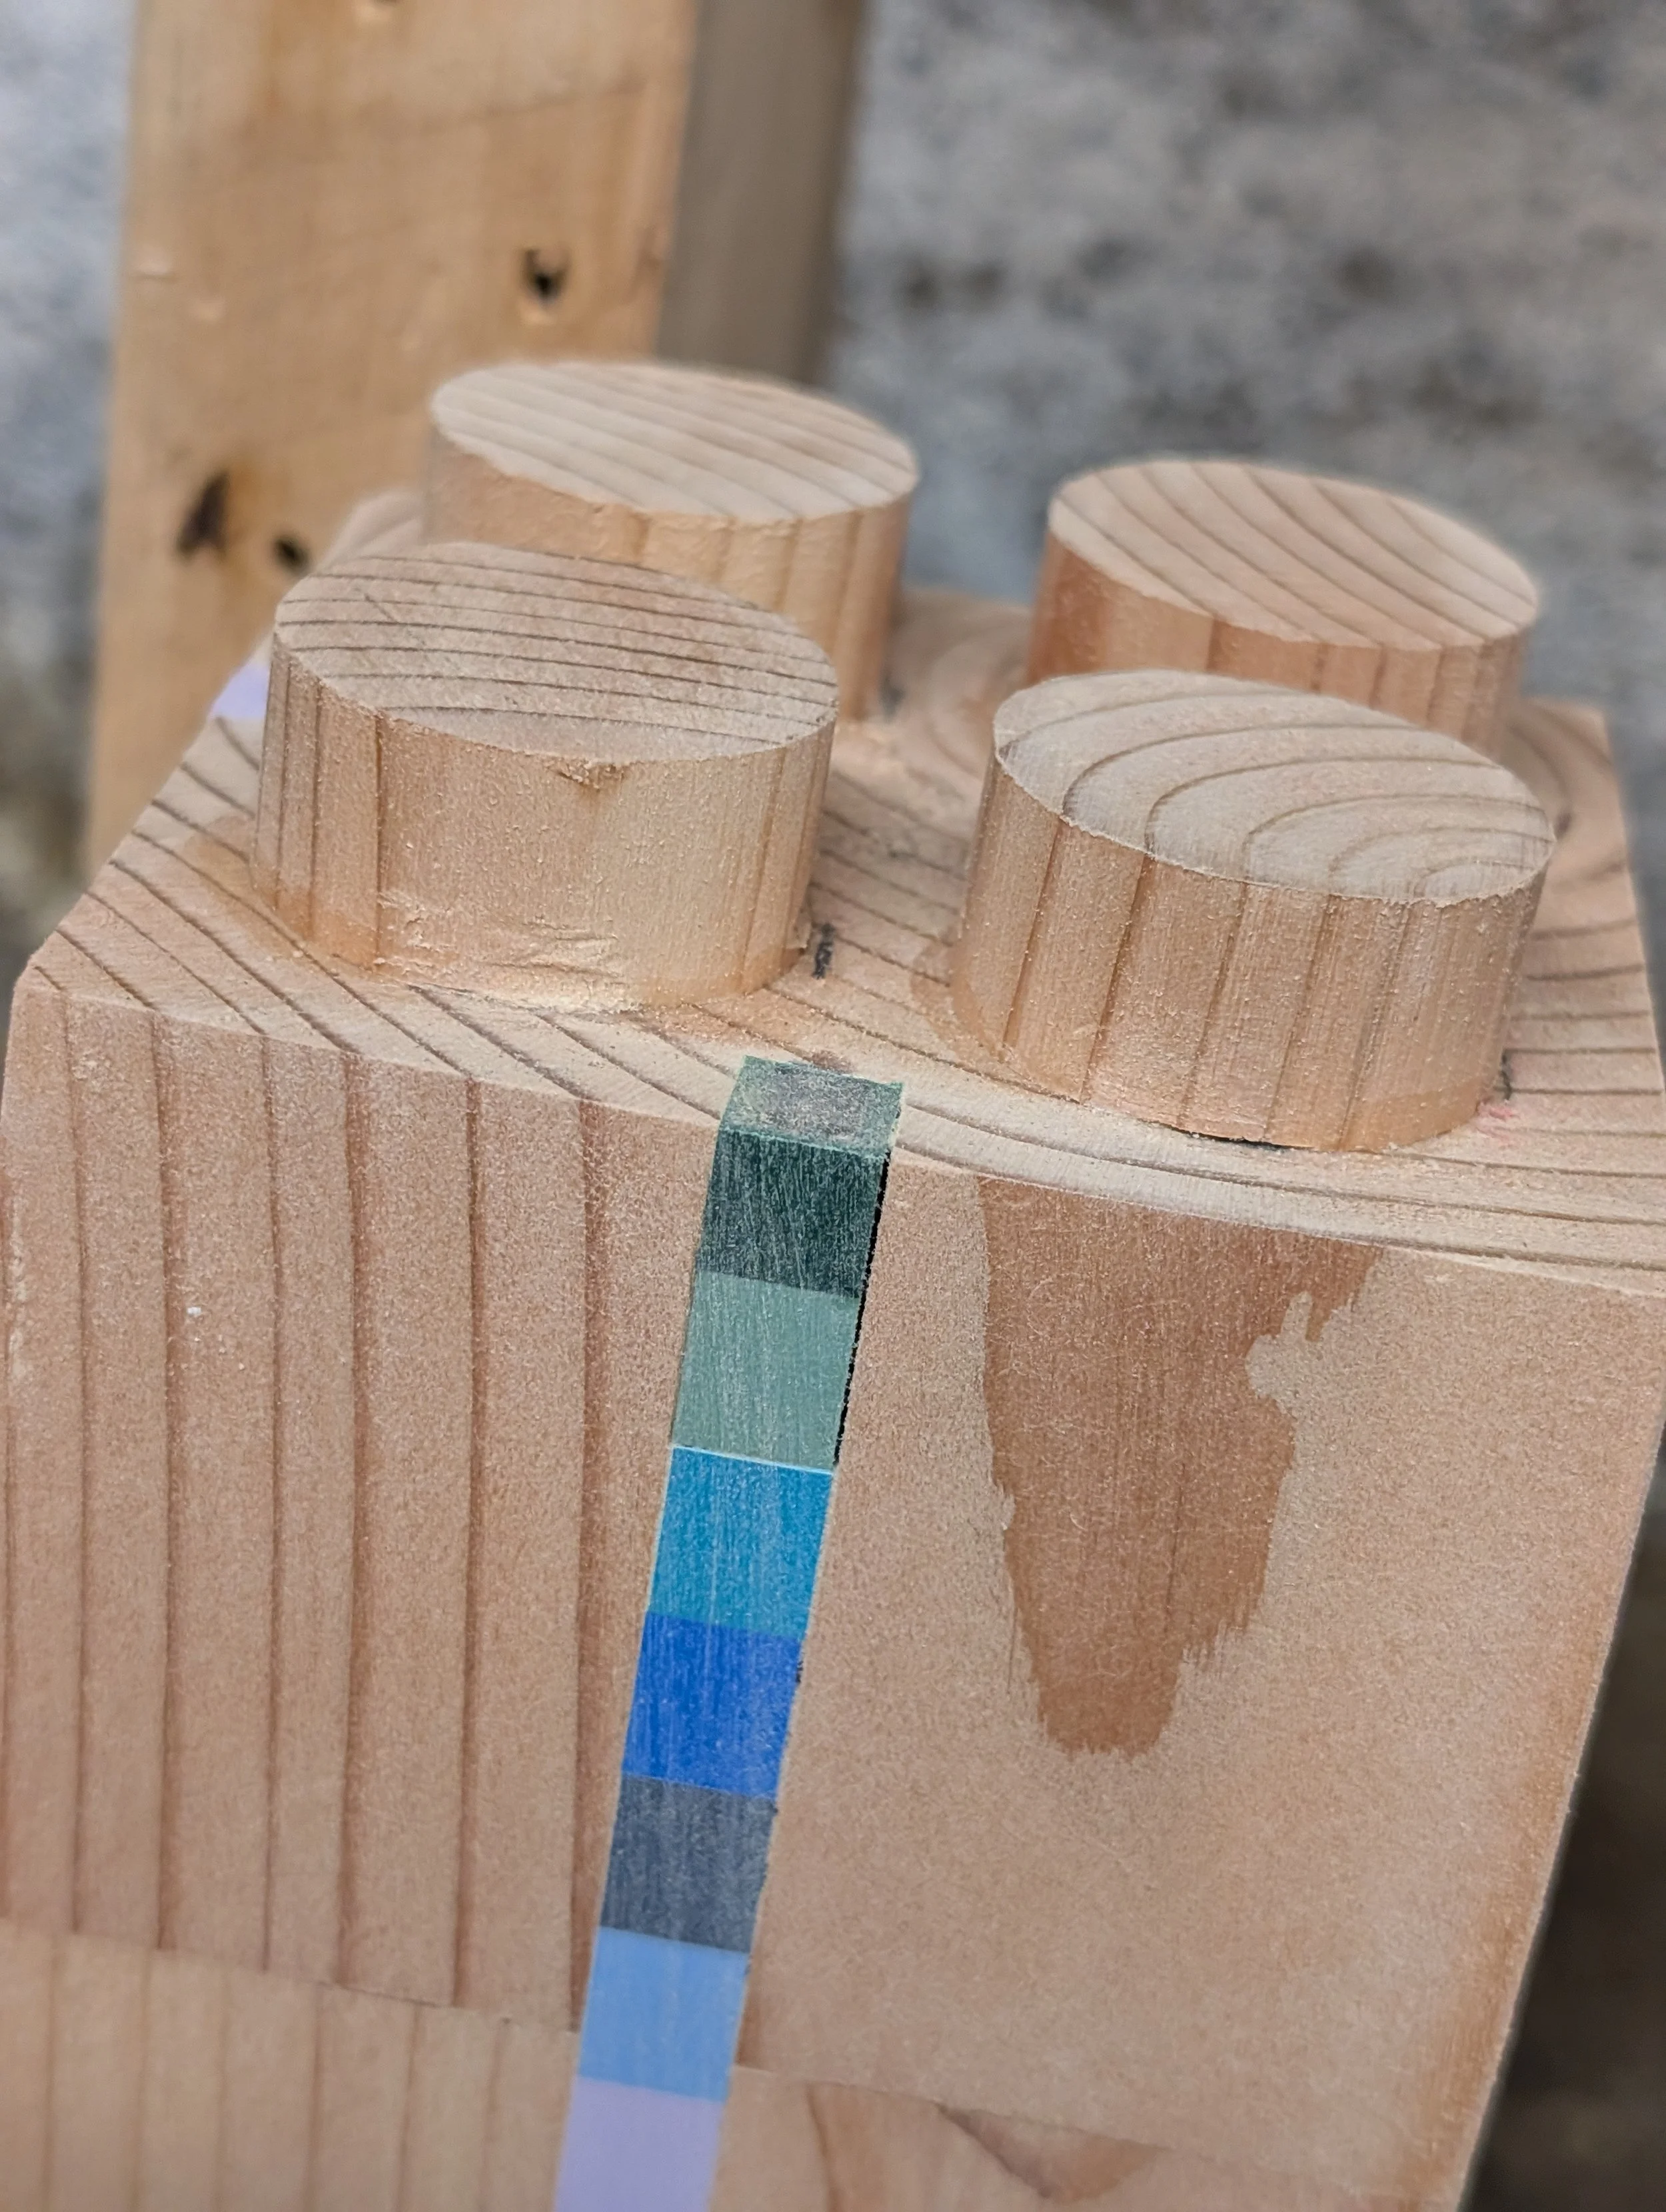
Sanded and glued to each leg
Addition of pocket screw holes before assembly

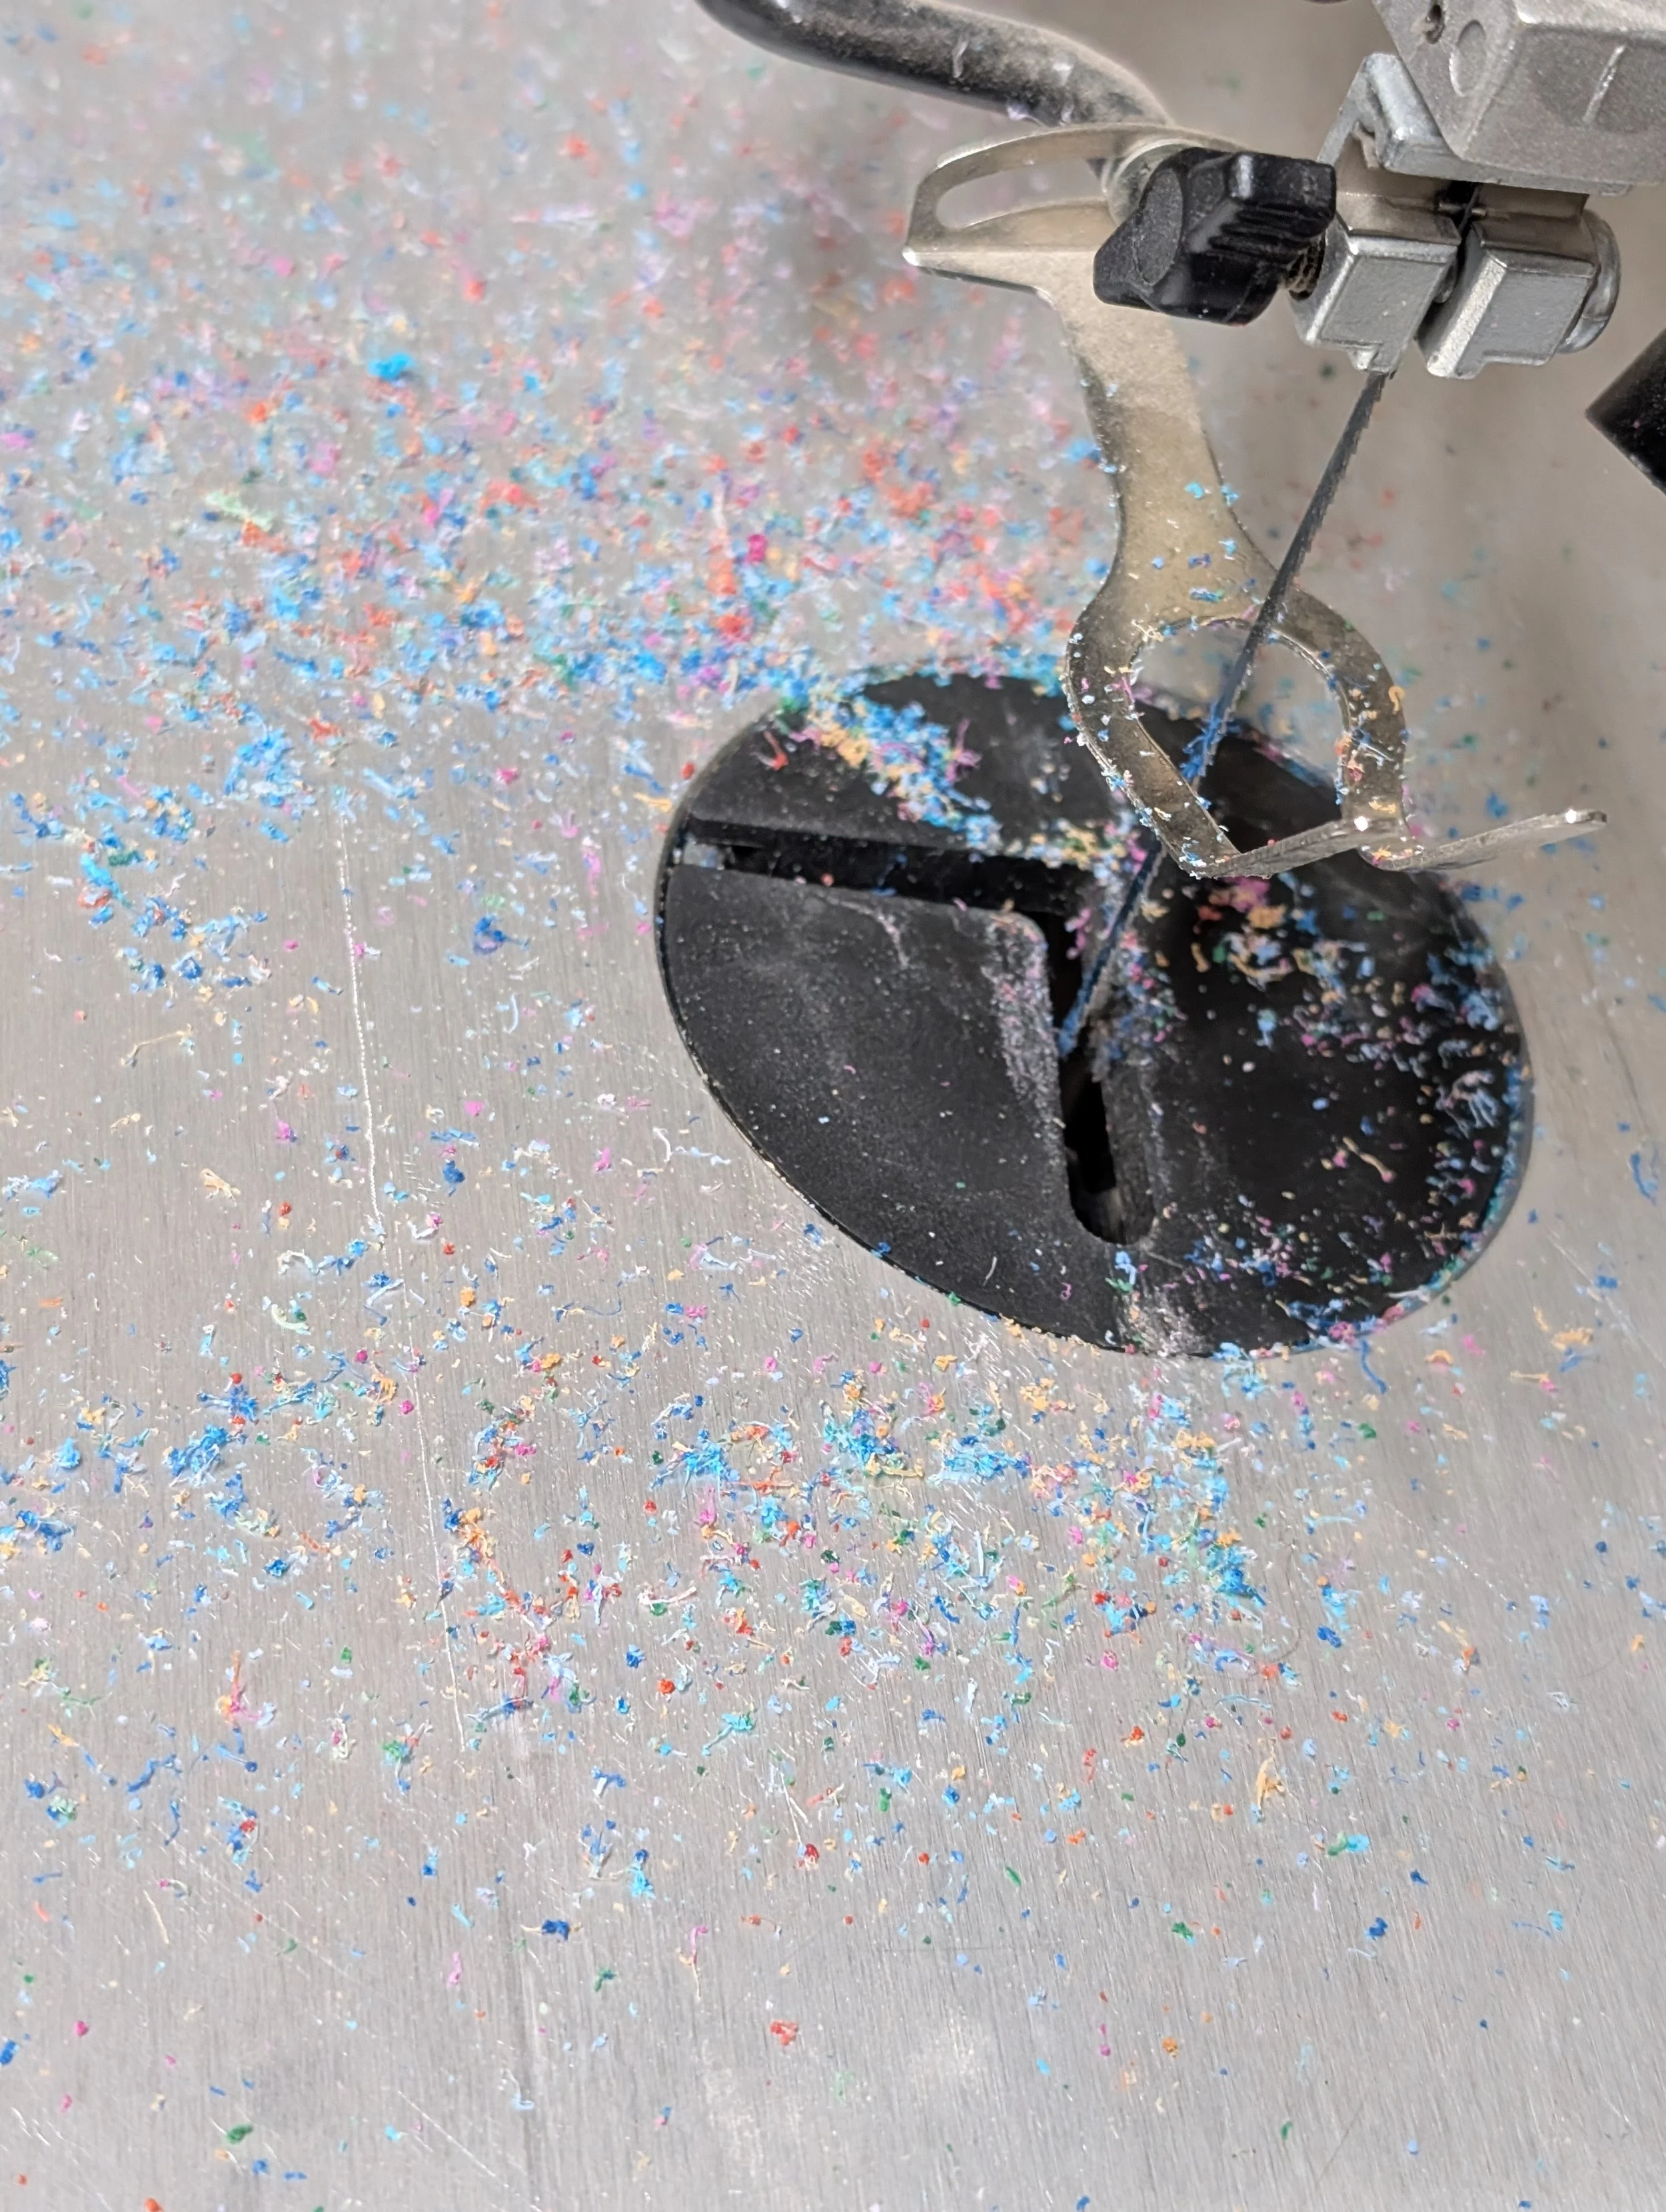
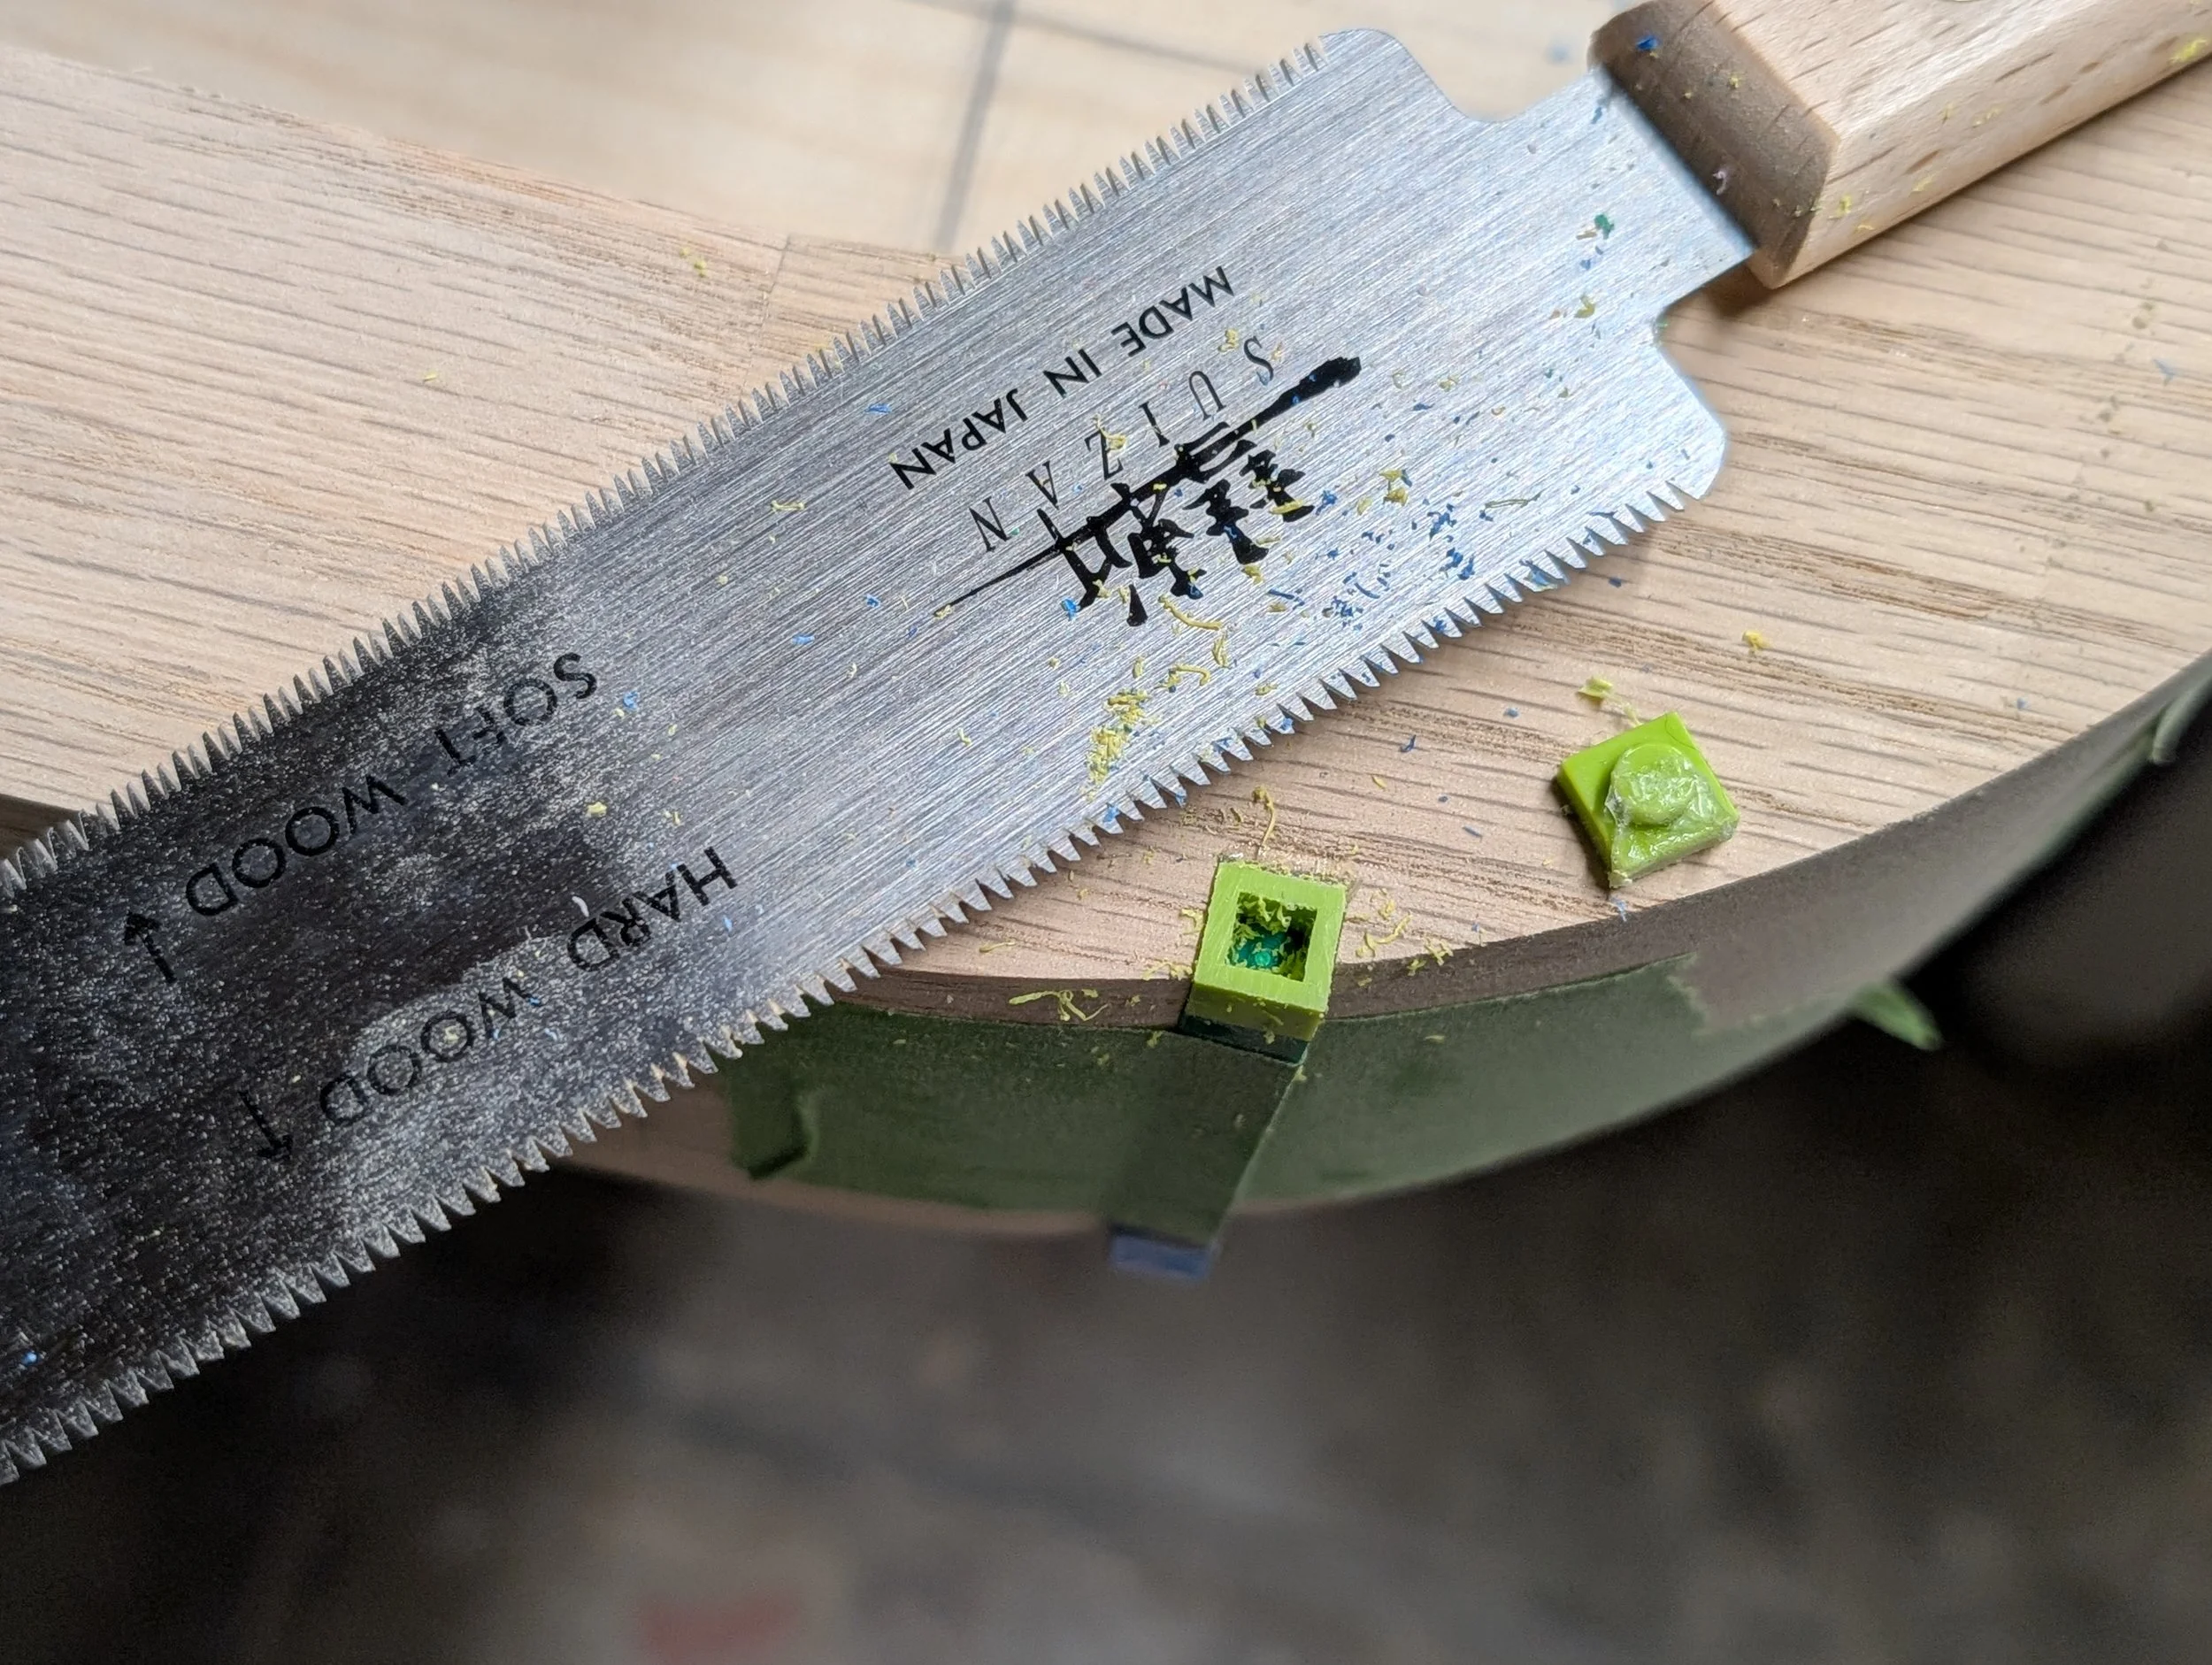
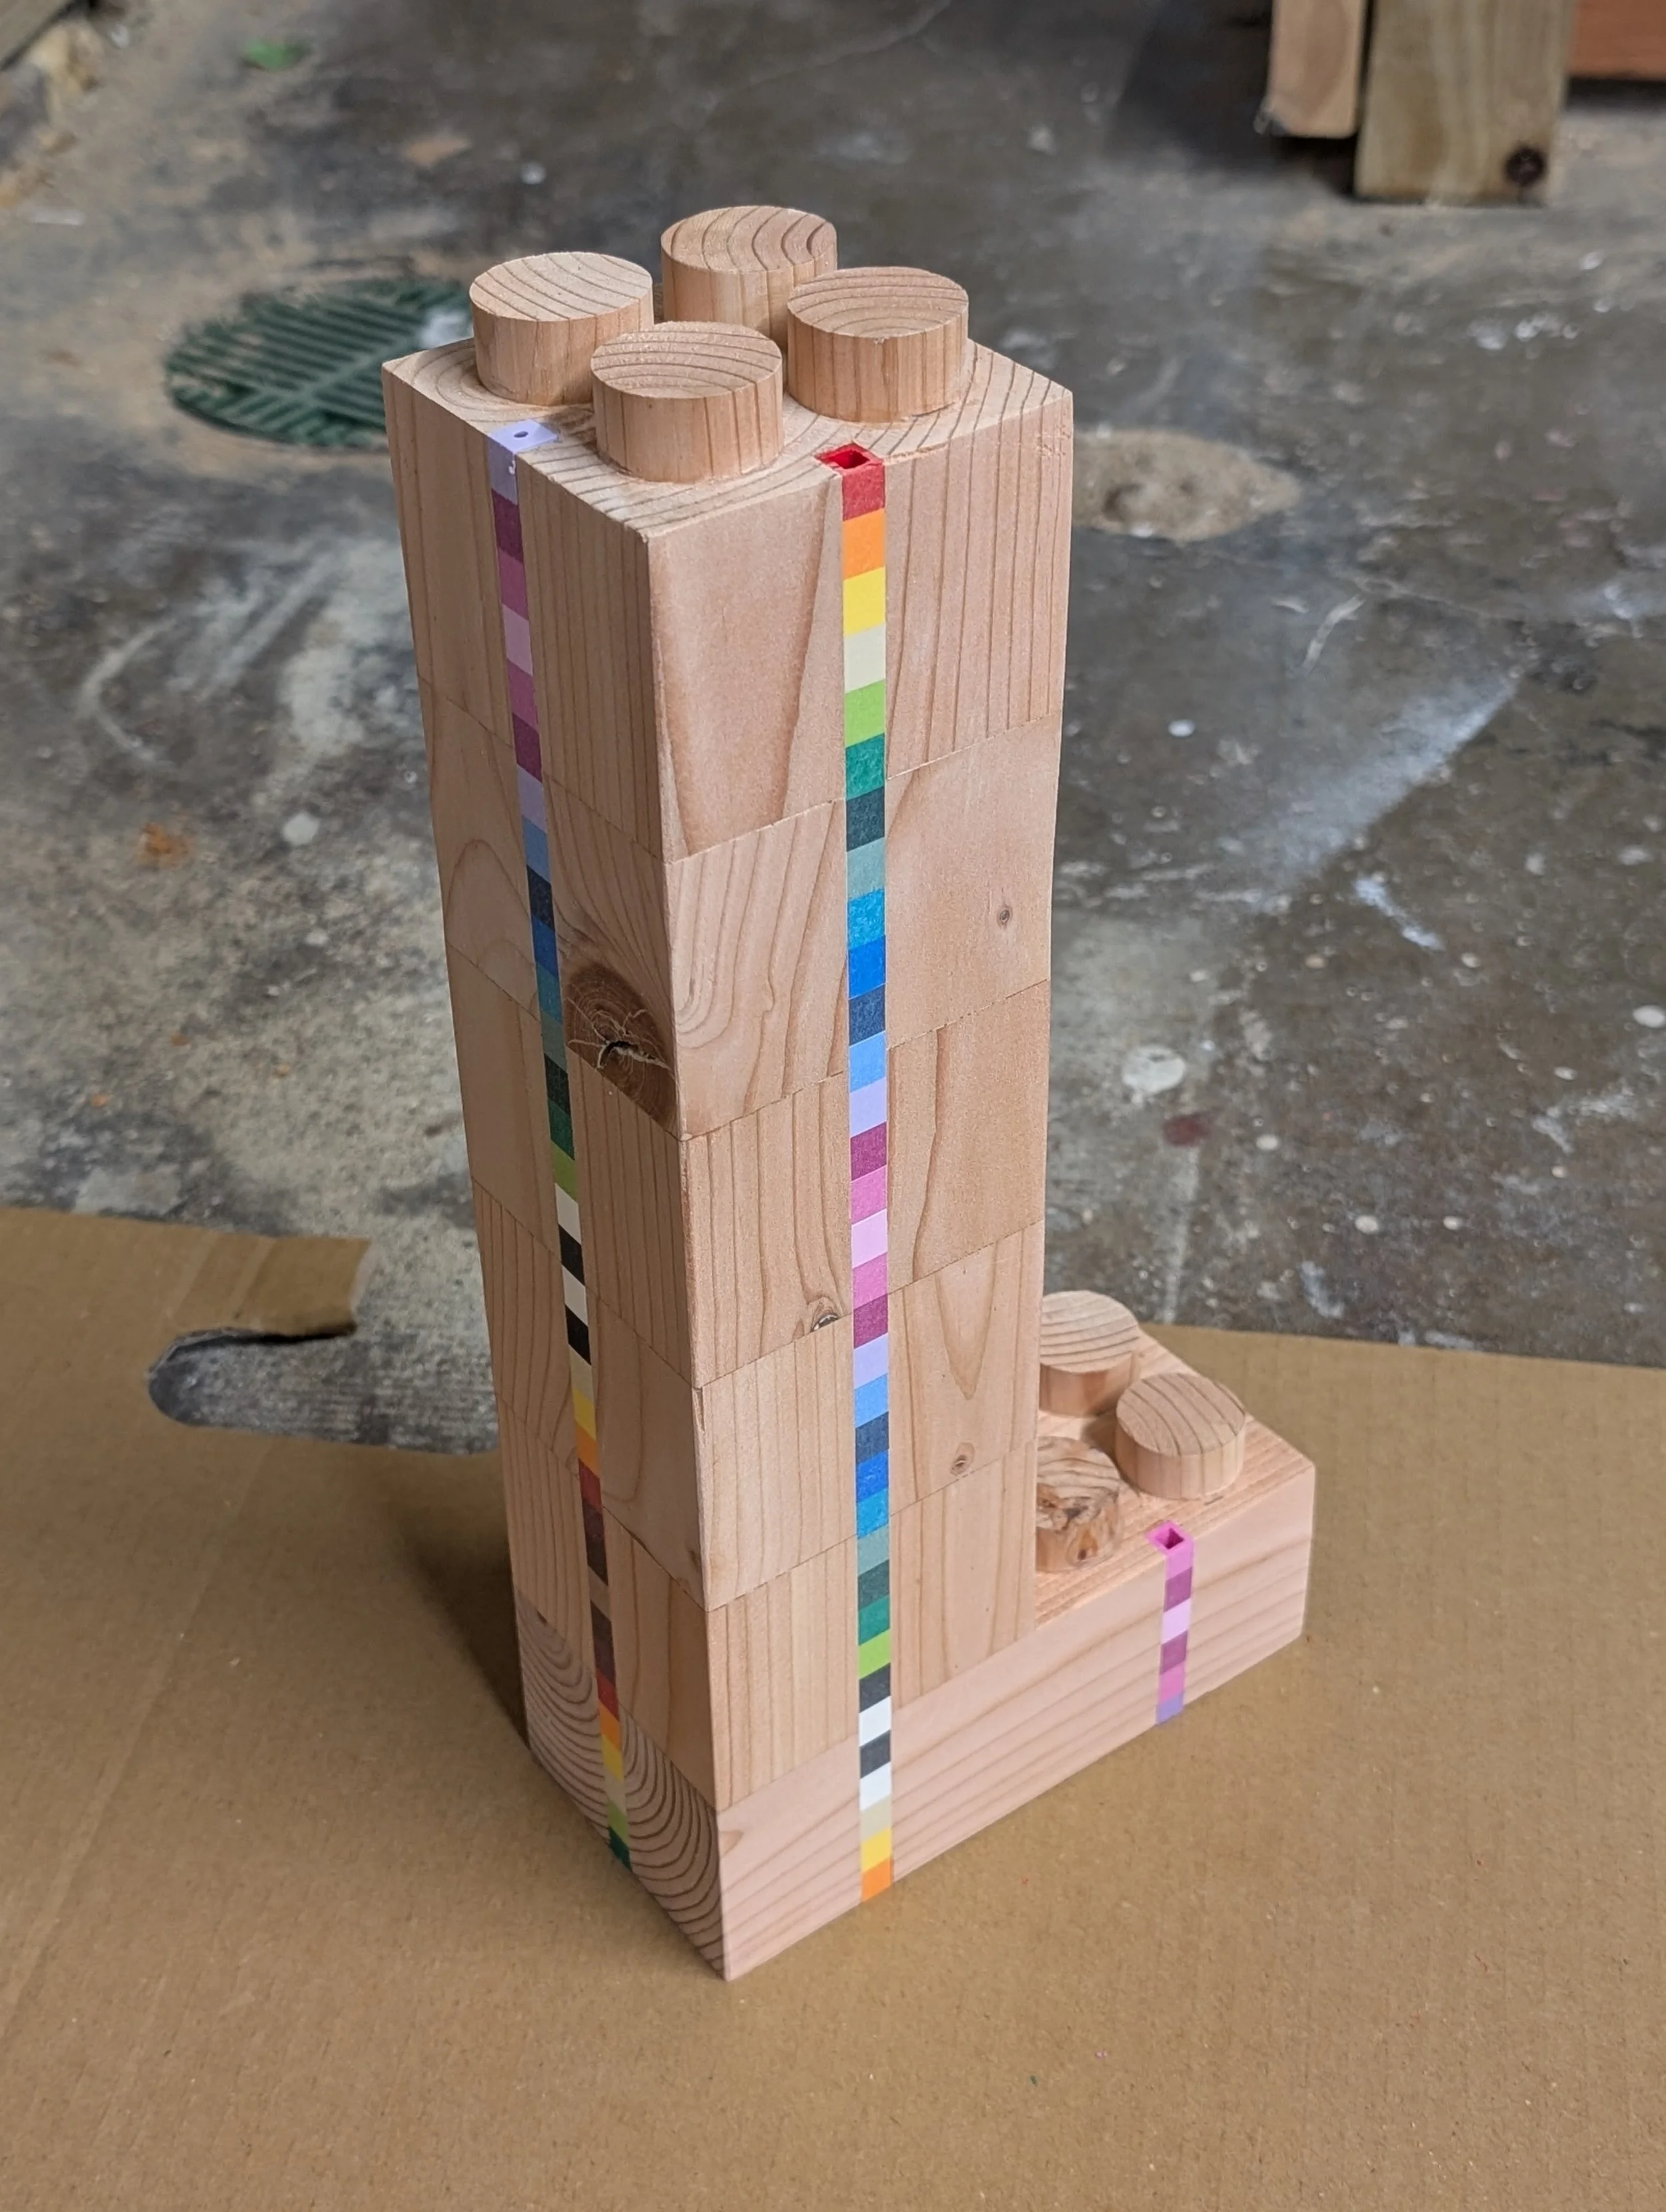
Used scroll saw to cut out Lego connectors
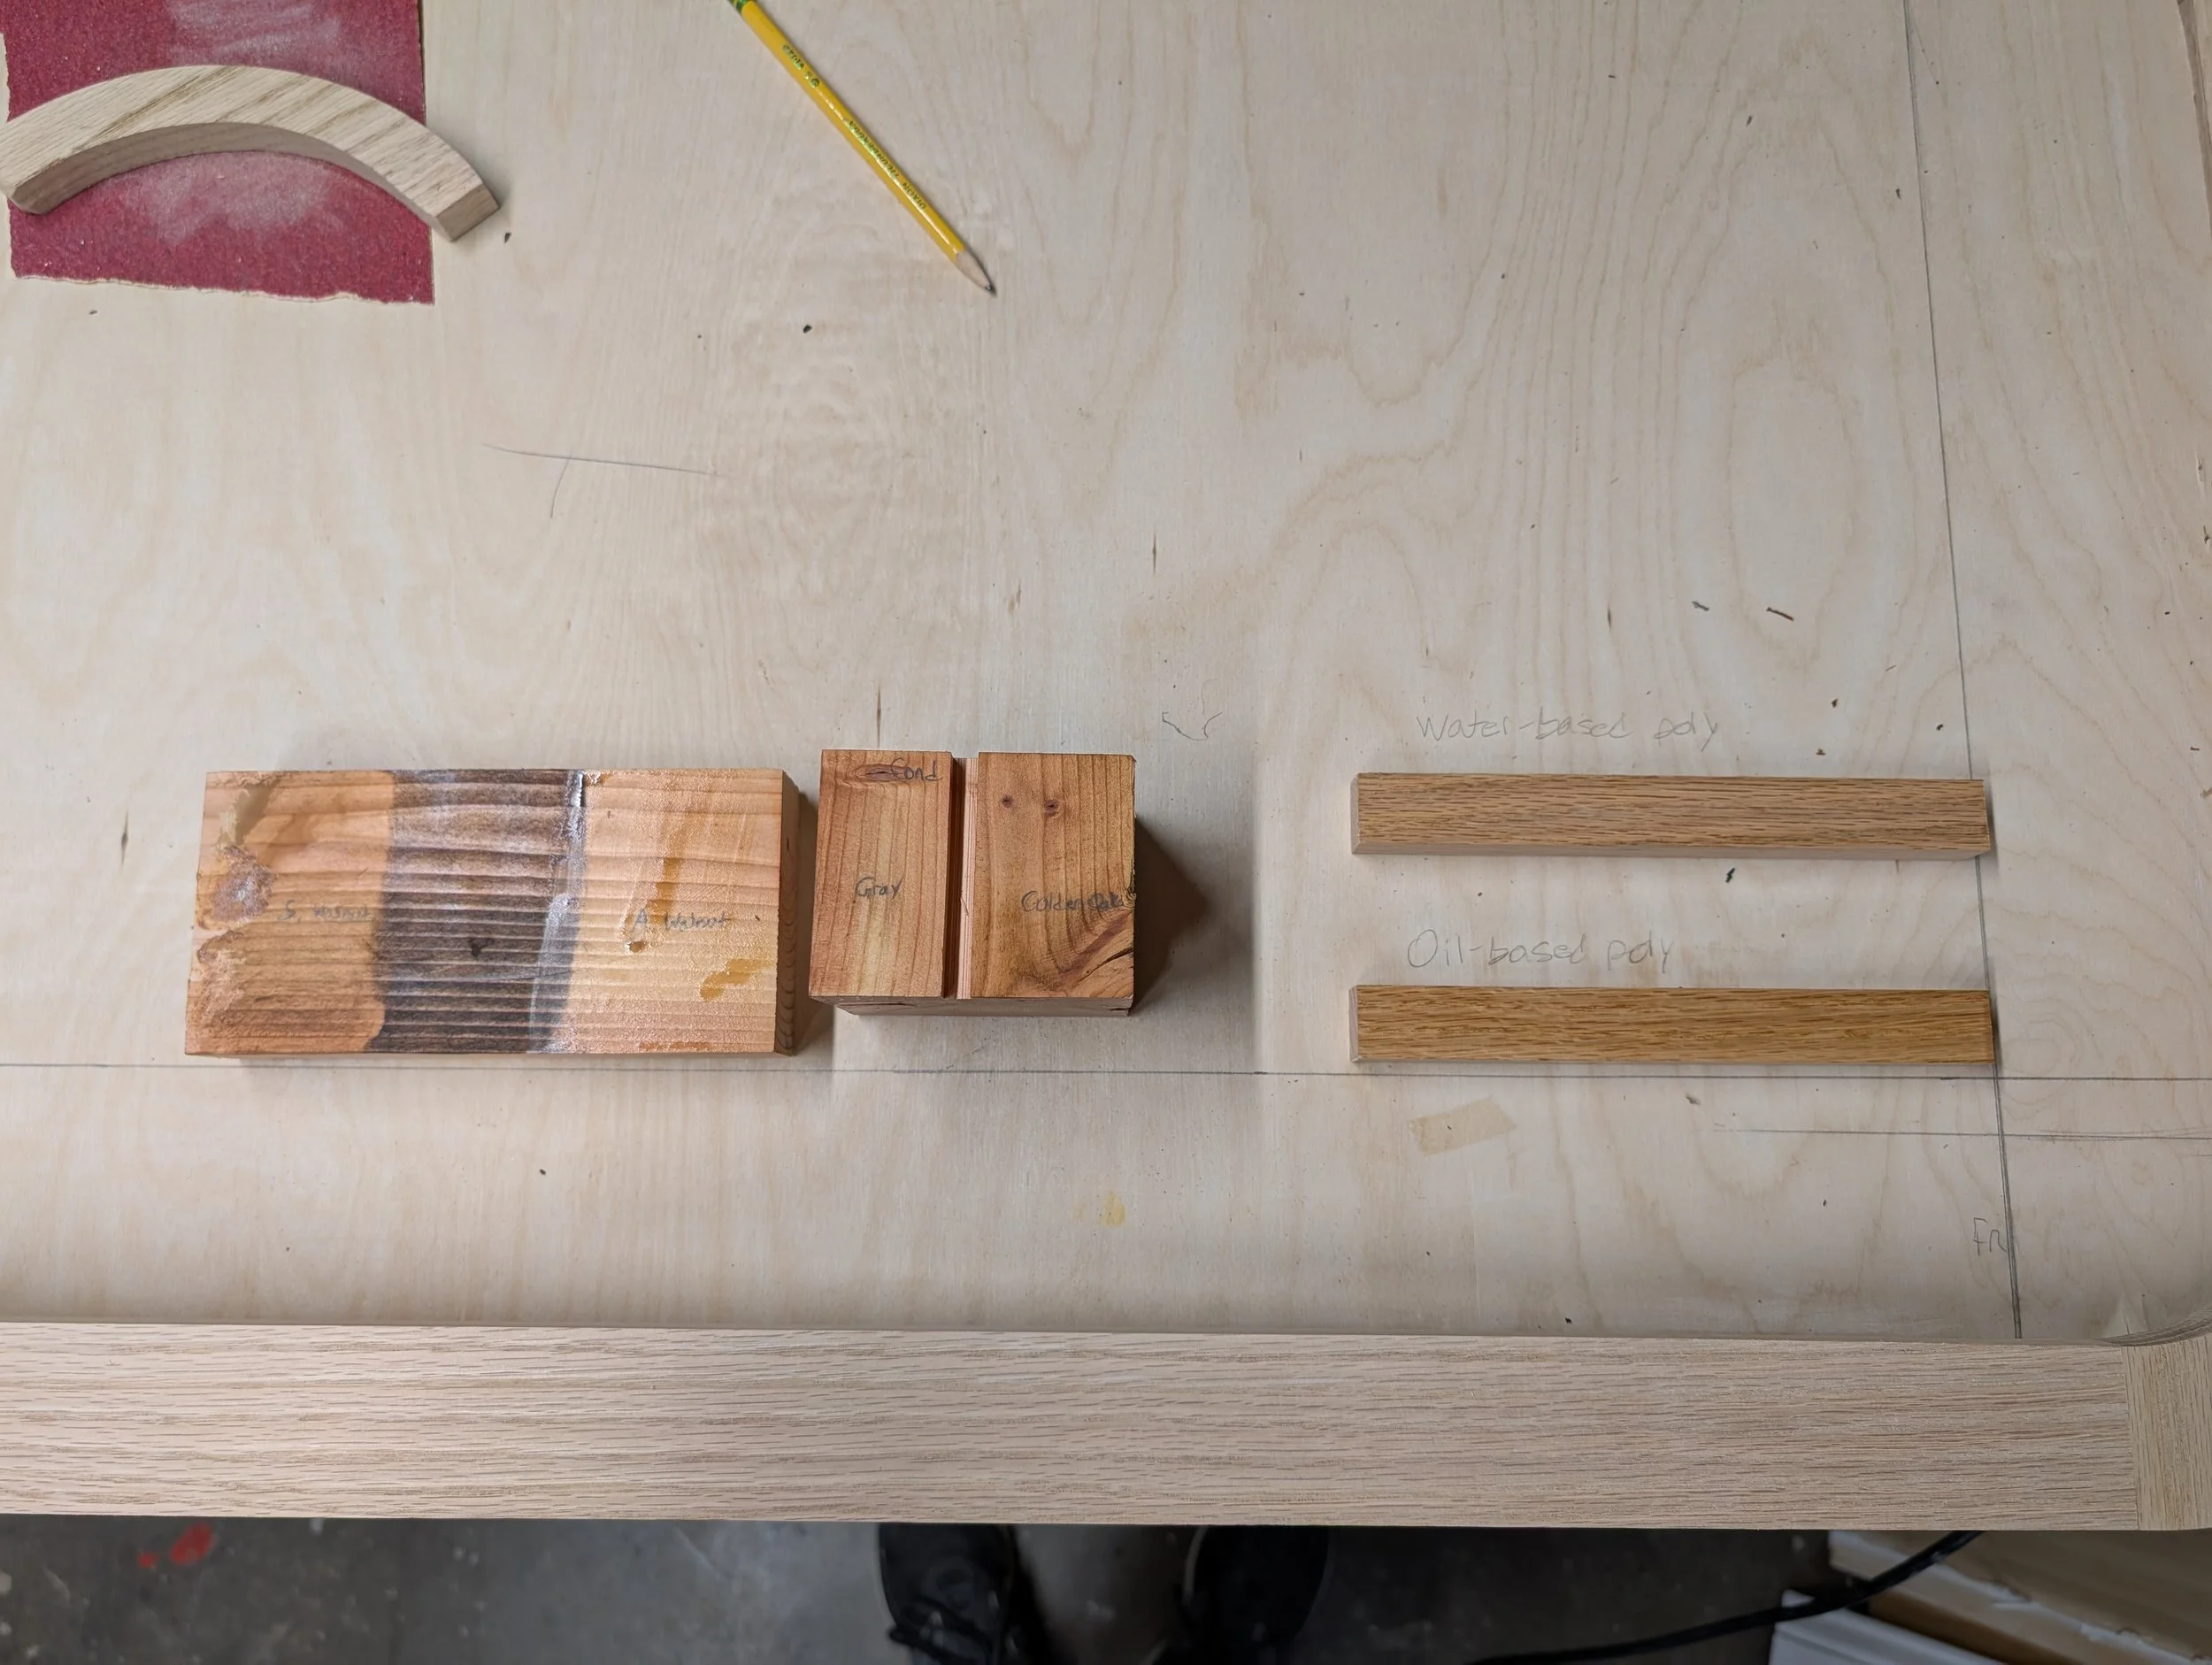
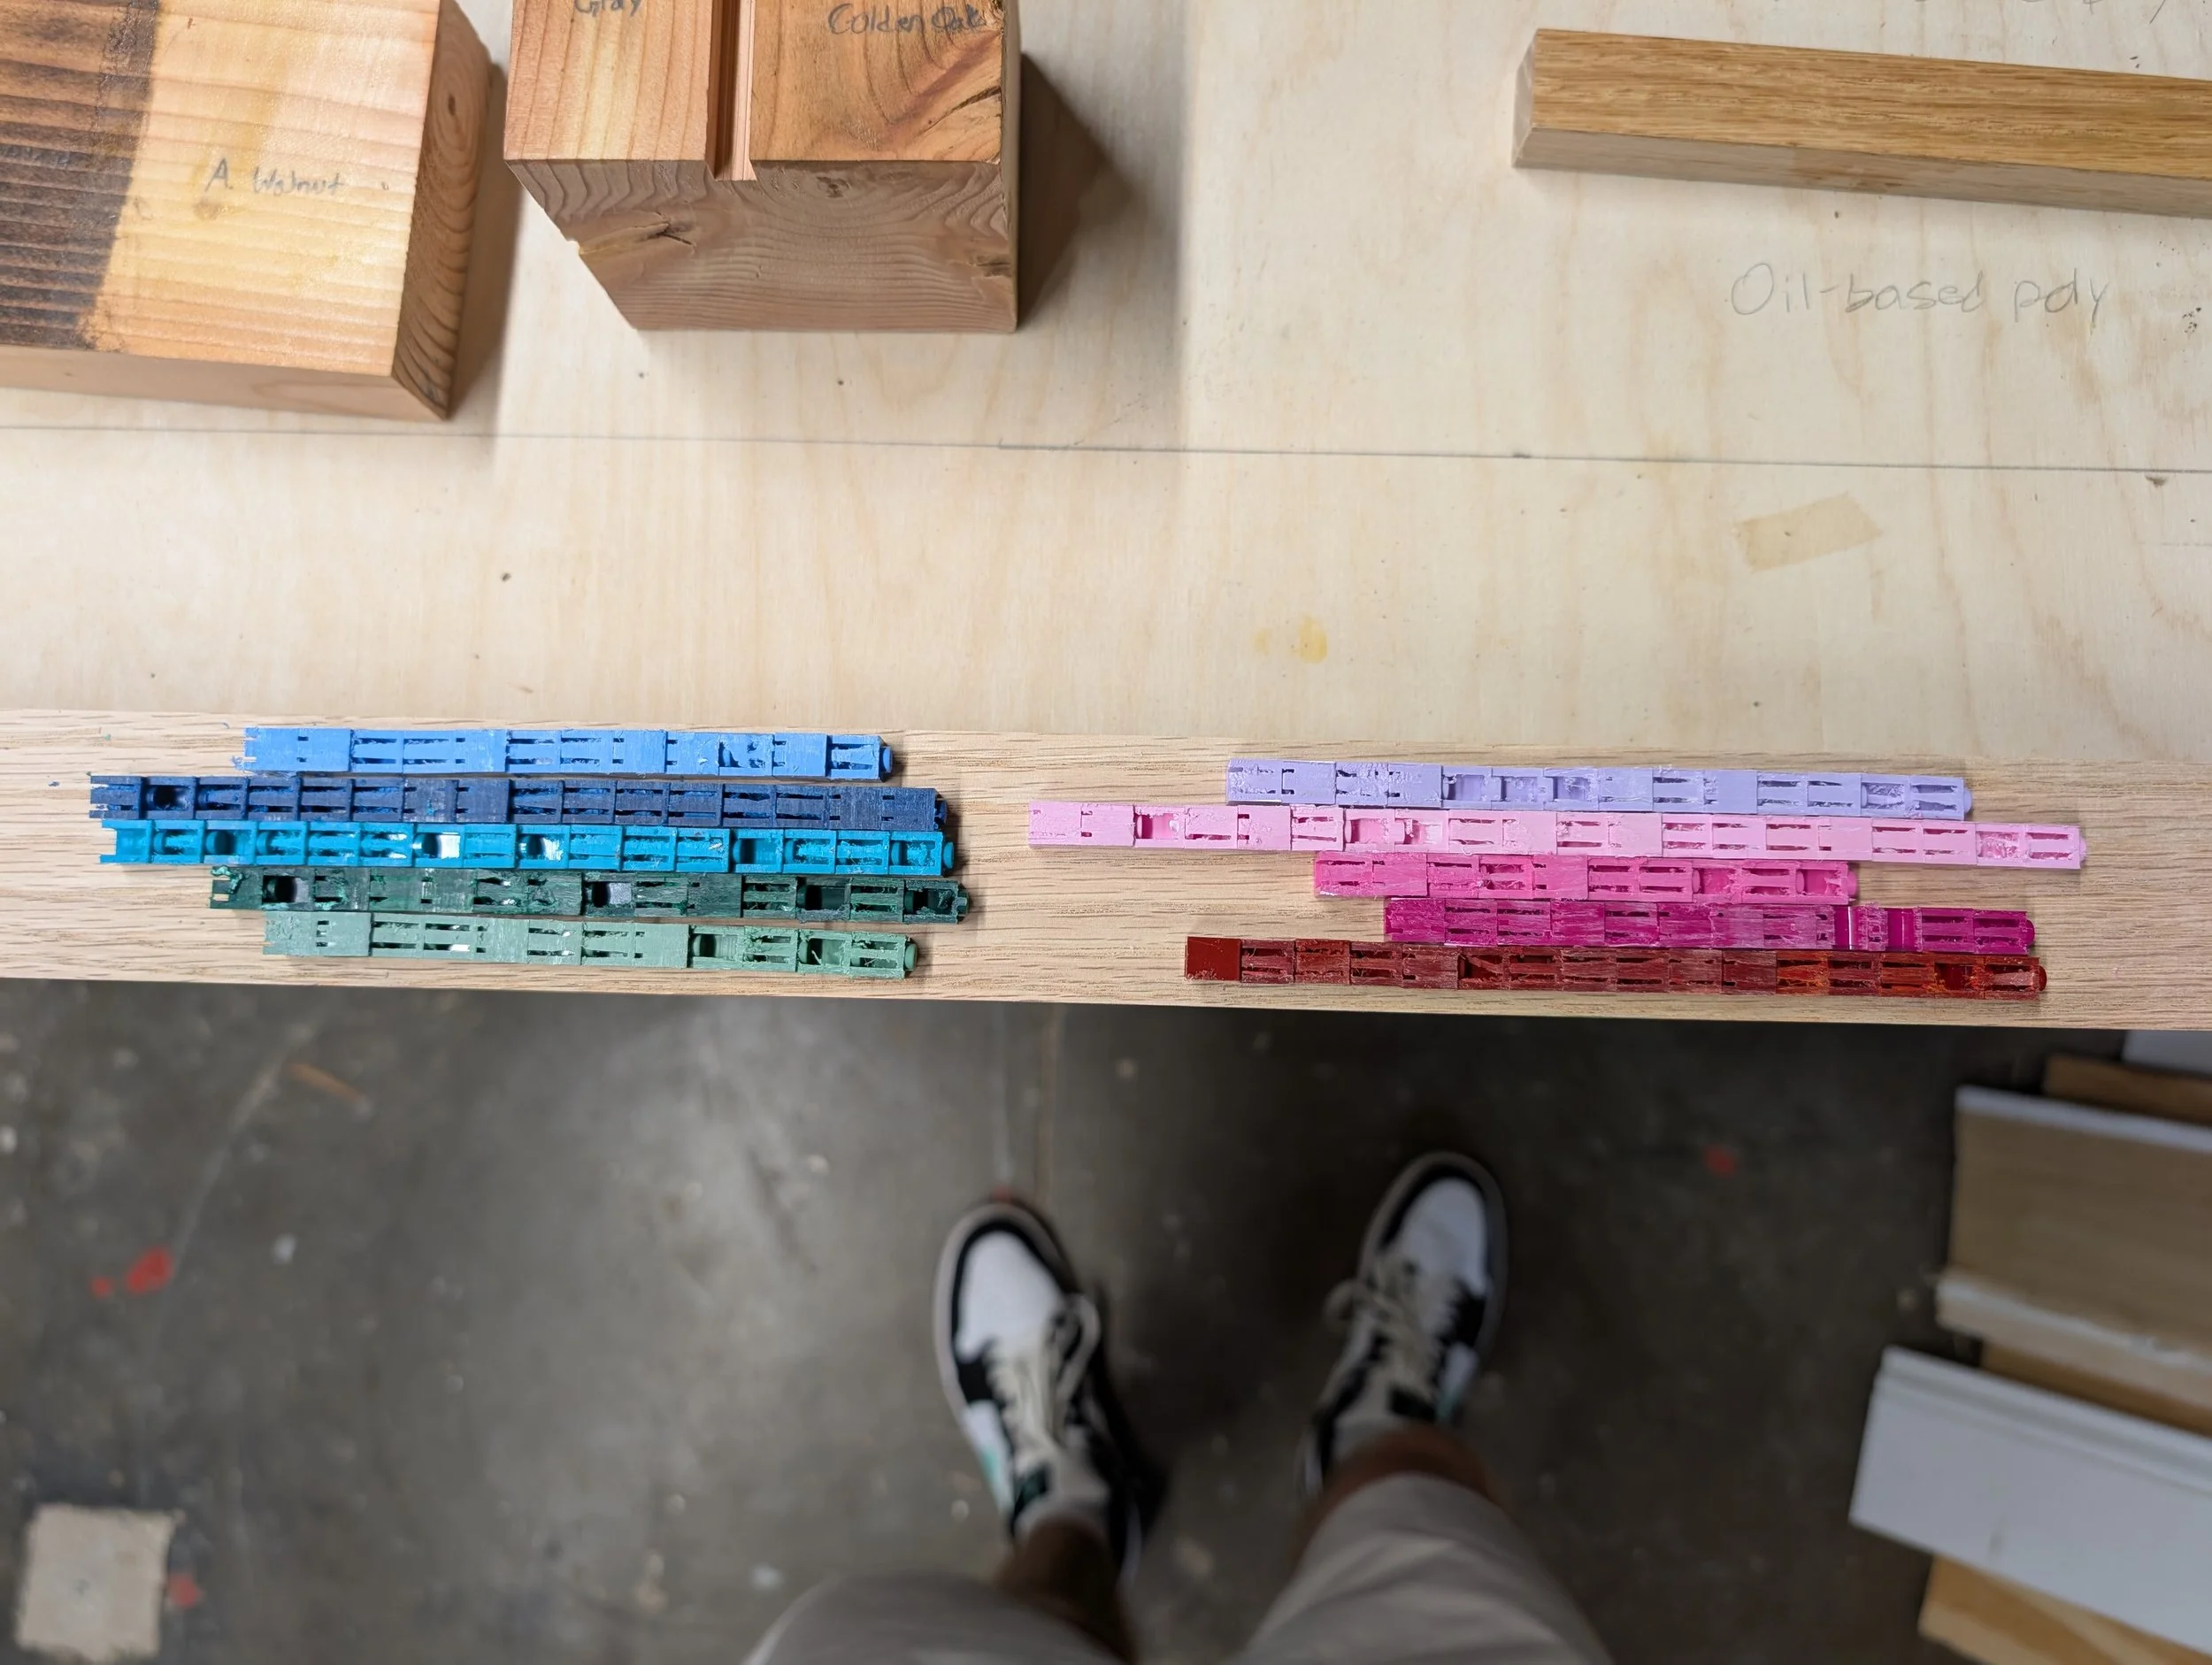
Early testing of finishes (I planned to stain only the legs and add a coat of warmly-tinted polyurethane to everything)
Due to limited amounts of specific colors, I had to cut larger pieces apart to create 1x1 bricks.
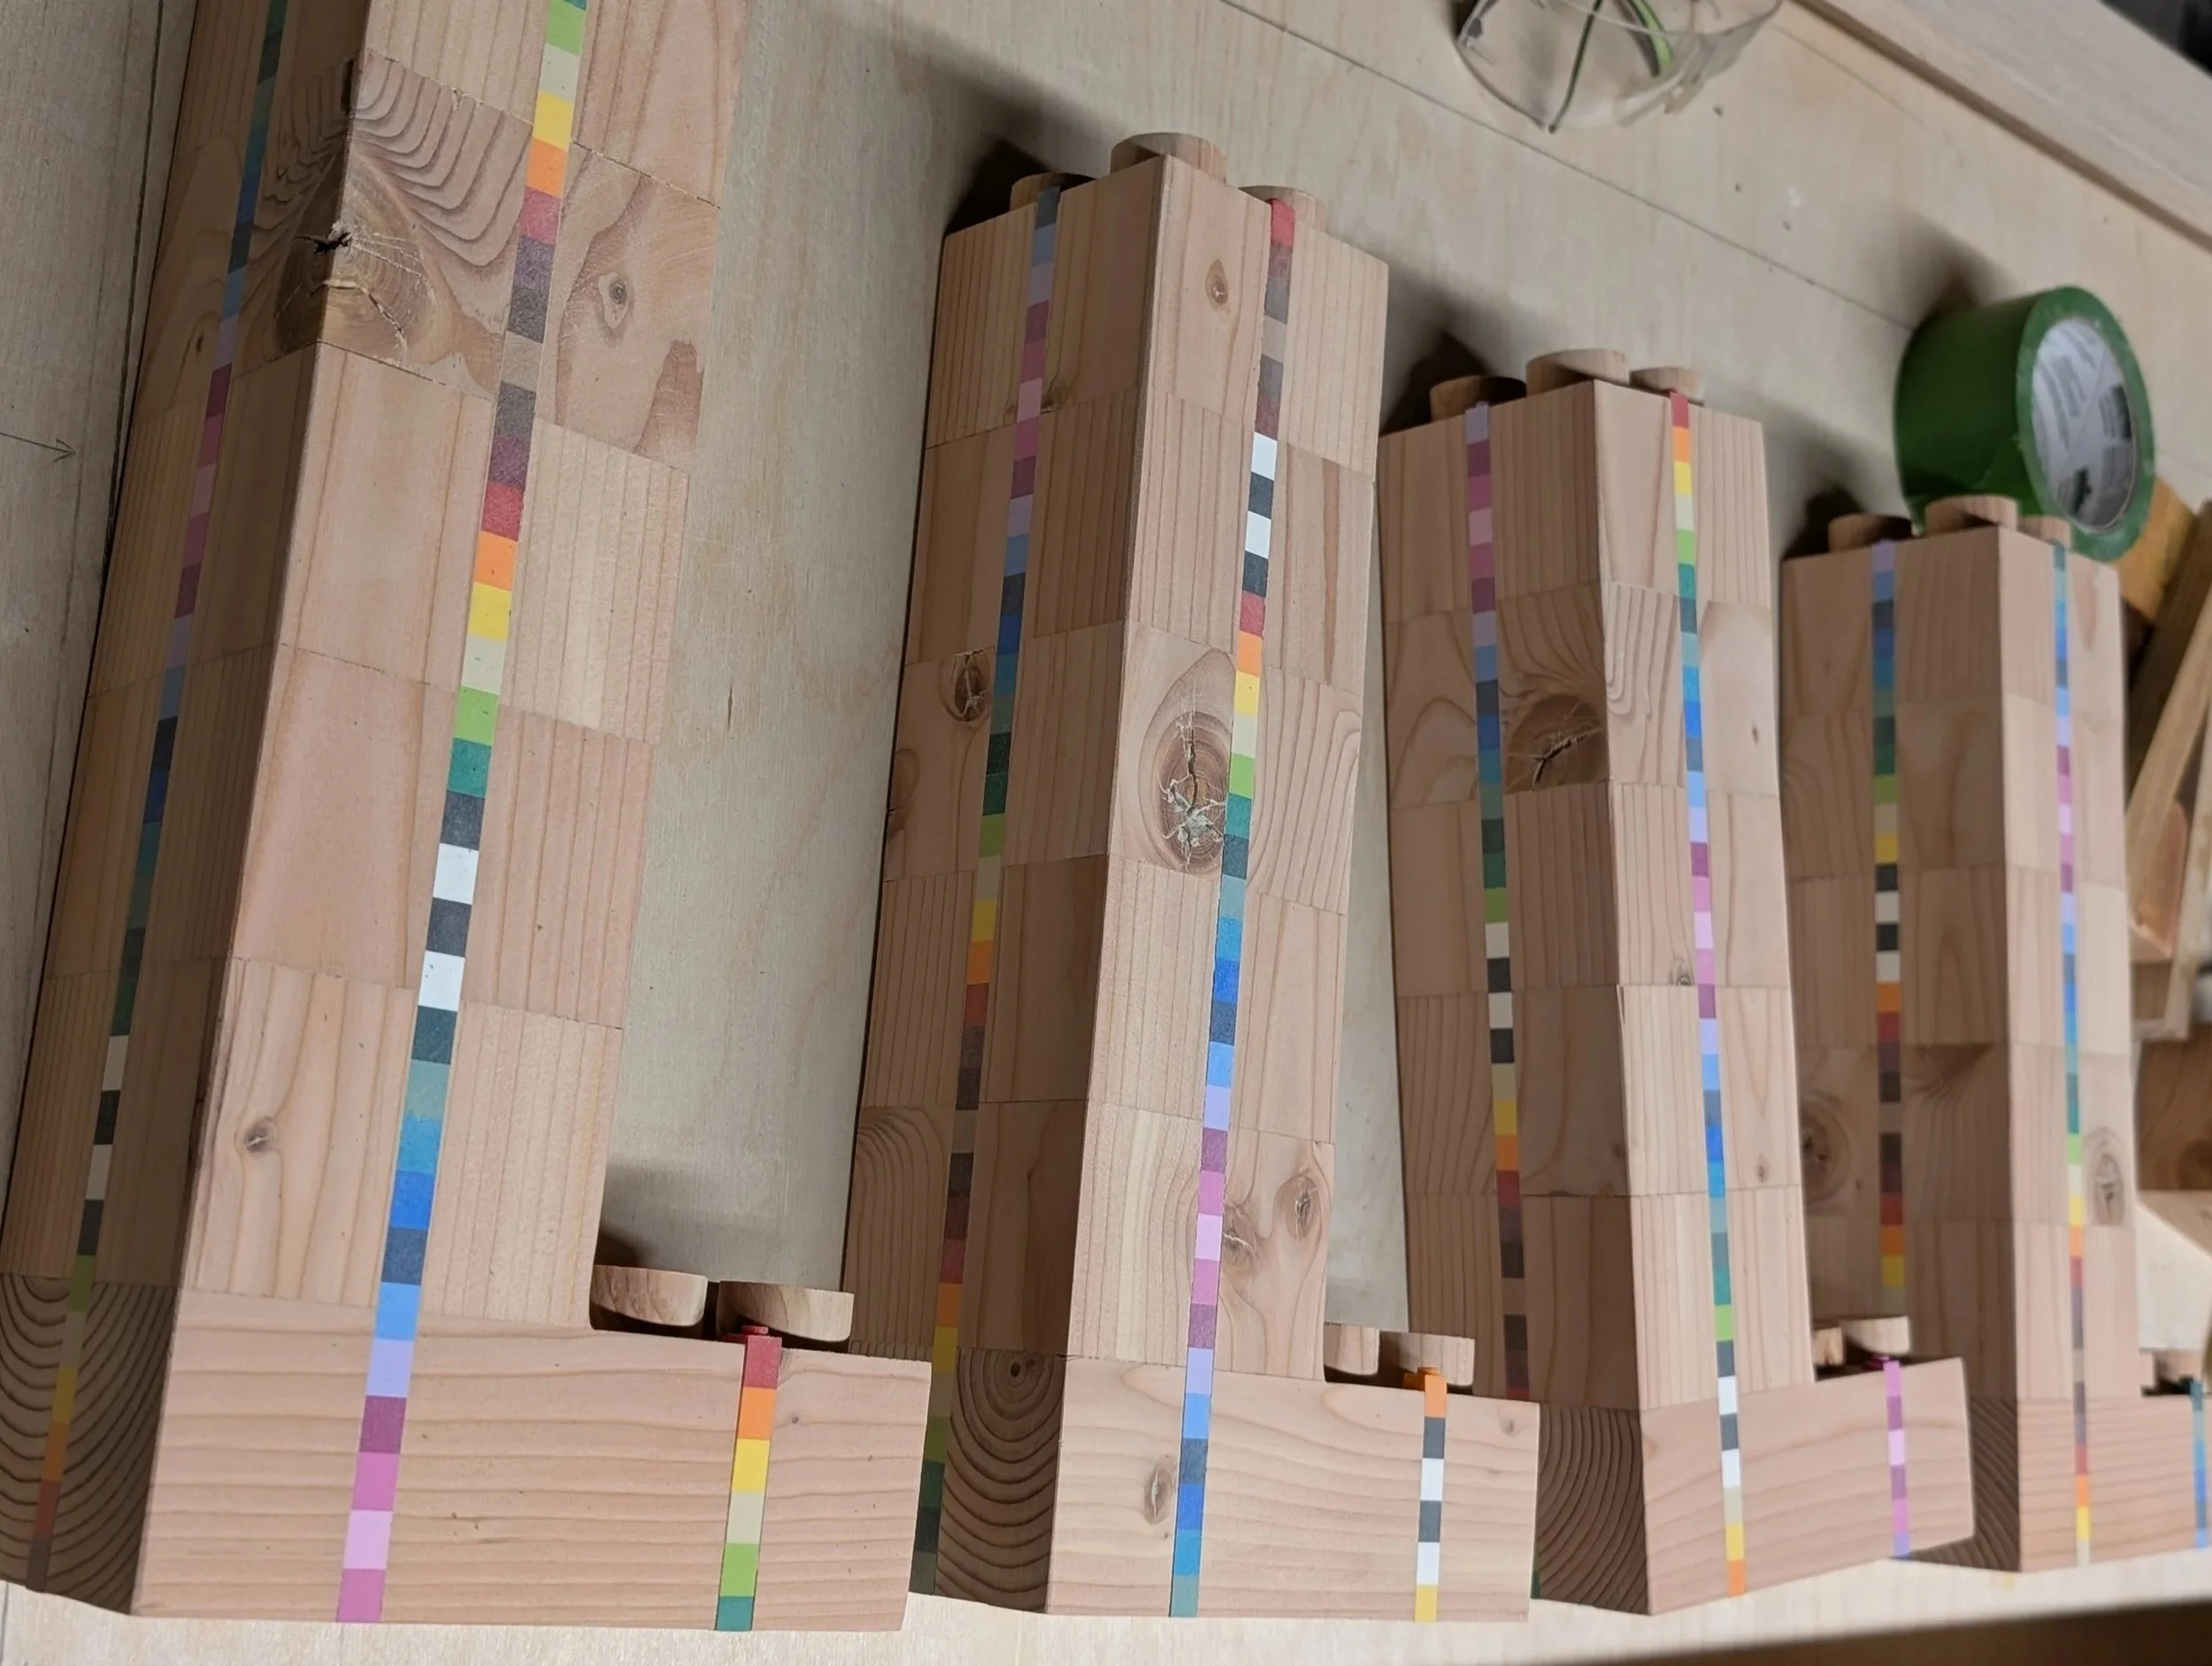
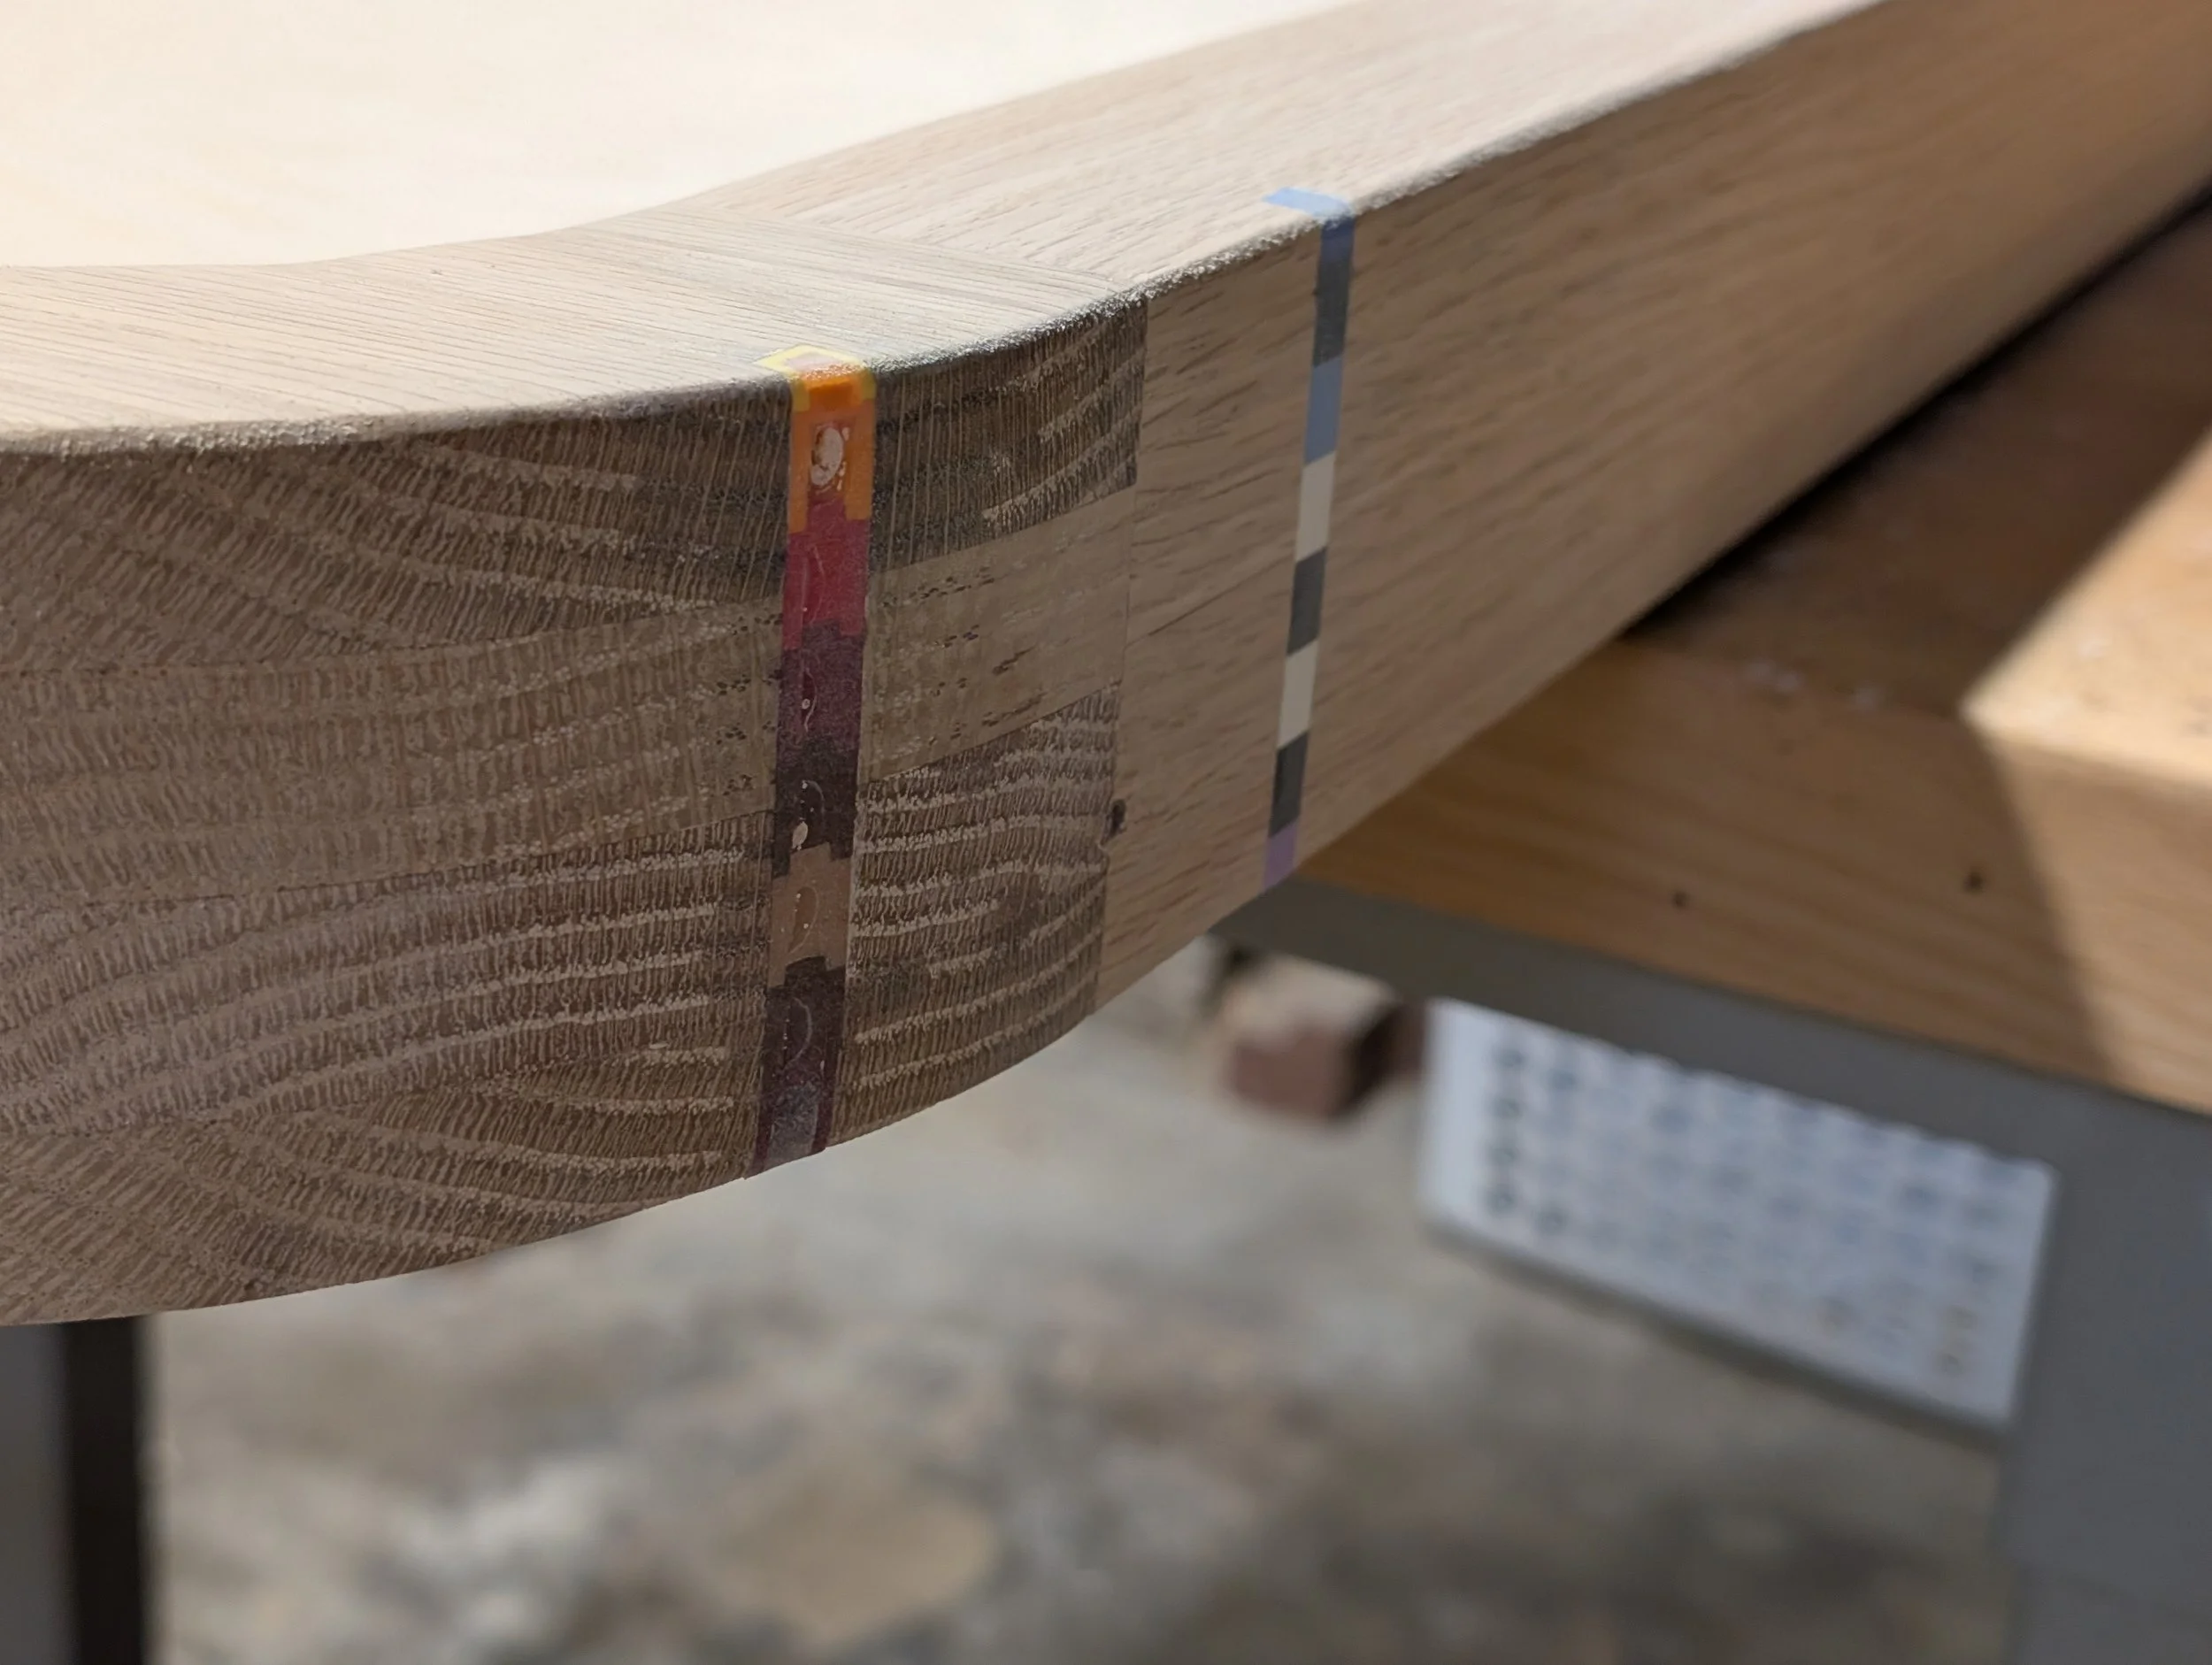
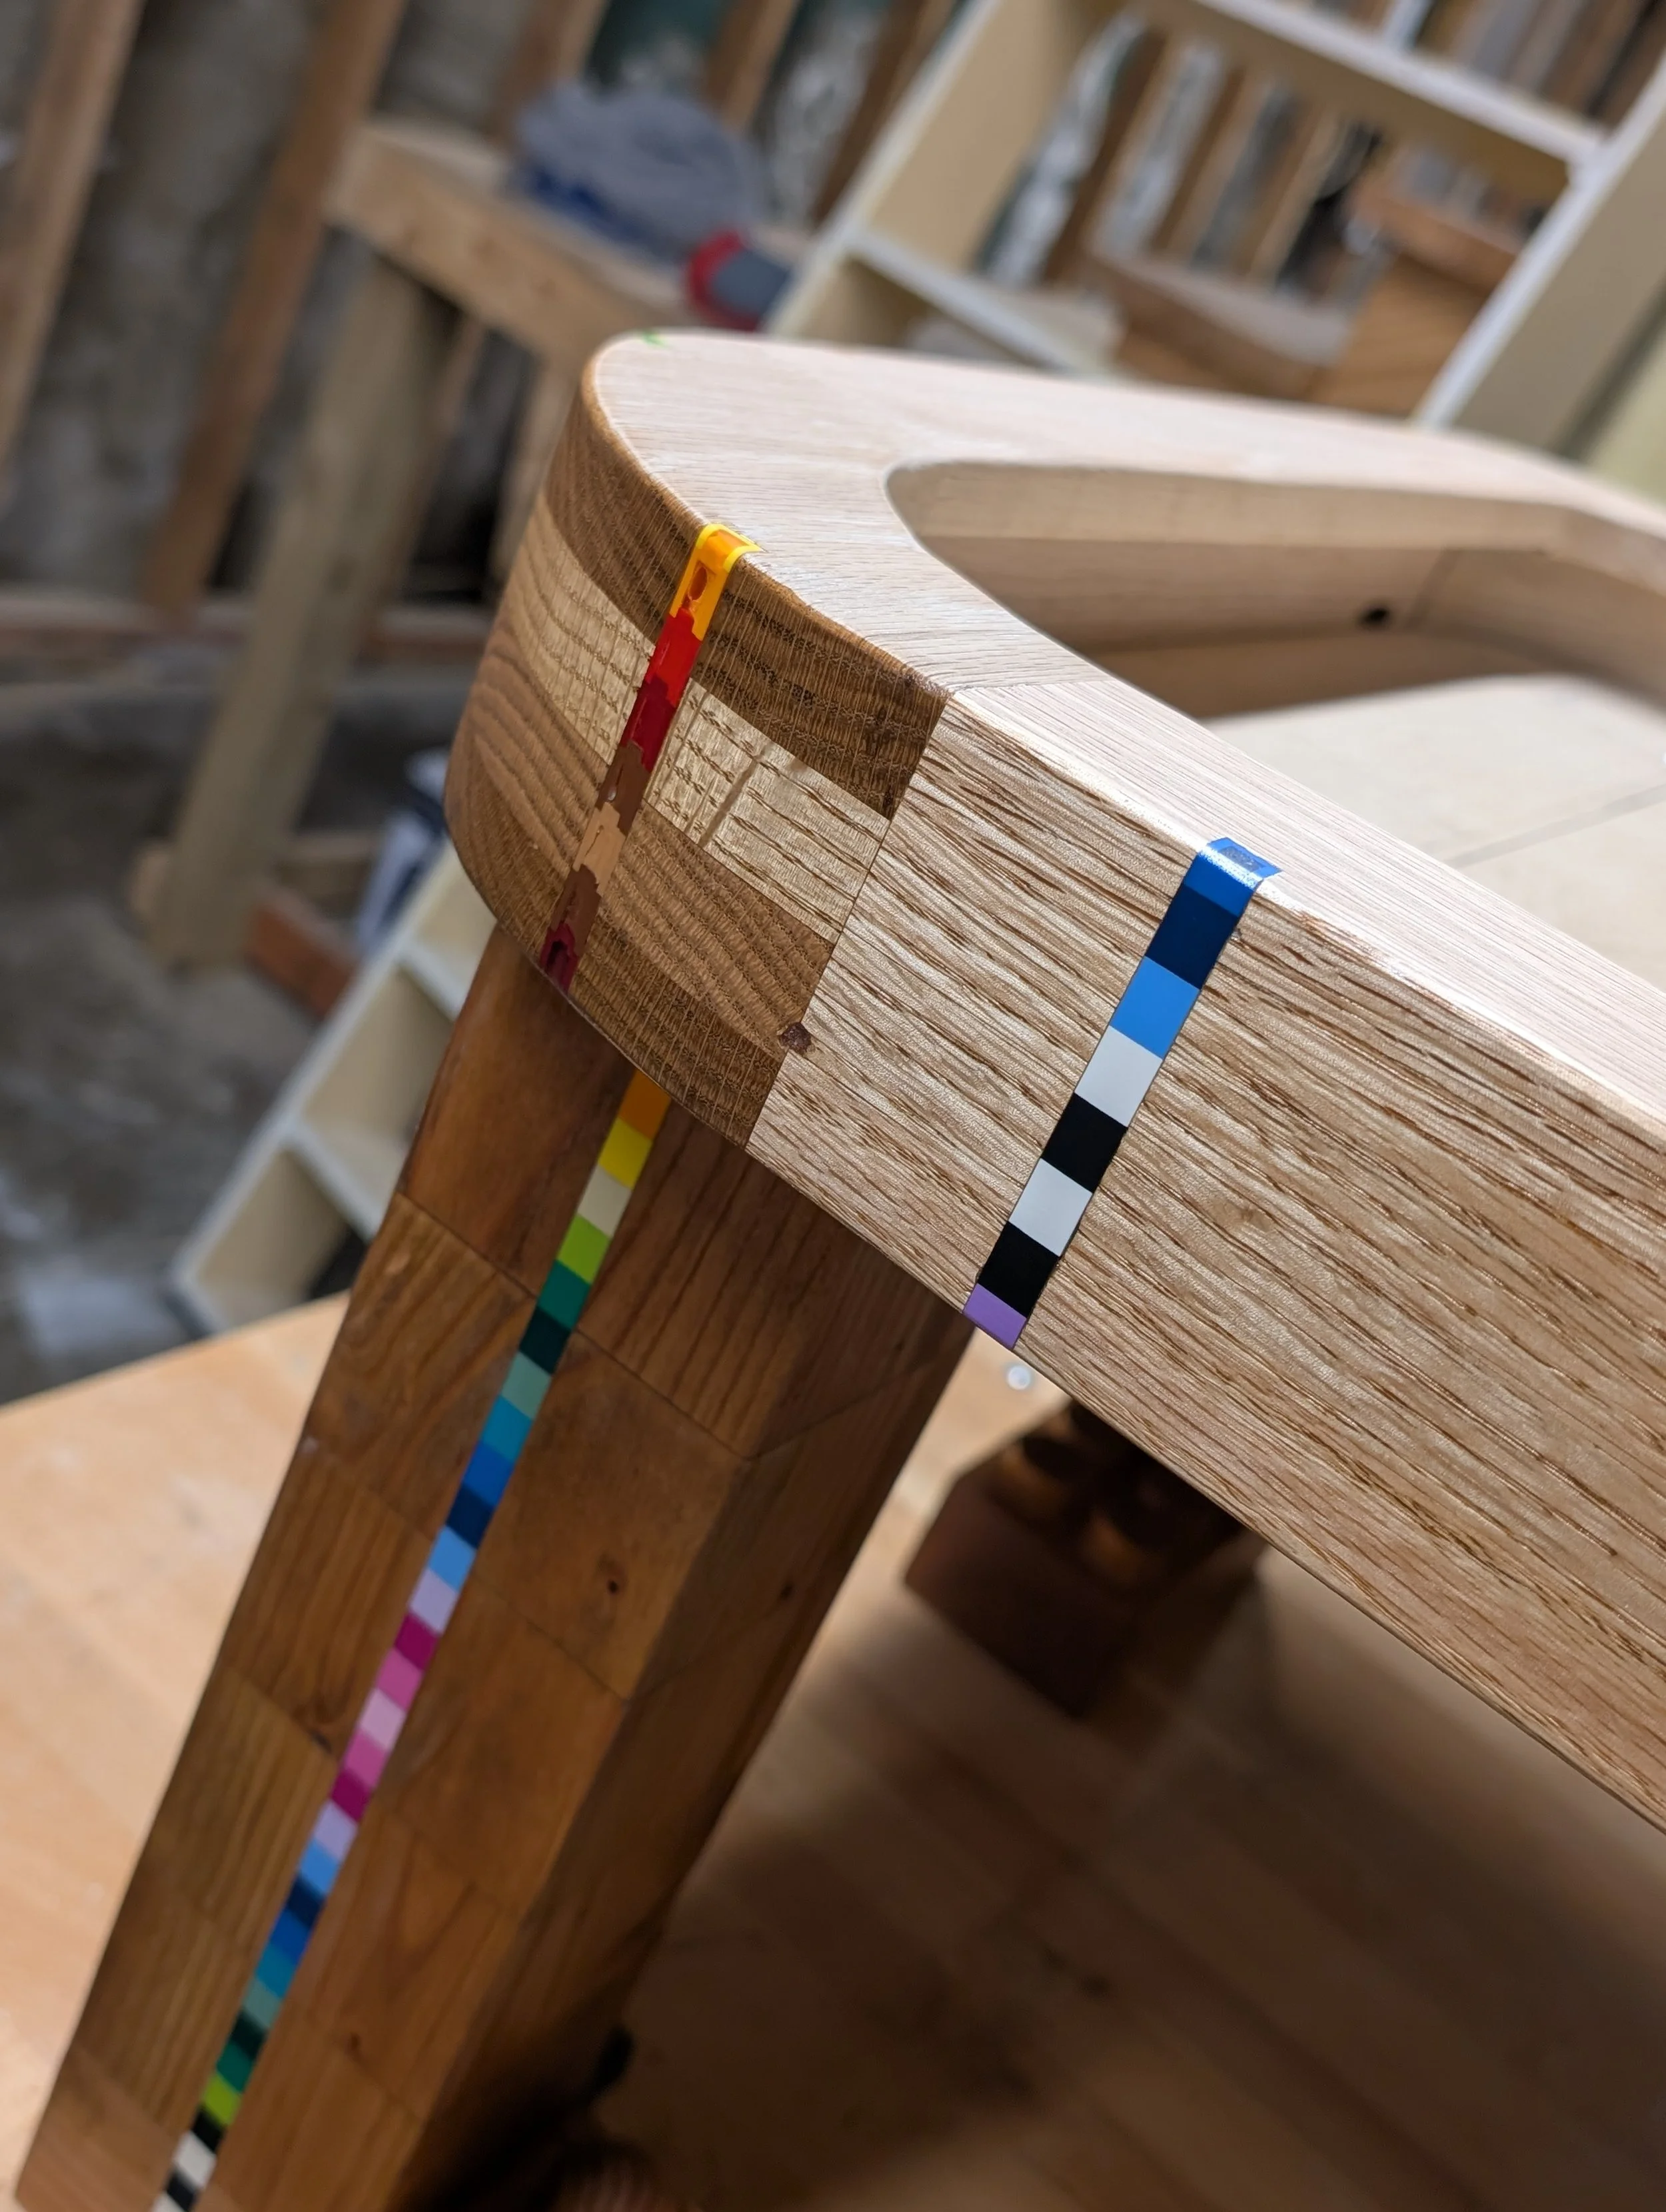
Placing the inlays in the frame
FINISHING
Process
The frame was composed of three layers of 1” pieces and a 2” layer that hangs over toward the inside of the table.
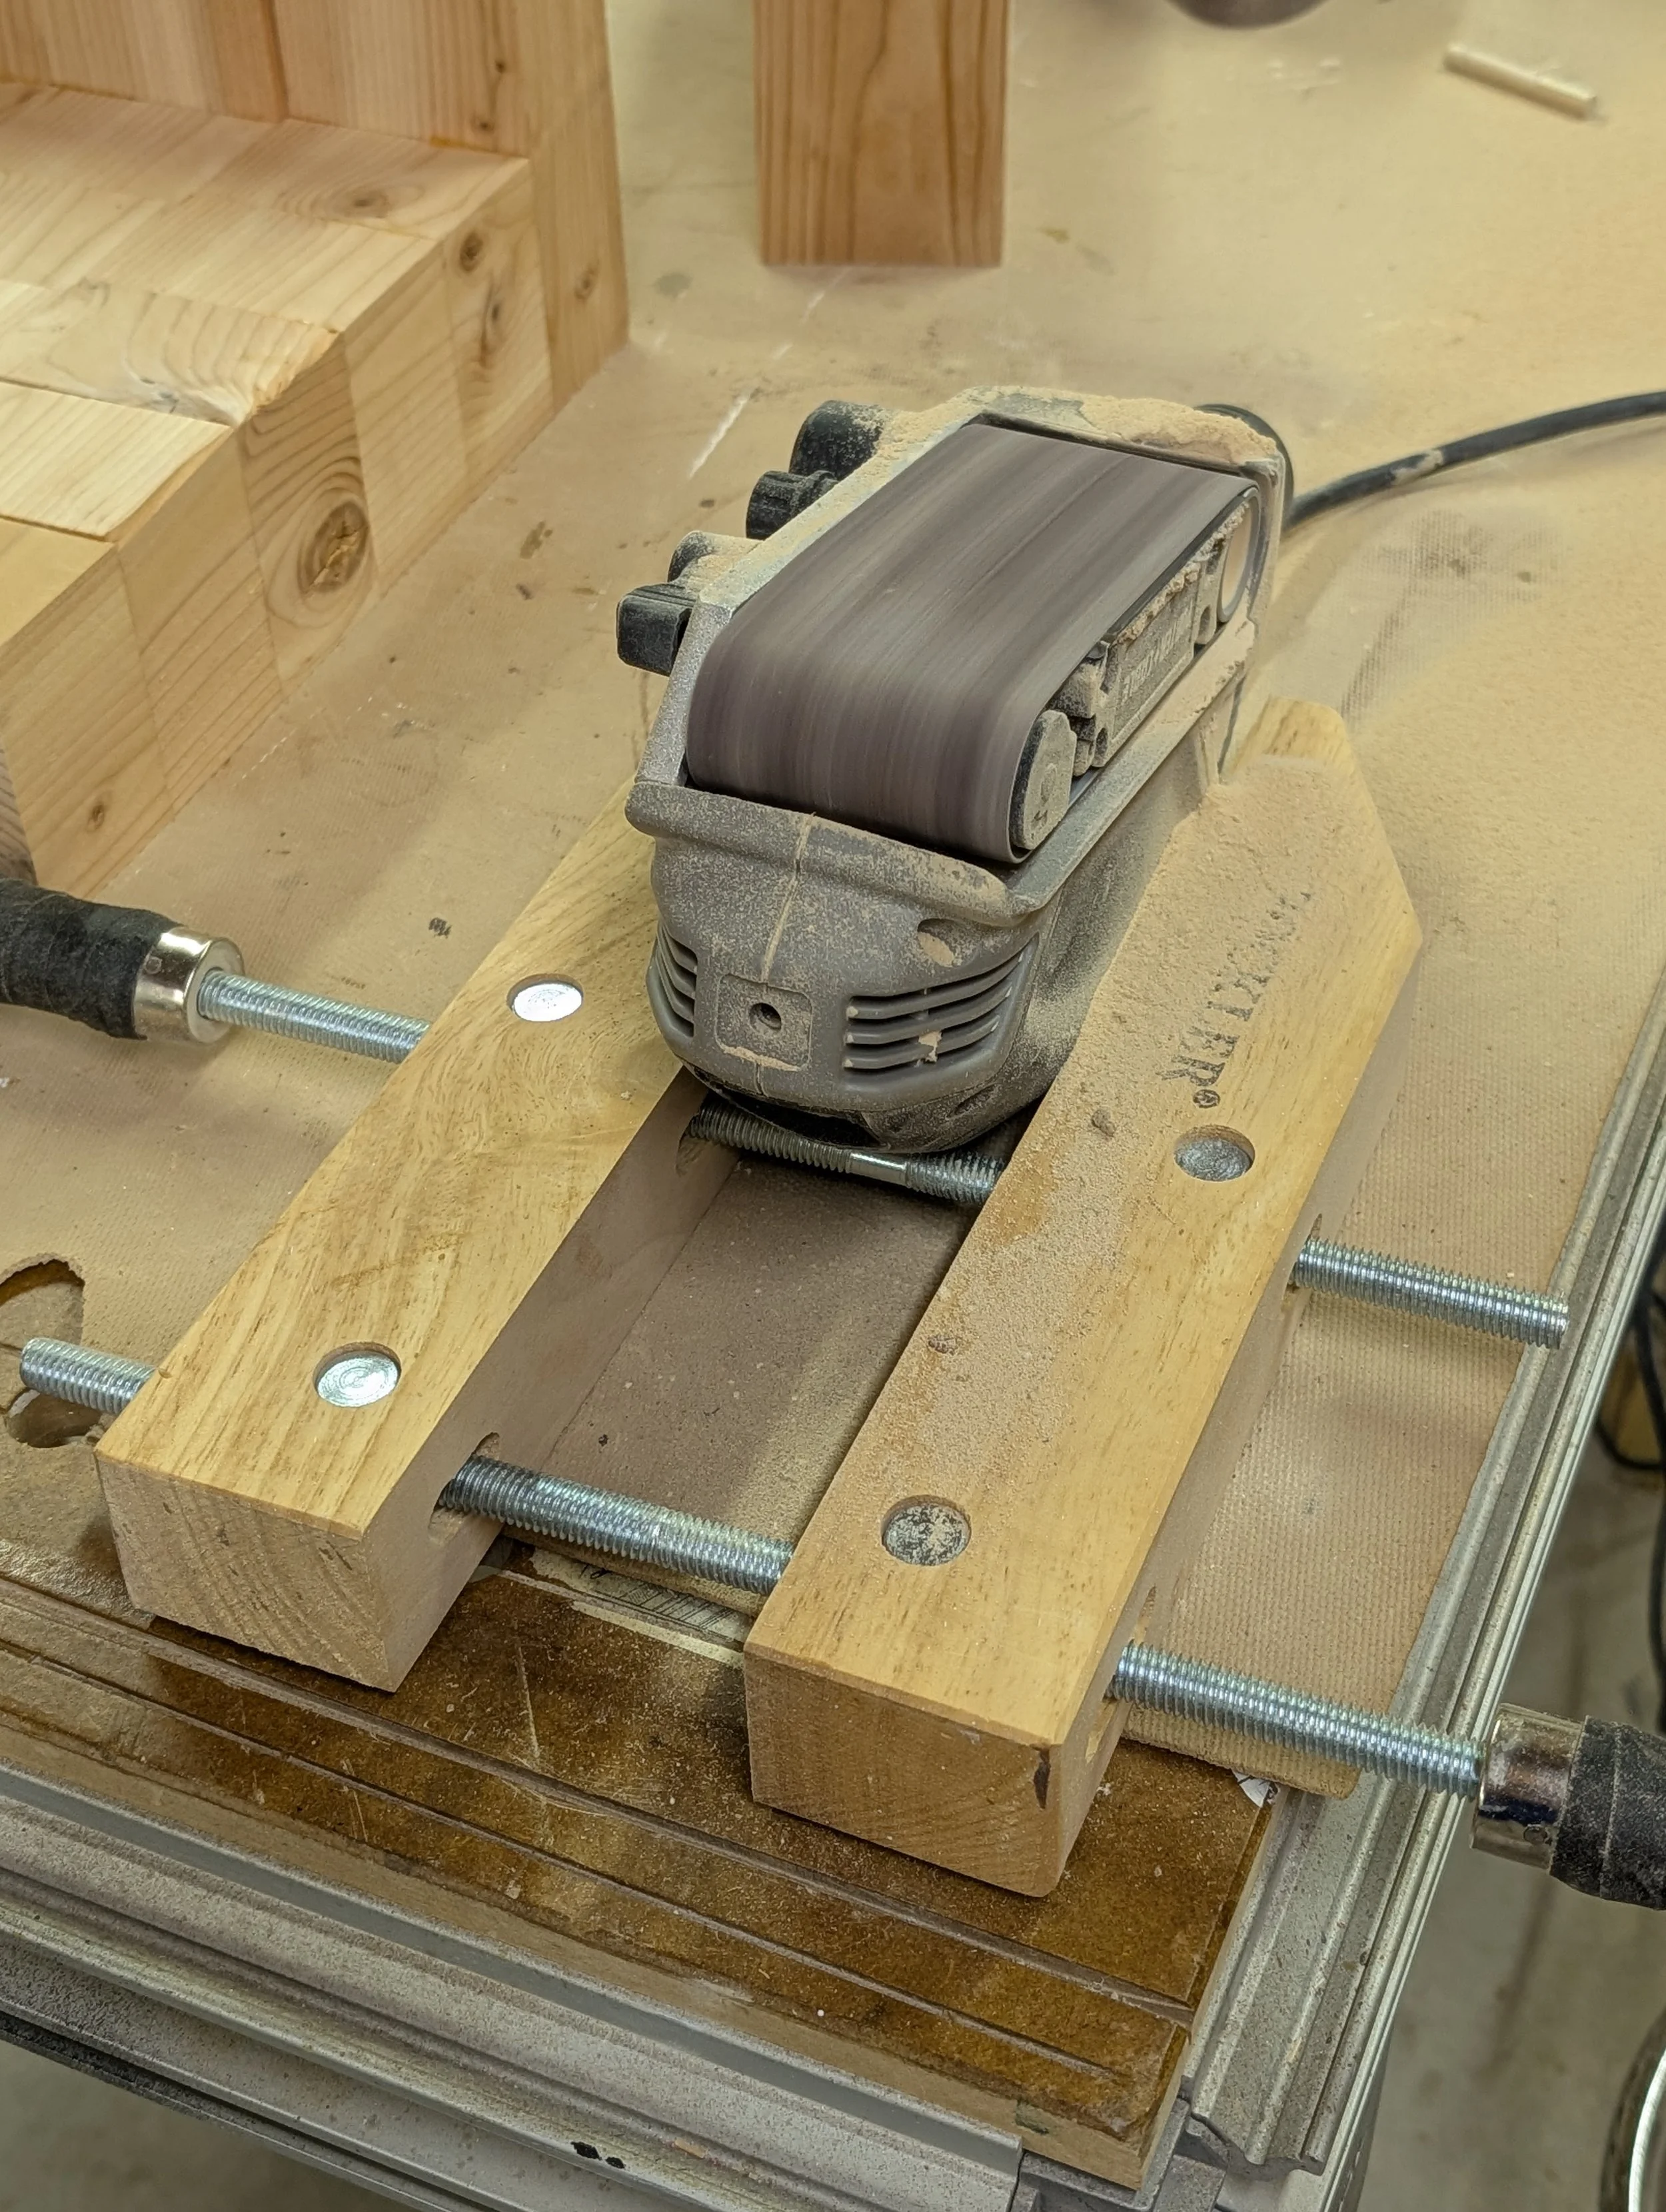
Sanding the arcs required a creative sanding jig with a handscrew clamp and a belt sander (above).
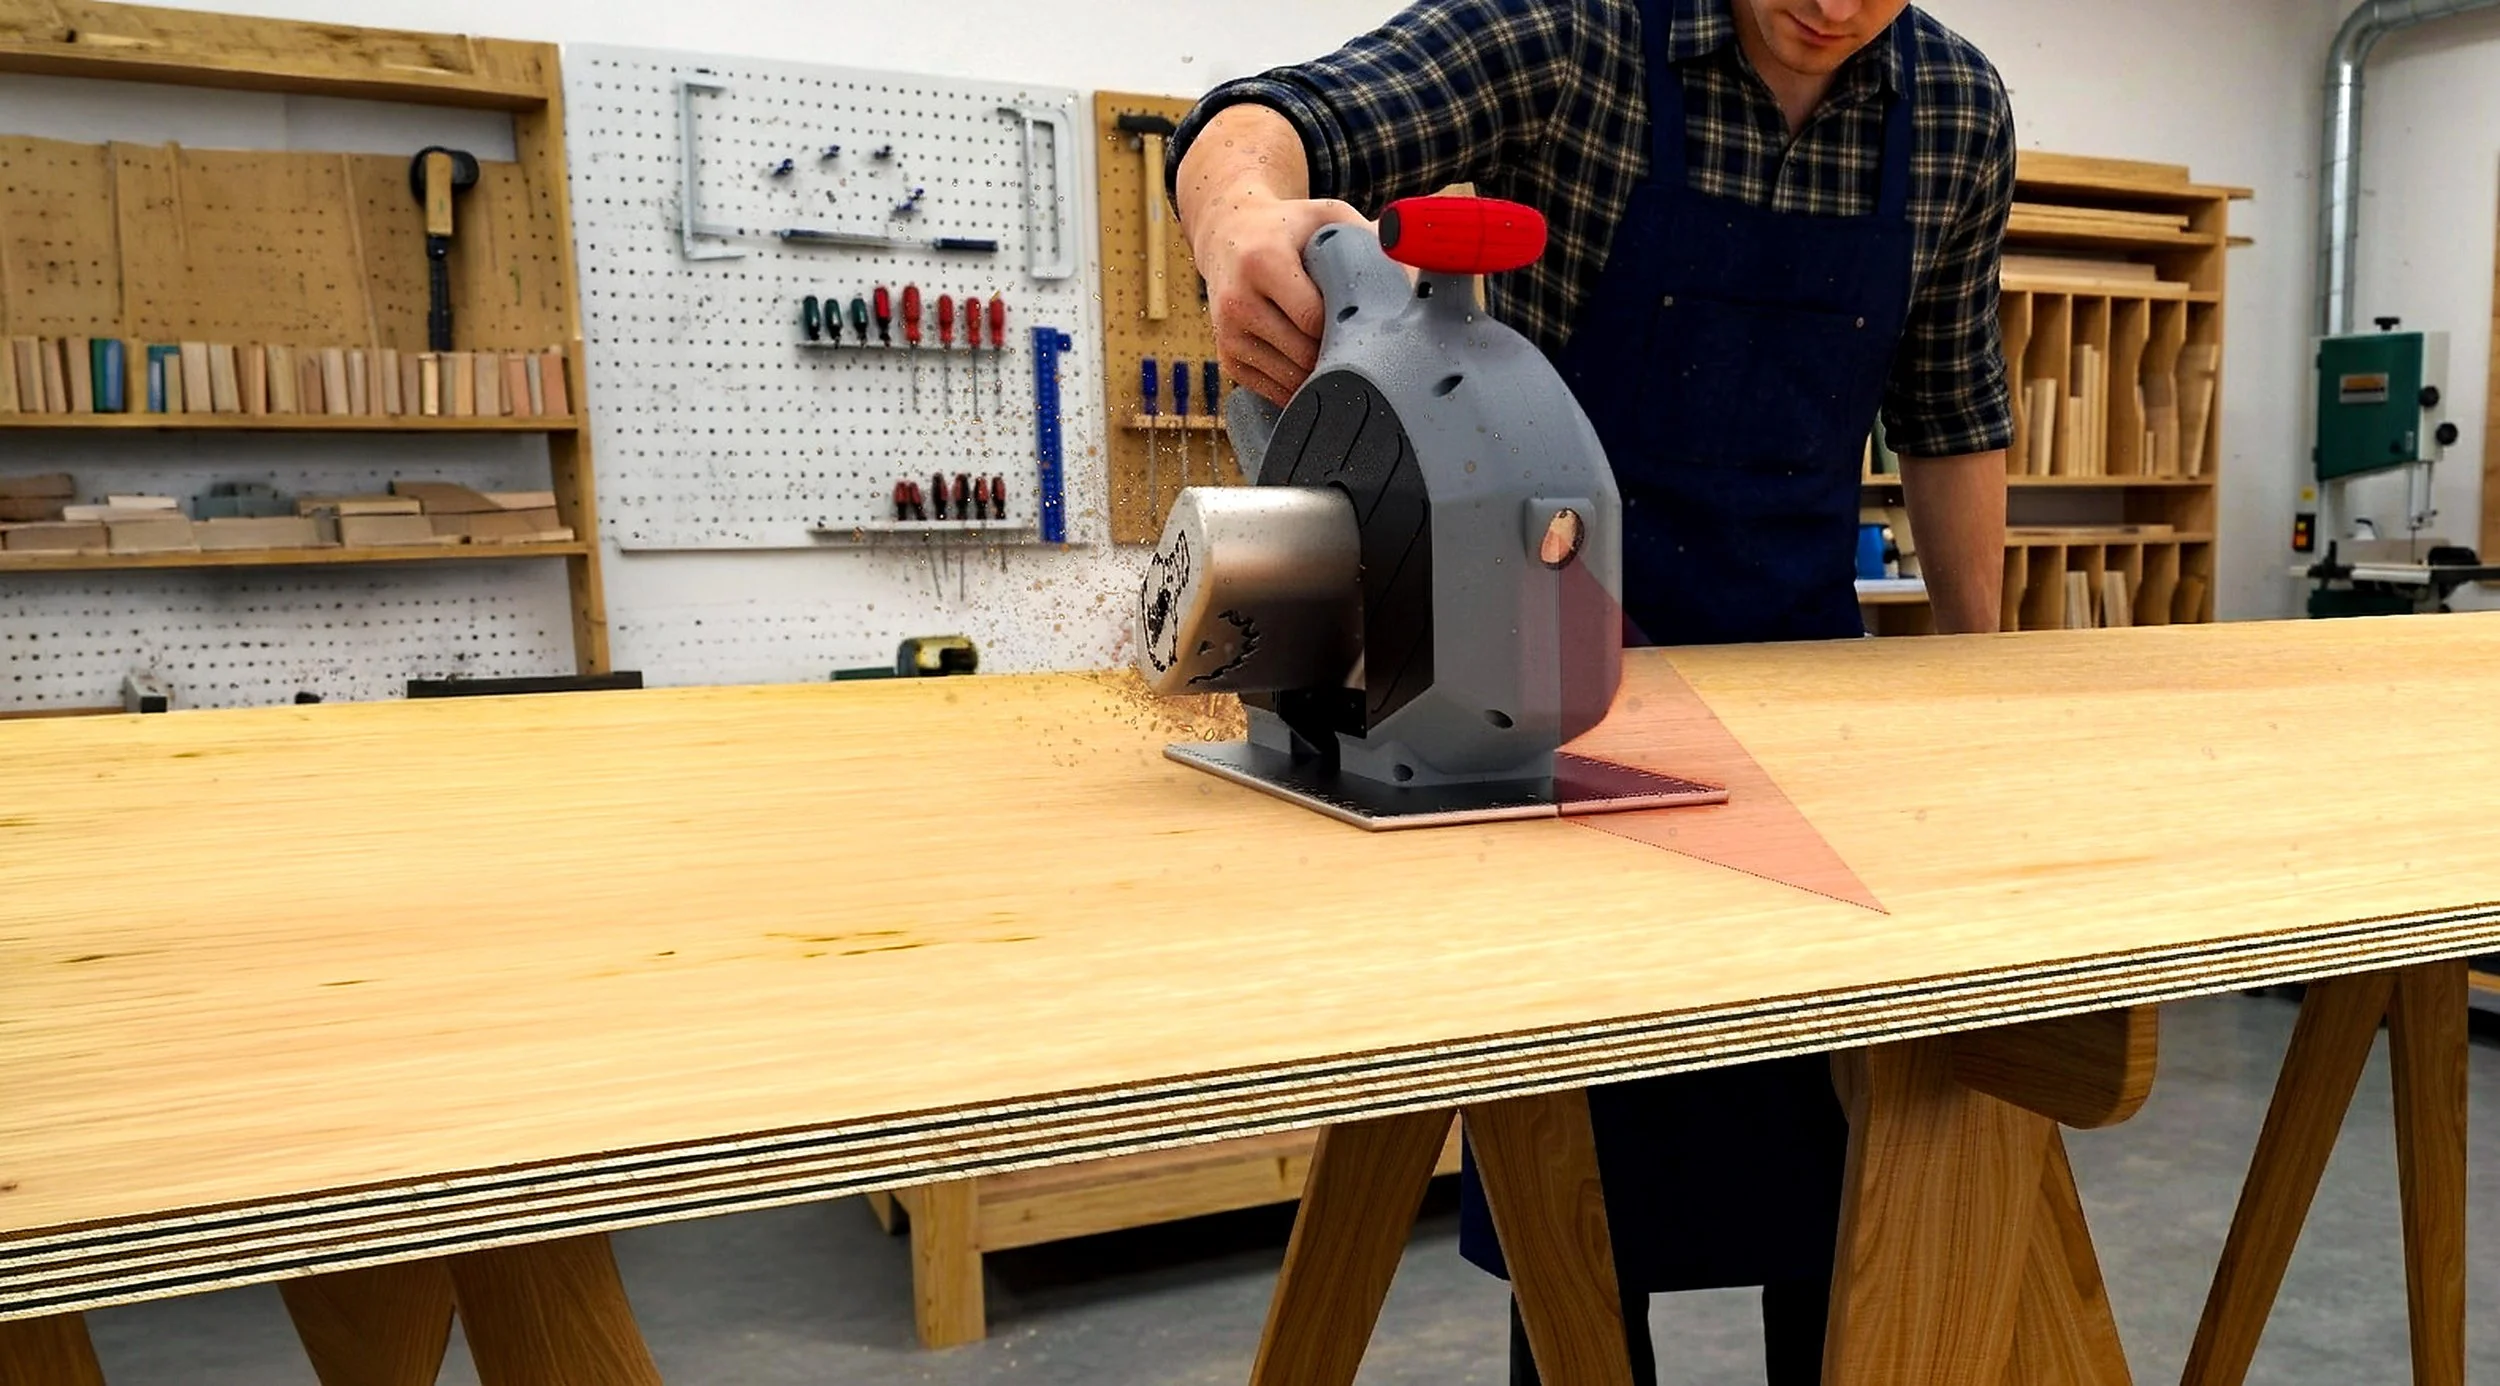
The final component was the plywood sheet, cut with a jigsaw.
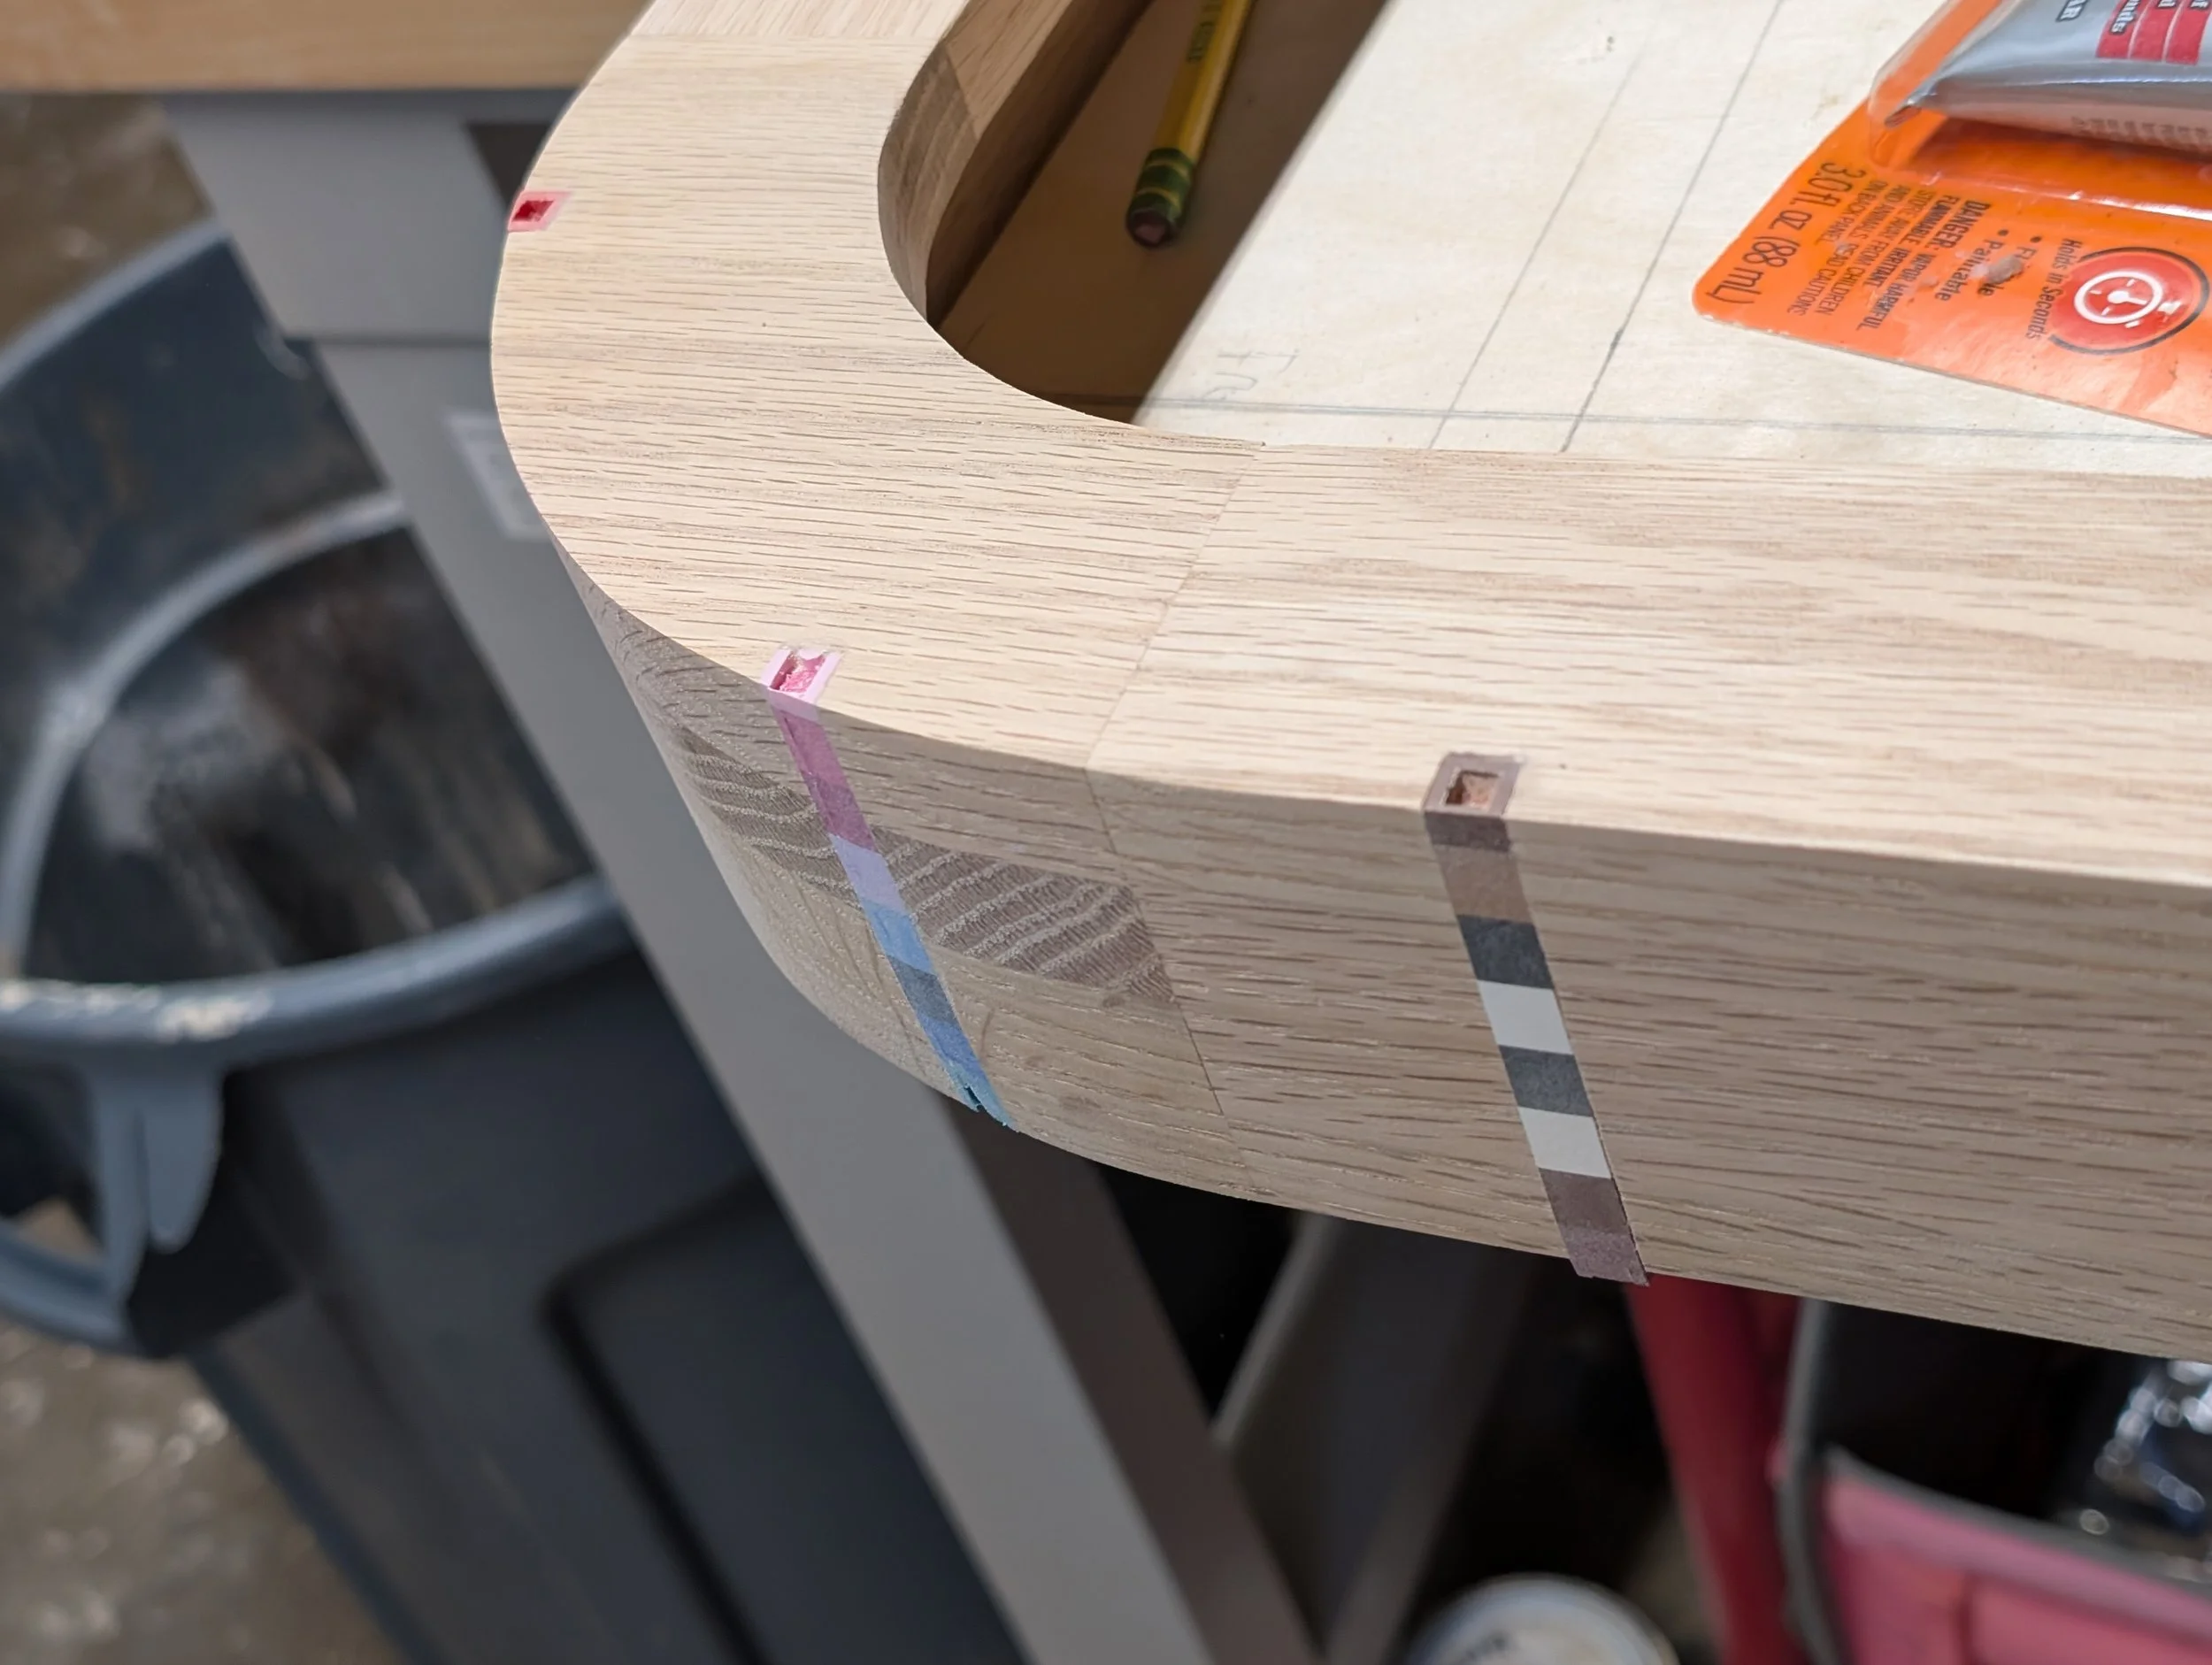
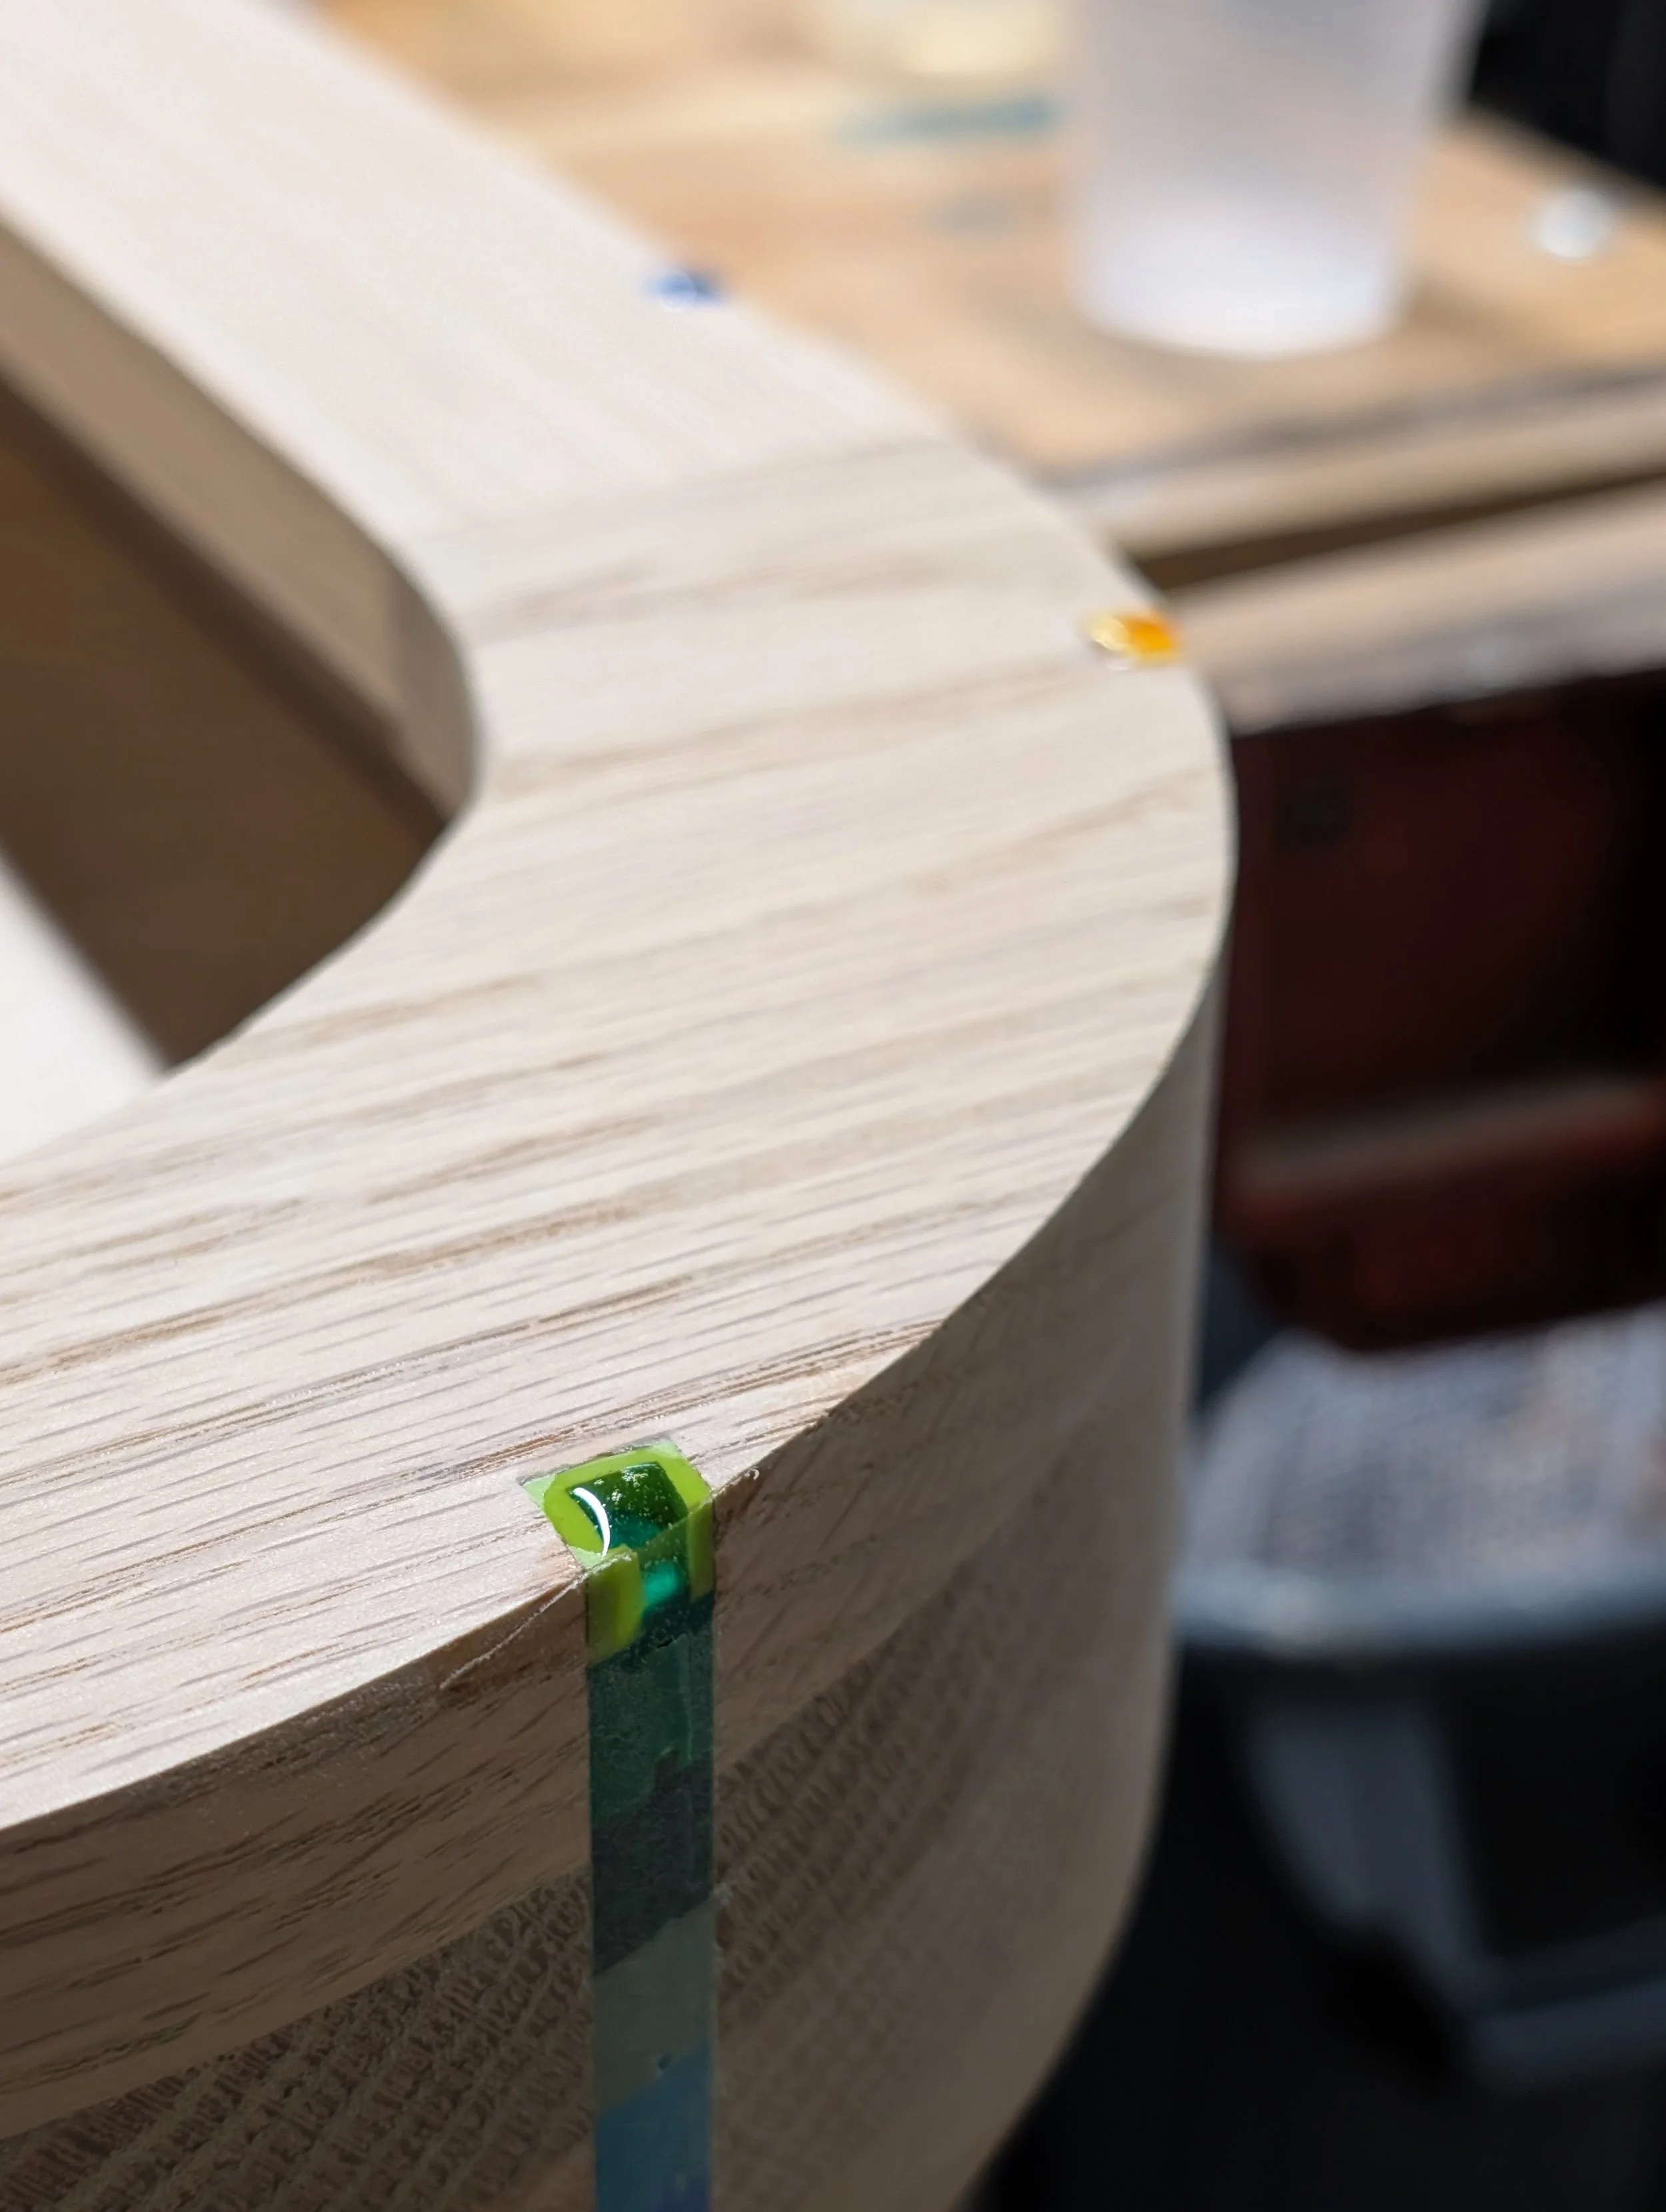
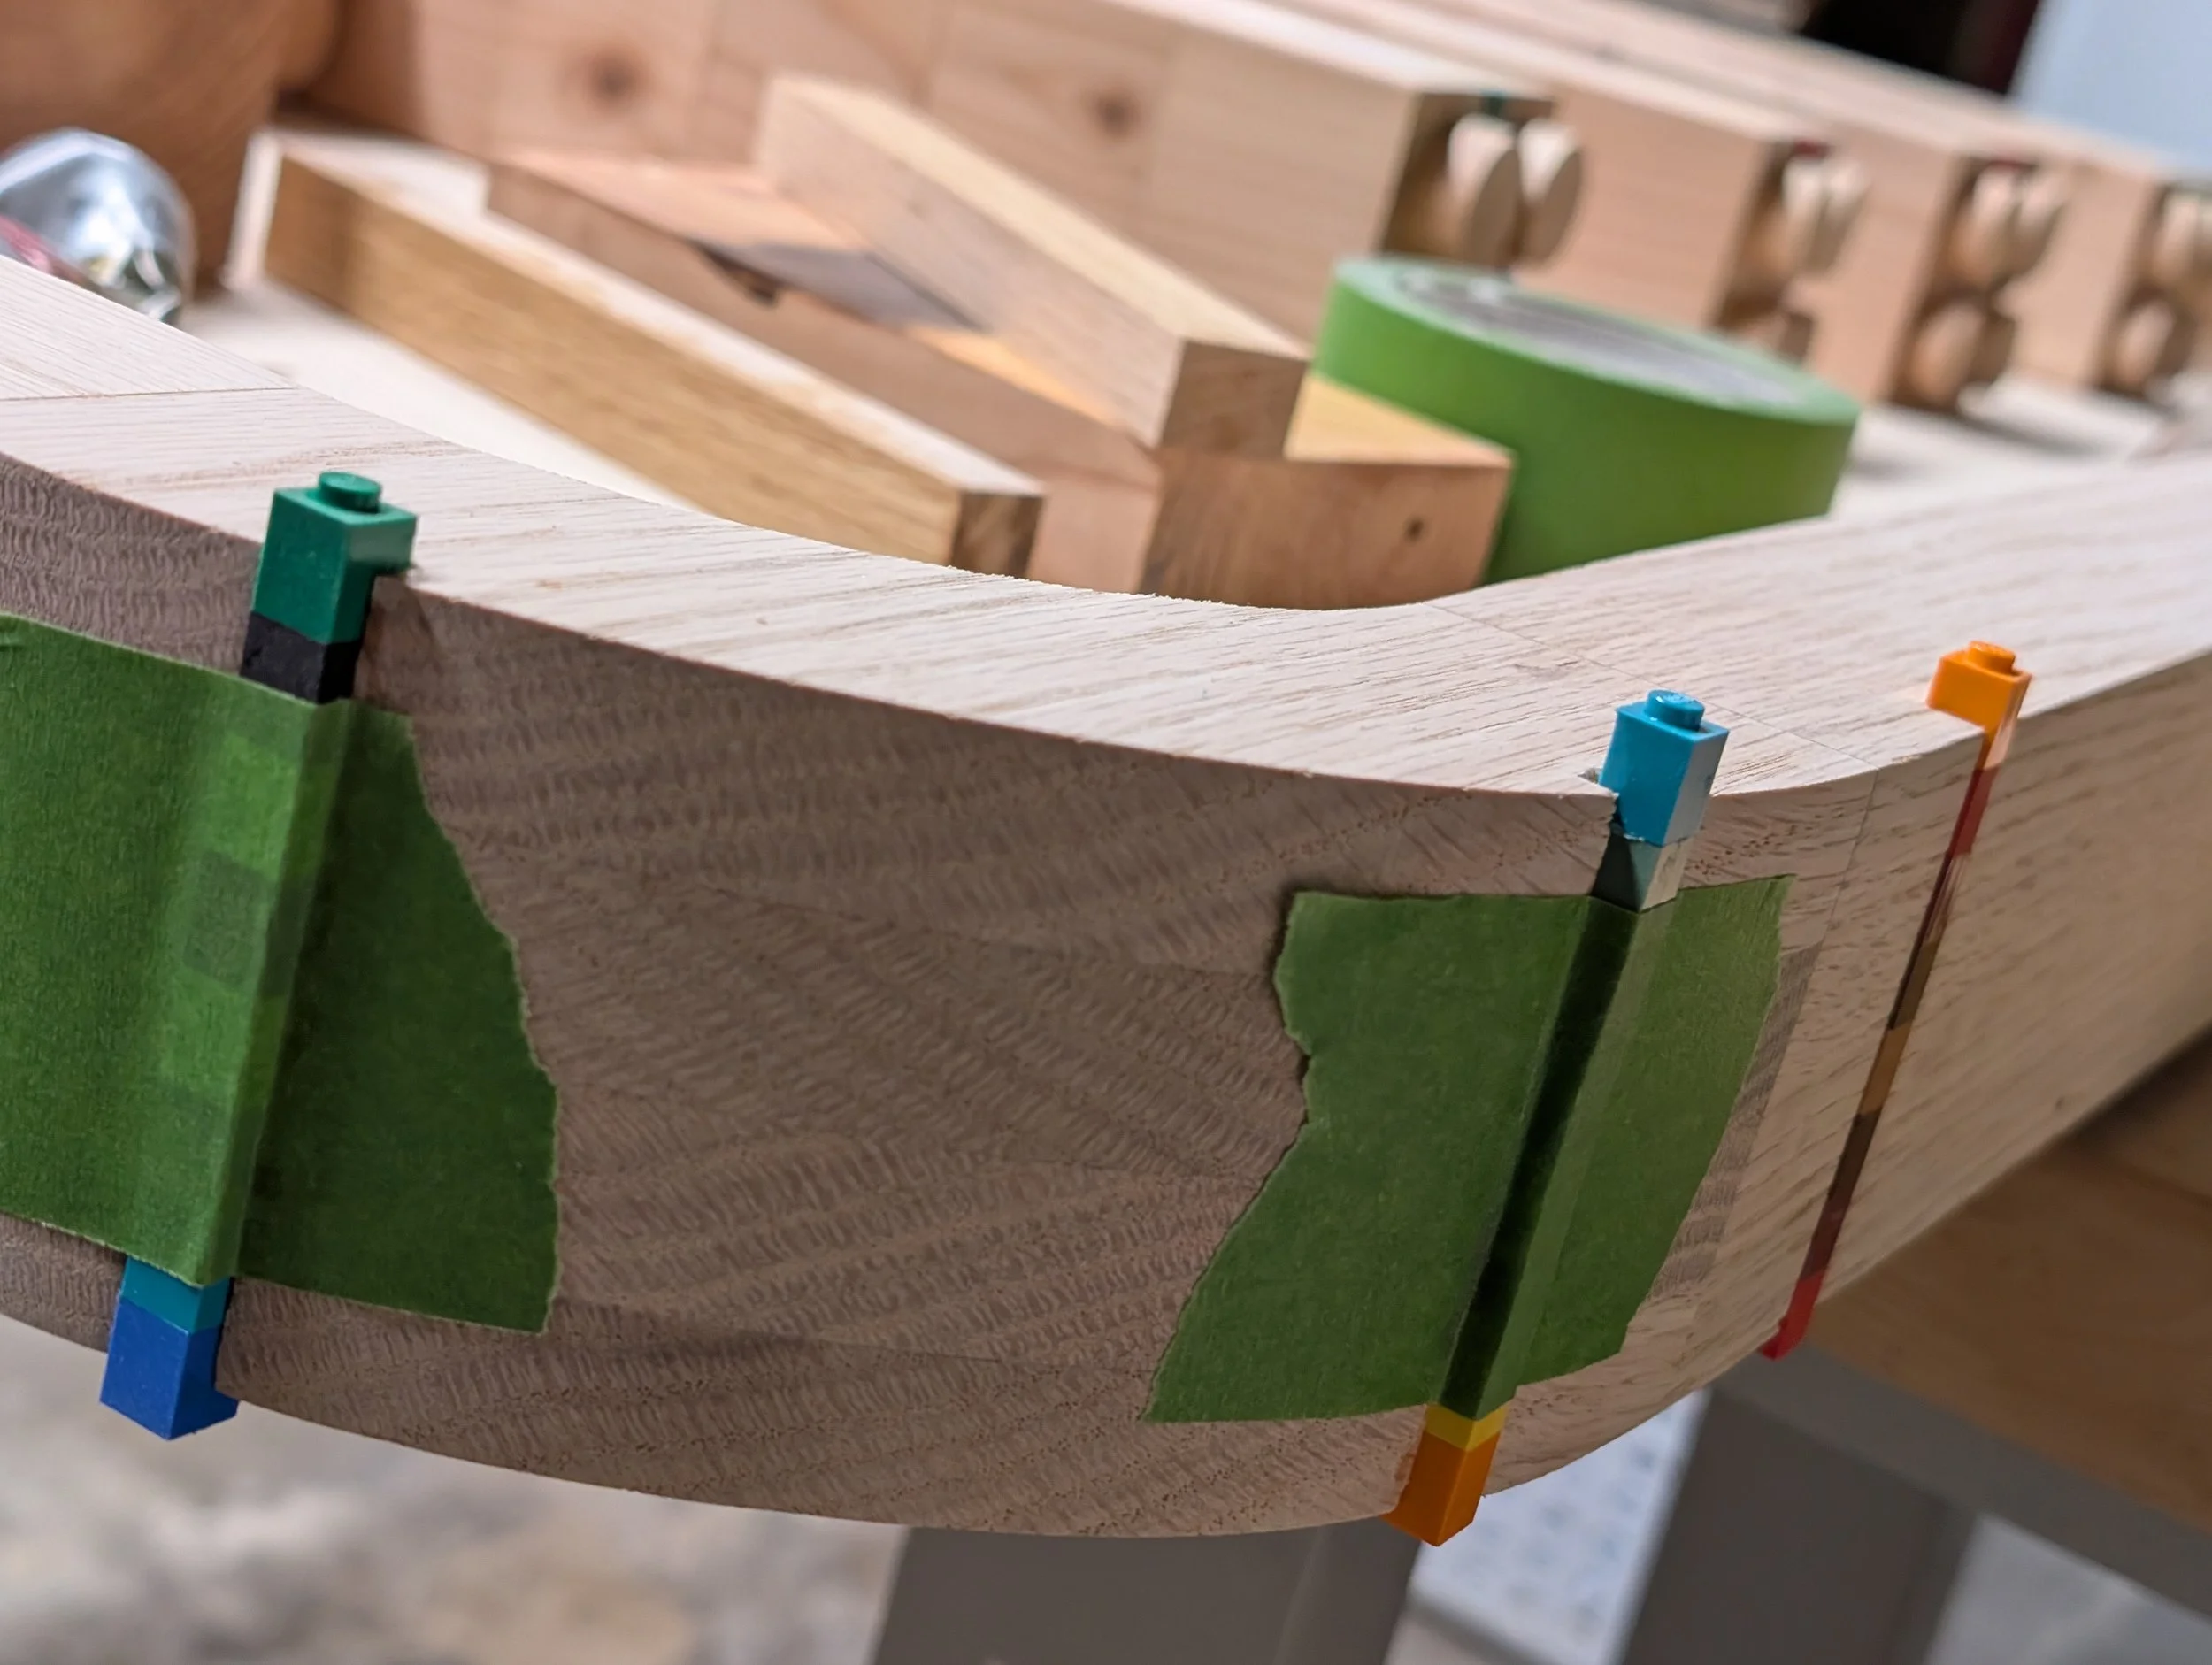
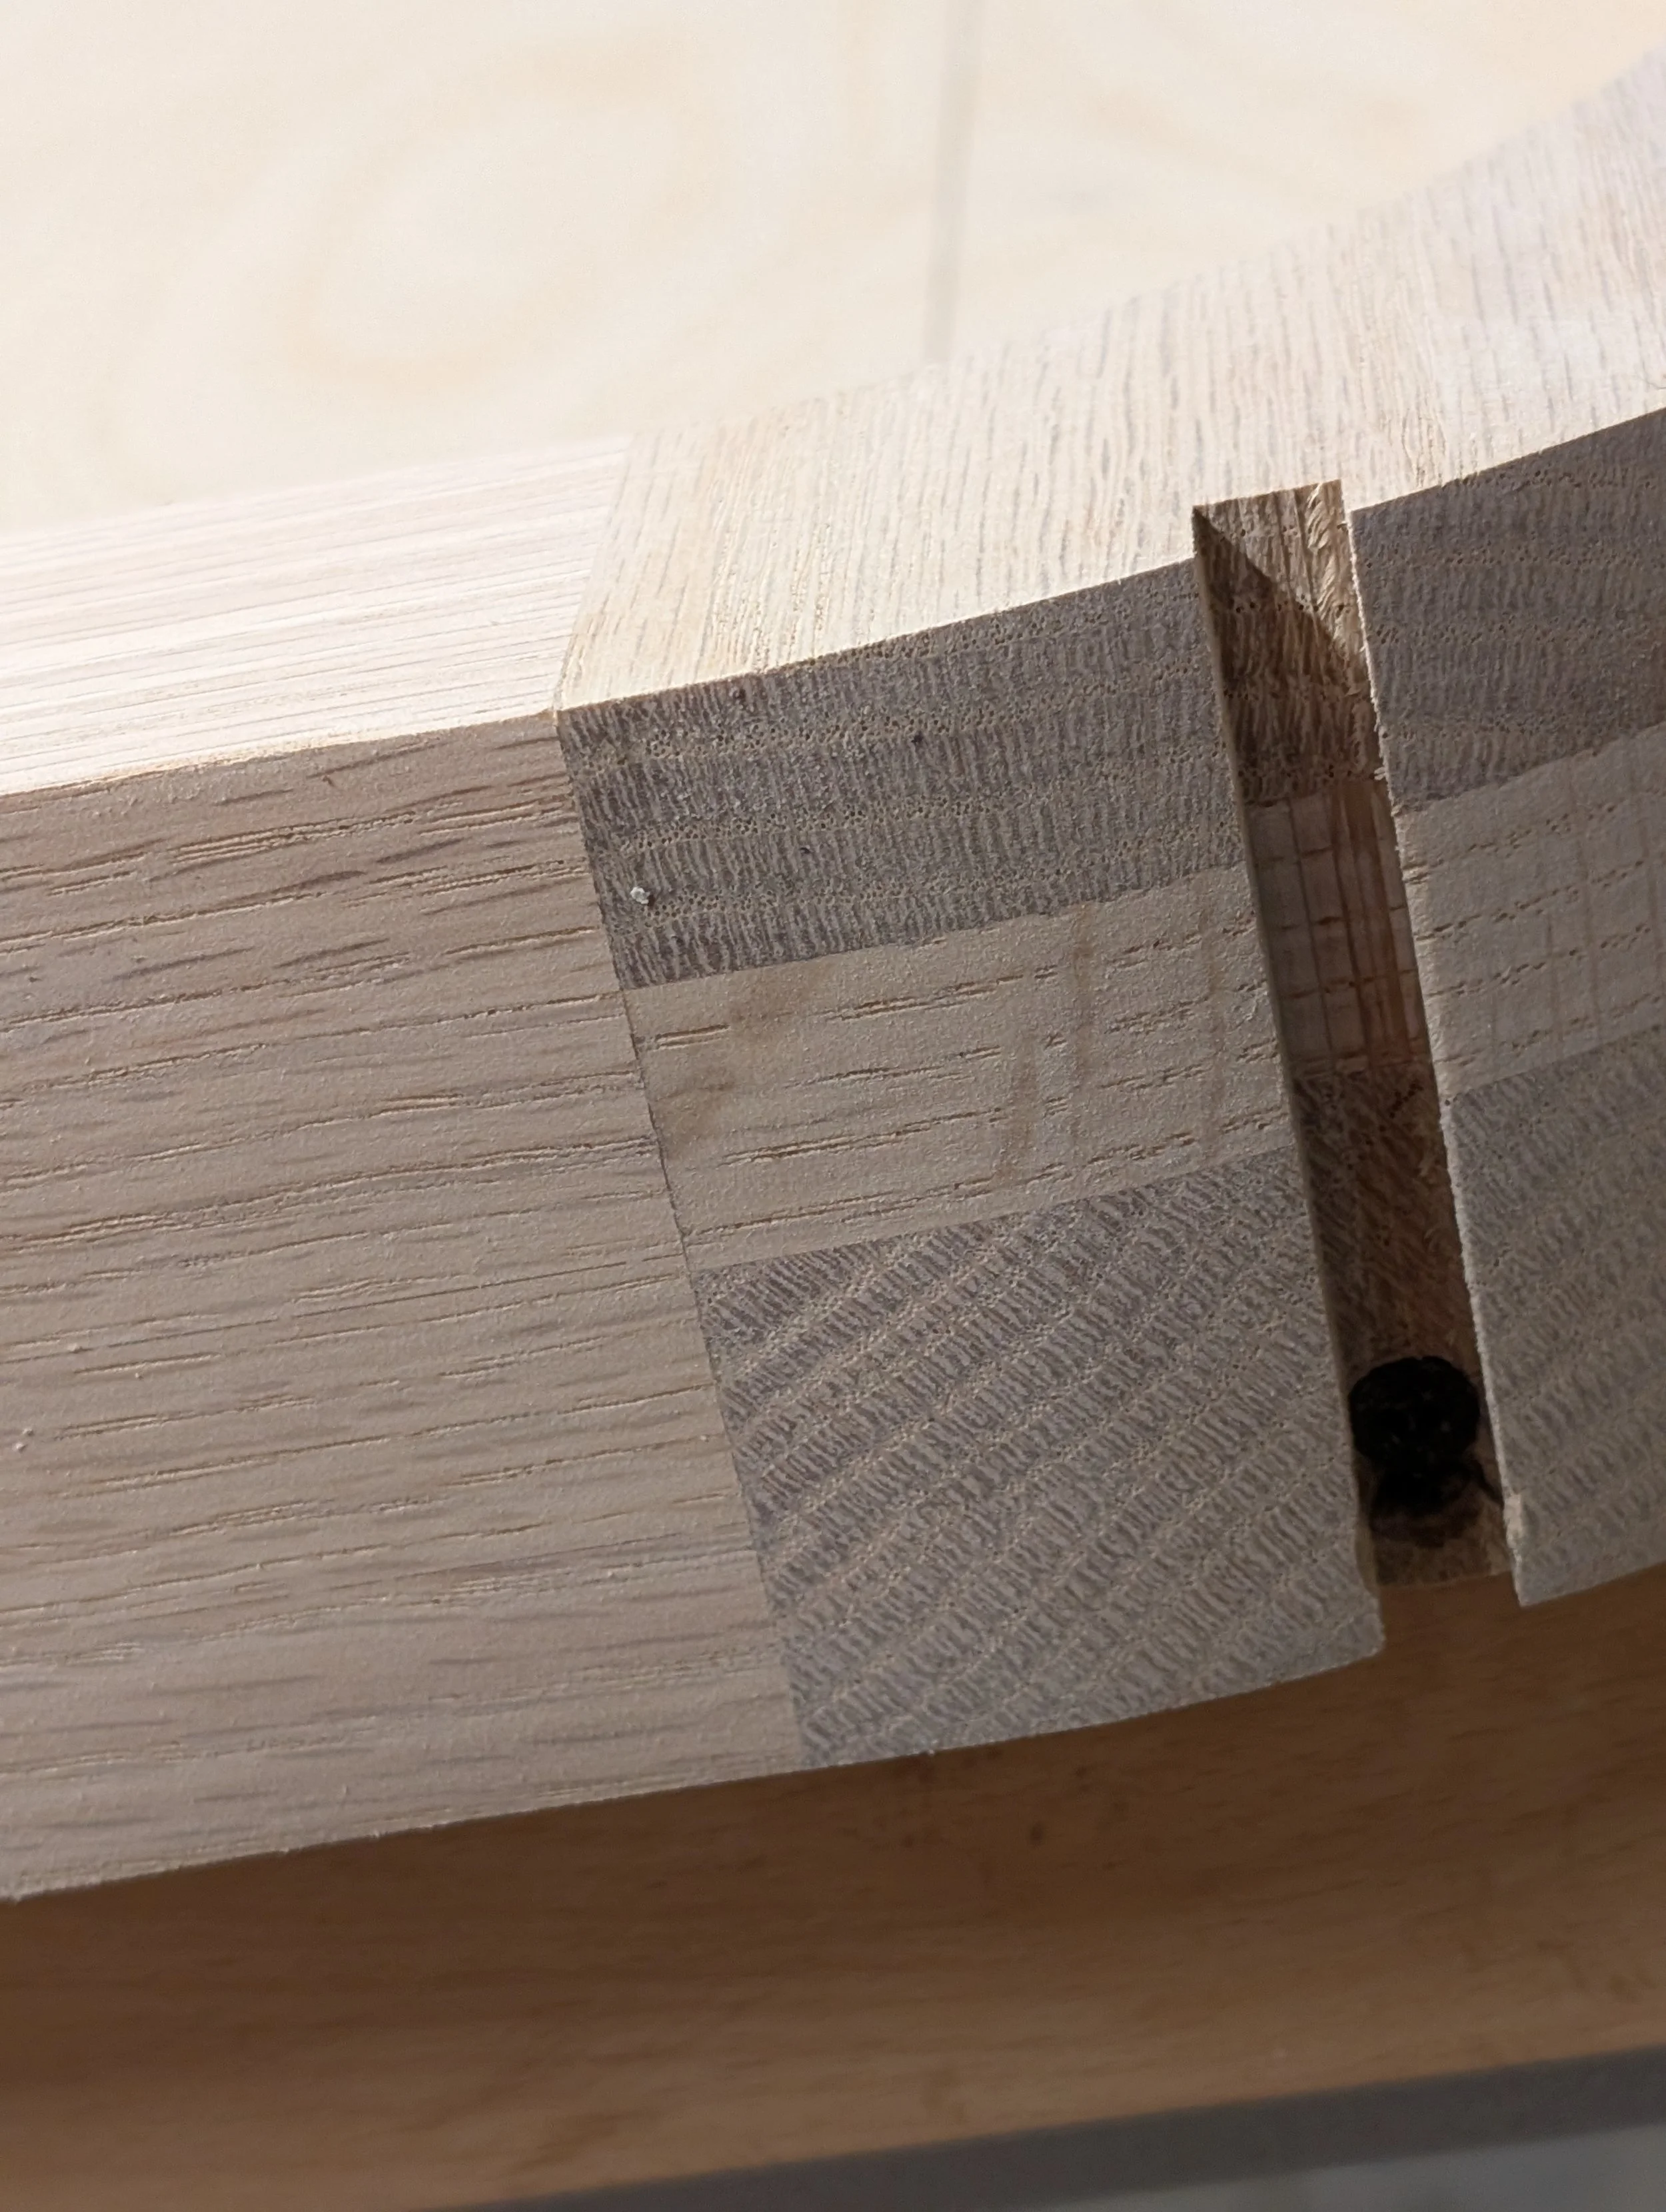
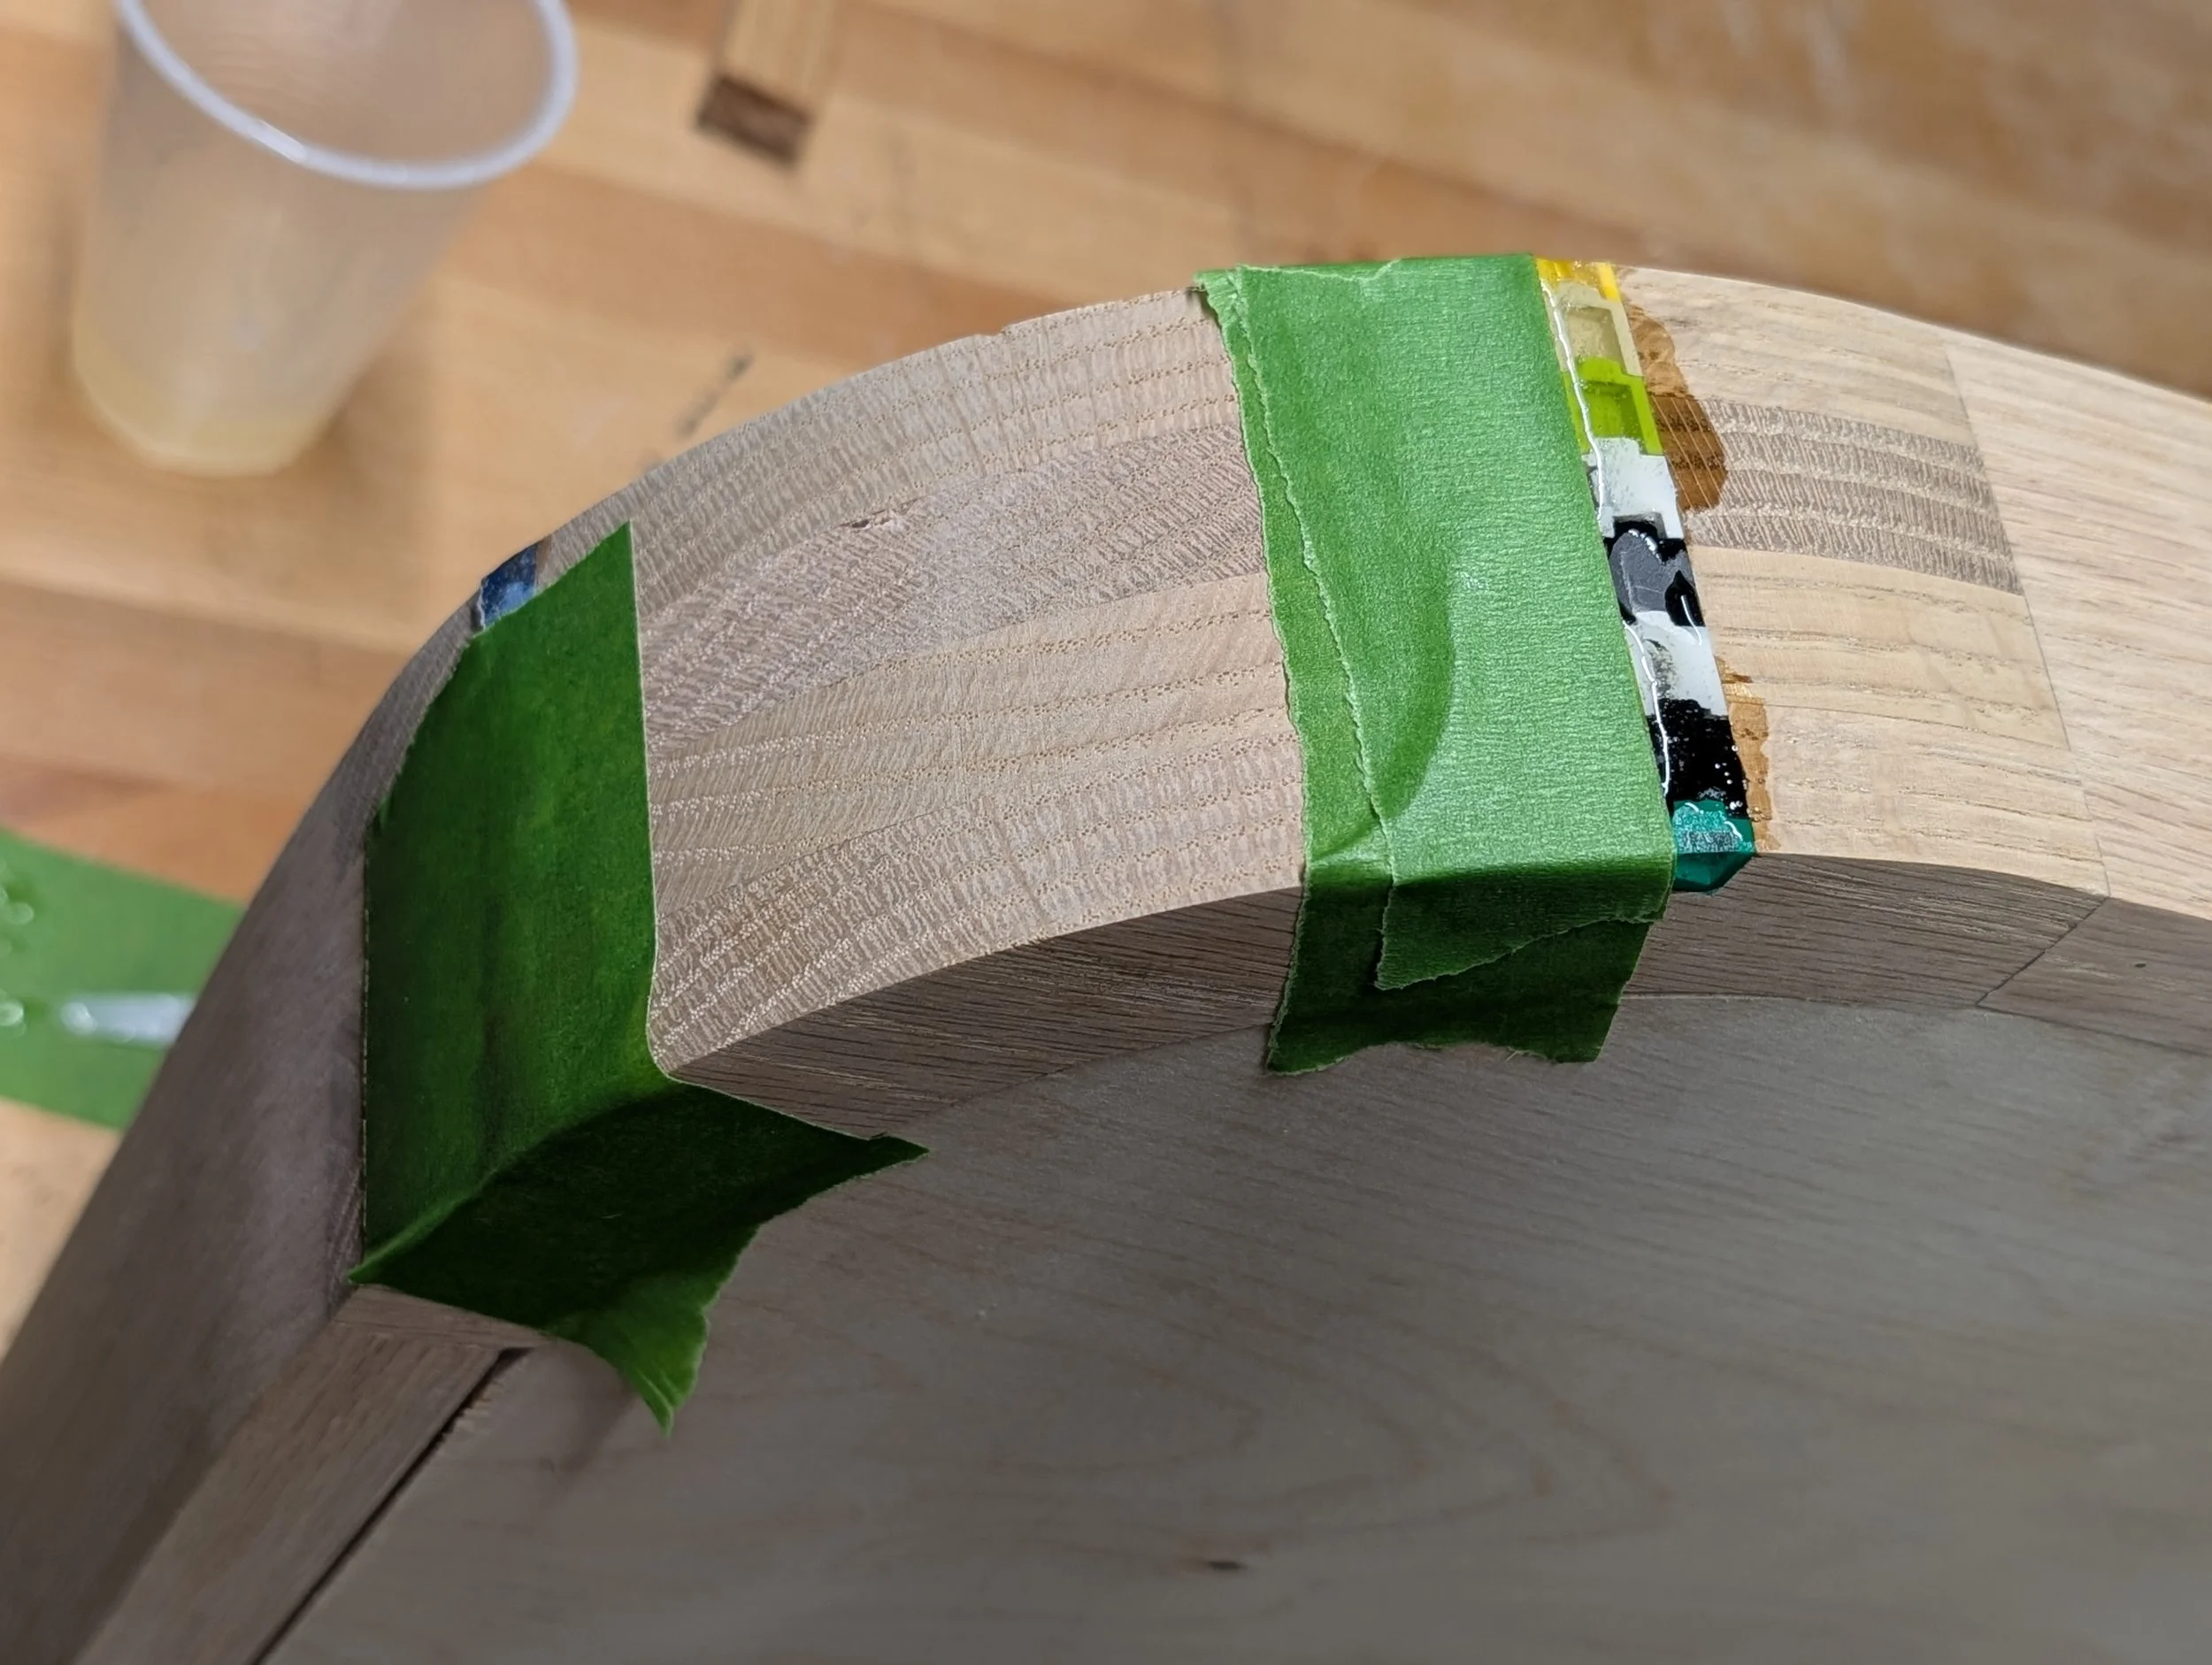
Sanding the corner inlays caused holes in the strips due to the rounded surface. Those holes were filled with epoxy and held with tape until it dried.
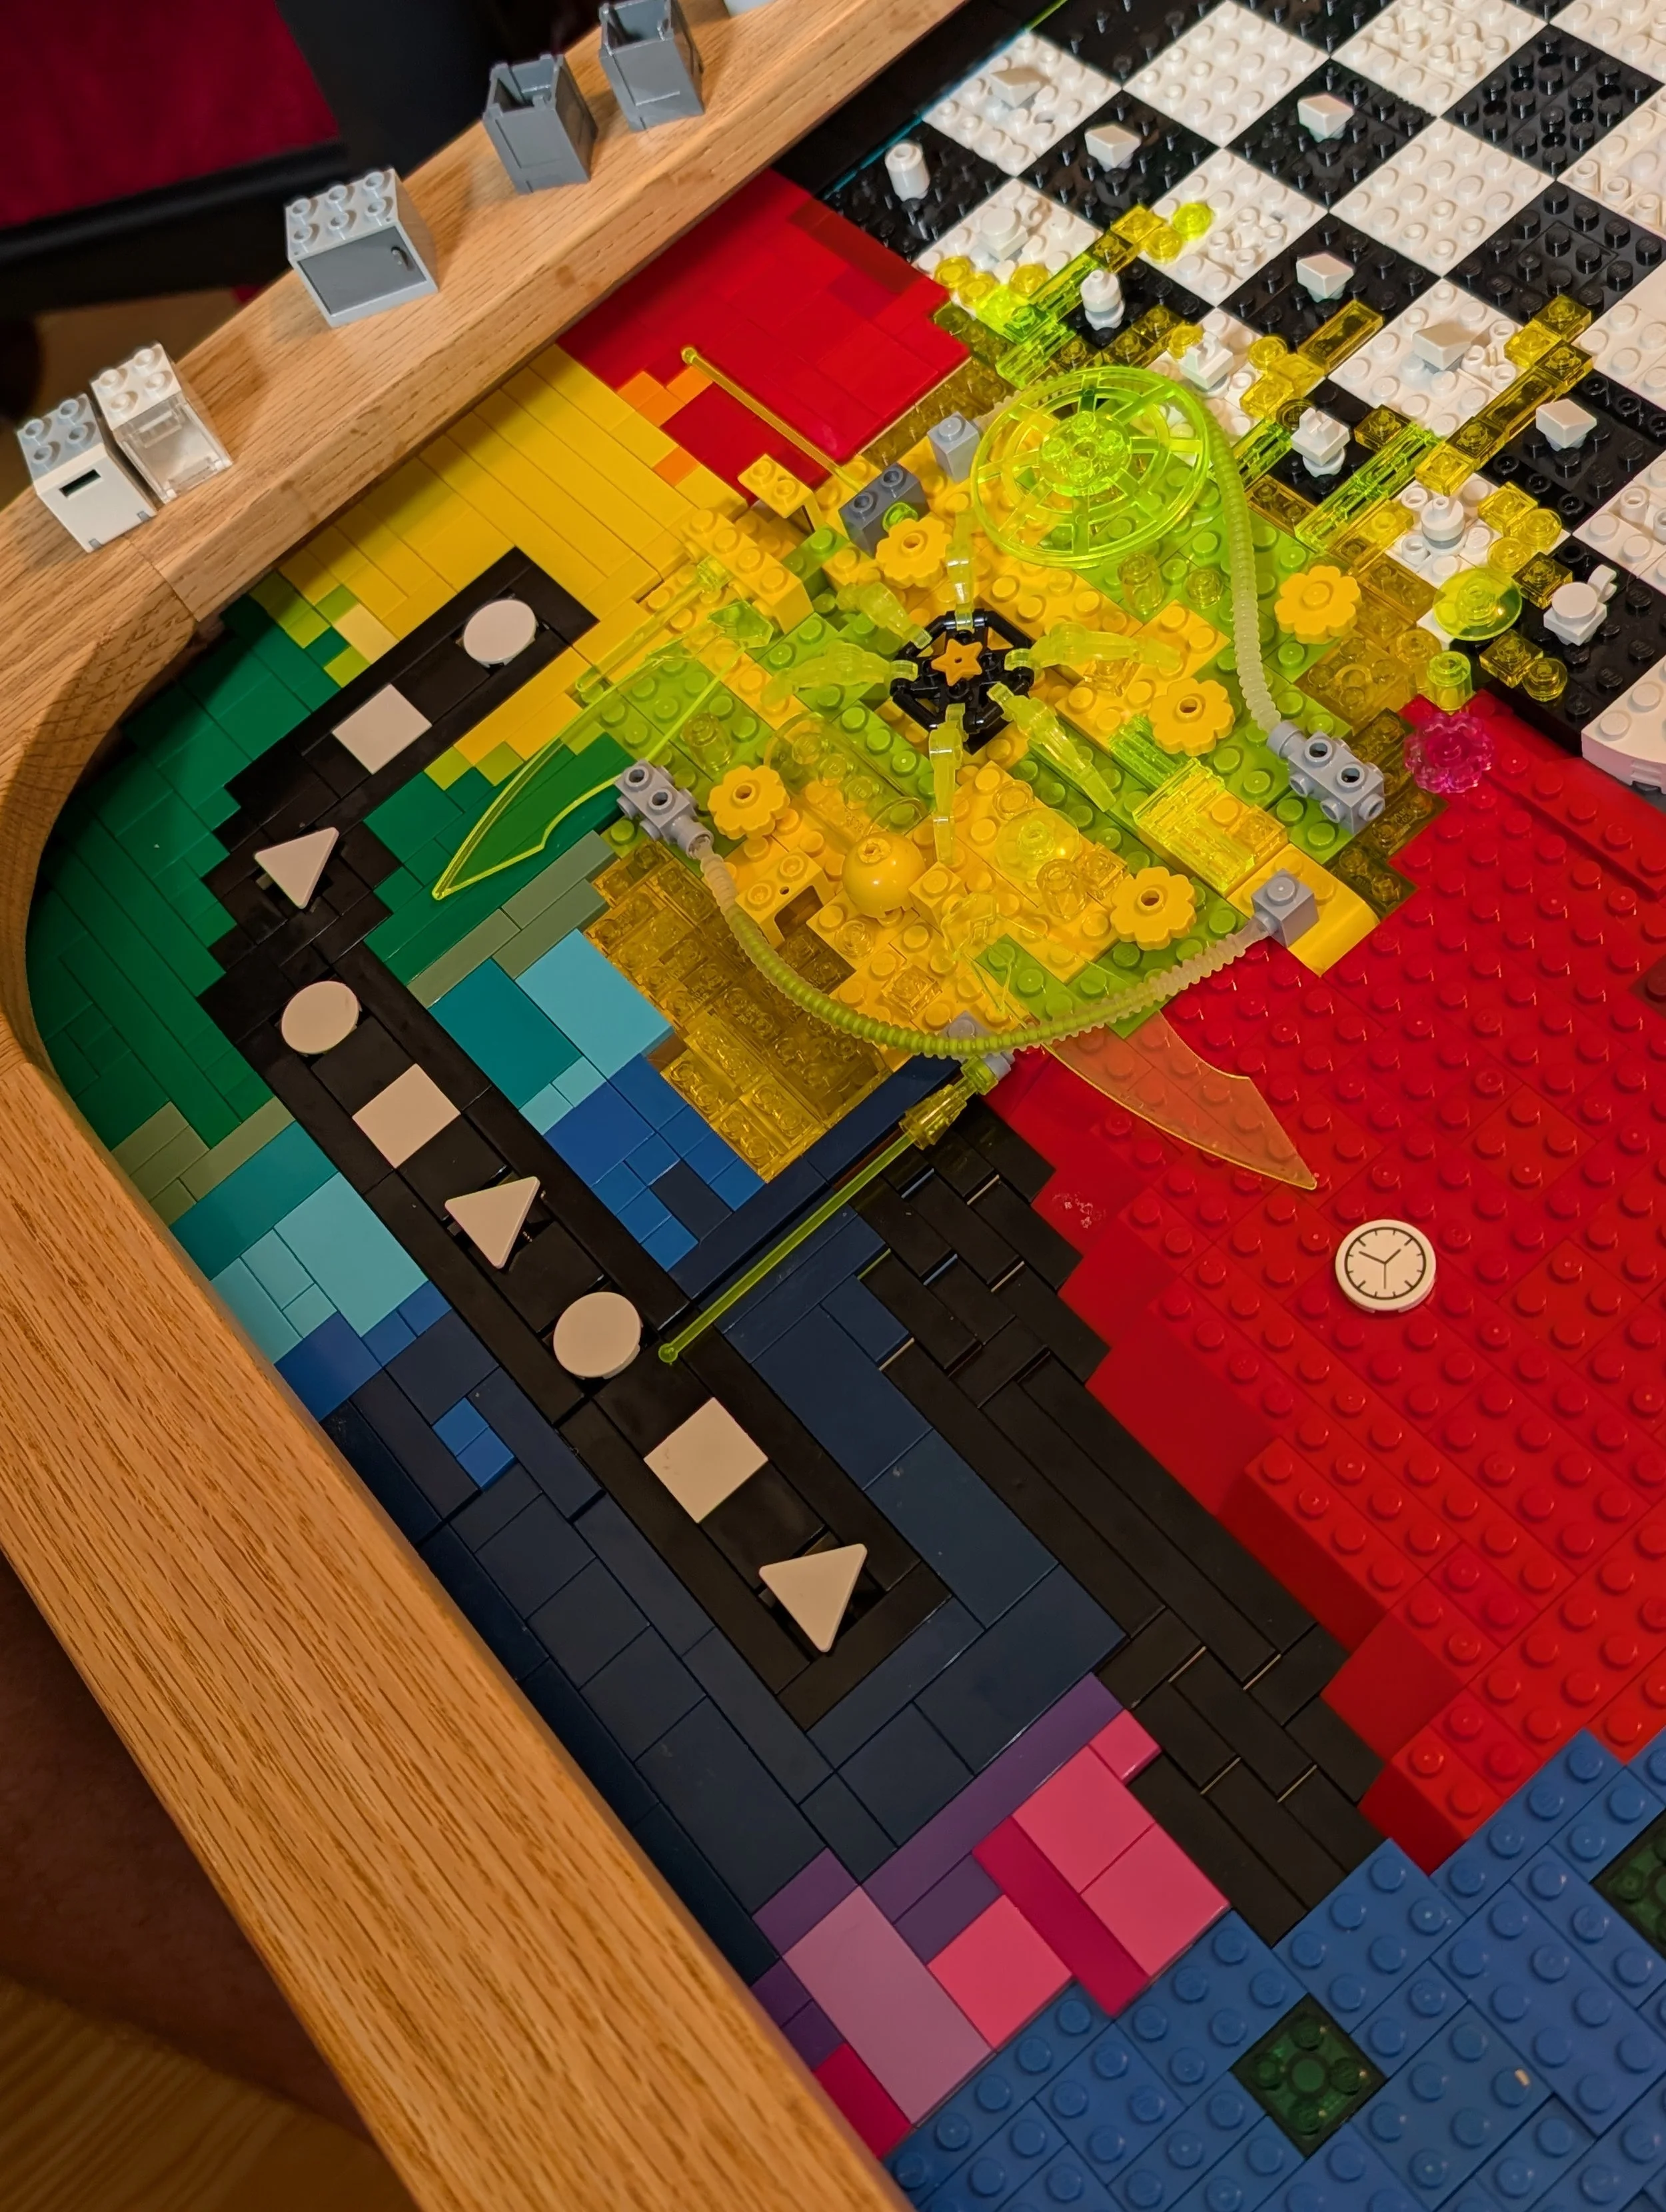
PLAYING WITH LEGOS
FINALS

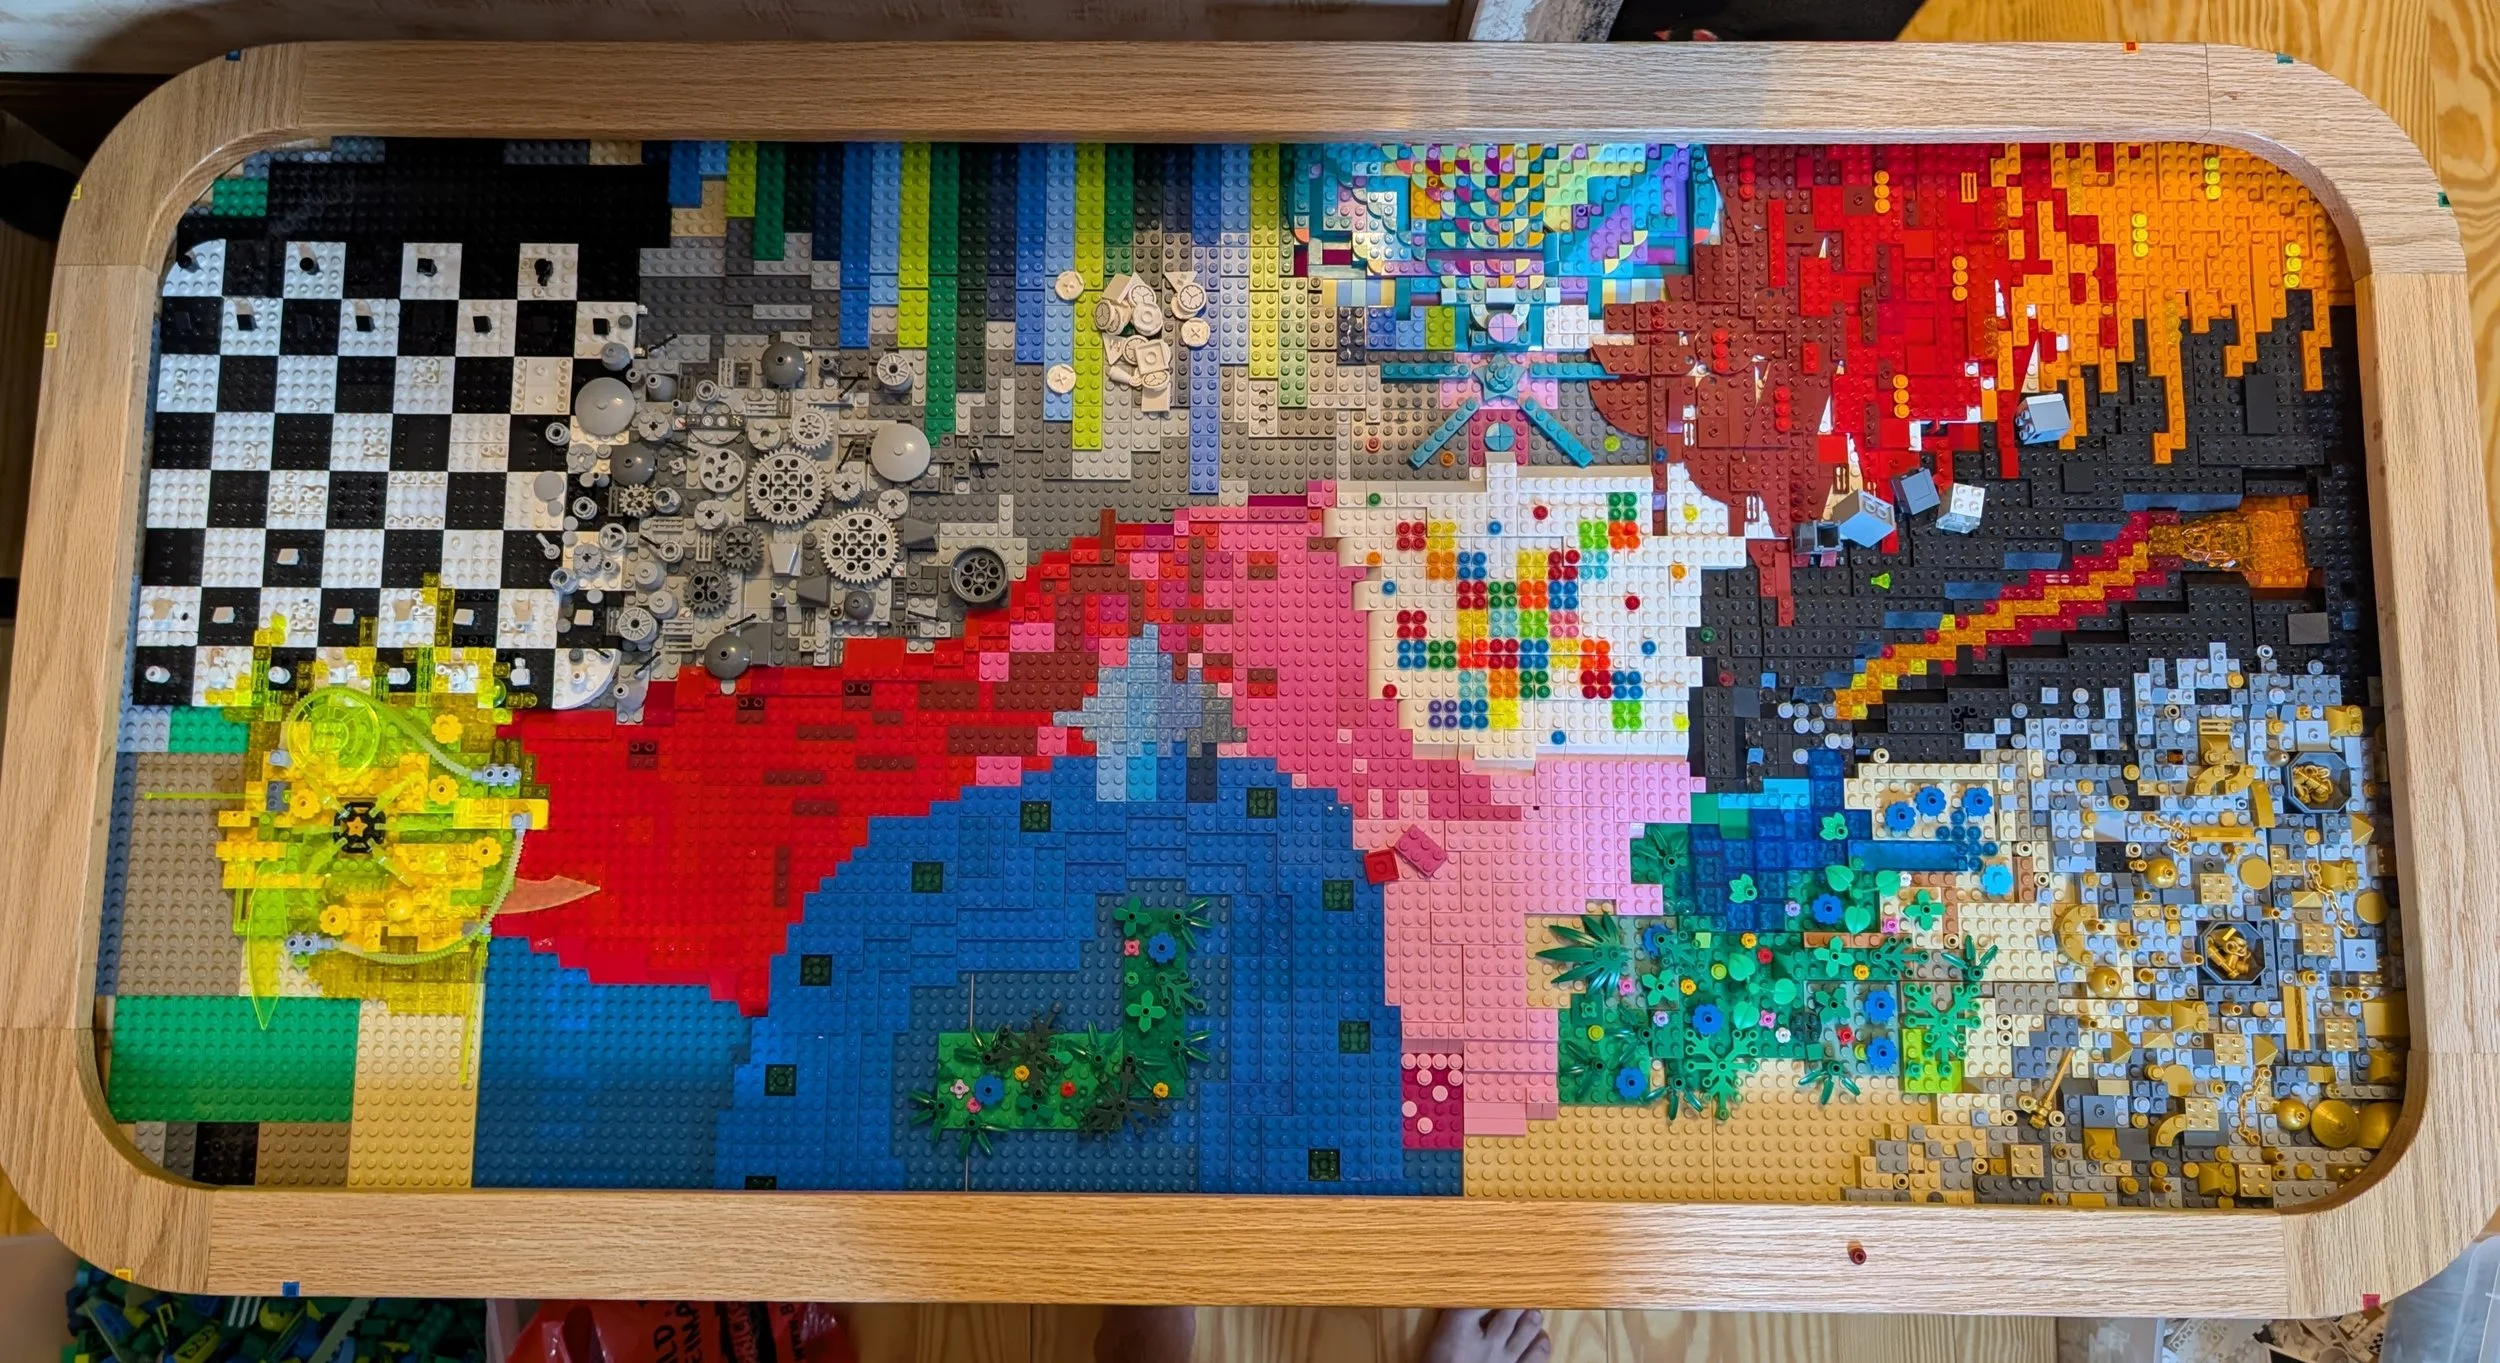
The tops of the Lego strips were cut off and filled with epoxy.
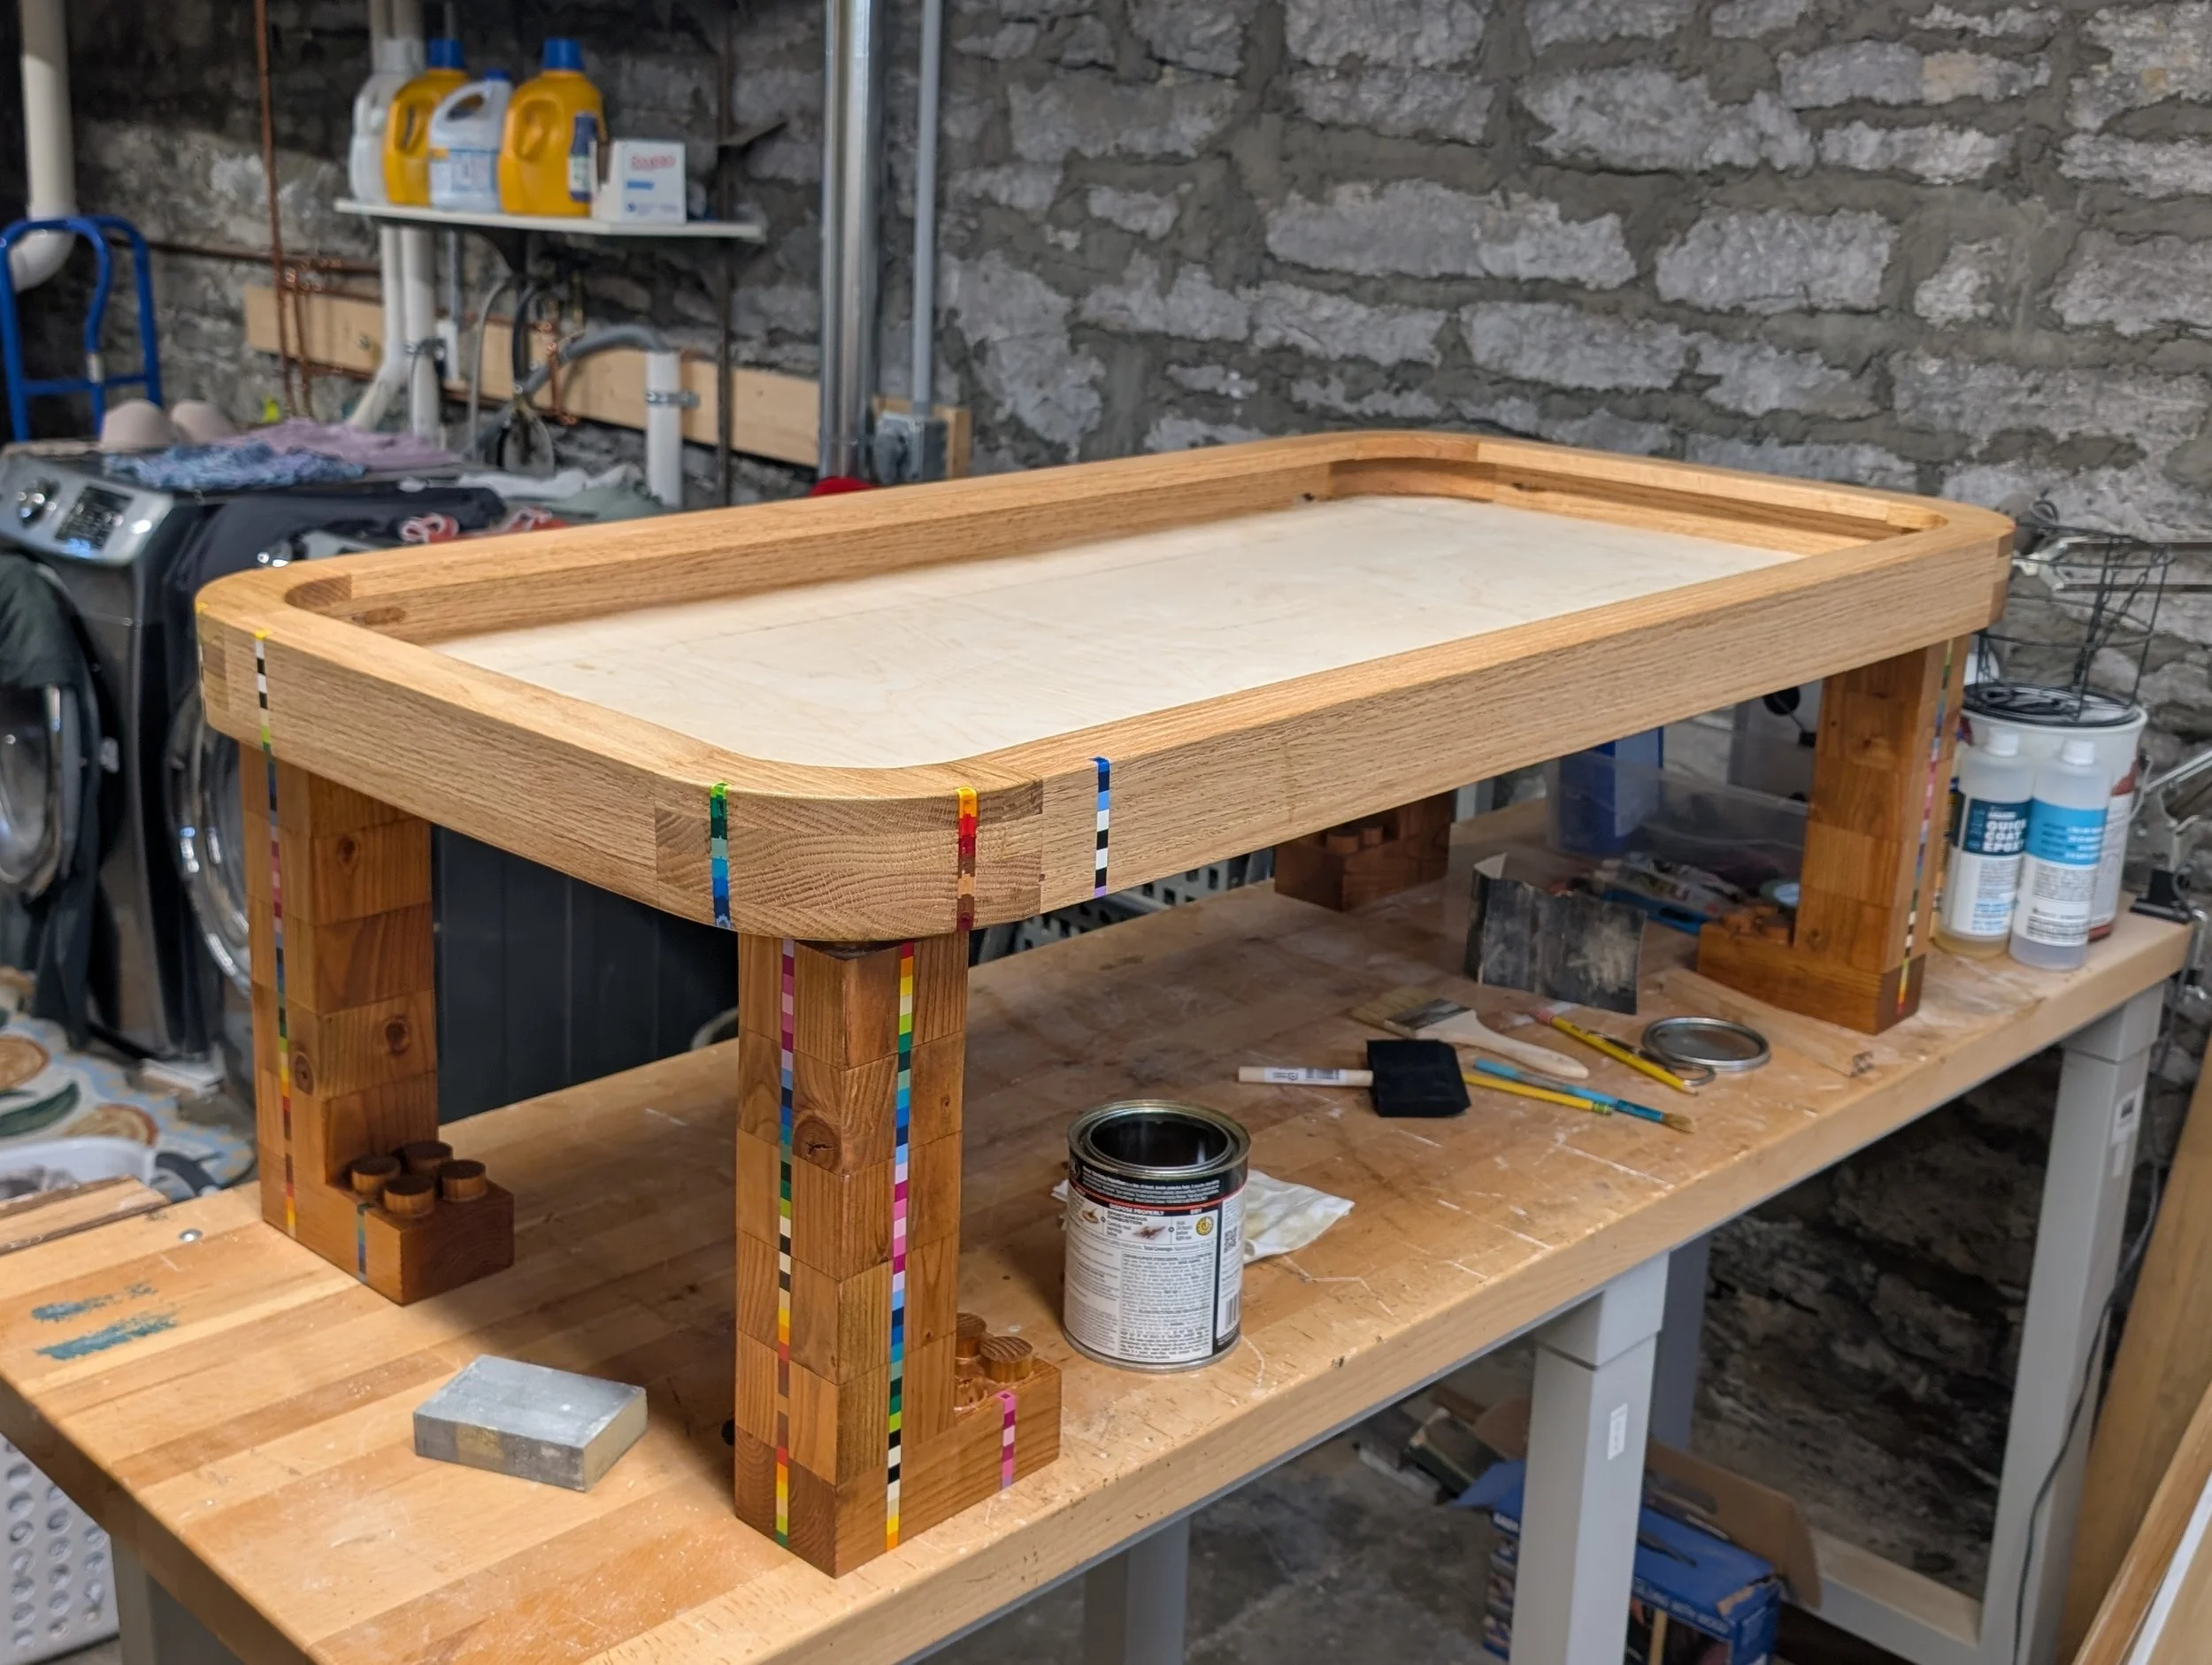
The golden oak stain removed the red hue from the cedar, and the legs were attached with large screws and glue.
Finished frame after two coats of a warmly-tinted oil-based polyurethane.
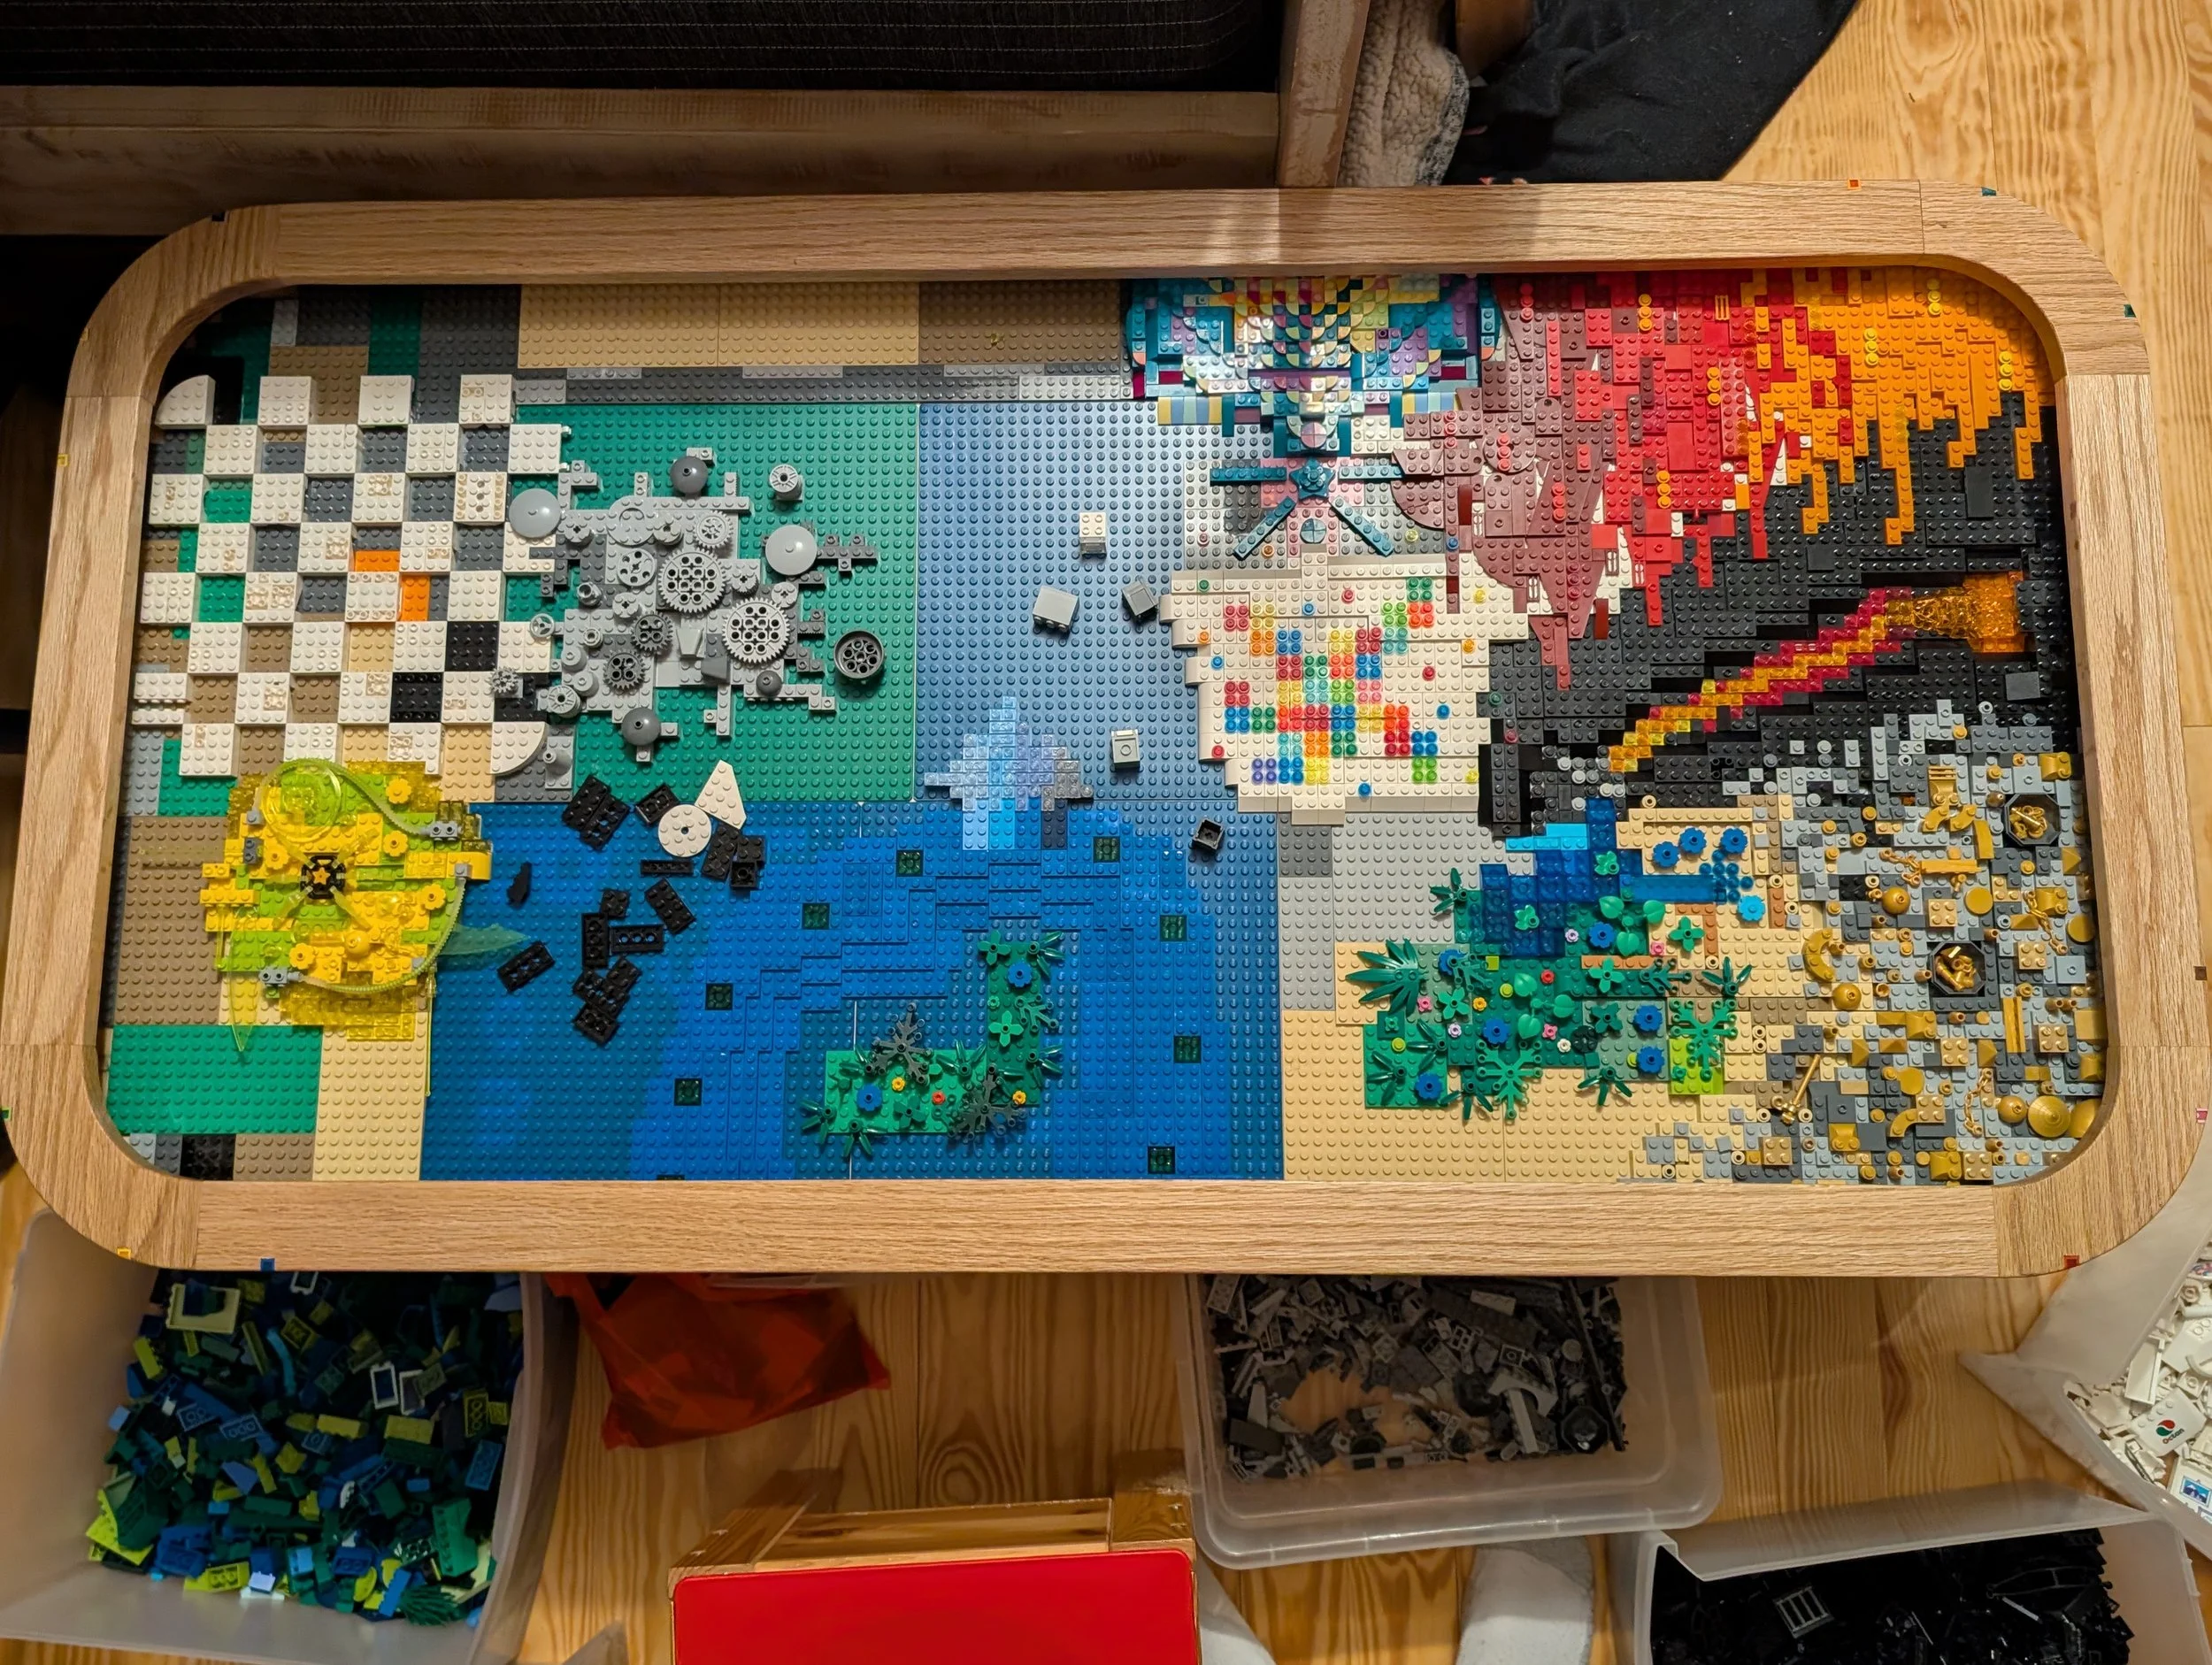
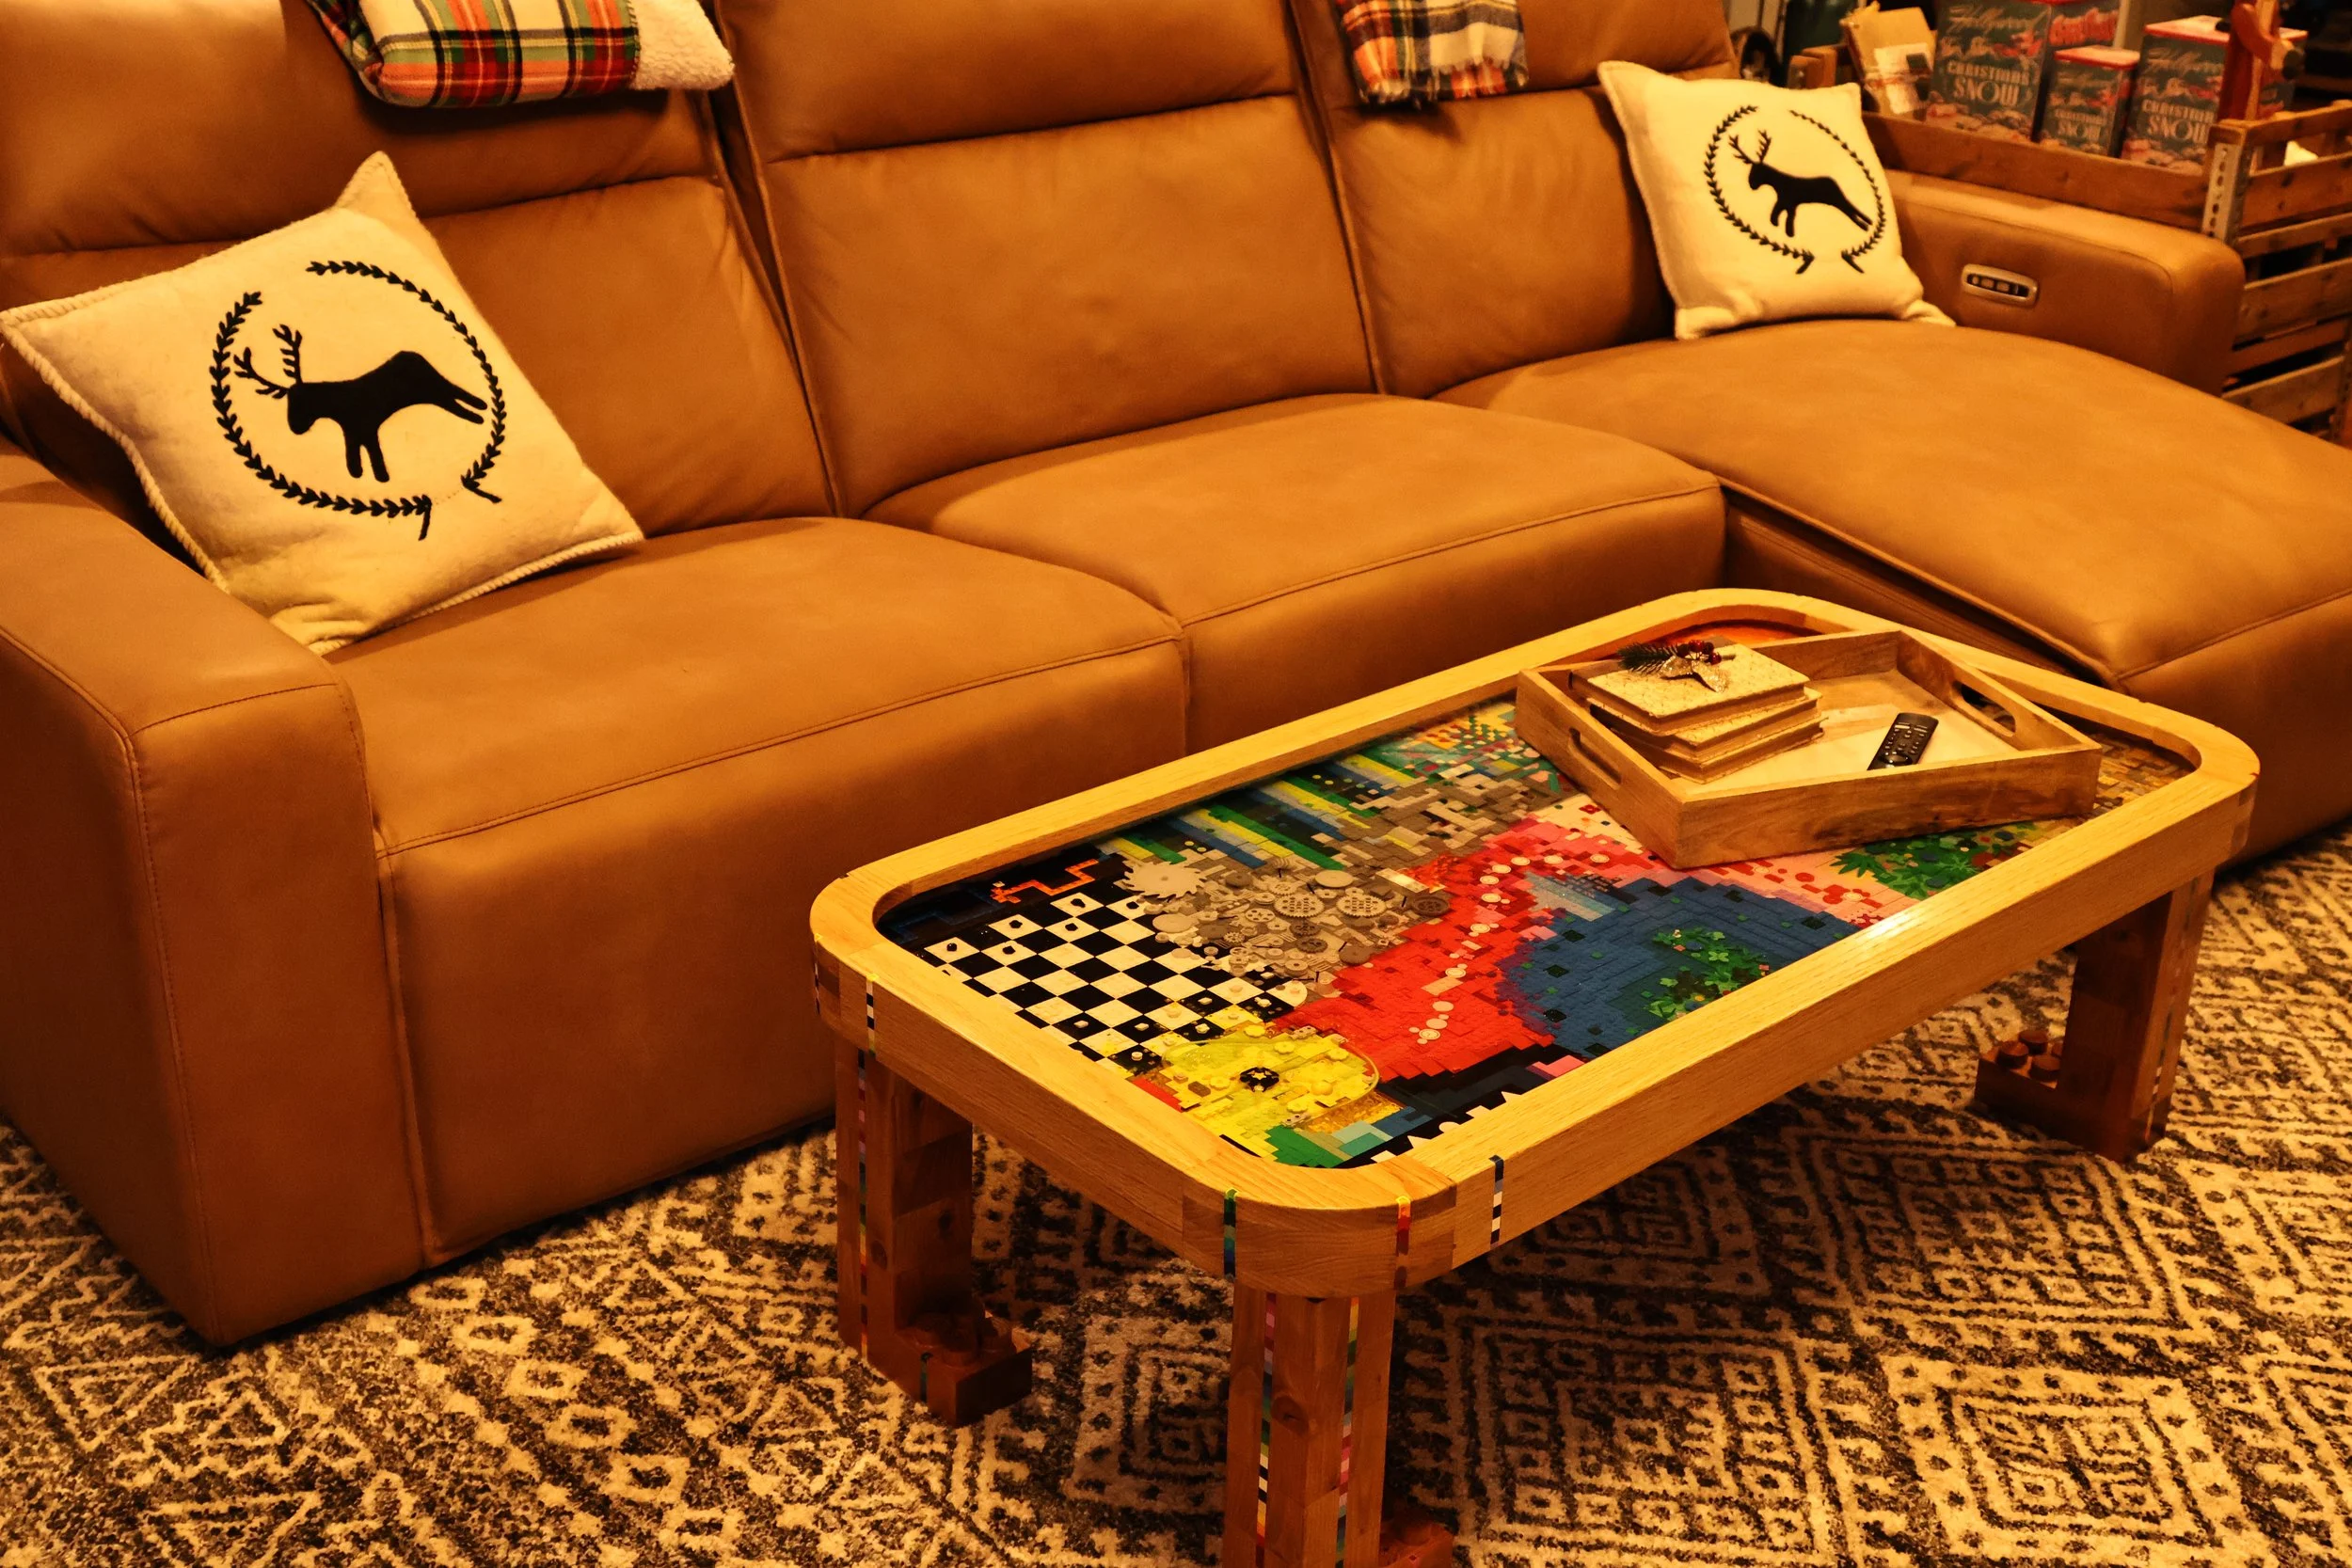
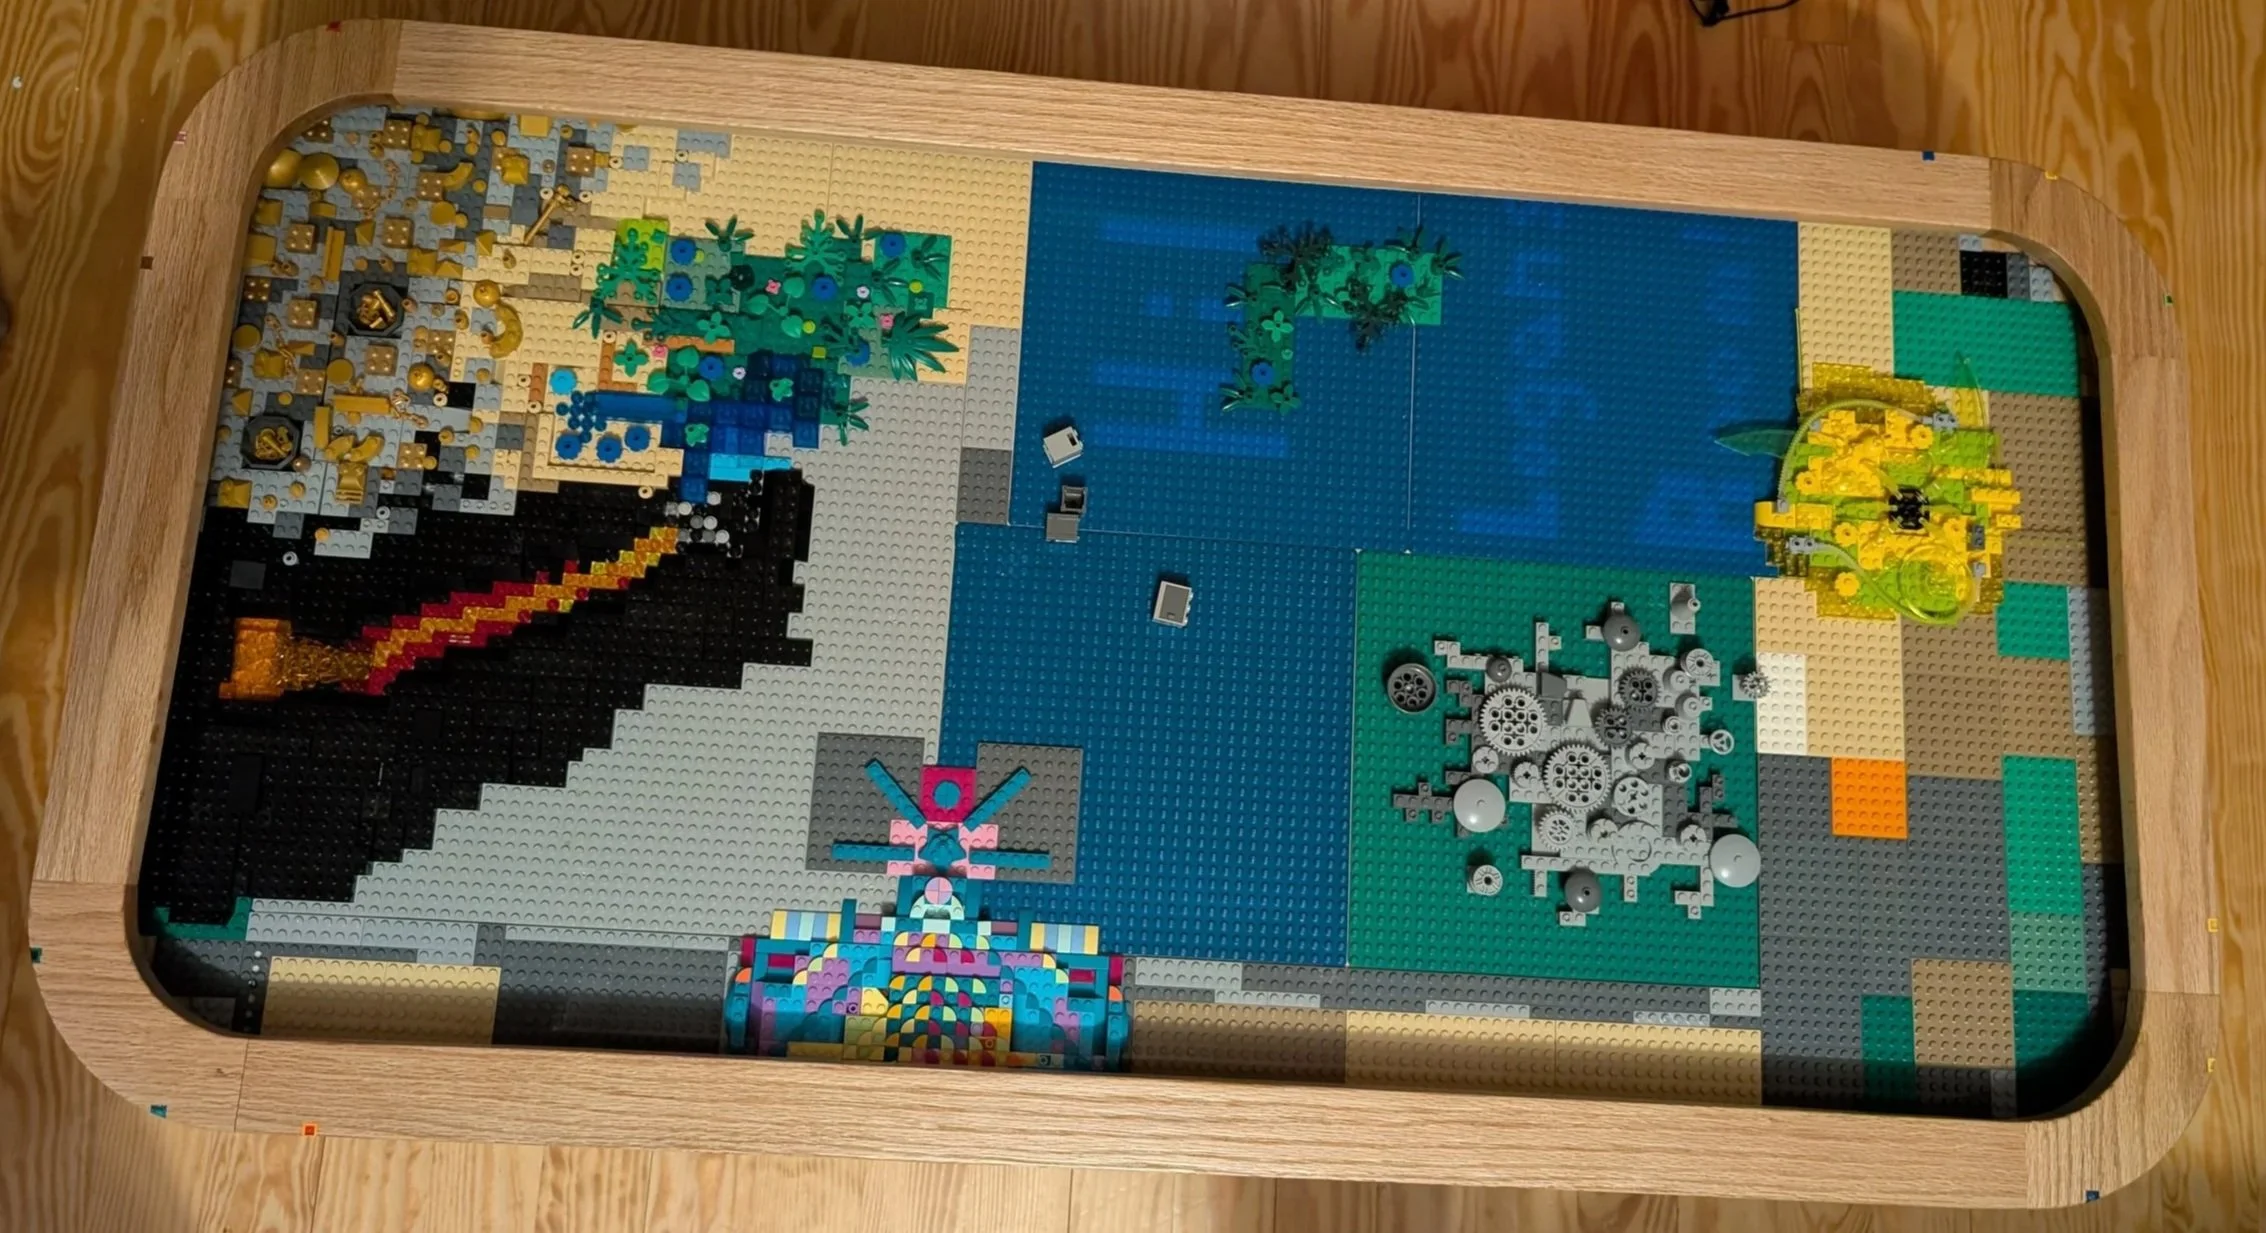
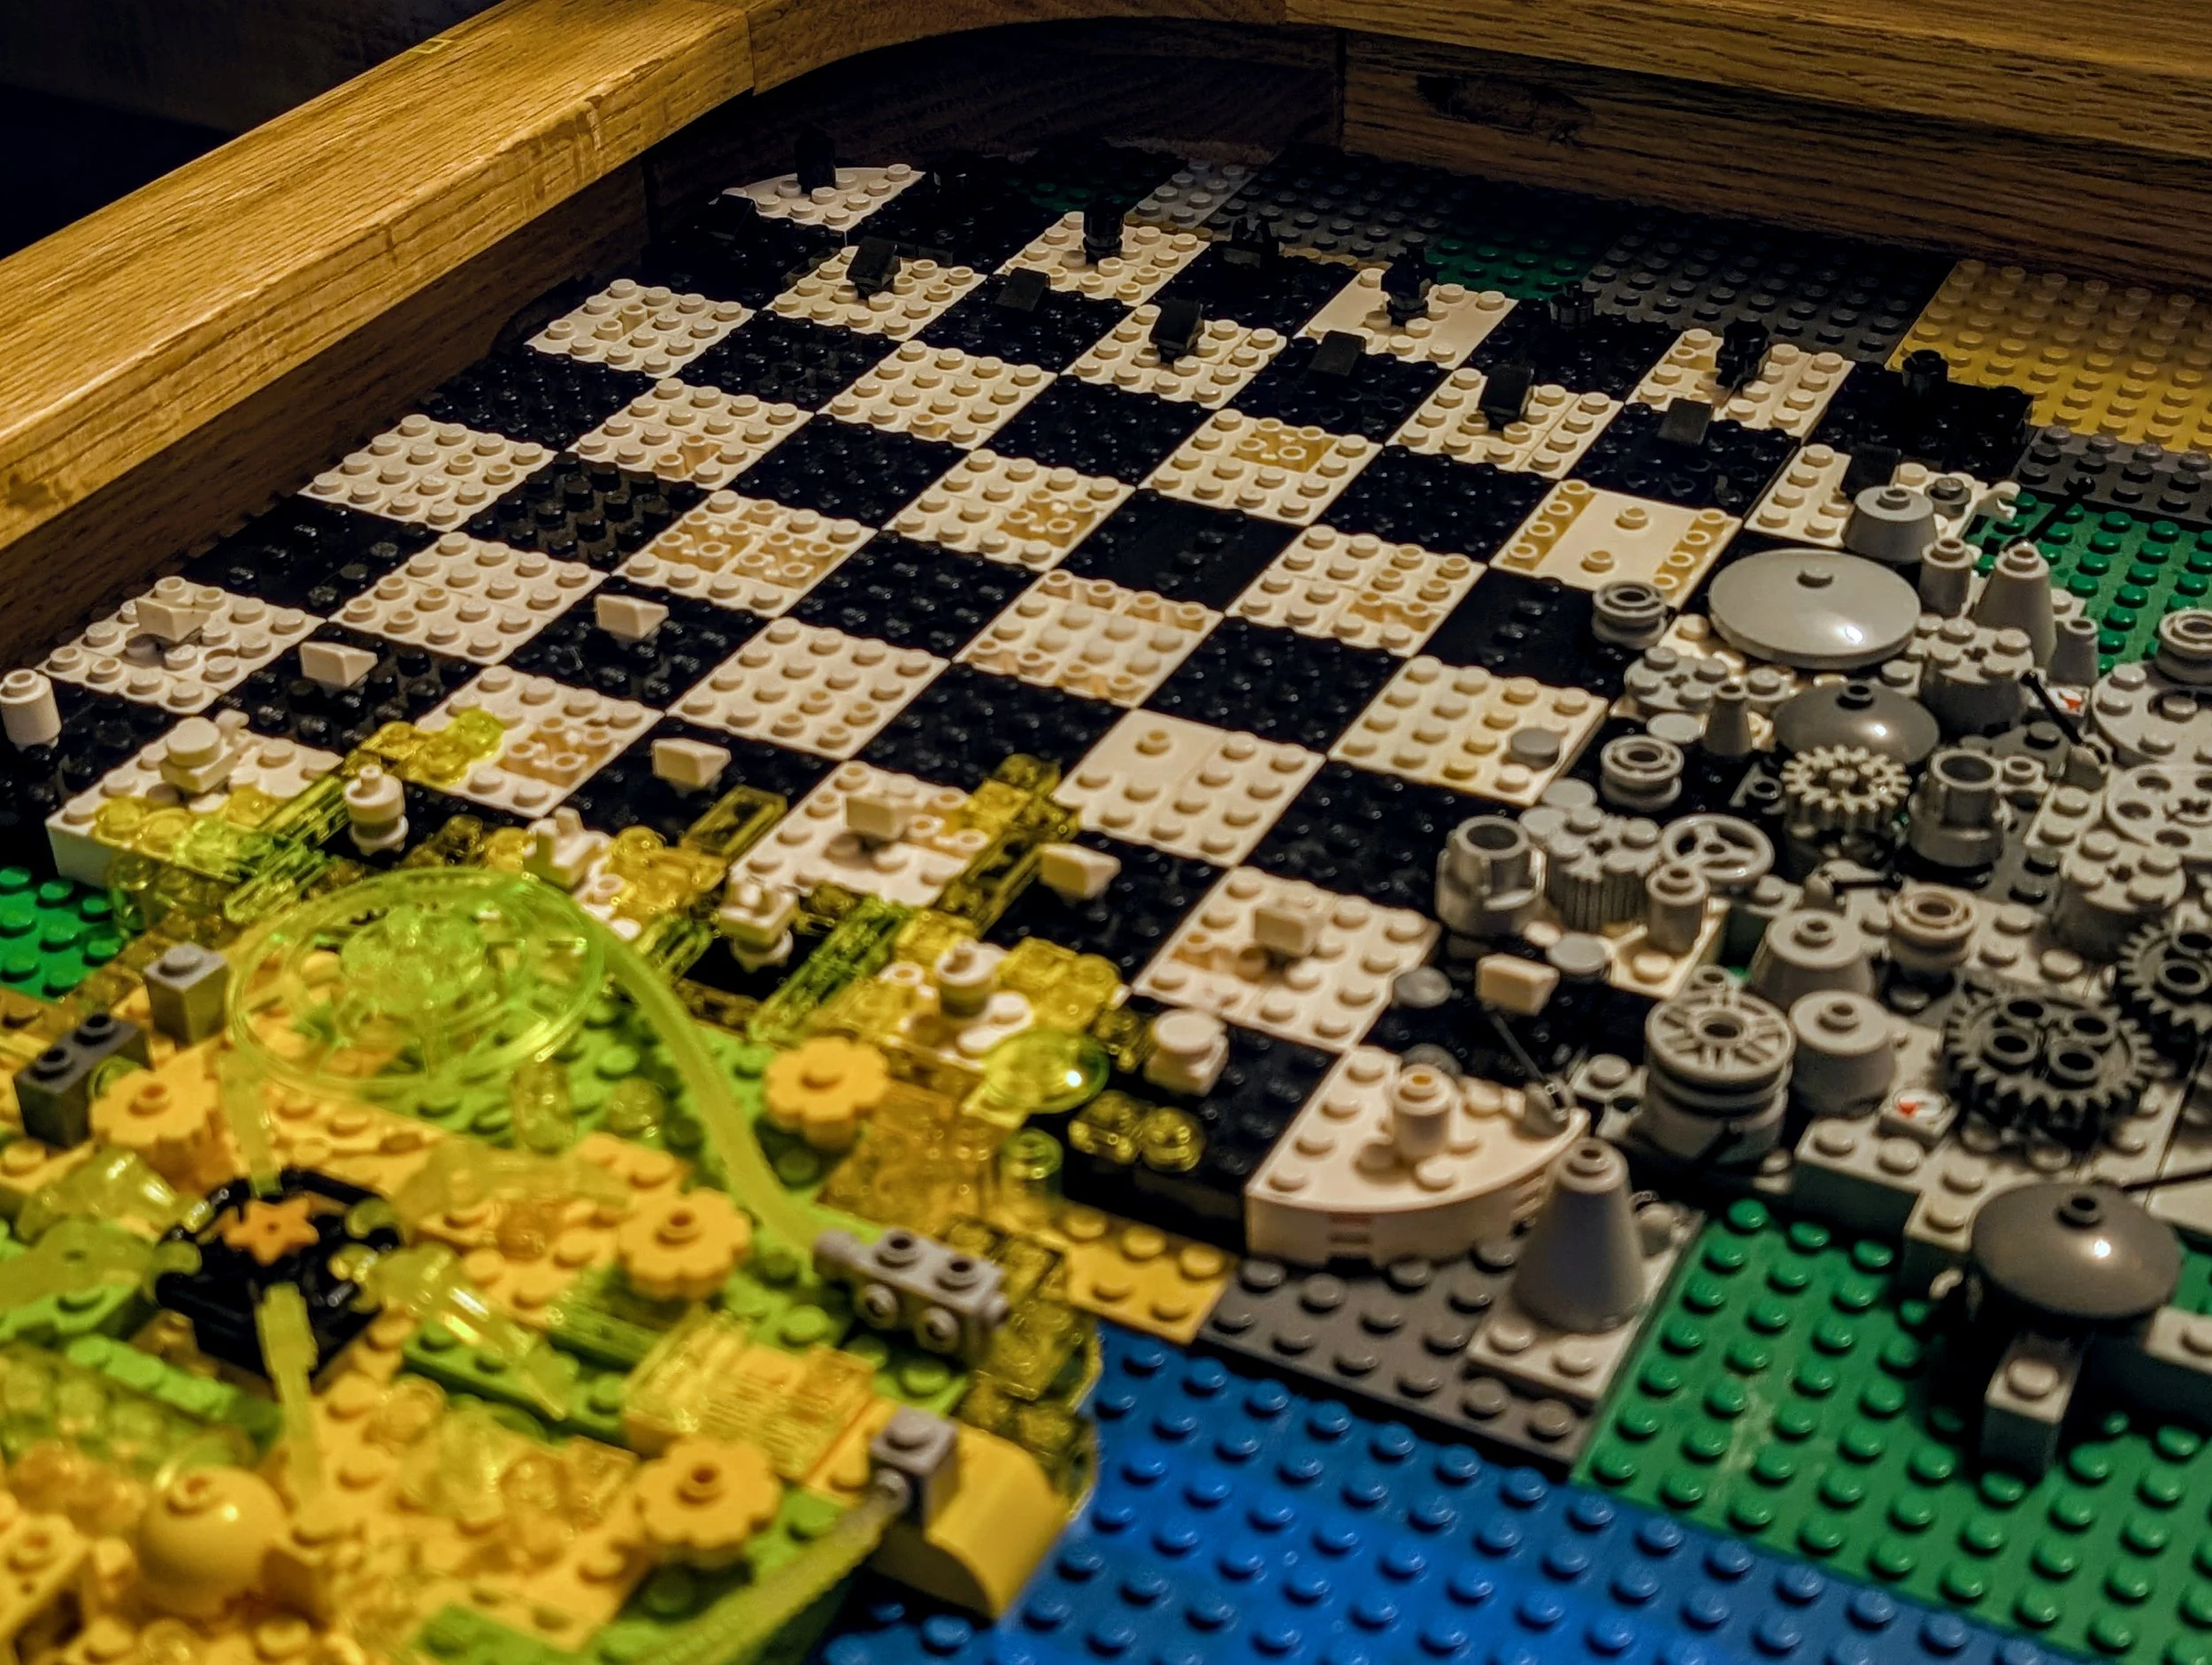
Drawing inspiration from Lego artists such as Katherine Duclos, natural wonders, movies, games, and various color schemes, I began experimenting with the table top design. My goal was to create a blend of chaos and harmony using as many of my old Legos as possible.


After sealing the inside and the outside of the table top with a silicone caulk, I poured deep-pour epoxy over the entire Lego surface.
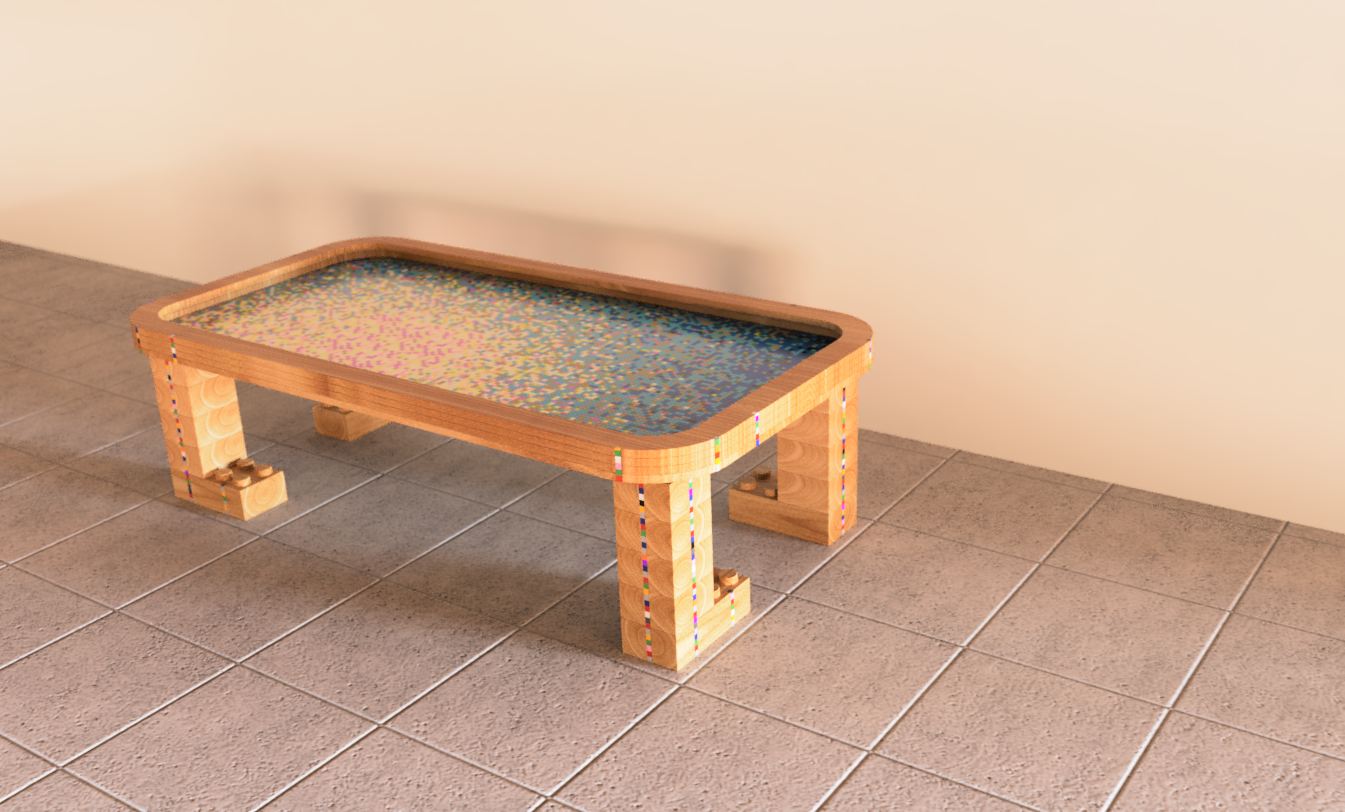
Early rendering w/ placeholder surface design
Wood choices: white oak and cedar
Light color for the table top to avoid drawing attention away from the table top design (less contrast due to bright colors of Lego bricks). Cedar was my choice for the legs due to the availability of 4x4 posts. I used stain and finish to remove the vibrant red hue.
POURING EPOXY
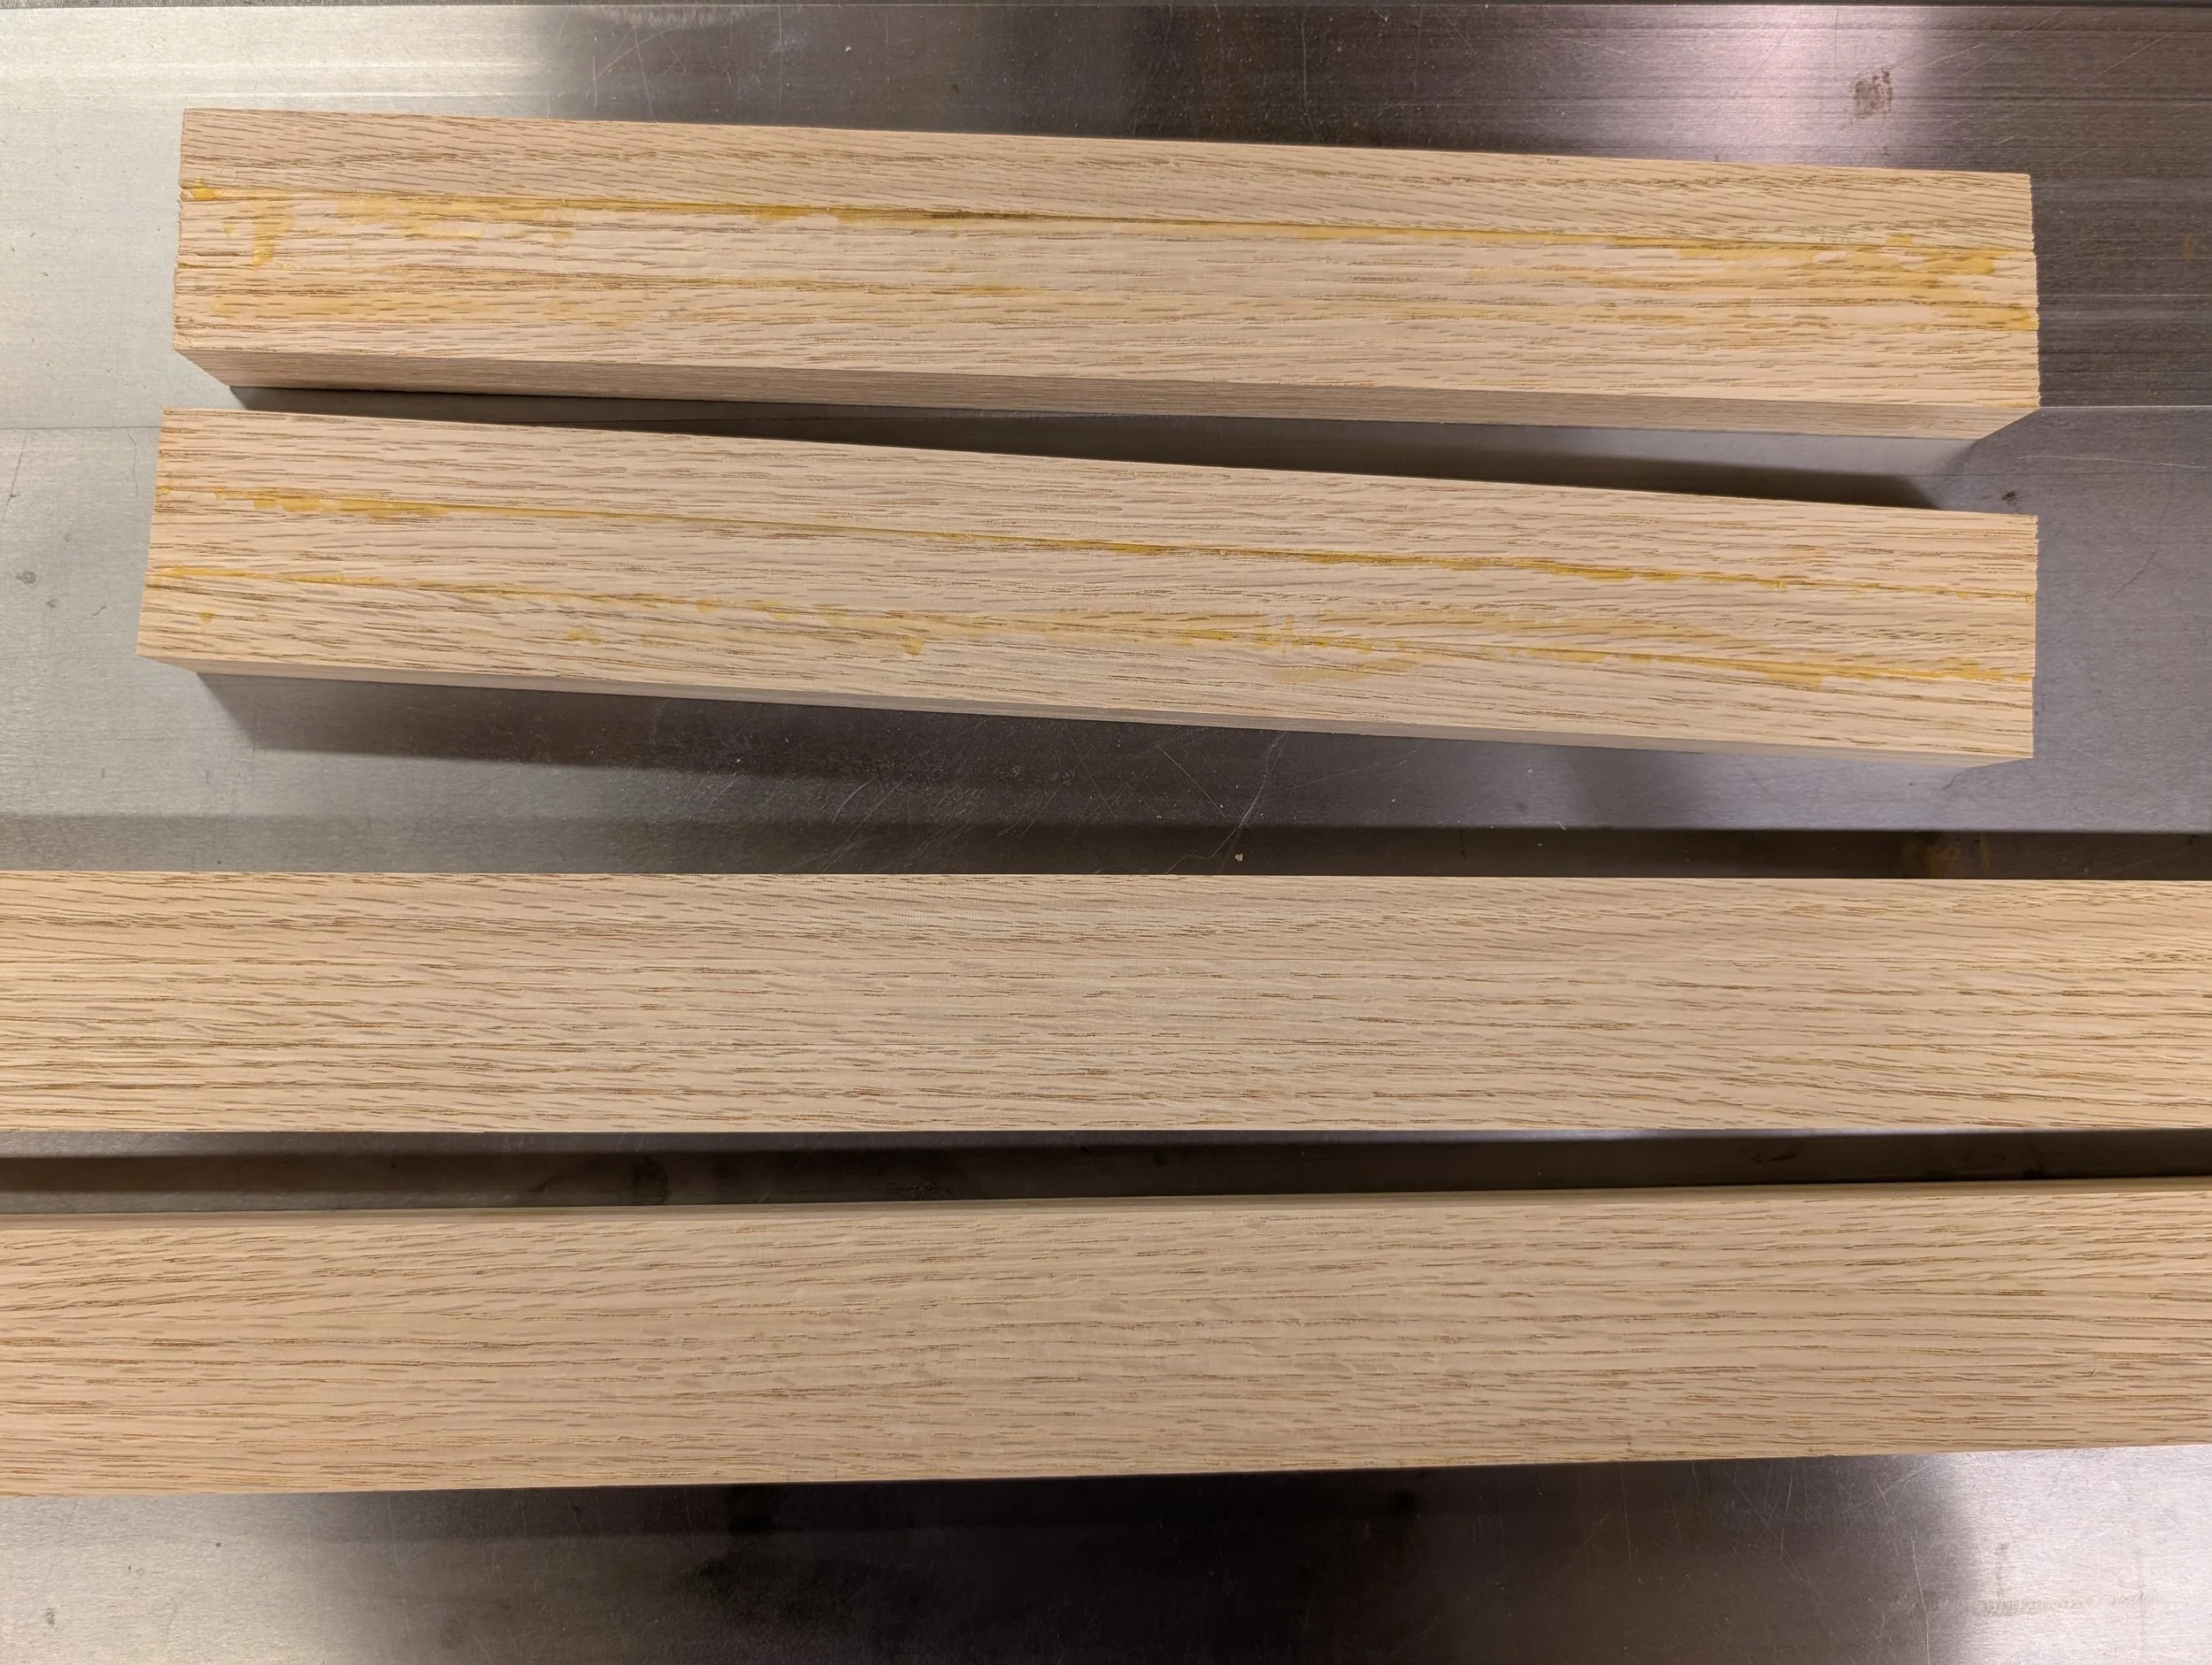
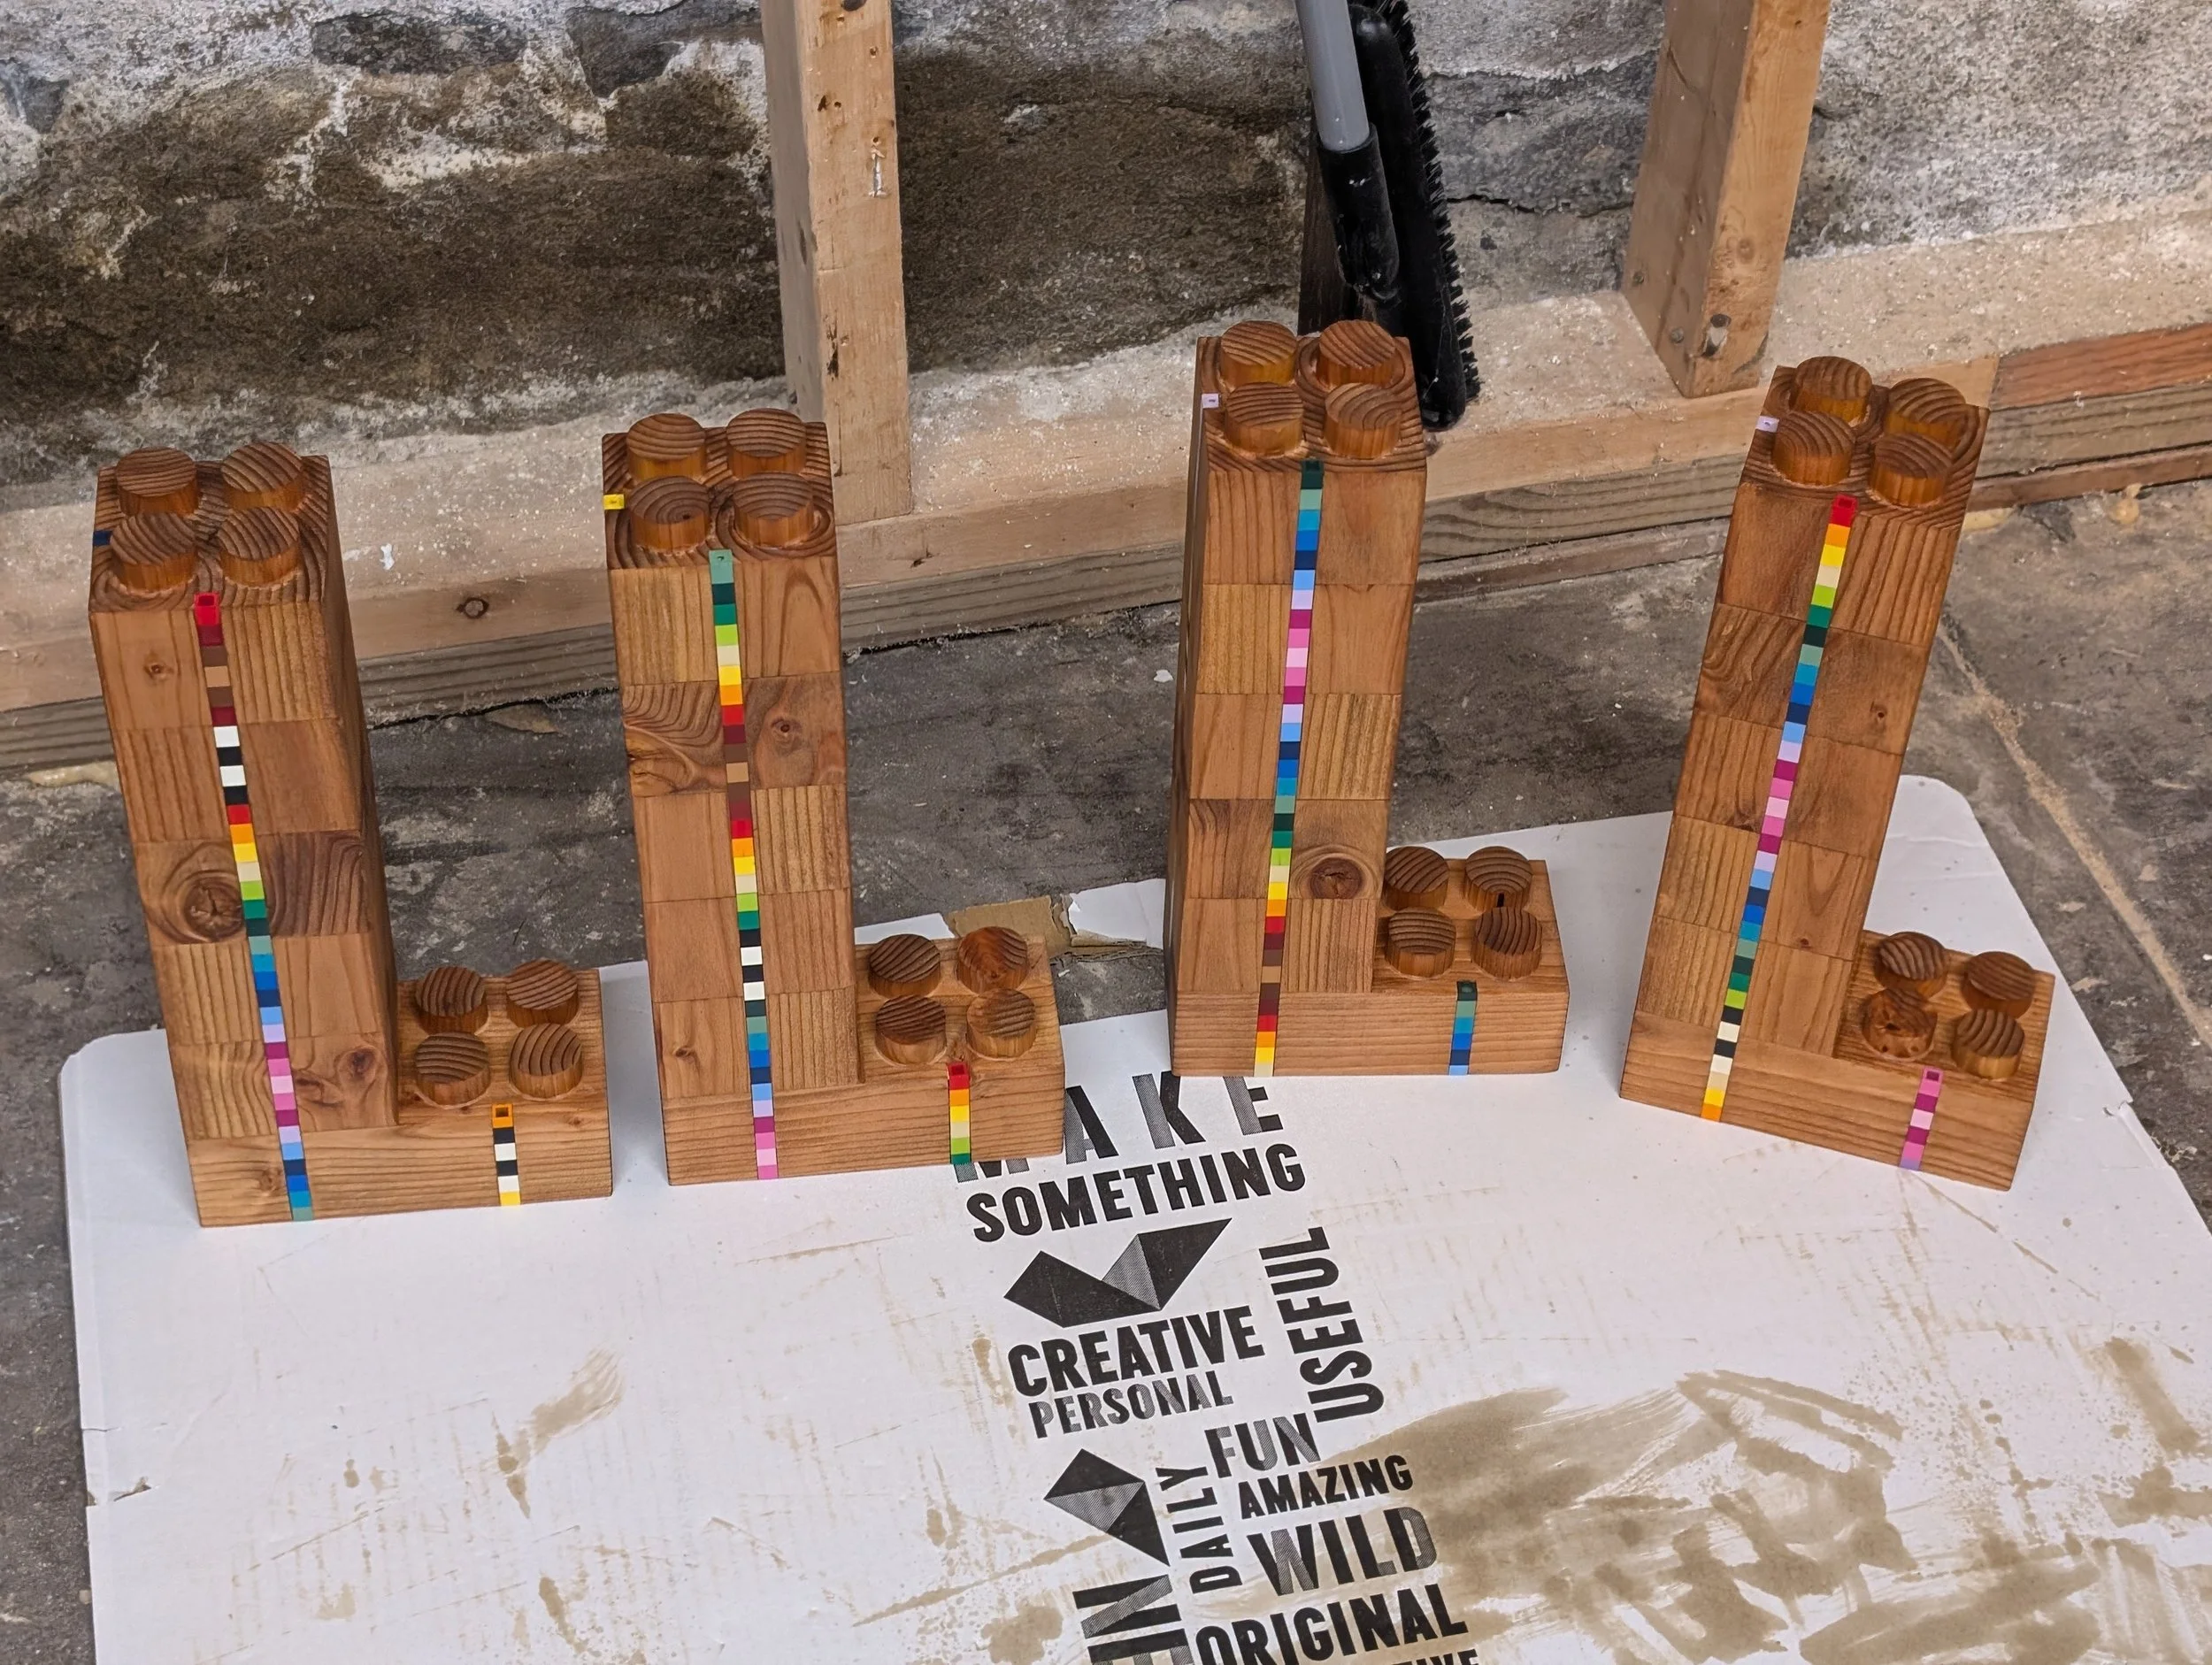
Legs
Cut down 4x4 post
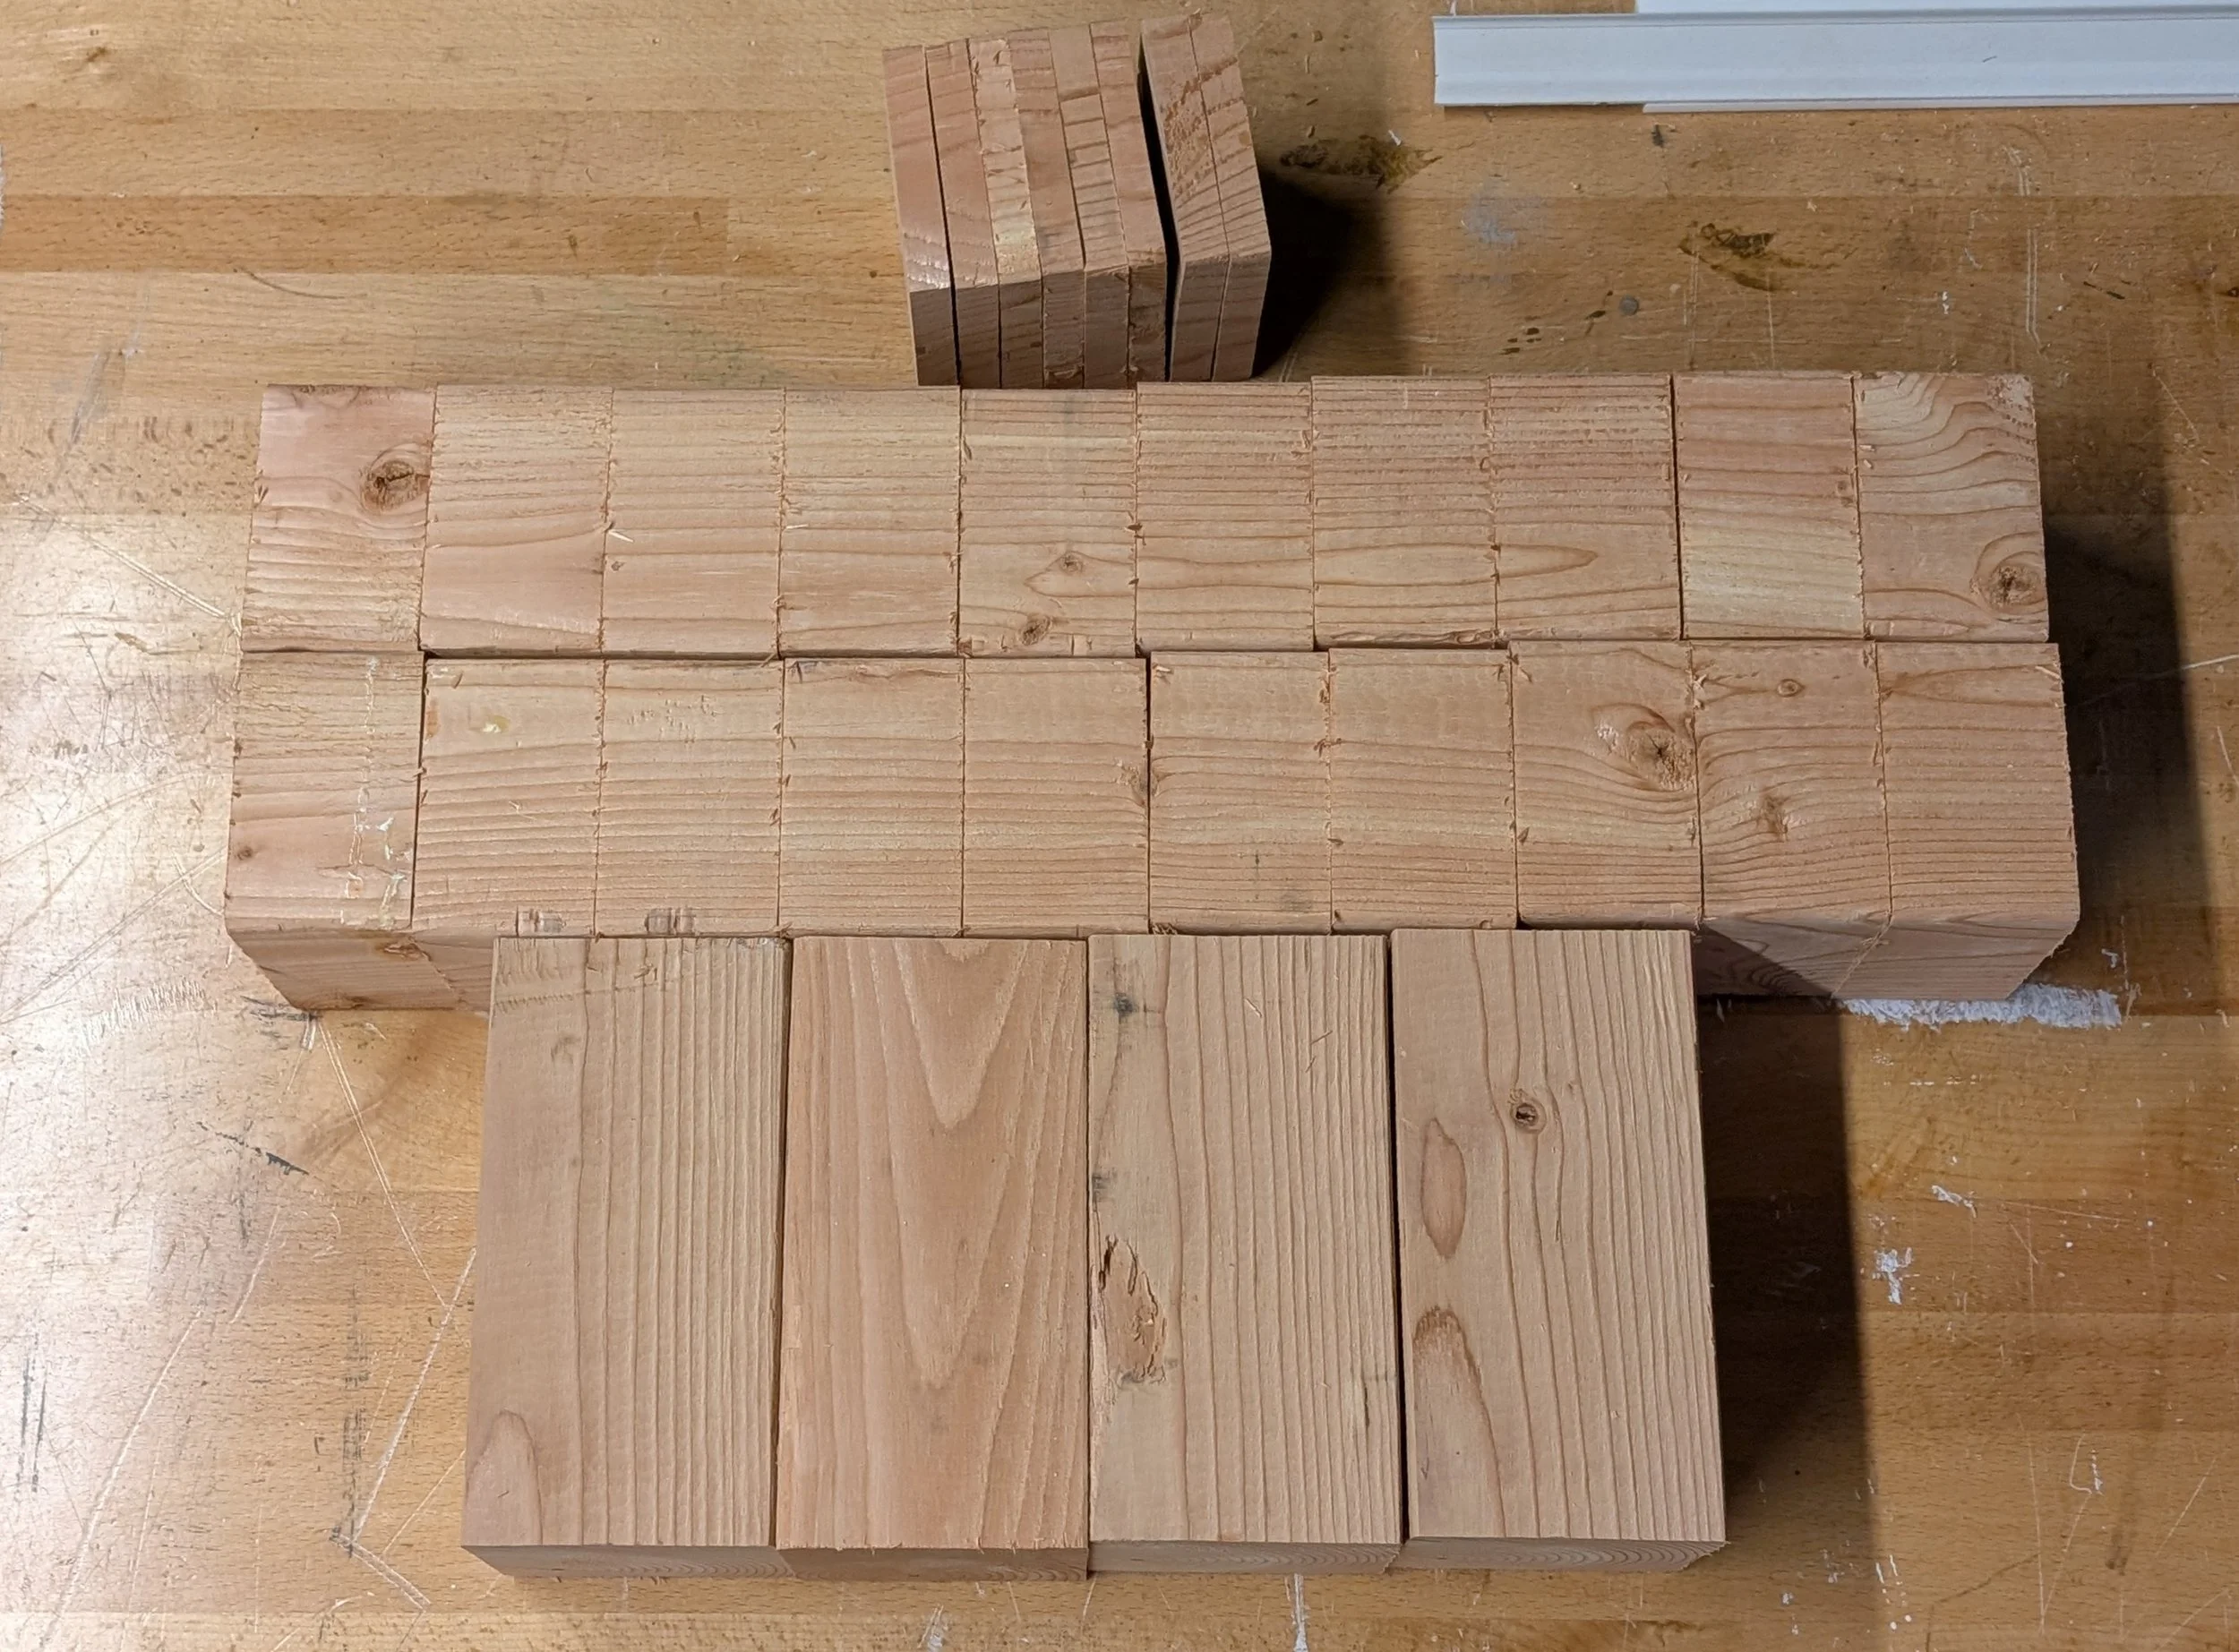
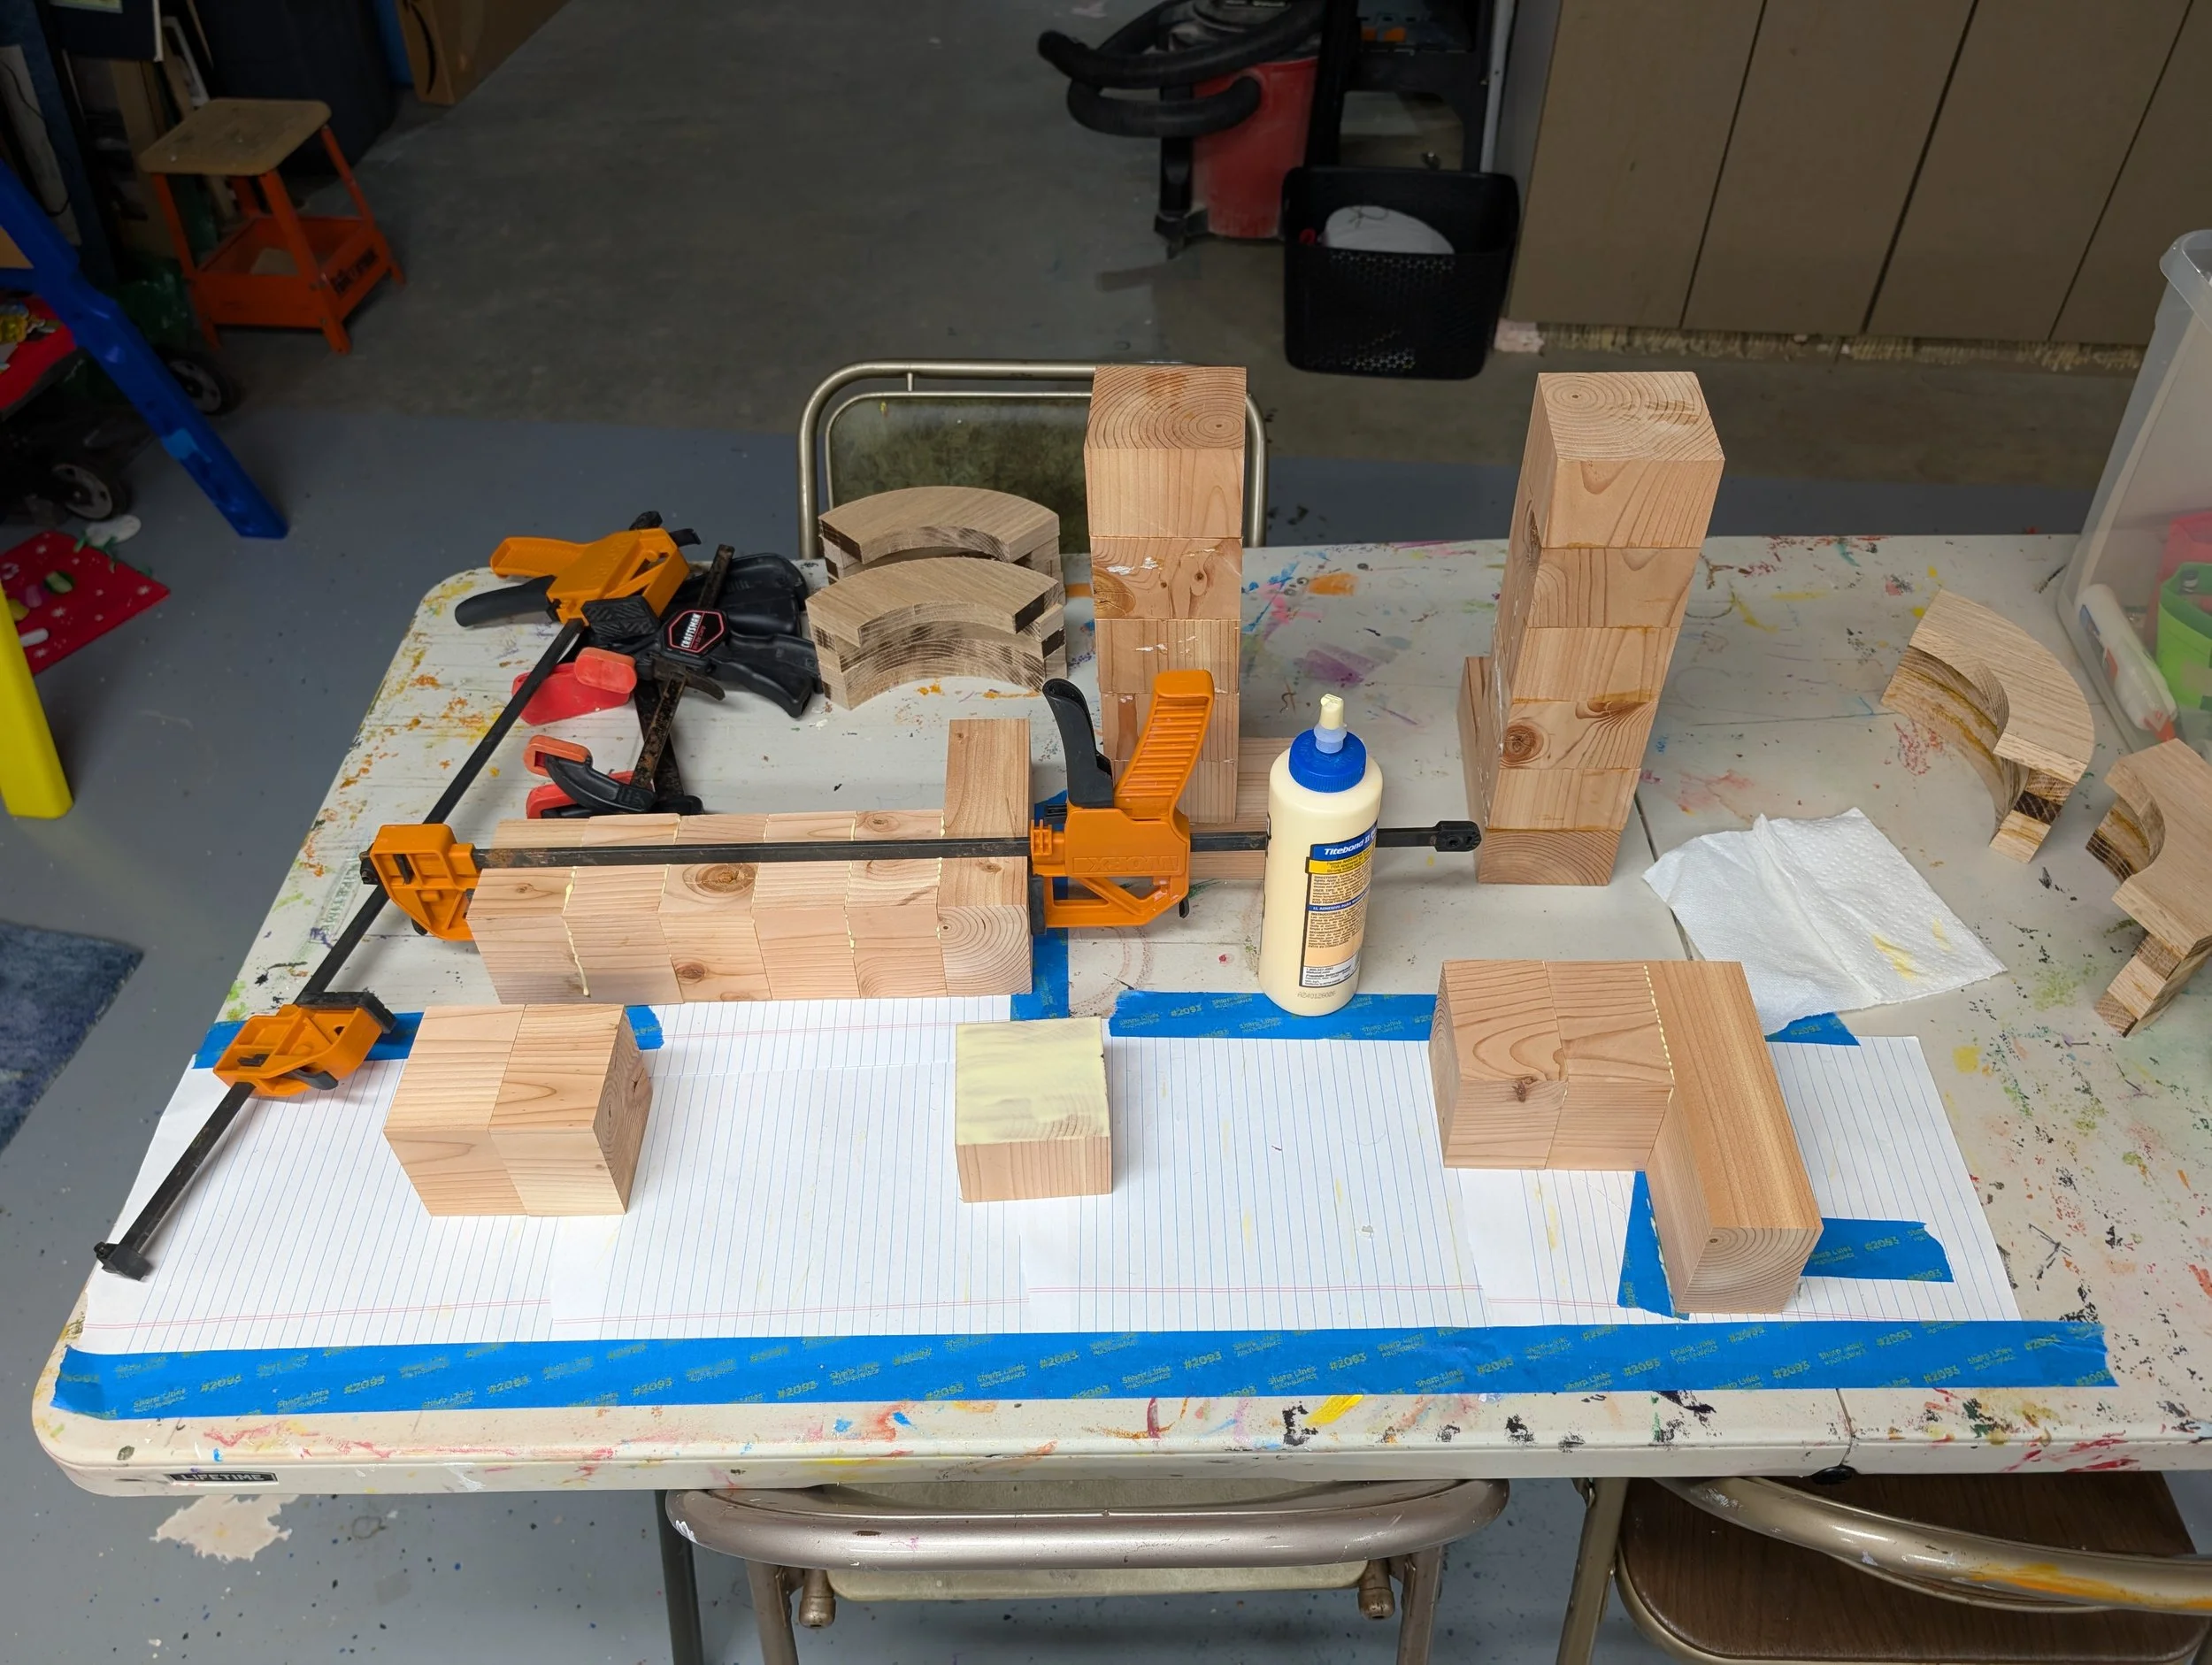
Glued up five squares w/ each rectangle
Final Touches & Assembly
Cut grooves with the table saw that would eventually hold Lego inlays
The entire table top was sanded, mainly to smooth out joints
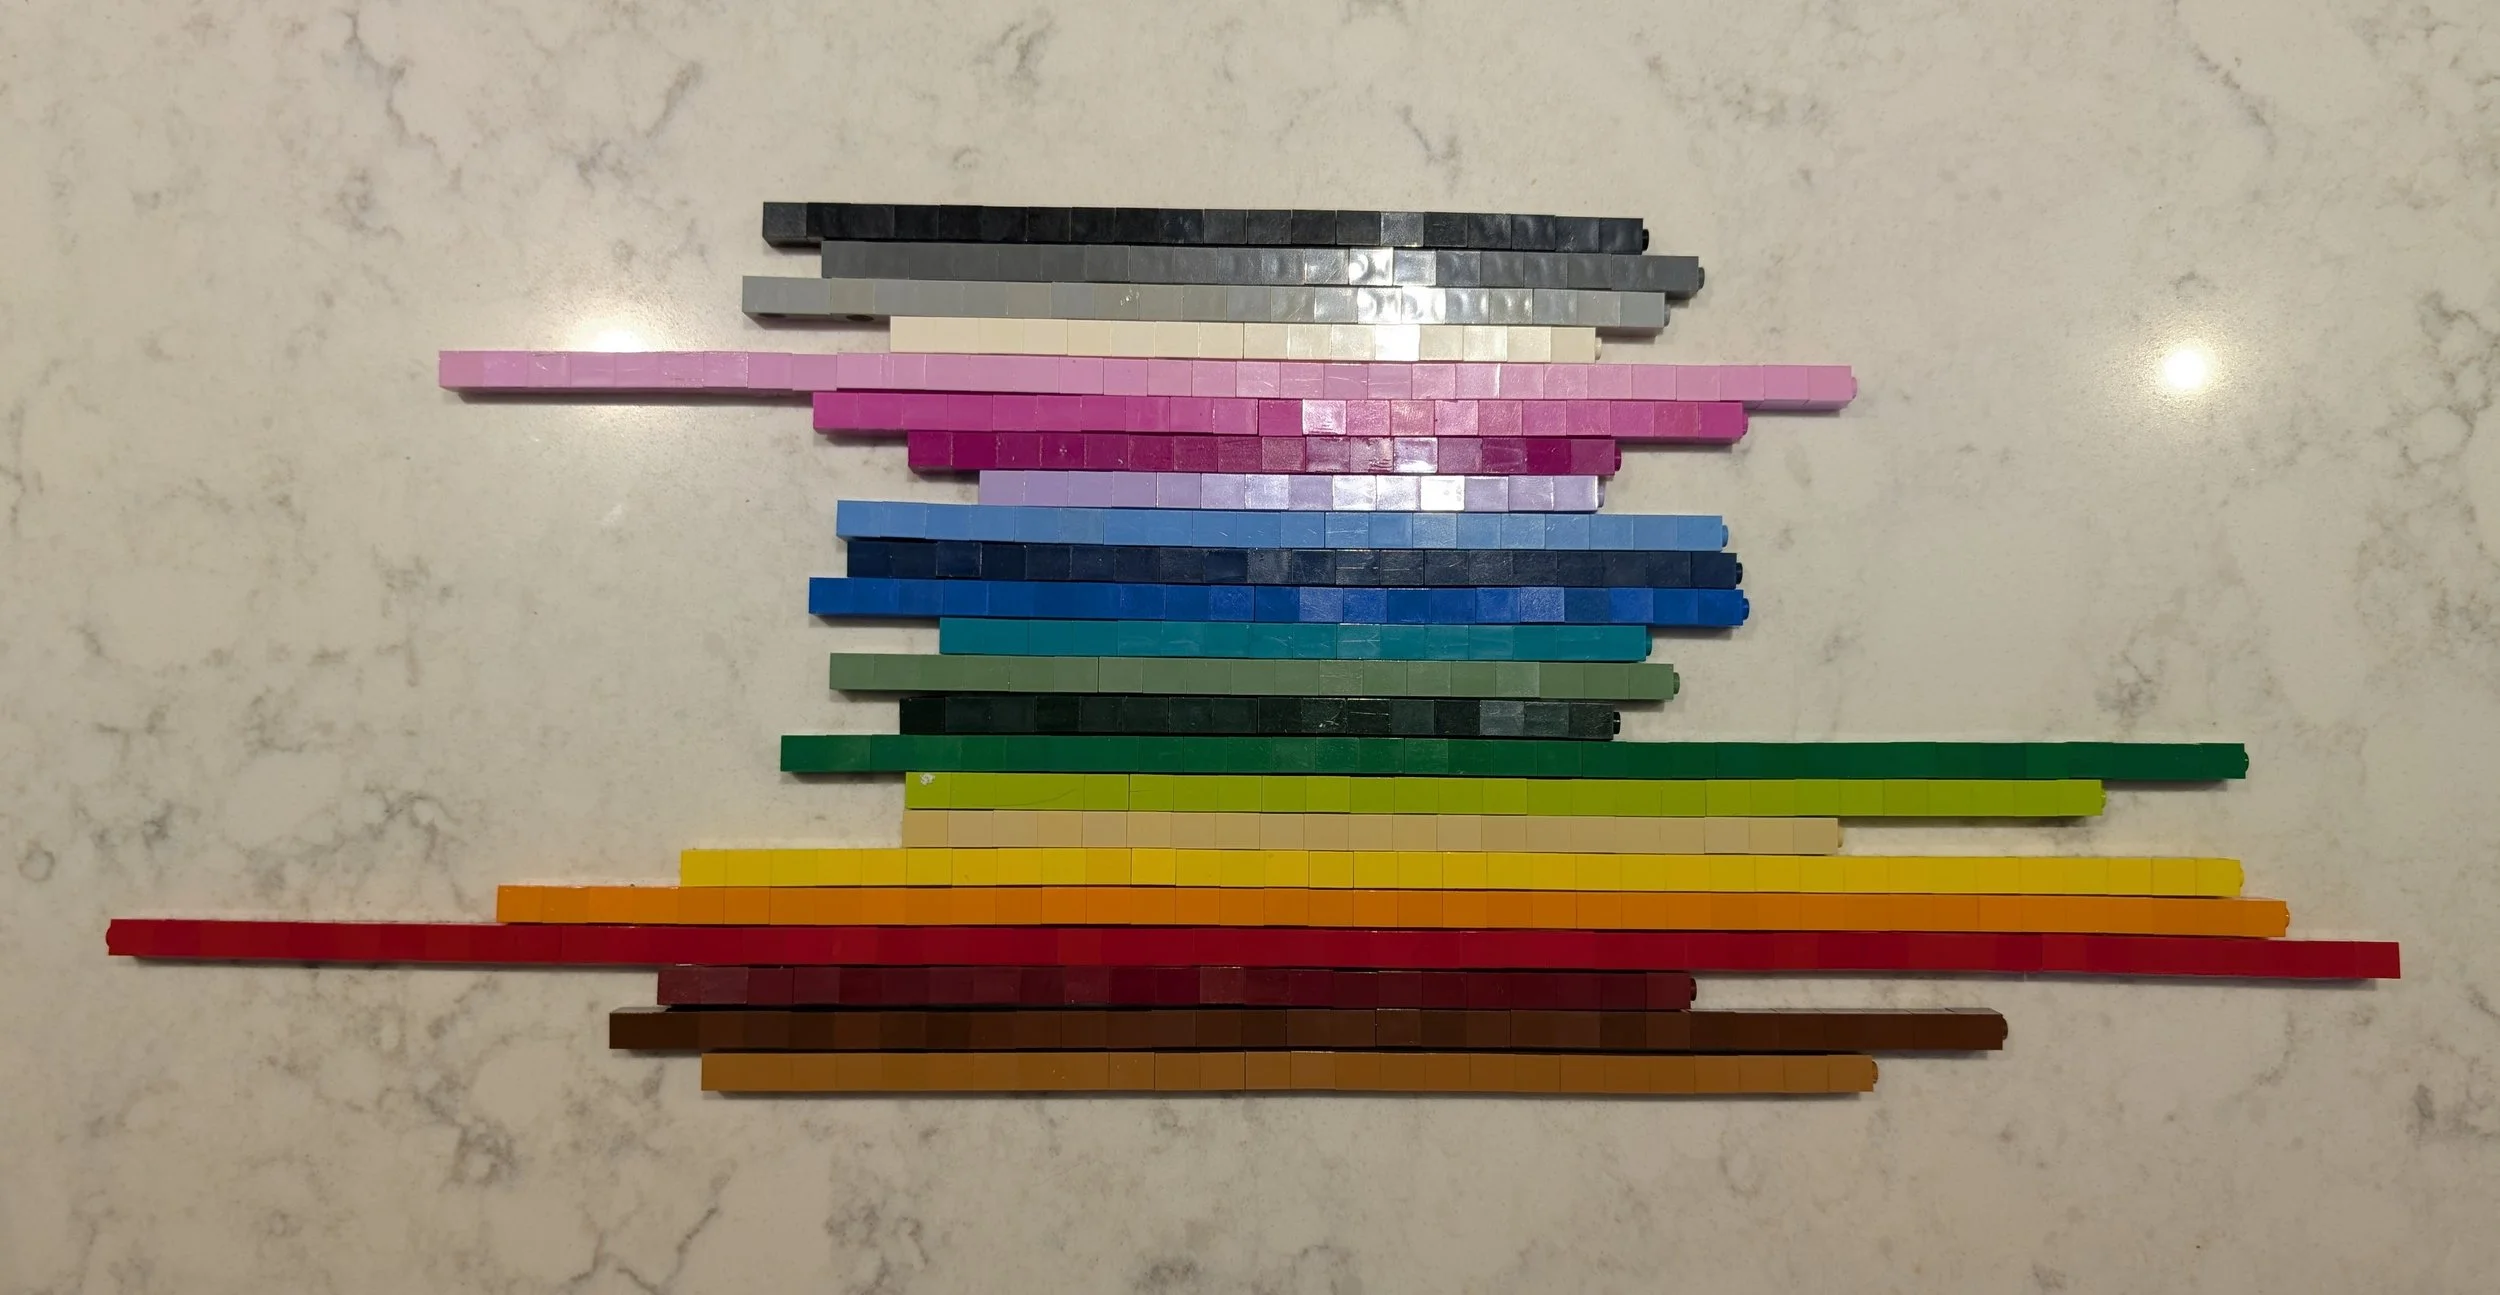
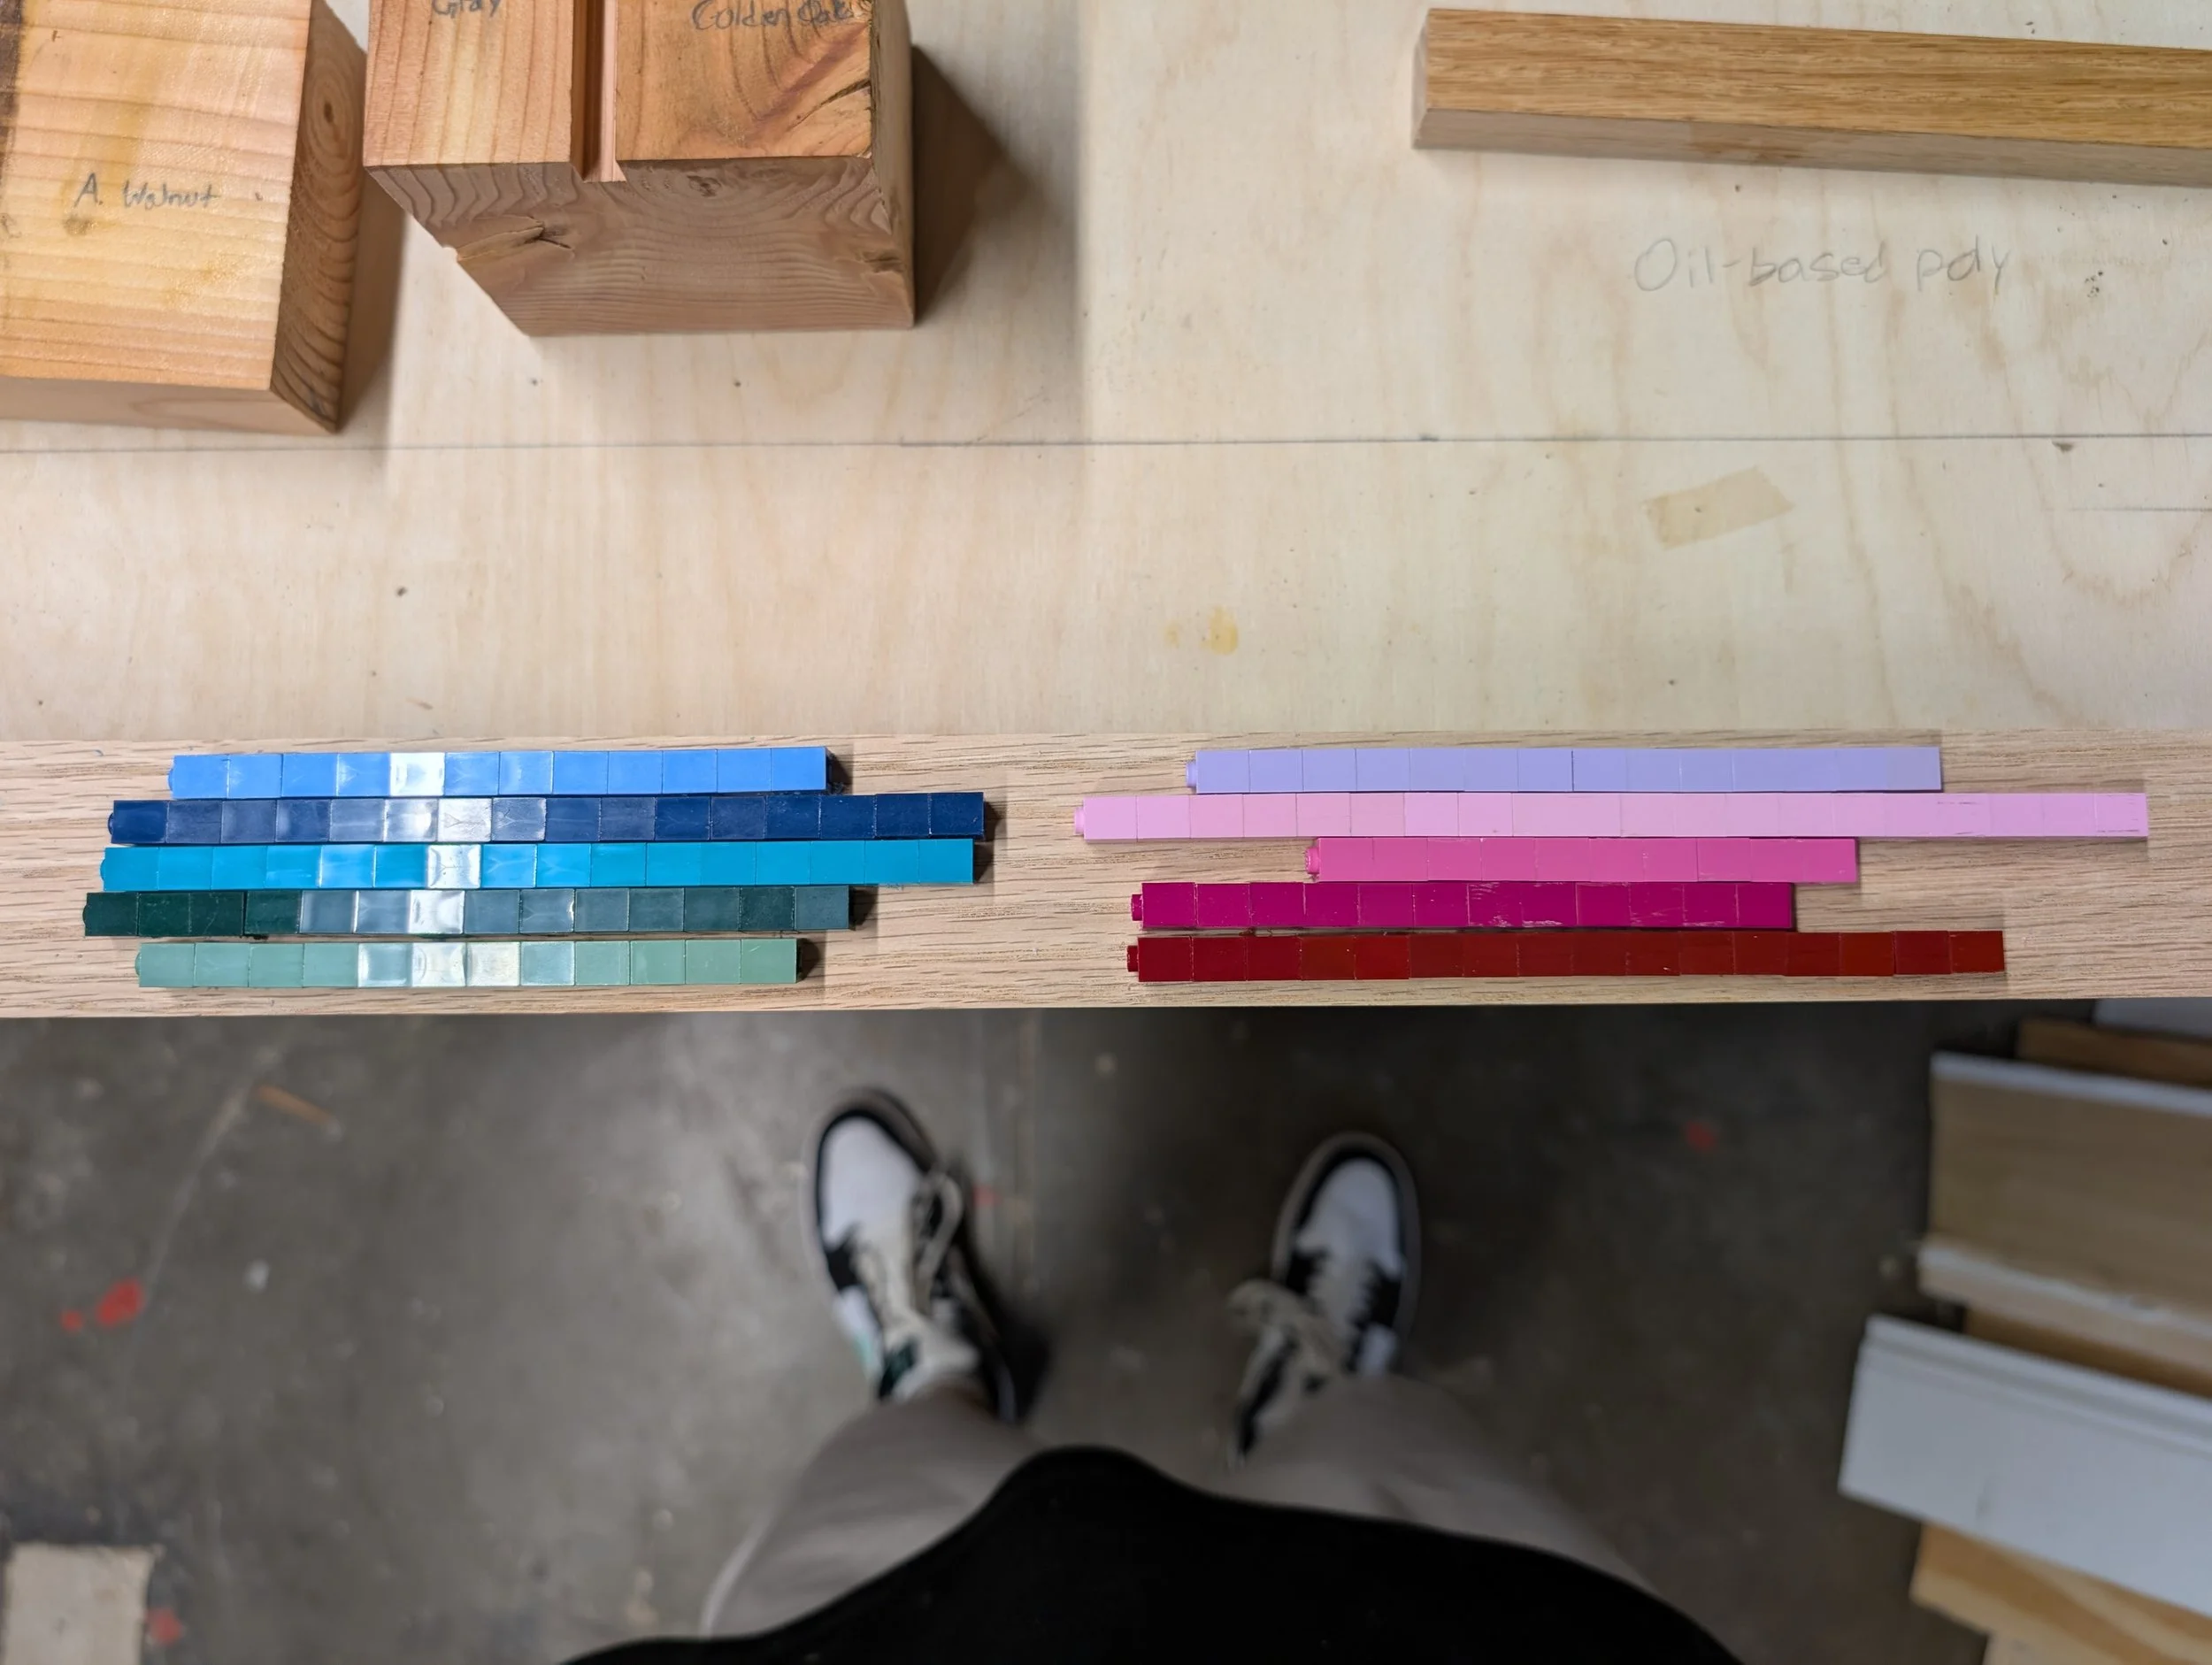
I gathered every 1x1 Lego brick I had and sorted by color to determine which ones I could use in the pattern.
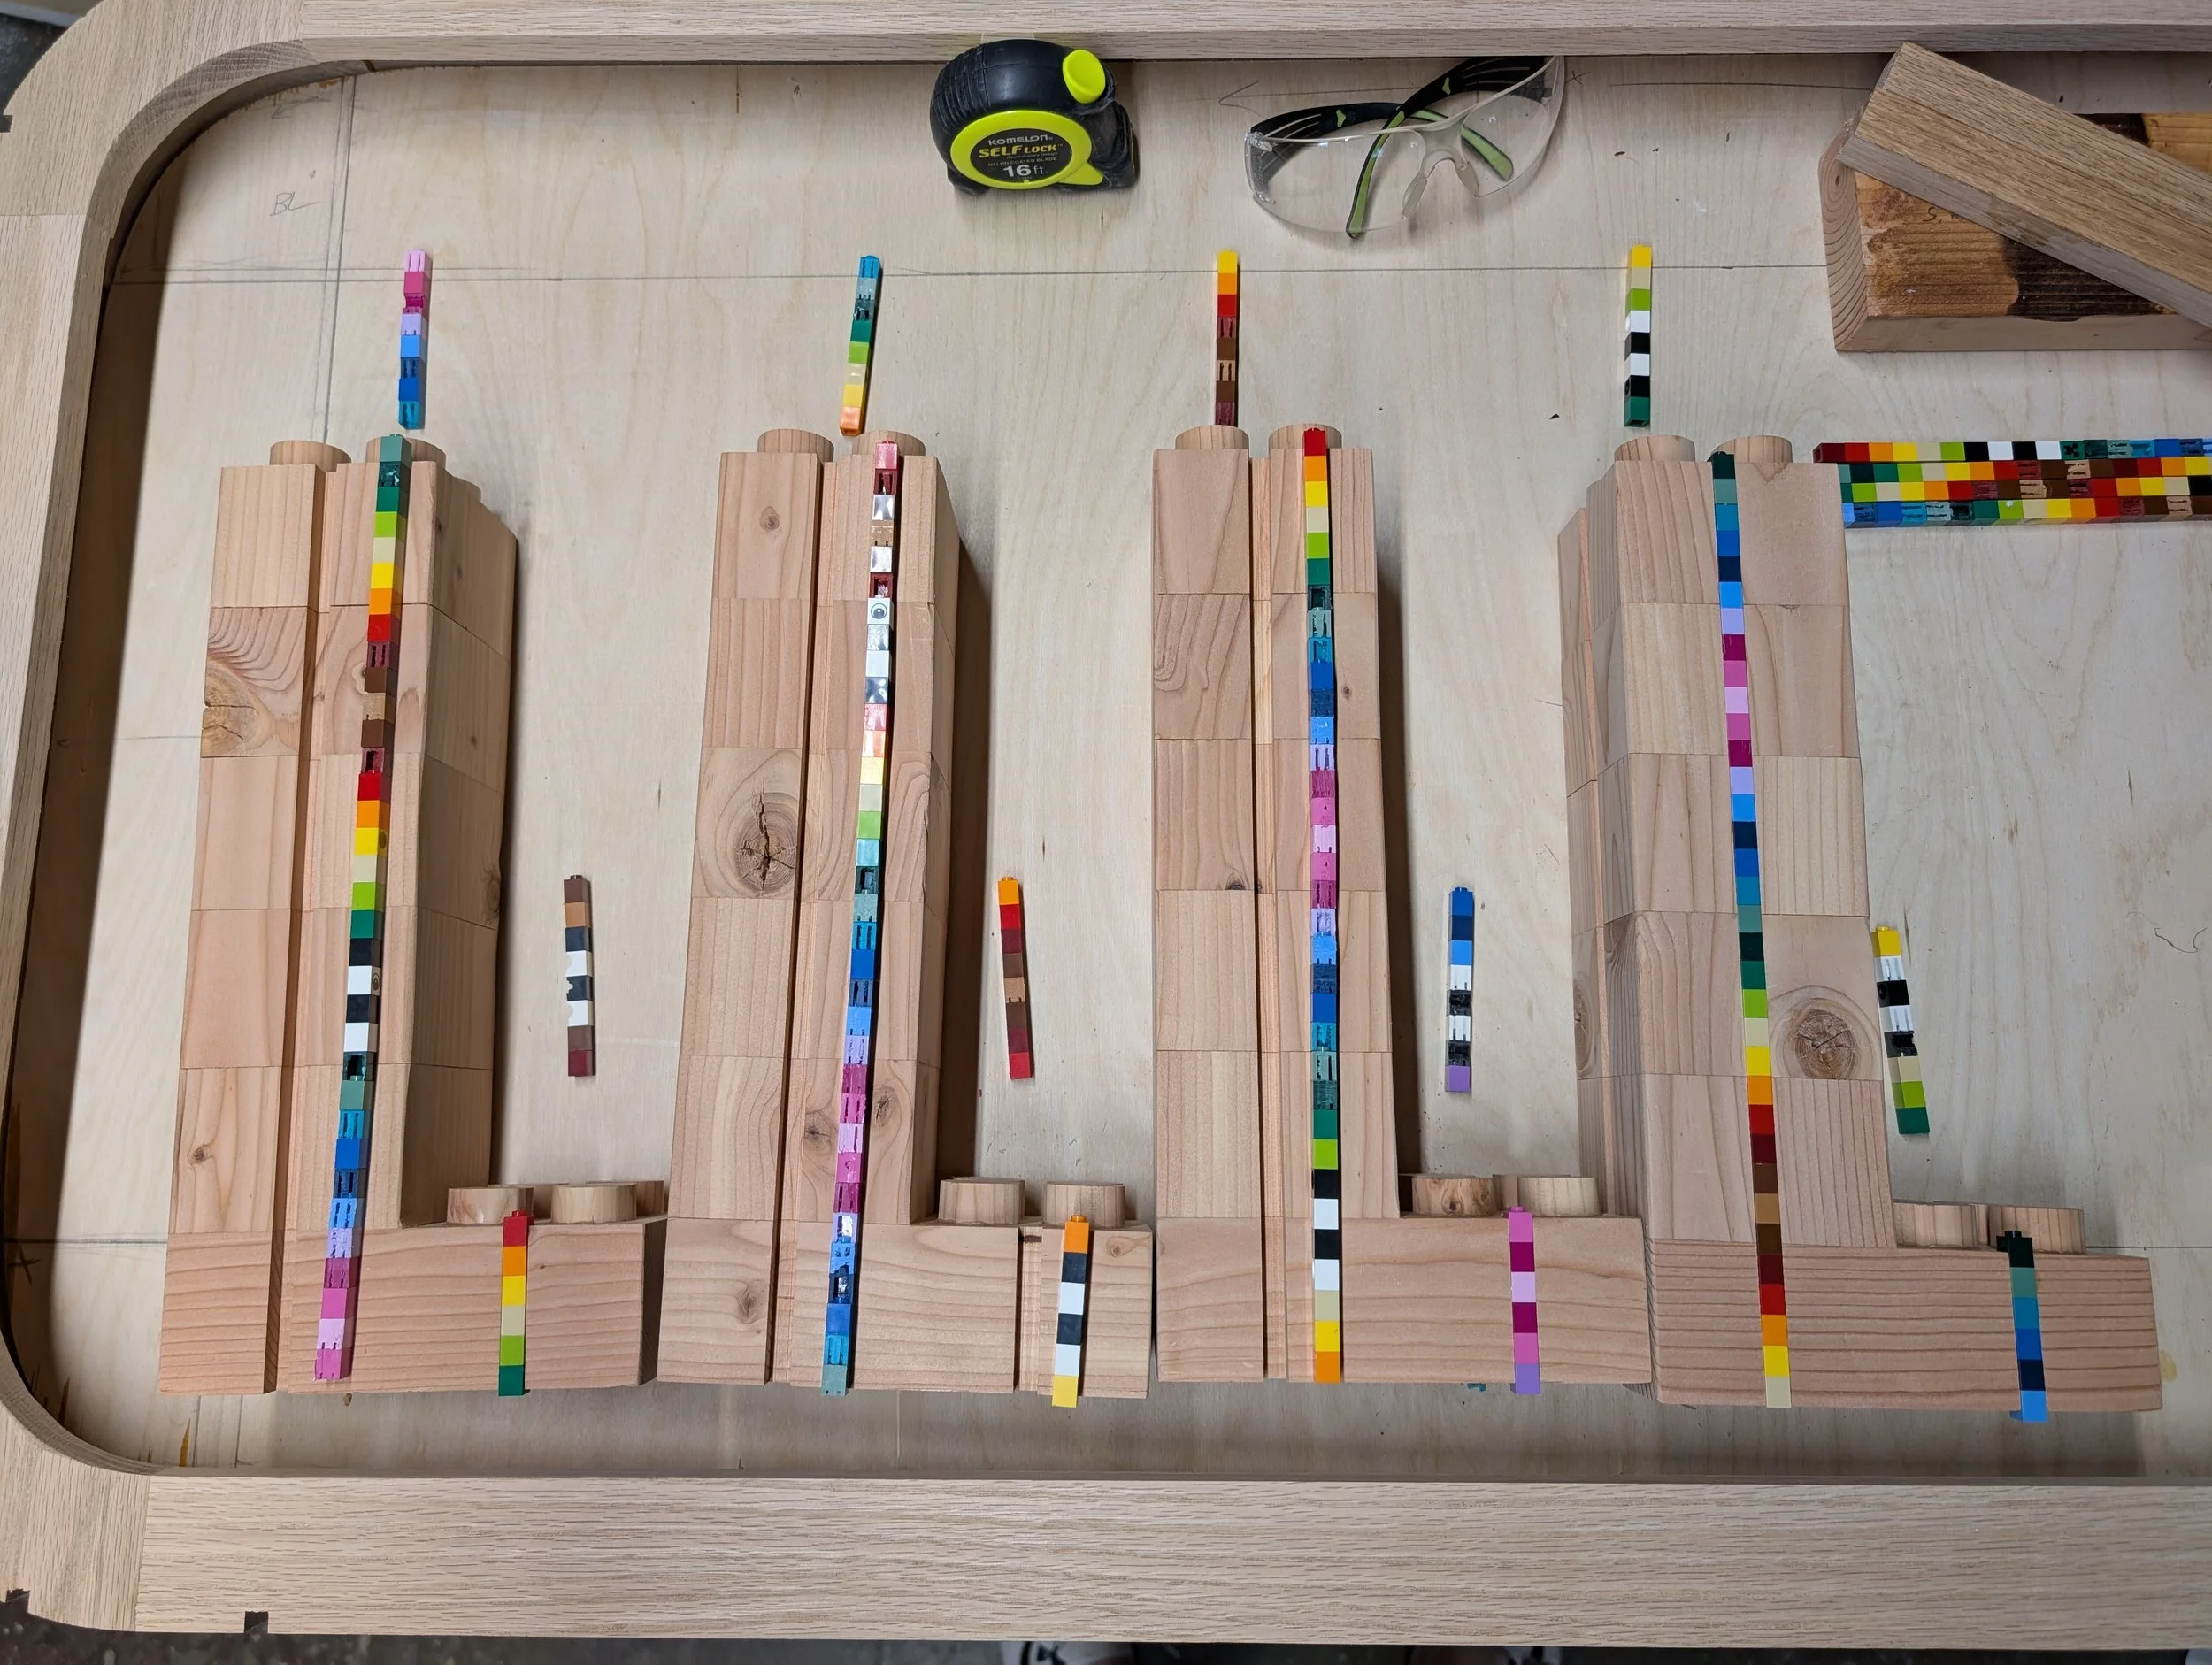
After creating a pattern that I was happy with, I began laying the Lego strips in place.
Sanded to a very fine grit and cleaned